How To Set up an Apt-Cache Server using Apt-Cacher-NG
To Set up an ‘ Apt-Cache’ Server - ‘ Apt-Cacher-NG’ in Ubuntu 16.04 Server
Apt-Cacher-NG acts as caching server. It also acts as a proxy for clients in the local network to share the datas that has been downloaded in the server. ‘ Apt-Cache’ Server Using ‘ Apt-Cacher-NG’ set up is discussed in this tutorial.
Advantages
- apt-cacher-ng will save our bandwidth
- apt-cacher-ng will save our time.
- We can integrate ISO image or DVD to apt-cacher-ng using import option.
Server Setup
Server OS : Ubuntu 16.04
Server IP Address : 192.168.5.212
Default Port : 3142
Client Setup
Client OS : Ubuntu 15.10
Client IP Address : 192.168.5.172
To Install and Configuring Apt-Cacher-NG on Server
Use the following command to install Apt-cacher-ng server.
root@linuxhelp:-# apt-get install apt-cacher-ng
Reading package lists... Done
Building dependency tree
Reading state information... Done
Note, selecting ' apt-cacher-ng'  for glob ' apt-cacher-ng*'
The following NEW packages will be installed:
  apt-cacher-ng
0 upgraded, 1 newly installed, 0 to remove and 2 not upgraded.
Need to get 504 kB of archives.
.
.
.
Setting up apt-cacher-ng (0.9.1-1ubuntu1) ...
Processing triggers for ureadahead (0.100.0-19) ...
Processing triggers for systemd (229-4ubuntu4) ...
Edit the configuration of apt-cacher-ng located in ‘ /etc/apt-cacher-ng‘
root@linuxhelp:-# vim /etc/apt-cacher-ng/acng.conf
Enable the CacheDir line. Since Installing or updating all dpkg package will be stored in this directory.
You can also change the location of Caching path.
CacheDir: /var/cache/apt-cacher-ng
For Log, enable the following line. By default it will be enabled automatically and this path can also be changed.
LogDir: /var/log/apt-cacher-ng
Here Port 3142 is used which is the default one. If you need to change you can.
Port:3142
‘ BindAddress: 0.0.0.0’ entry needs to be added in the configuration file.
# BindAddress: localhost 192.168.7.254 publicNameOnMainInterface
BindAddress: 0.0.0.0
For the reports of apt-cache, enable the following line.
ReportPage: acng-report.html
Uncomment the below line for getting more information about ' log' .
VerboseLog: 1
By default PID file will be located in /var location. So just enable it by uncommenting the following line.
PidFile: /var/run/apt-cacher-ng/pid
Thus the configuration is completed. Now save and close the file. By using following command we need to restart apt-cacher-ng service.
root@linuxhelp:-# /etc/init.d/apt-cacher-ng restart
[ ok ] Restarting apt-cacher-ng (via systemctl): apt-cacher-ng.service.
Using the below URL access the report page of apt-cacher-ng:
http://192.168.5.212:3142
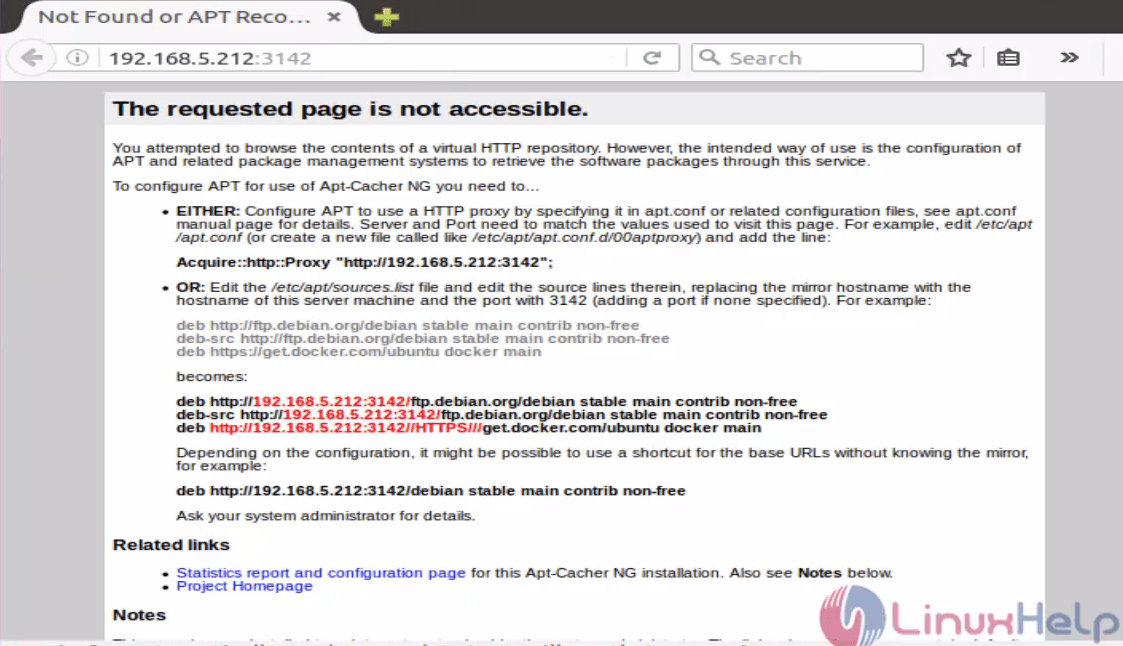
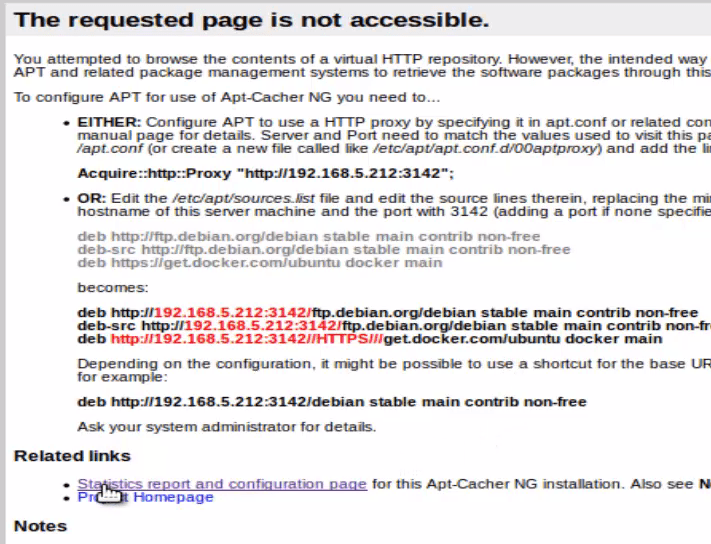
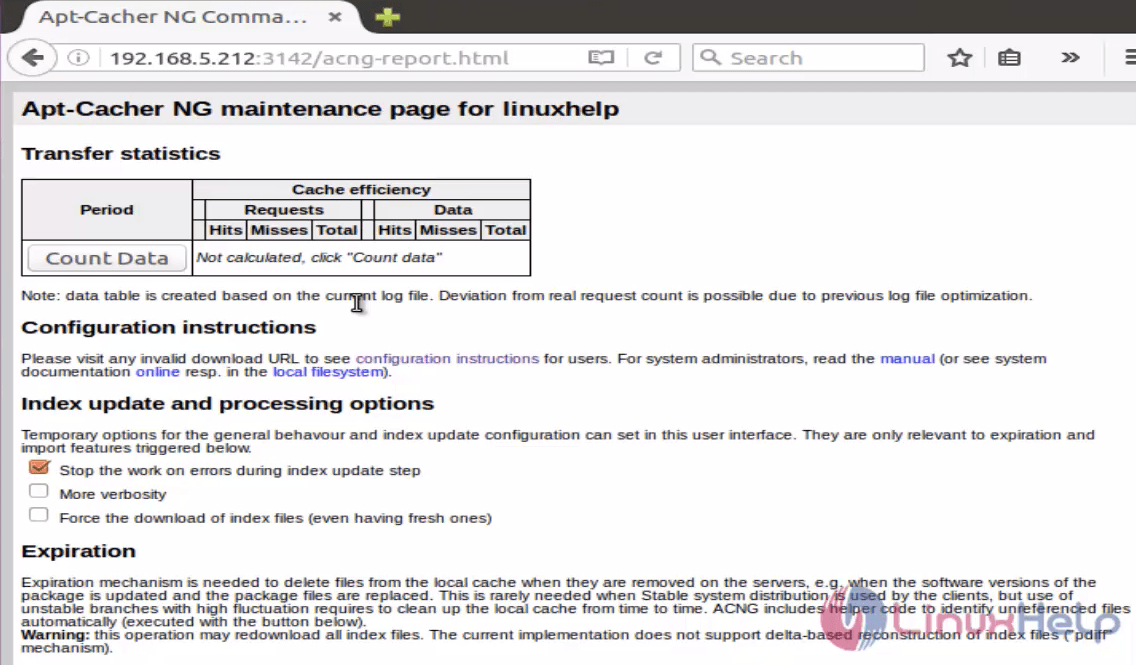
In this interface, hit on Statistics report and configuration page to view the transfer statistics.
Configuration of Client Side
At first create a file called ‘ 02proxy’ in ‘ /etc/apt/apt.conf.d/’ path.
Then copy the Acquire URL so that you will able to access report page in web interface.
root@linuxhelp:-# nano /etc/apt/apt.conf.d/02proxy
Acquire::http { Proxy " http://192.168.0.125:3142"   }
Acquired URL is shown in the web interface.

Now save and exit that file. Repository needs to be updated and packages are to be upgraded.
root@linuxhelp:-# apt-get update
root@linuxhelp:-# apt-get upgrade
It will upgrade 89 packages and its size is 171 MB. It will take only few seconds to upgrade since all the packages are cached in apt-cached-ng server. Thus it helps in consuming internet as well as time. For Cache count data, we can access via web browser to see the statistics.

Comments ( 0 )
No comments available