How to Set up APT-Caching Server Using Apt-Cacher NG on Debian 11.3
- 01:00 lsb_release -a
- 01:15 apt-get update -y
- 01:46 sudo apt-get install apt-cacher-ng -y
- 02:30 systemctl start apt-cacher-ng
- 02:50 systemctl enable apt-cacher-ng
- 03:15 systemctl status apt-cacher-ng
- 03:47 ss -altnp | grep apt
- 04:17 nano /etc/apt-cacher-ng/acng.conf
- 04:55 systemctl restart apt-cacher-ng
- 05:34 nano /etc/apt/apt.conf.d/00aptproxy
- 06:50 apt-get install apache2 -y
- 06:56 systemctl status apache2
To Set Up APT-Caching Server Using Apt-Cacher NG On Debian 11.3
Introduction:
Apt-Cacher-NG is a caching proxy server (or apt proxy) for Debian-based distributions including Ubuntu, Kubuntu, Xubuntu, Edubuntu, Linux Mint, etc, which is used to cache the downloaded packages locally on your server.
Installation Procedure:
Step 1: Check the installed OS version by using the below command
root@linuxhelp: ~# lsb_release -a
No LSB modules are available.
Distributor ID: Debian
Description:    Debian GNU/Linux 11 (bullseye)
Release:        11
Step 2: Next update the apt repository by using the below command
root@linuxhelp:~# apt-get update -y
Get:1 http://security.debian.org/debian-security bullseye-security InRelease [48.4 kB]
Hit:2 http://repo.mysql.com/apt/debian bullseye InRelease
Hit:3 http://deb.debian.org/debian bullseye InRelease
Hit:4 http://deb.debian.org/debian bullseye-updates InRelease
Hit:5 https://packages.sury.org/php bullseye InRelease
Get:6 http://security.debian.org/debian-security bullseye-security/main Sources [152 kB]
Get:7 http://security.debian.org/debian-security bullseye-security/main amd64 Packages [183 kB]
Fetched 383 kB in 11s (34.5 kB/s)
Reading package lists... Done.
Step 3: Install Apt-Cacher-NG by using the below command
root@linuxhelp:~# sudo apt-get install apt-cacher-ng -y
Step 4: Once the Apt-Cacher-NG package is installed, start the Apt-Cacher-NG service and enable it to start at system reboot.
root@linuxhelp:~# systemctl start apt-cacher-ng
root@linuxhelp:~# systemctl enable apt-cacher-ng
Synchronizing state of apt-cacher-ng.service with SysV service script with /lib/systemd/systemd-sysv-install.
Executing: /lib/systemd/systemd-sysv-install enable apt-cacher-ng
Step 5: Now check the status of Apt-cacher-NG by using the below command
root@linuxhelp:~# systemctl status apt-cacher-ng
● apt-cacher-ng.service - Apt-Cacher NG software download proxy
     Loaded: loaded (/lib/systemd/system/apt-cacher-ng.service; enabled; vendor preset: enabled)
     Active: active (running) since Thu 2022-09-15 23:28:10 IST; 4min 49s ago
   Main PID: 64366 (apt-cacher-ng)
      Tasks: 1 (limit: 3450)
     Memory: 2.1M
        CPU: 18ms
     CGroup: /system.slice/apt-cacher-ng.service
             └─64366 /usr/sbin/apt-cacher-ng -c /etc/apt-cacher-ng ForeGround=1

Sep 15 23:28:10 linuxhelp systemd[1]: Starting Apt-Cacher NG software download proxy...
Sep 15 23:28:10 linuxhelp systemd[1]: Started Apt-Cacher NG software download proxy.
Step 6: By default, Apt-Cacher-NG listens on port 3142. Now check by using the below command
root@linuxhelp:~# ss -altnp | grep apt
LISTEN 0      250          0.0.0.0:3142       0.0.0.0:*    users:(("apt-cacher-ng",pid=64366,fd=10))
LISTEN 0      250             [::]:3142          [::]:*    users:(("apt-cacher-ng",pid=64366,fd=11))
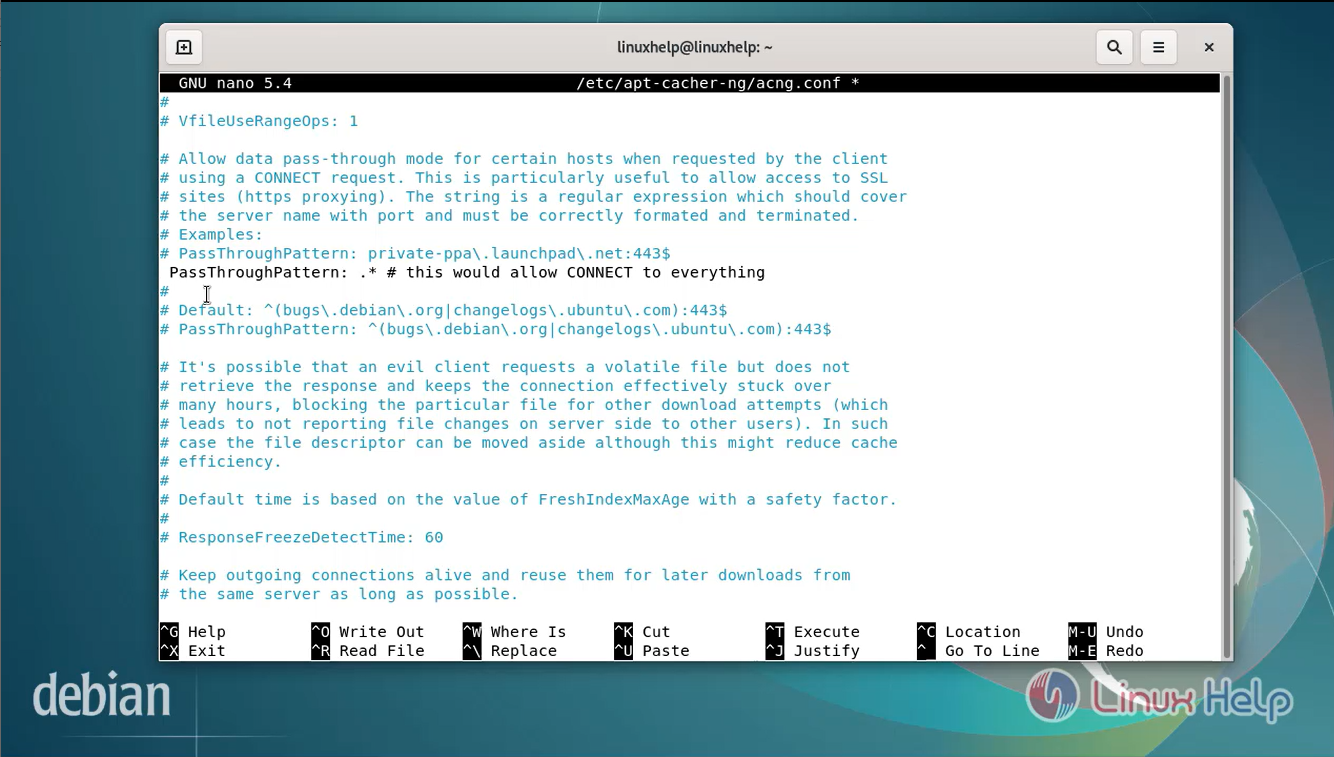
Step 7: By default, Apt-Cacher NG does not serve HTTPS repositories, so you will need to enable it. Open and edit the Apt-Cacher-NG default configuration file.
root@linuxhelp:~# nano /etc/apt-cacher-ng/acng.conf
Step 8: Now restart the Apt-Cacher-NG by using the below command
root@linuxhelp:~# systemctl restart apt-cacher-ng
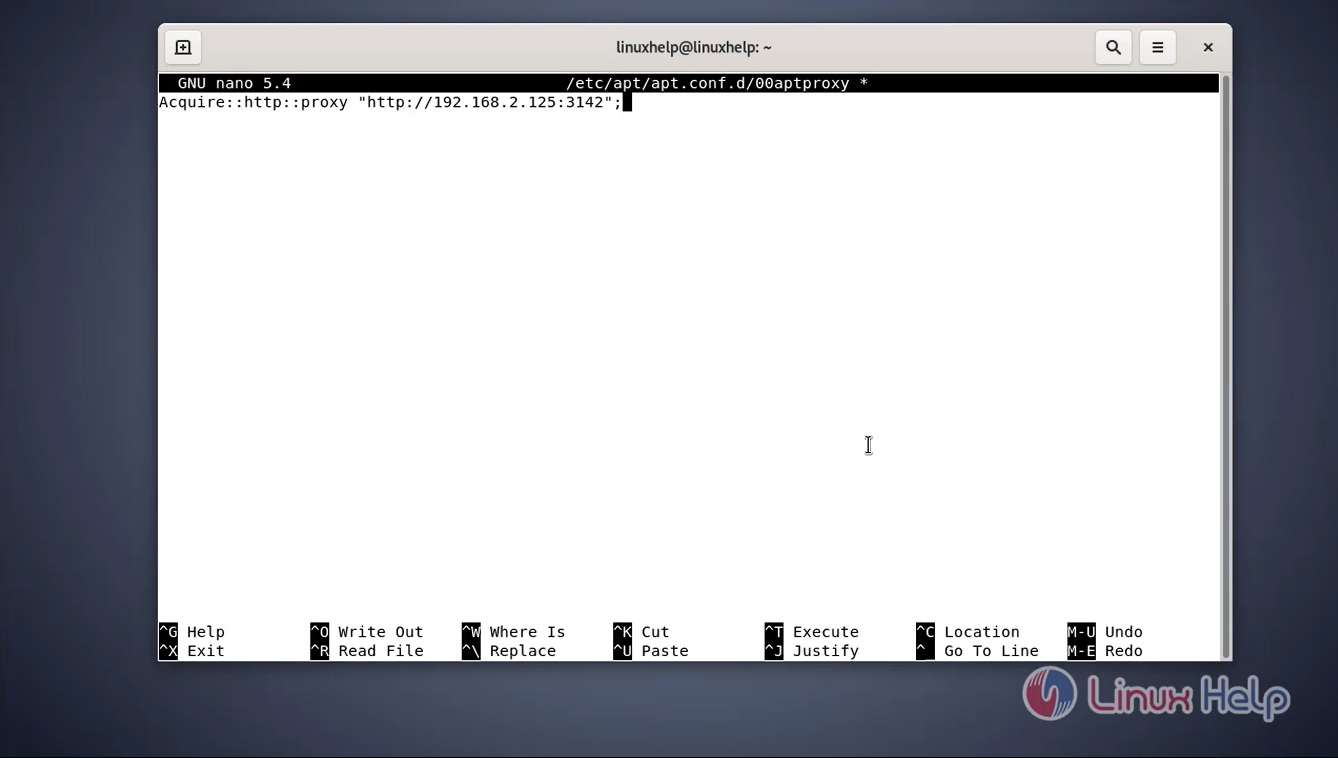
Step 9: Configure Client System to use Apt-Cacher NG. Create a new proxy configuration file.
Add the following Lines:
Acquire::http::Proxy "http://your-server-ip:3142";
root@linuxhelp:~# nano /etc/apt/apt.conf.d/00aptproxy
Step 10: Now, let’s try to install the Apache package on the Client system by using the below command:
root@linuxhelp:~# apt-get install apache2 -y
root@linuxhelp:~# systemctl status apache2
Step 11: Apt-Cache NG also provides a web-based interface to display all reports.so go to browser browse the URL or Ip address as shown in the below image.
http://your-server-ip:3142/acng-report.html.
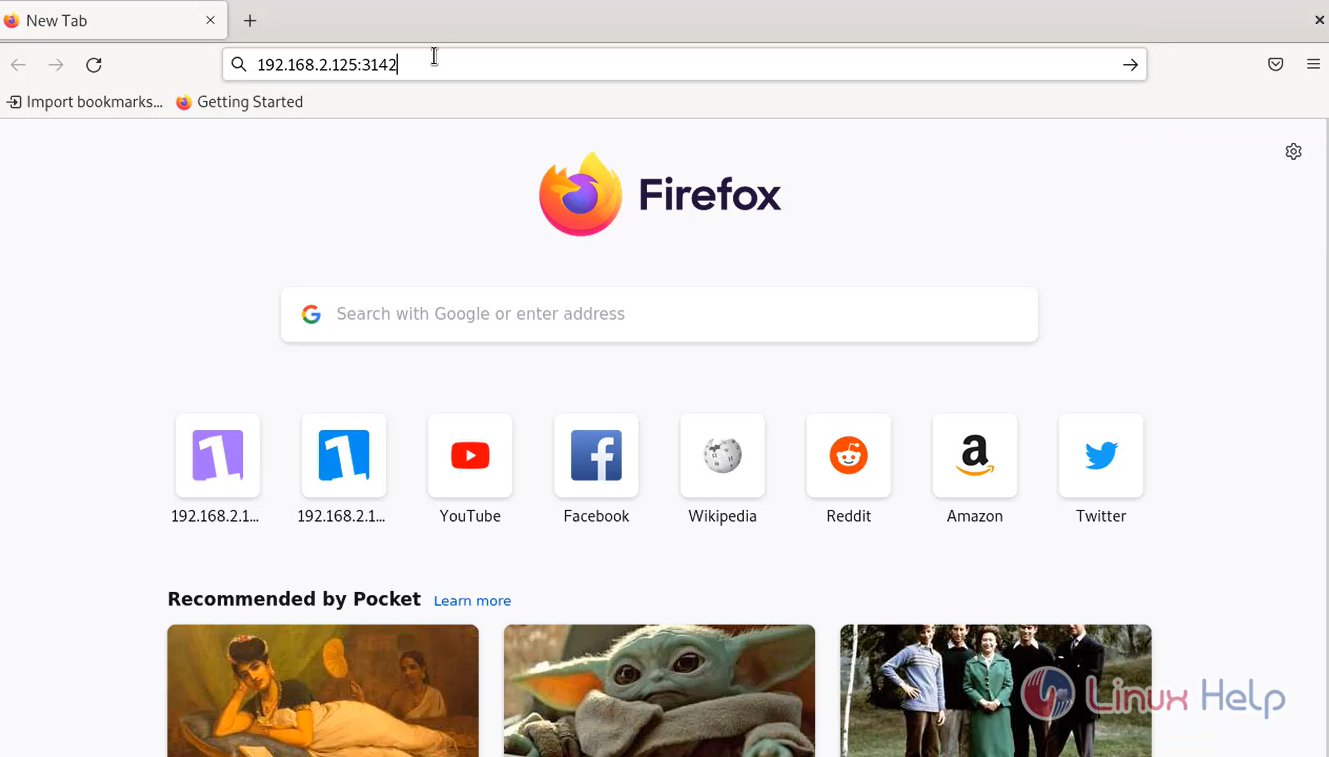
Step 12: This is the dashboard for Apt-Cacher NG maintenance page.

Conclusion:
We have reached the end of this article. In this guide, we have walked you through the steps required to Set up APT-Caching Server Using Apt-Cacher NG on Debian 11.3. Your feedback is much welcome.
Comments ( 0 )
No comments available