How to install Simple Machine Forum on Ubuntu 16.04
To install Simple Machine Forum on Ubuntu 16.04
Simple Machines Forum, also referred as SMF is one of the most popular open-source forum platforms used by a wide range of users. It is built based on PHP and uses a MySQL/MariaDB for data storage. Also, it is packed with abundant features and designed possessing an user-friendly interface. This post explains how to install Simple Machines Forum on Ubuntu 16.04.
Pre requirement
Install LAMP(apache, php 7, mariadb)
In mariadb (create database, user and give privilages to user)
For php
php modules(apt-get install php libapache2-mod-php php-mysql php-curl php-gd)
Installing Simple Machine Forum
Before you start the installation process, make sure you enter your HTML location by running the following command.
root@linuxhelpubnt:~# cd /var/www/html/
From that location, you need to download the installation package for SMF. Run the wget command along with the download link as shown in the following command.
root@linuxhelpubnt:/var/www/html# wget https://download.simplemachines.org/index.php/smf_2-0-14_install.zip
--2017-11-17 06:20:18--  https://download.simplemachines.org/index.php/smf_2-0-14_install.zip
Resolving download.simplemachines.org (download.simplemachines.org)... 66.71.247.134, 66.71.247.135
Connecting to download.simplemachines.org (download.simplemachines.org)|66.71.247.134|:443... connected.
HTTP request sent, awaiting response... 200 OK
Syntax error in Set-Cookie:  at position 0.
Length: unspecified [application/octet-stream]
Saving to: ‘ smf_2-0-14_install.zip’

smf_2-0-14_install.     [                < =>  ]   2.57M   734KB/s    in 3.6s

2017-11-17 06:20:23 (734 KB/s) - ‘ smf_2-0-14_install.zip’  saved [2694219]
Once the file is downloaded, you need to extract the file by making use of the following command.
root@linuxhelpubnt:/var/www/html# unzip smf_2-0-14_install.zip -d smf
Archive:  smf_2-0-14_install.zip
  inflating: smf/proxy.php
  inflating: smf/SSI.php
  inflating: smf/subscriptions.php
  inflating: smf/index.php
  inflating: smf/Themes/index.php
  inflating: smf/Themes/default/Stats.template.php
  inflating: smf/Themes/default/ManageScheduledTasks.template.php
  inflating: smf/Themes/default/Notify.template.php
  inflating: smf/Themes/default/Themes.template.php
  inflating: smf/Themes/default/ManageMail.template.php

.
.
.
inflating: smf/install_2-0_postgresql.sql
  inflating: smf/install_2-0_mysql.sql
  inflating: smf/install_2-0_sqlite.sql
Once it is done, you need to change the ownership of extracted directory by making use of the following command.
root@linuxhelpubnt:/var/www/html# chown -R www-data:www-data smf
And then, you need to create configure the VirtualHost for SMF. For that, you need to open the .conf file. So, execute the following command.
root@linuxhelpubnt:/var/www/html# nano /etc/apache2/sites-available/smf.conf
And when the file is open, make the following configuration in that file.
< VirtualHost *:80>
ServerAdmin admin@smf.com
DocumentRoot /var/www/html/smf/
ServerName smf.com
ServerAlias www.smf.com
< Directory /var/www/html/smf/>
Options FollowSymLinks
AllowOverride All
Order allow,deny
allow from all
< /Directory>
ErrorLog /var/log/apache2/smf.com-error_log
CustomLog /var/log/apache2/smf.com-access_log common
< /VirtualHost>
Once the configuration is done, you shall save and exit the file.
You should also make an entry in the host file by making use of the following command.
root@linuxhelpubnt:/var/www/html# nano /etc/hosts
< ip addr>   smf.com
Once it is done, make sure you don' t forget to enable the newly created .conf file. You shall execute that action by making use of the following command.
root@linuxhelpubnt:/var/www/html# a2ensite smf.conf
Enabling site smf.
To activate the new configuration, you need to run:
  service apache2 reload
When it is done, you shall restart your Apache service as follows.
root@linuxhelpubnt:/var/www/html# systemctl restart apache2.service
We shall now continue the process in the browser. So, open the browser and navigate to your domain. The SMF installer appears on your scree, click on the Continue option to proceed with the installation.

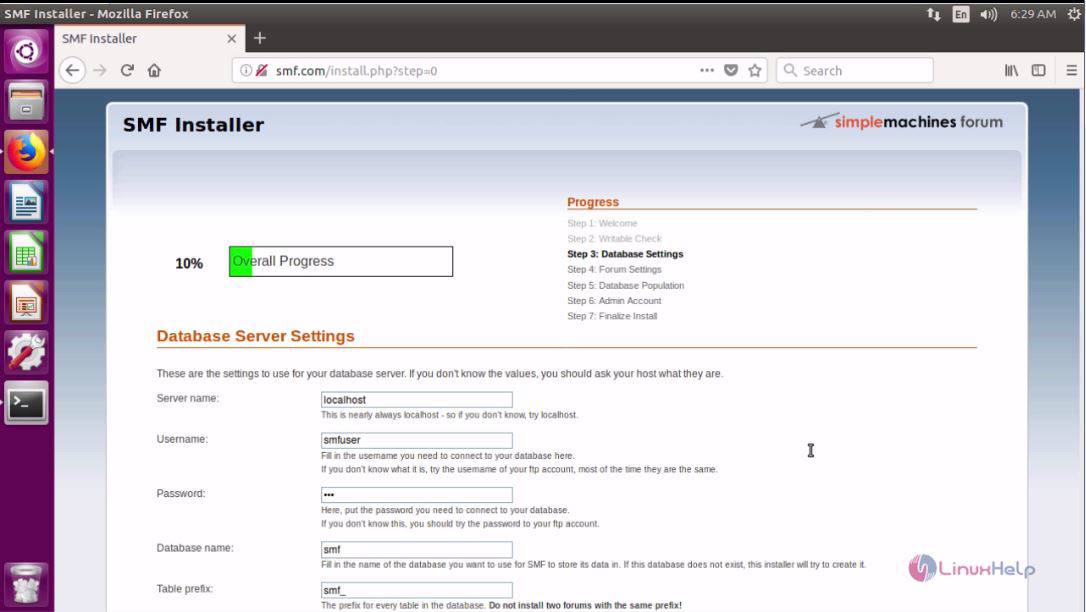
In the following page, enter all the database details and click Continue to proceed to the next stage.

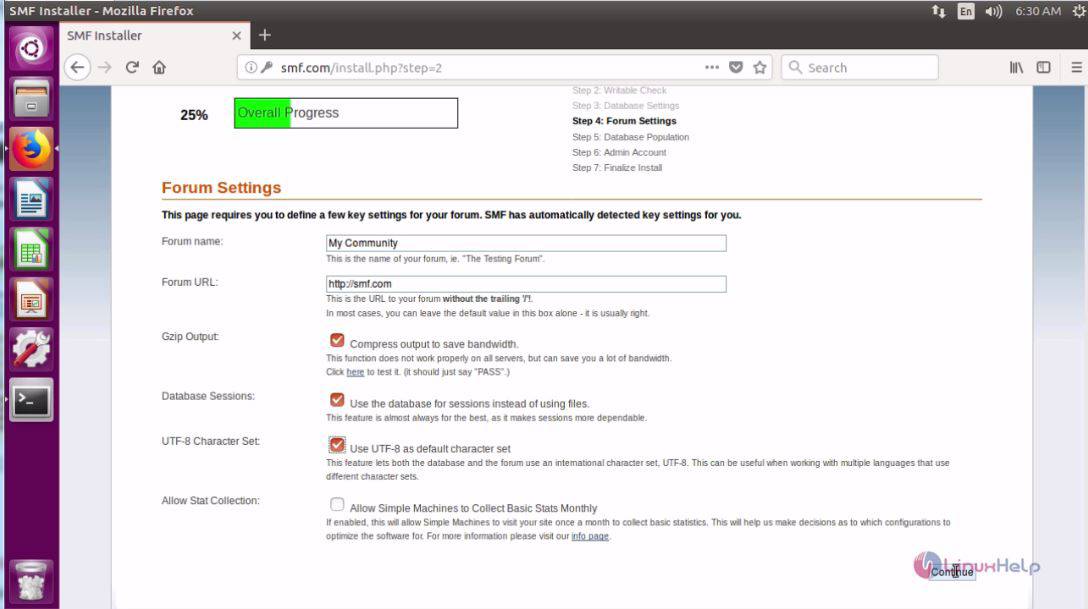
In this page, you need to configure the Forum Settings. So, make sure you enter all the necessary details.
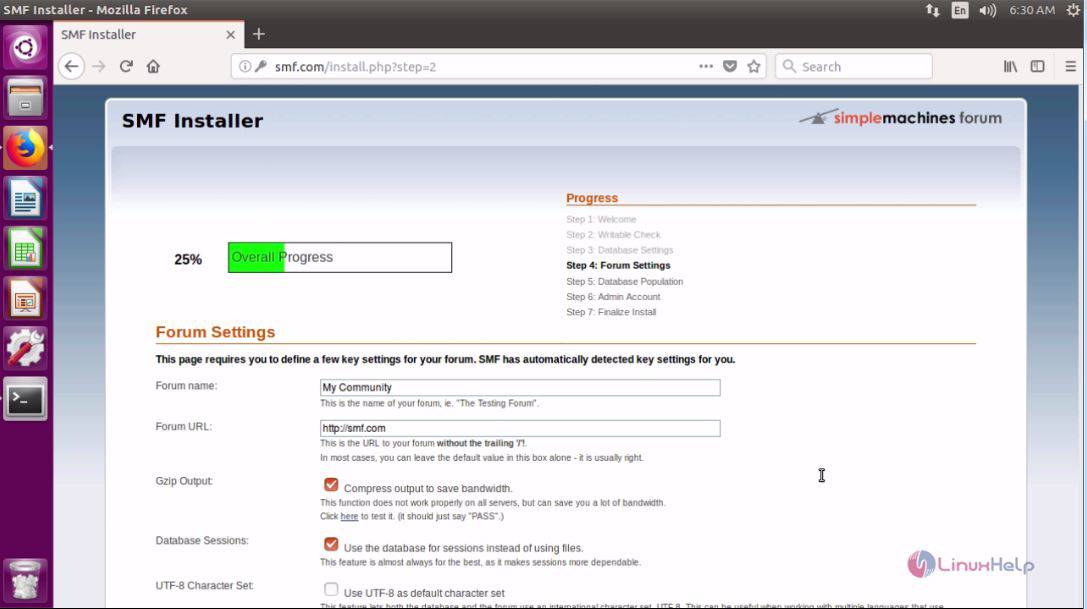
Click Continue when you have entered all the needed details.
In the following page, the information related to the database is displayed.

You should now create the account for the admin. So give all the necessary details in the relevant fields.
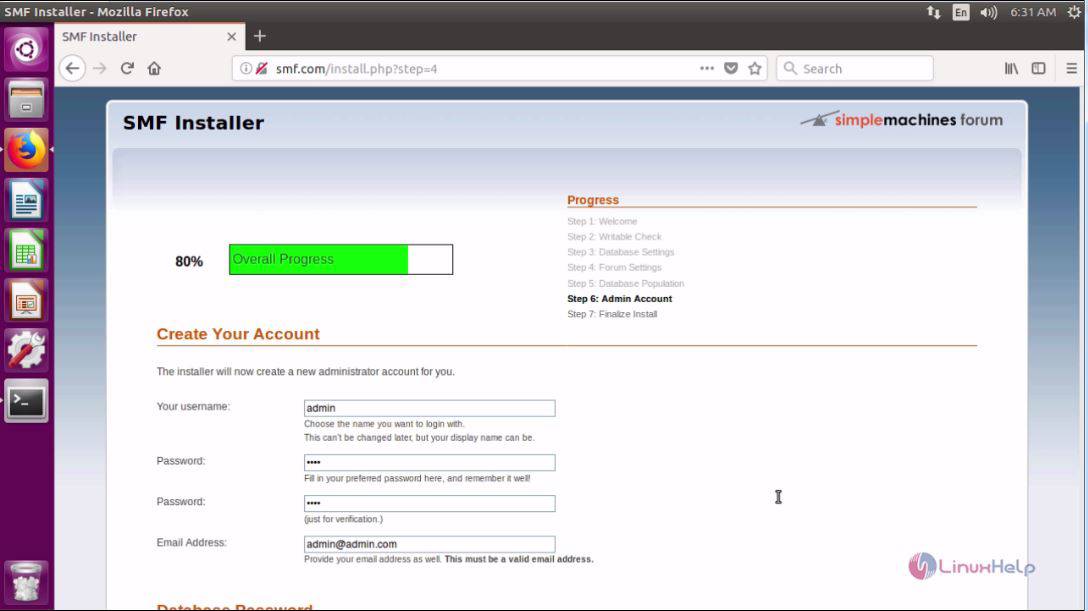
And, click on the Continue option to proceed further.

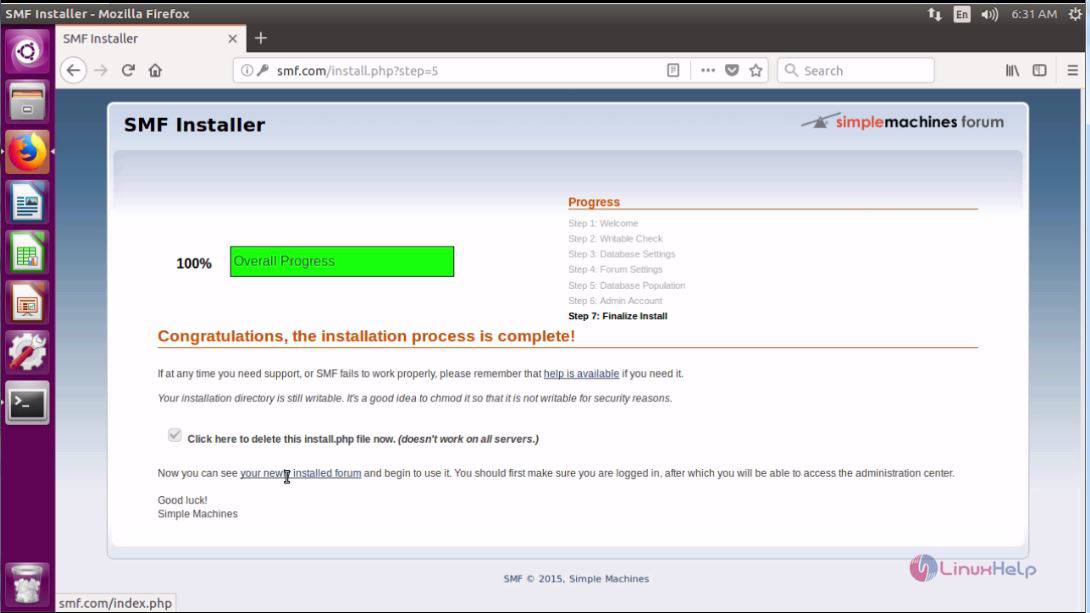
Installation has been completed, all you need to do now is to click on the checkbox and click on the “ your newly installed forum” text. Doing this will take you to your forum.
The Home page of your SMF forum appears now.
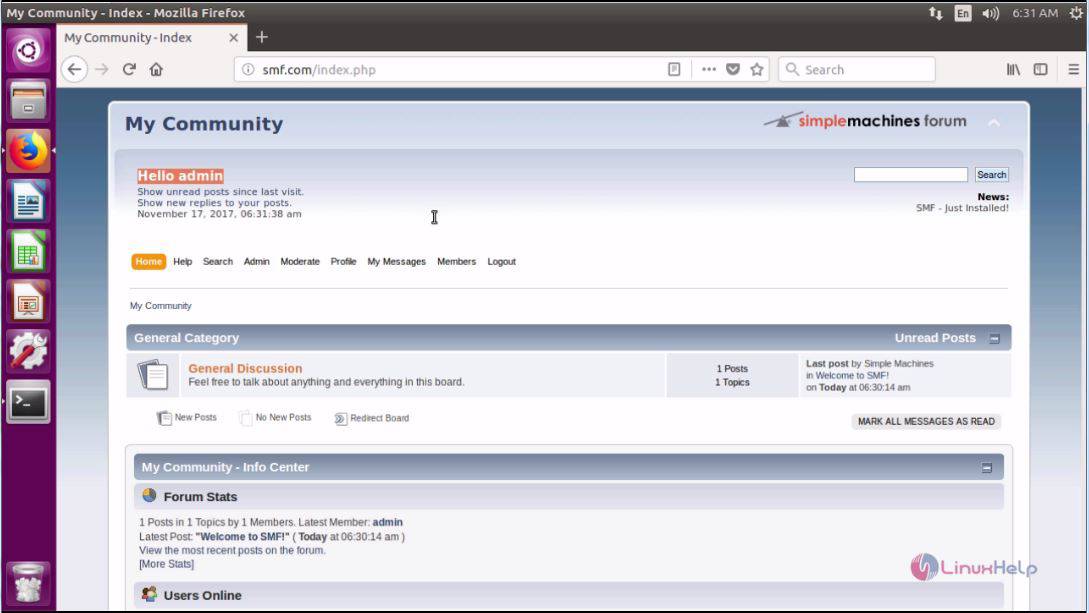
With this, the installation of SMF on Ubuntu 17.04. comes to an end.
Comments ( 0 )
No comments available