How to create a project on Jenkins Debian 11.3
To Create A Project On Jenkins Debian 11.3.
Introduction:
Jenkins is a free and open-source automation server that allows automating the parts of software development related to building, testing, and deploying, facilitating continuous integration and continuous delivery. It is a server-based system that runs in servlet containers including Apache Tomcat.
I have already discussed about to installation of Jenkins. If you have any doubt, please refer those videos.
Procedure:
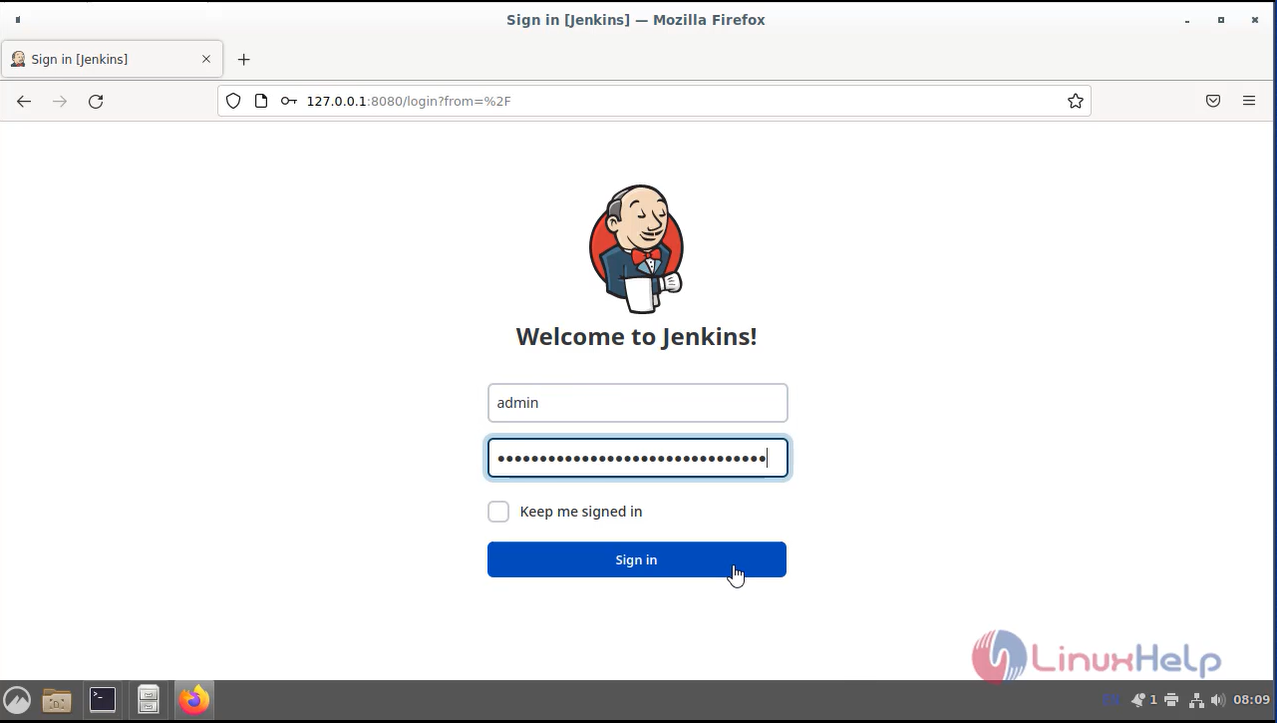
Step 1: This is my Jenkins Webpage. Here enter the admin credentials to login as shown in the below image
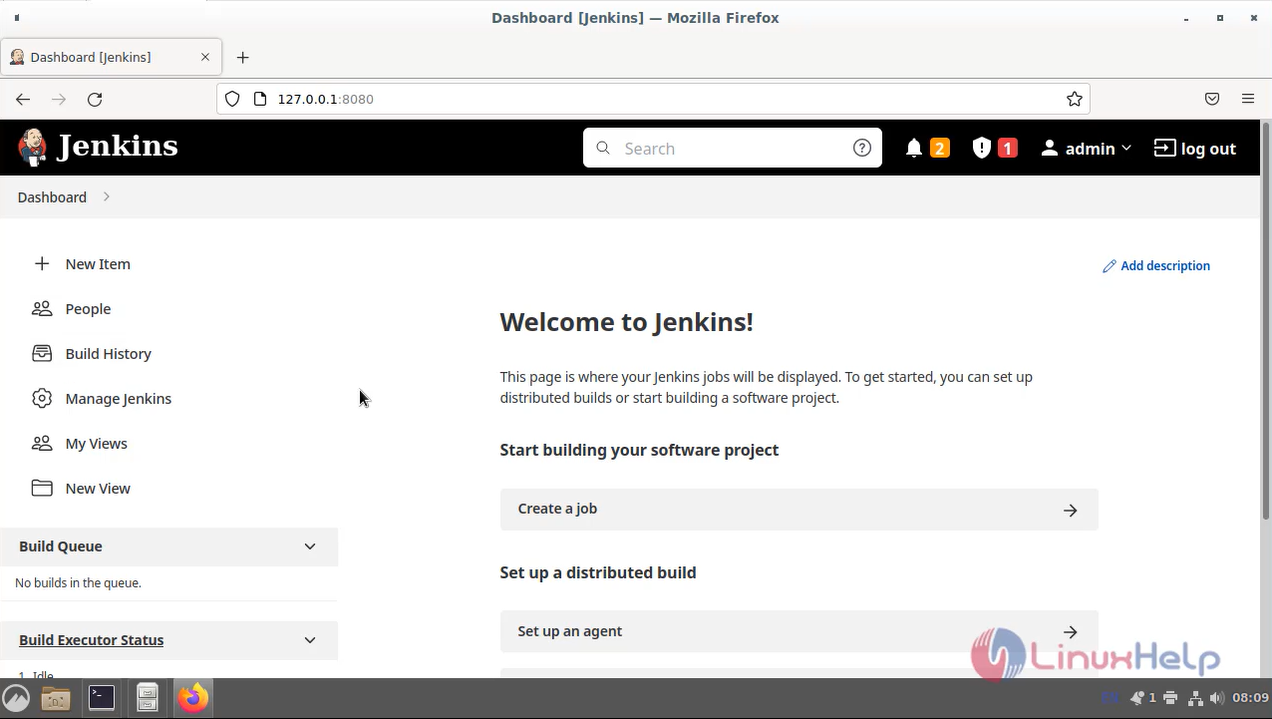
Step 2: This is the dashboard of Jenkins.
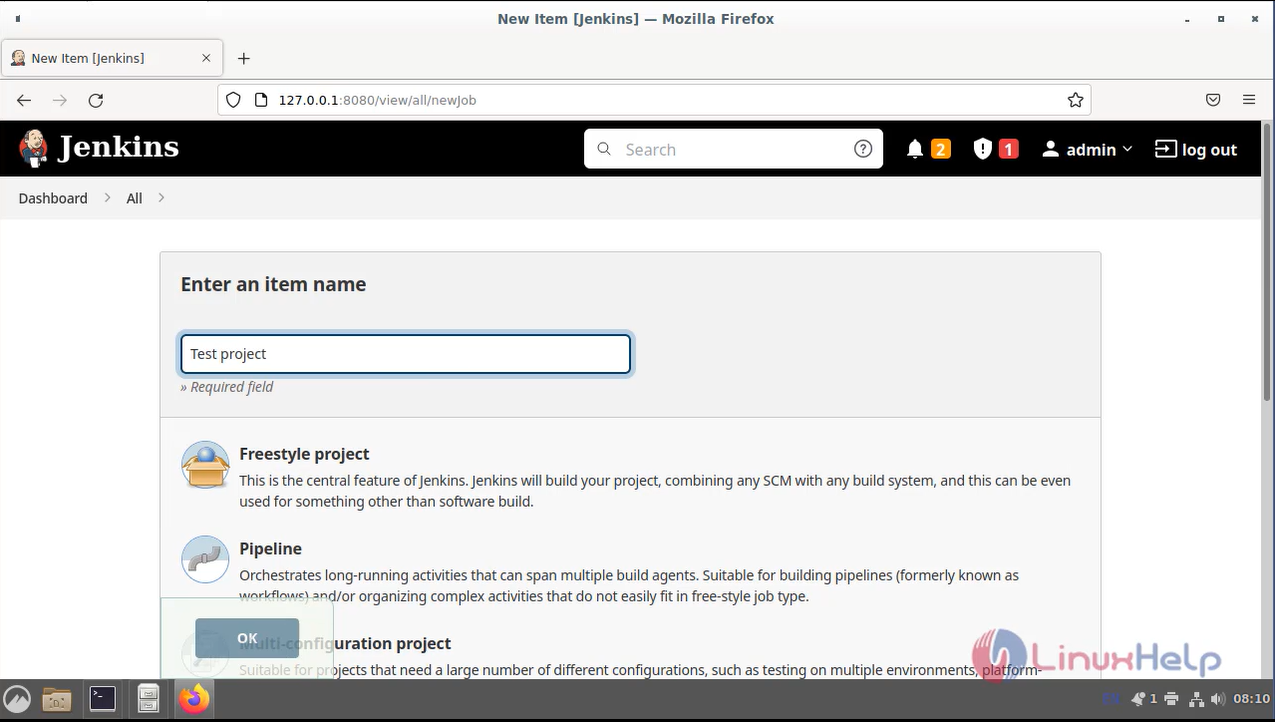
Step 3: Navigate to the New Item to create a new Job or Project. Once created, enter the Job name and select your project type then click ok as shown in the below image
Step 4: The Job has been created. Here you can configure your Job and Enter the description of your Job as shown in the below image

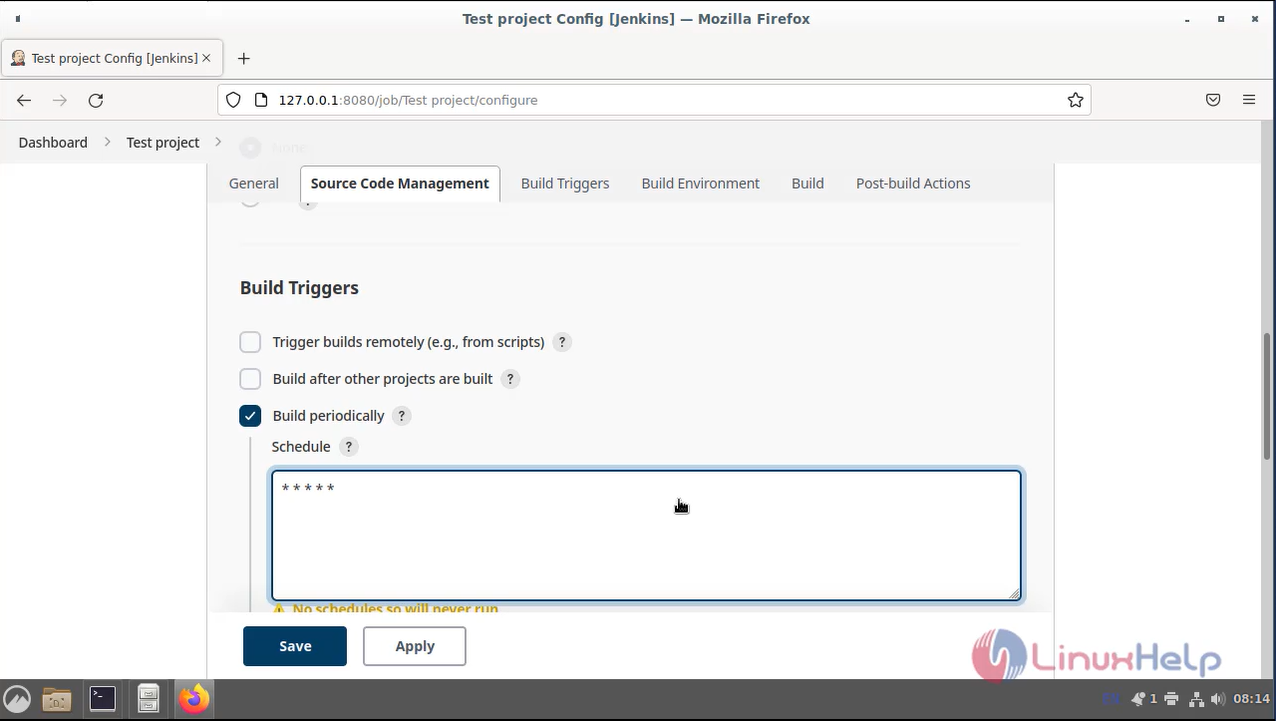
Step 5: Now configure the build periodically on Build Triggers option. This is used to configure your job run time
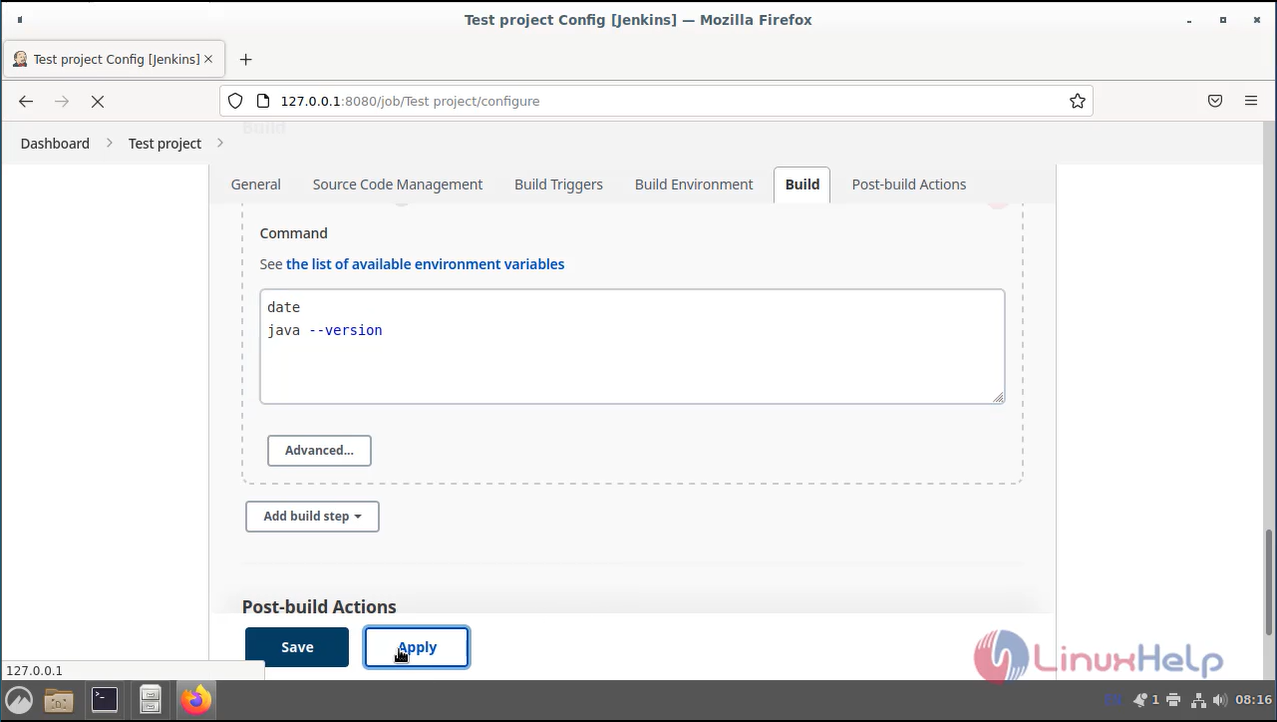
Step 6: Now configure the build step and select shell and customize some commands to execute. Finally click apply and save
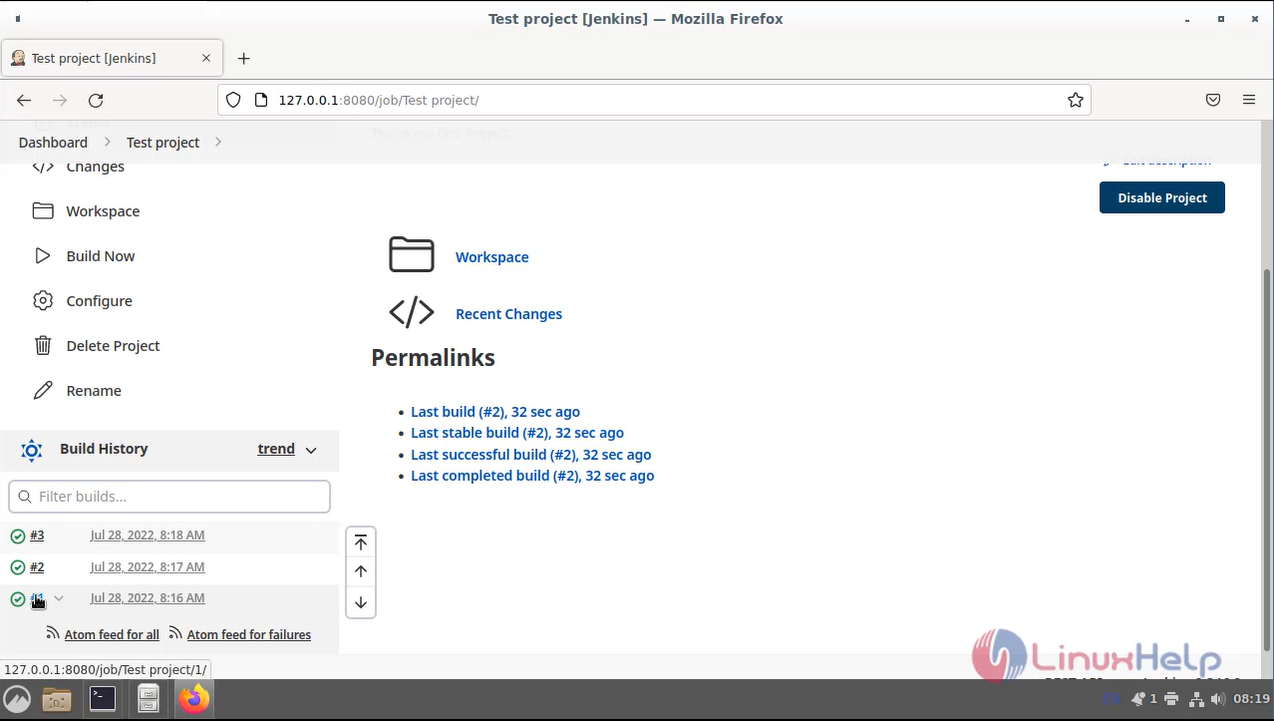
Step 7: The job has successfully configured. Then get into your job there you can see build history on bottom of the left. The job has been executed and the output also generated. Click that
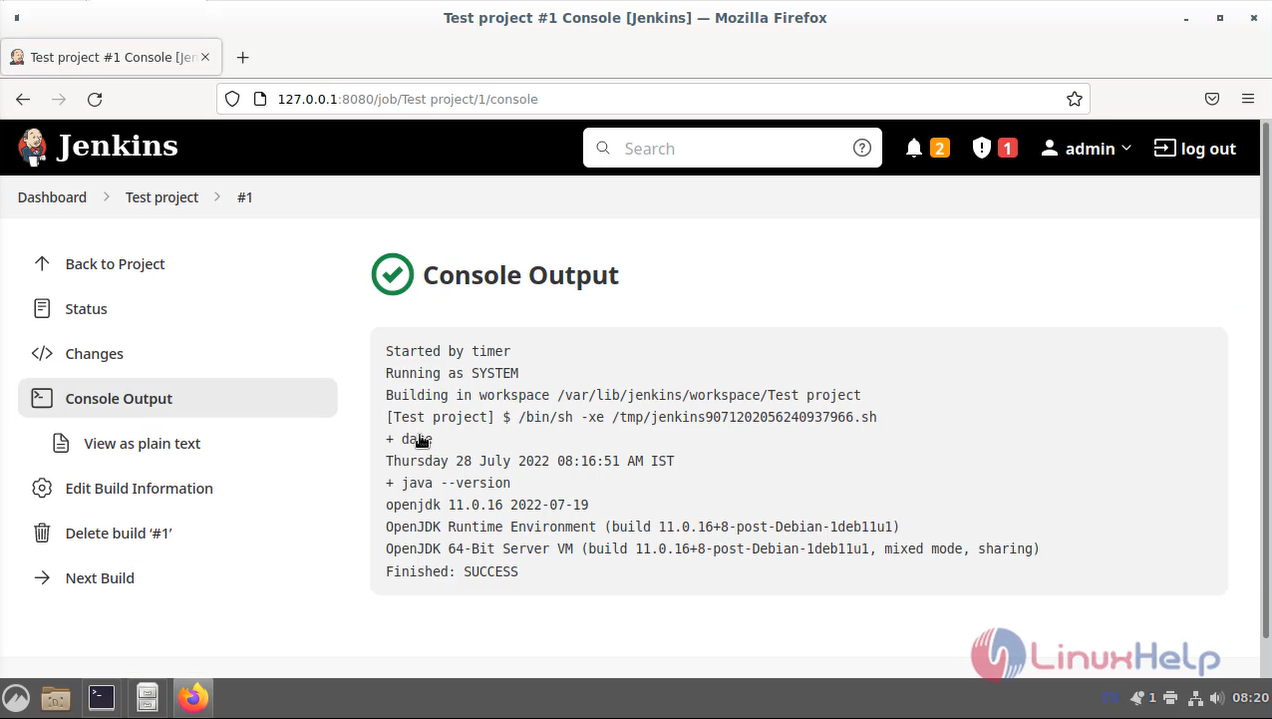
Step 8: Then navigate to Console output there you can find the output of the command that which you have entered on configuration.
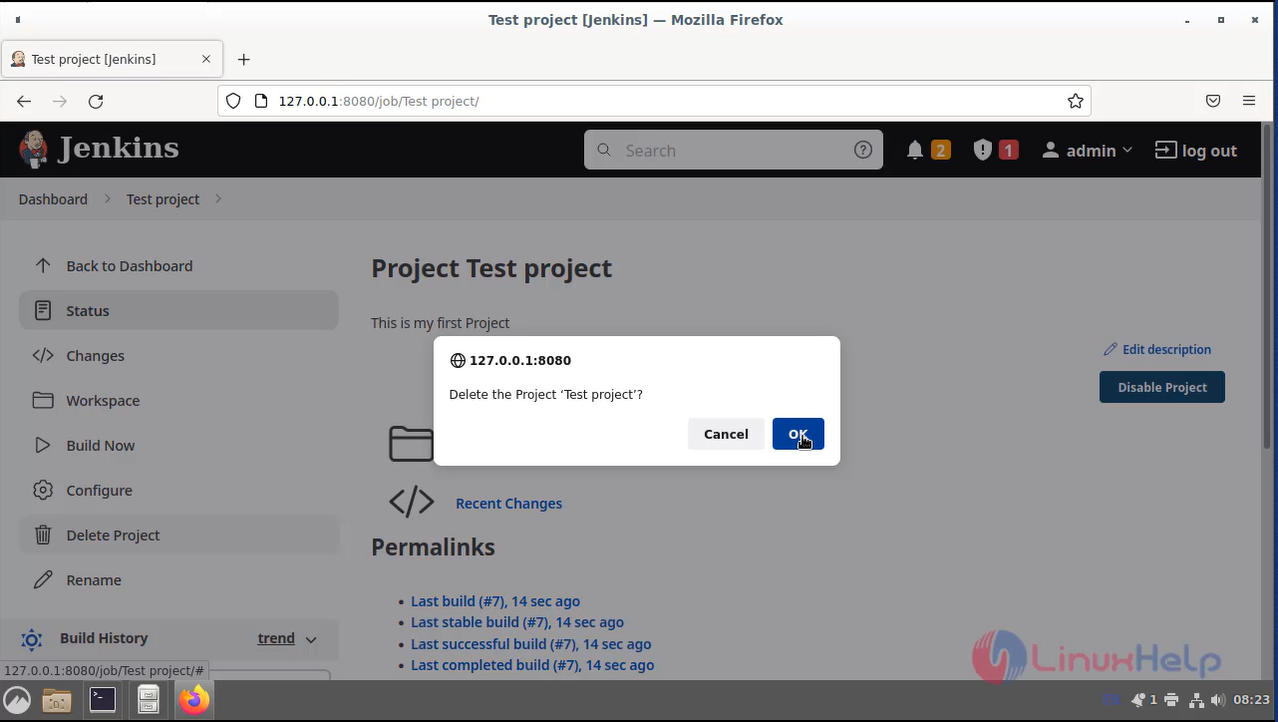
Step 9: If you need to delete any existing project. Enter into the project and click delete project on the left side of the page and then click ok. Now, the project has deleted successfully.
Conclusion:
We have reached the end of this article. In this guide, we have walked you through the steps required to create a Project on Jenkins Debian 11.3. Your feedback is much welcome.
Comments ( 0 )
No comments available