Installation and Configuration of NethServer in CentOS
To Install and Configure NethServer in A CentOS Based All-in-One Linux Distribution.
NethServer is a free, Open Source, CentOS based all-in-one Linux server distribution, specially designed for small offices and medium size enterprises. Nethserver offers number of built-in modules that can be used to turn any systems into a Mail, Web, Proxy, DNS, FTP, Cloud, IDS, Samba, or VPN servers instantly within few minutes. It comes with a built-in powerful and modern web interface that simplifies the common administrative tasks.
This tutorial shows the installation of NethServer 6.6 using ISO file and also explains an alternate method to install nethserver using yum repository.
To transform your current CentOS machine into NethServer:
To transfer the currently installed CentOS machine into Nethserver, run the below command to download the rpm package and install using “ Nethserver-install“ command
[root@linuxhelp~]# yum localinstall http://mirror.nethserver.org/nethserver/nethserver-release-6.6.rpm
[root@linuxhelp~]# nethserver-install
Some additional nethserver modules is to be installed.
[root@linuxhelp~]# nethserver-install nethserver-mail nethserver-nut
To download NethServer ISO file use the below link.
Use the below link to download CD ISO Image of NethServer.
http://www.nethserver.org/getting-started-with-nethserver/
To install NethServer
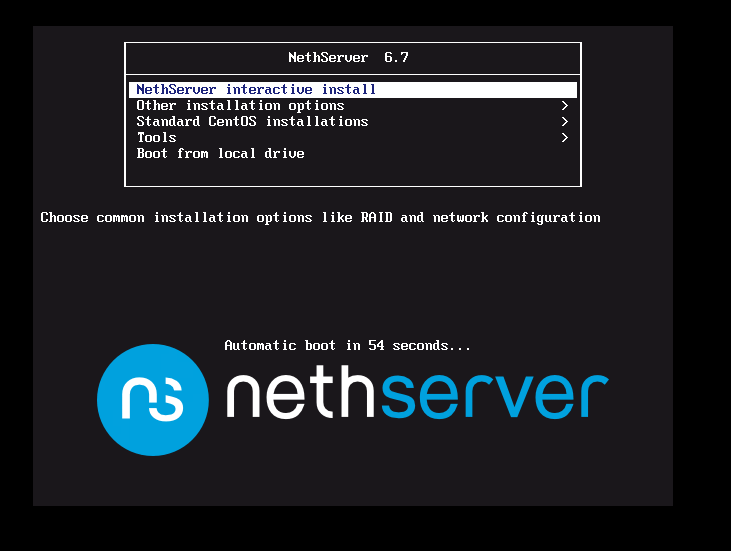
To install, Copy the ISO image into a bootable USB drive and press F12 to load and select the “ Nethserver interactive install“
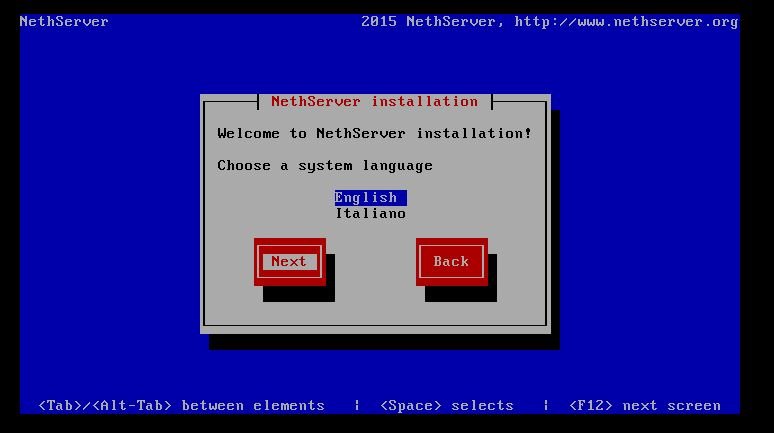
Now select language and press Next.
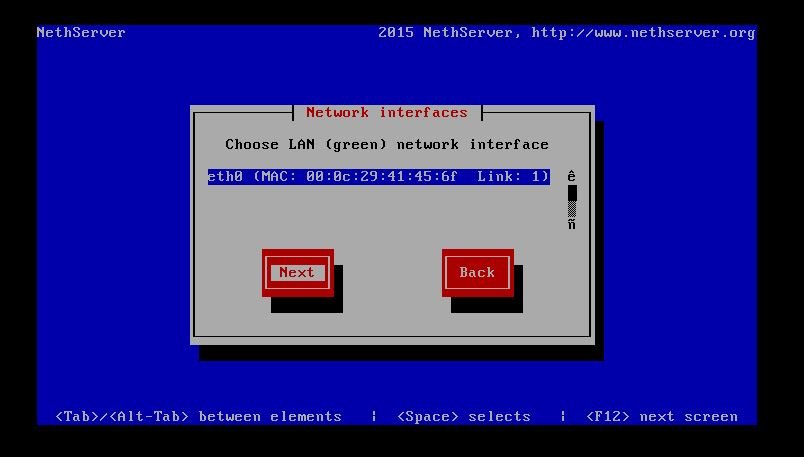
Now Select the Green Interface for Internal Network
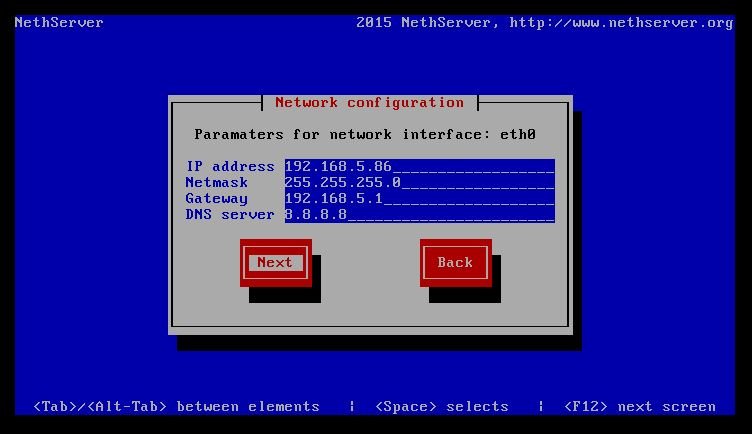
Configure the IP address of internal network in the terminal.
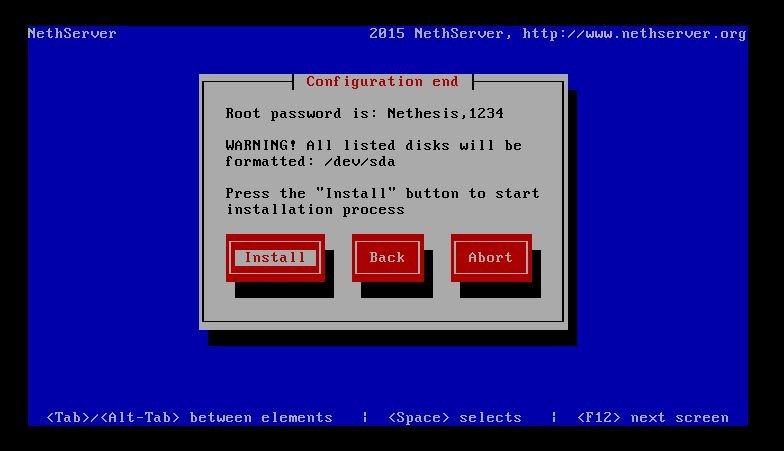
Next it will give the default root password, copy it and select “ Install”
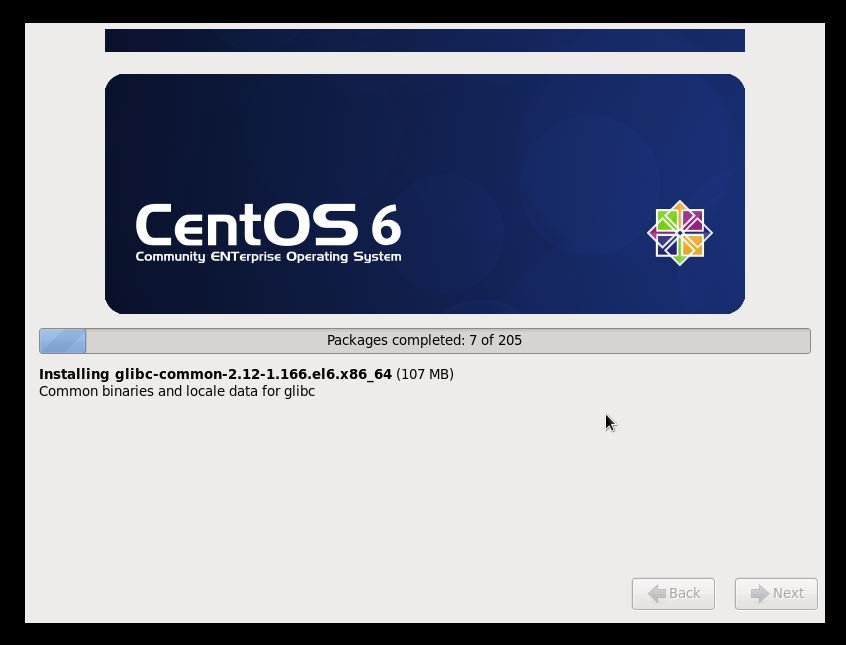
Now your Nethserver package will be installing.
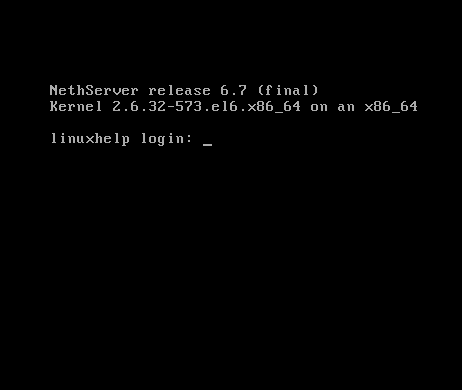
You can check the login console after installation.
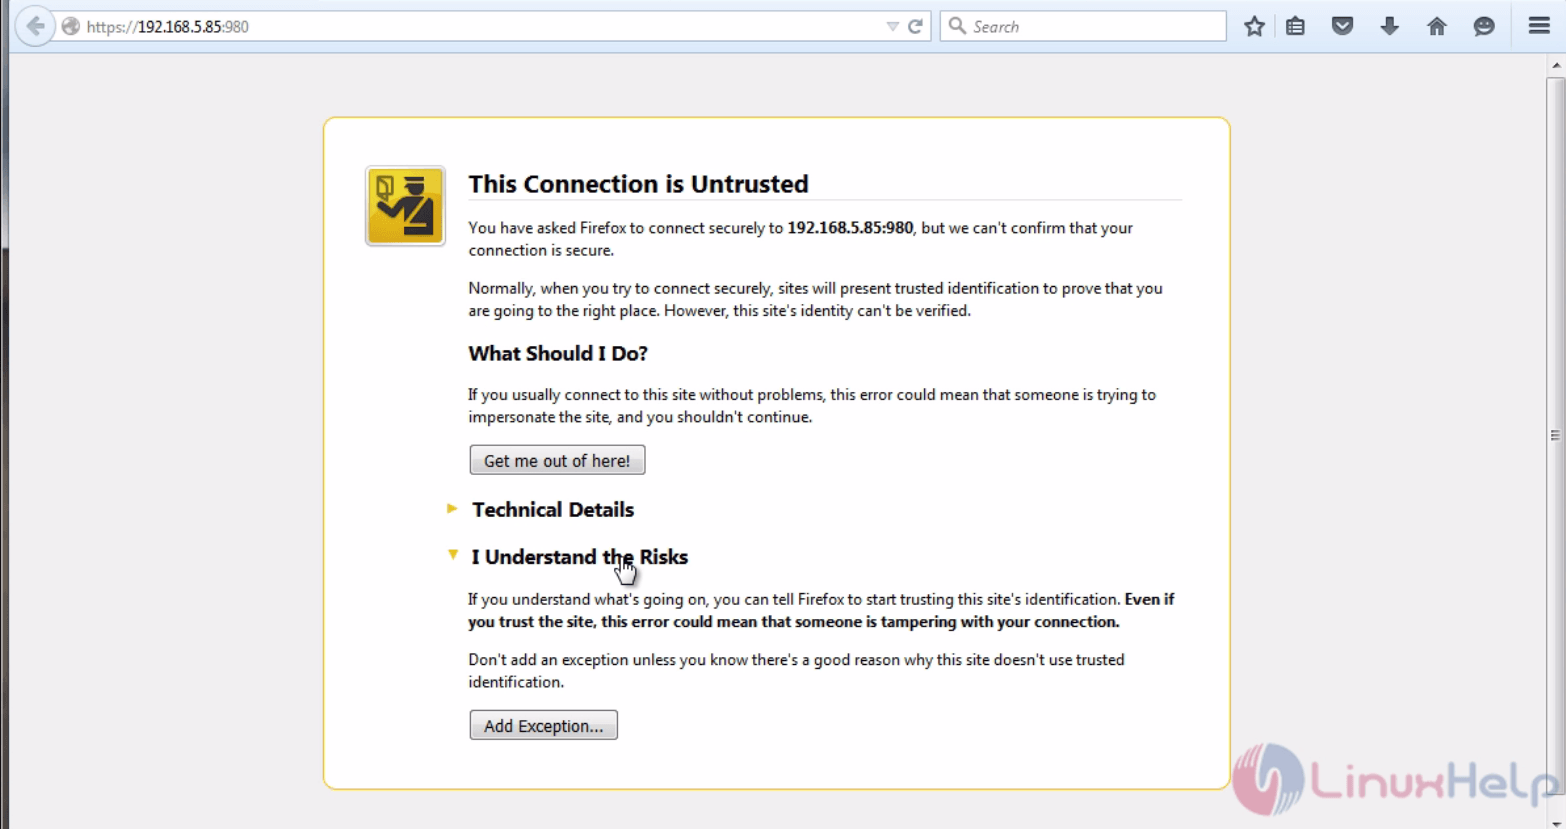
Now open the browser and type your IP with specified Nethserver port no 980.
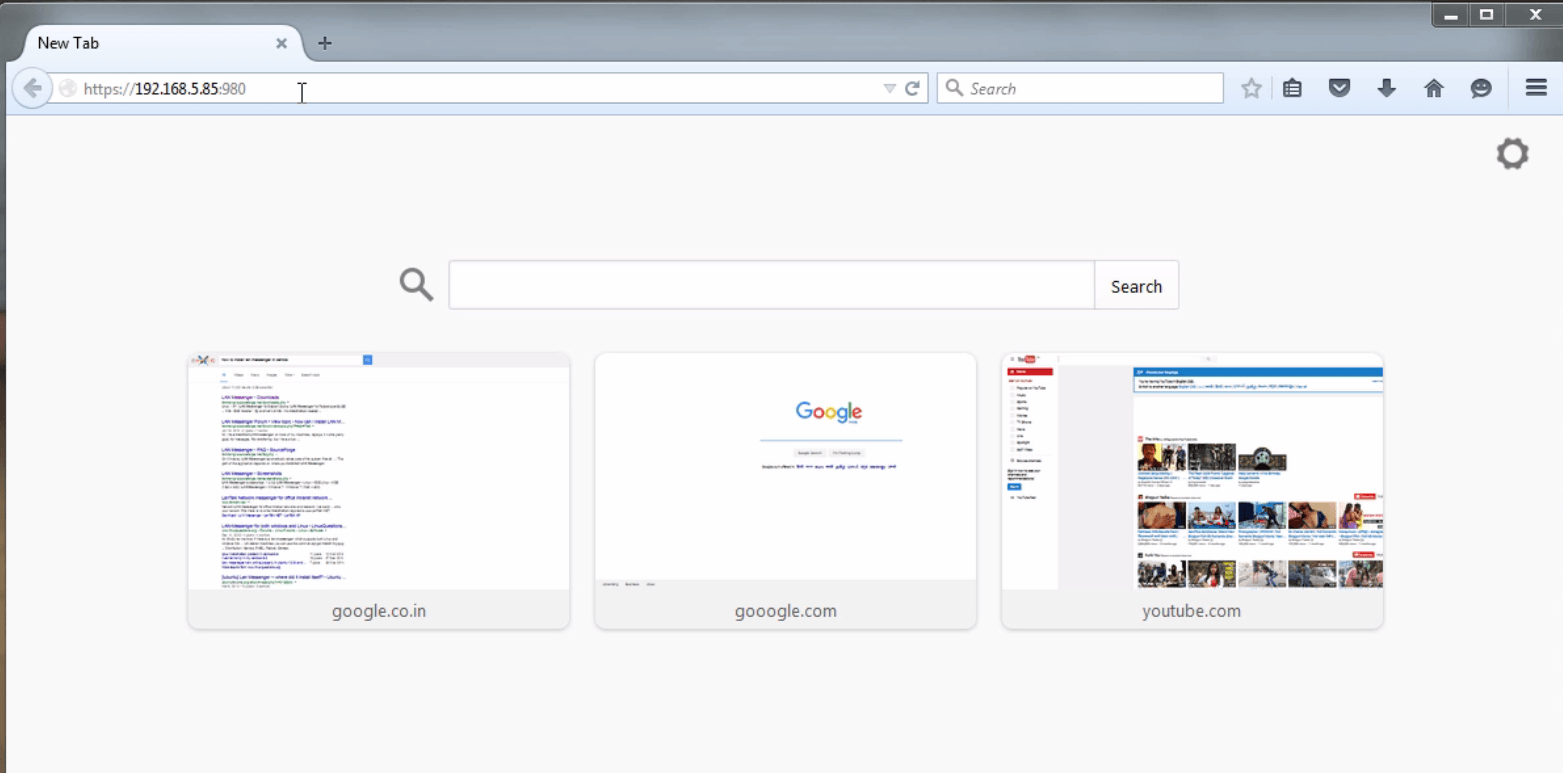
Confirm the Security message and you will get the login page.
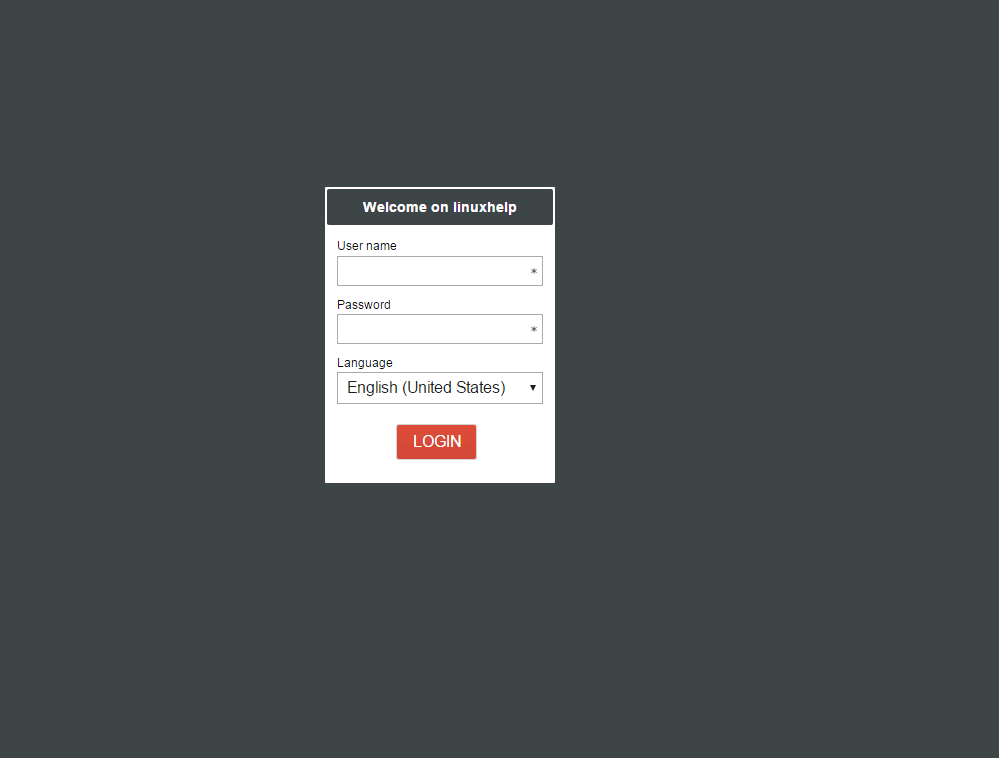
Your Nethserver login page will open now type username and password, now your Nethserver page will be logged in successfully.
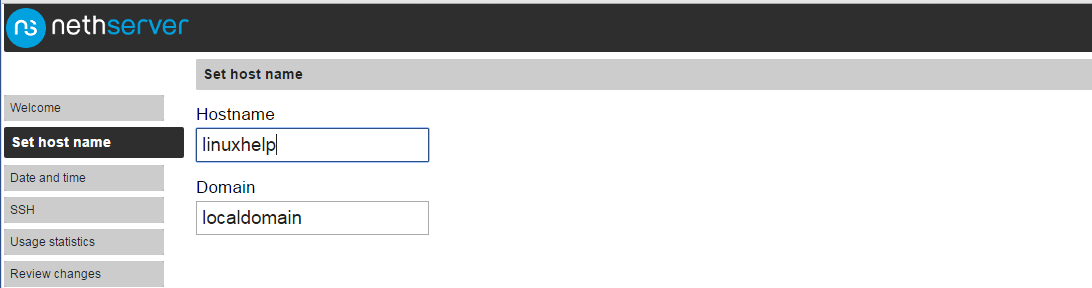
set server Hostname and domain name.
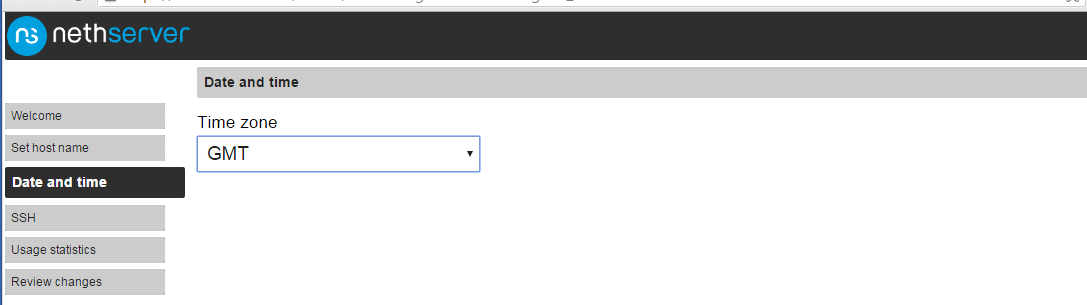
Select Time zone and click next.
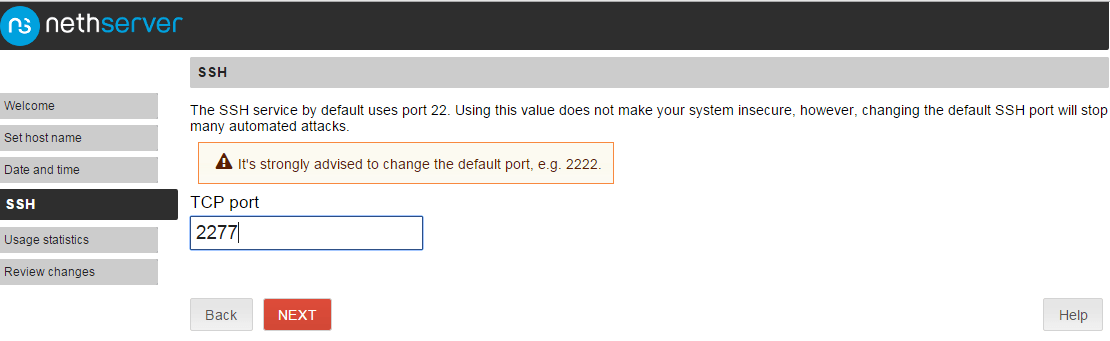
Change the SSH server default port and click next.
Review all the settings so far and click “ Apply“ .

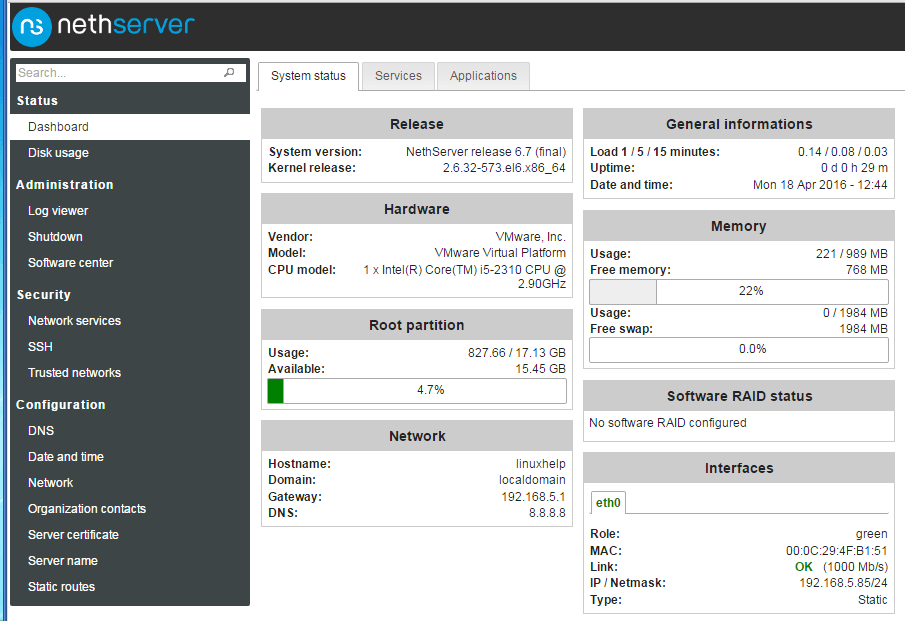
Go to Dashboard and review your system Status and Disk details.

If you want to upgrade your nethserver you can use putty software or use maboxtream tool.
[root@linuxhelp~]# yum upgrade
It will ask more number of question after upgrade process, just answer “ yes” to all. After all the setup reboot the system.
[root@linuxhelp~]# init 6
OR
[root@linuxhelp~]# reboot
Comments ( 0 )
No comments available