How to Setup File Sharing and Permissions for All Users in Zentyal 4.2 PDC
To Setup File Sharing and Permissions for All Users in Zentyal 4.2 PDC
Setup File Sharing and Permissions for All Users in Zentyal 4.2 PDC is explained in this article.
To Setup File Sharing
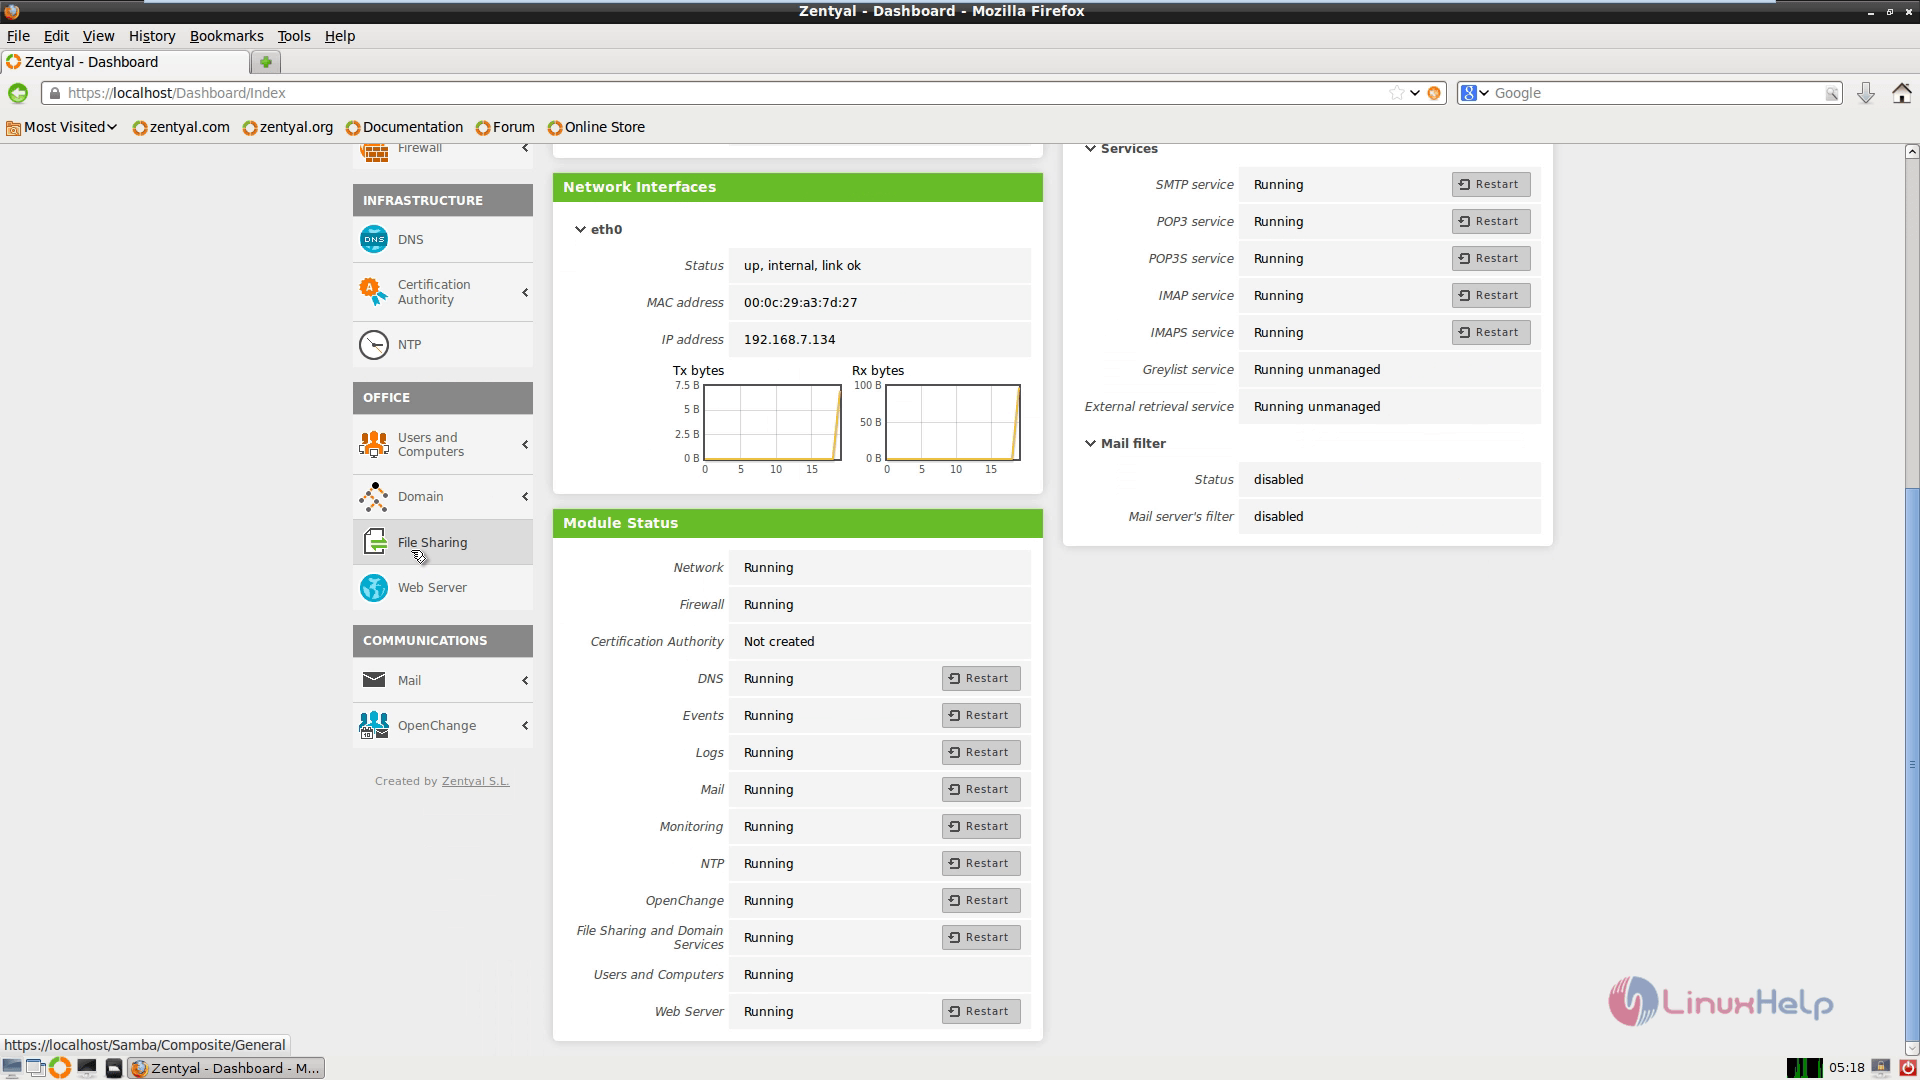
Login to Zentyal PDC Server using Remote Web Administrative tool and then enter your Server’ s IP address or domain name from any web browser by using https protocol
" https://mydomain.com" or " https://192.168.1.13"
Navigate to File Sharing Module, click ADD NEW button, choose “ Enabled” and give a name for this share. Select “ Directory under Zentyal” on Share Path field. Enter a name for this directory and select “ Apply ACLs recursively” and click ADD button.
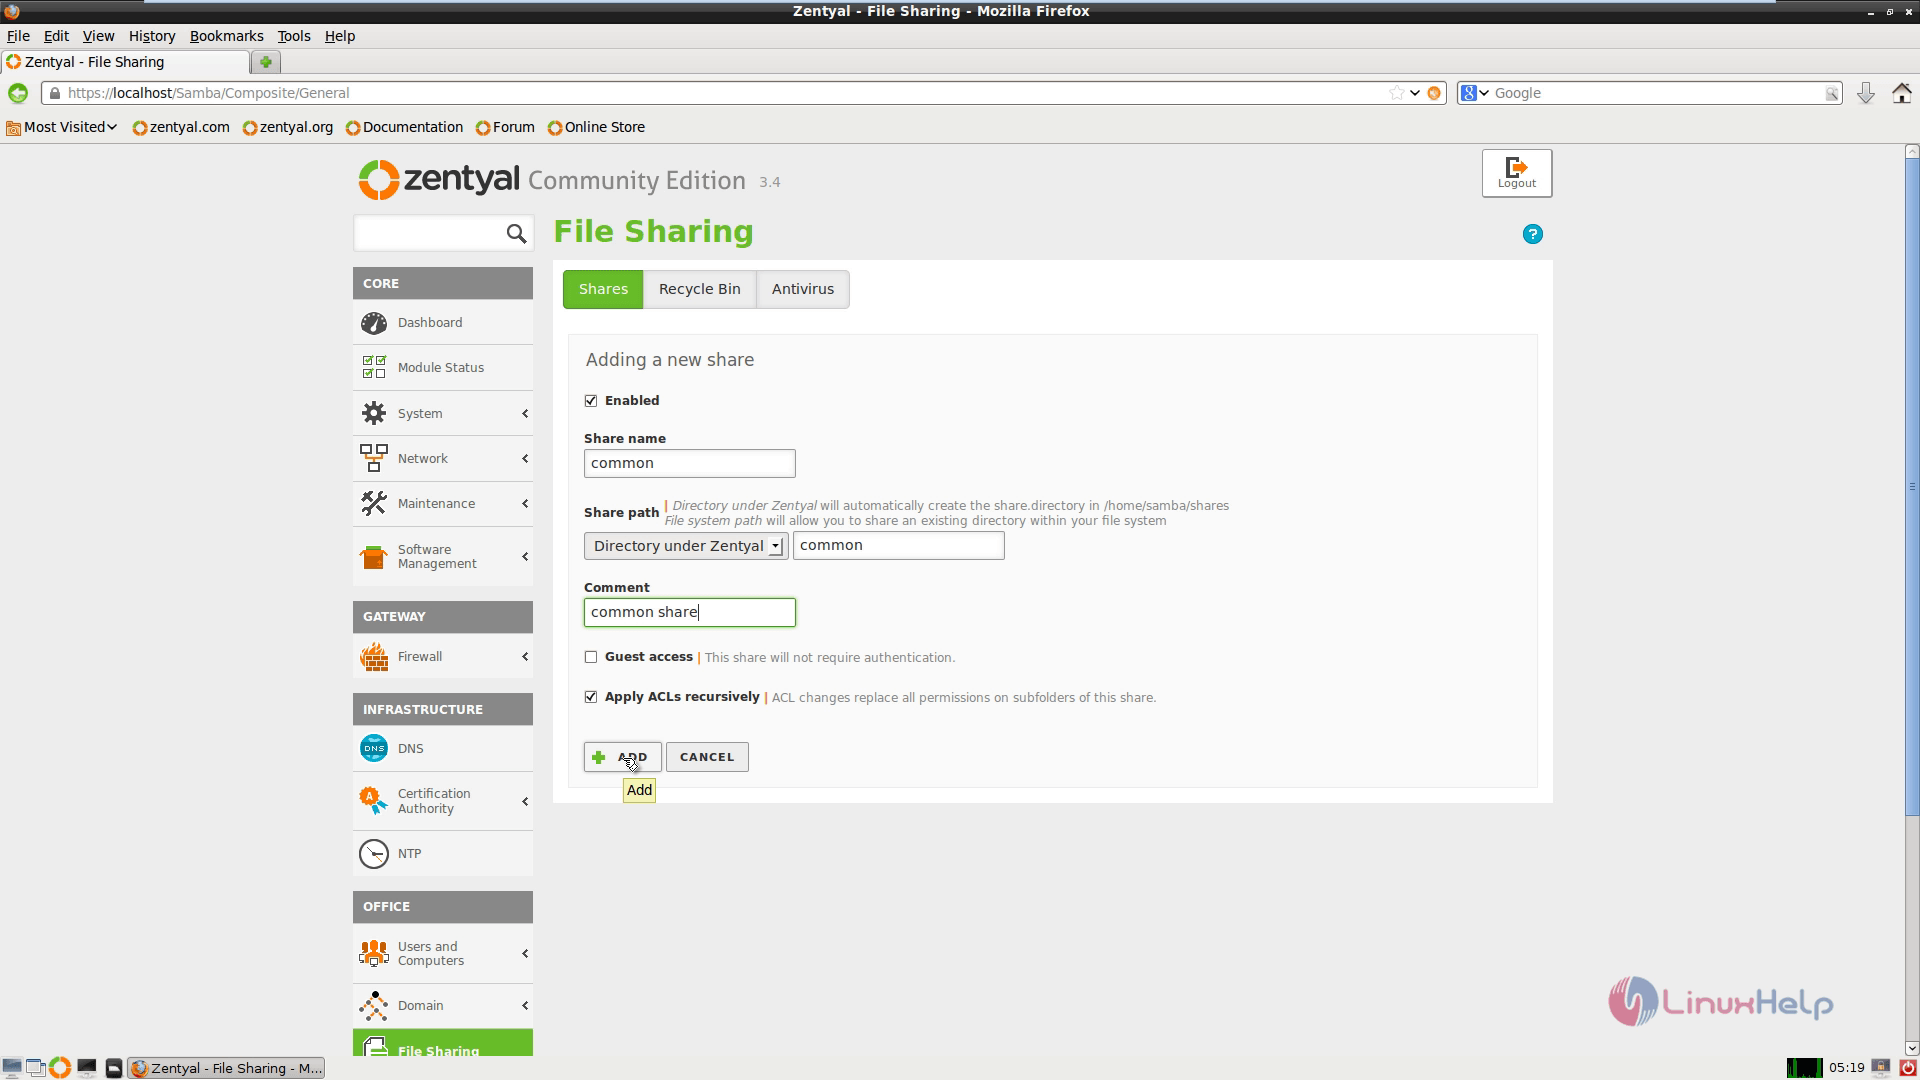
Now after your share has been added, Select “ Save Changes” button to apply the new setting.
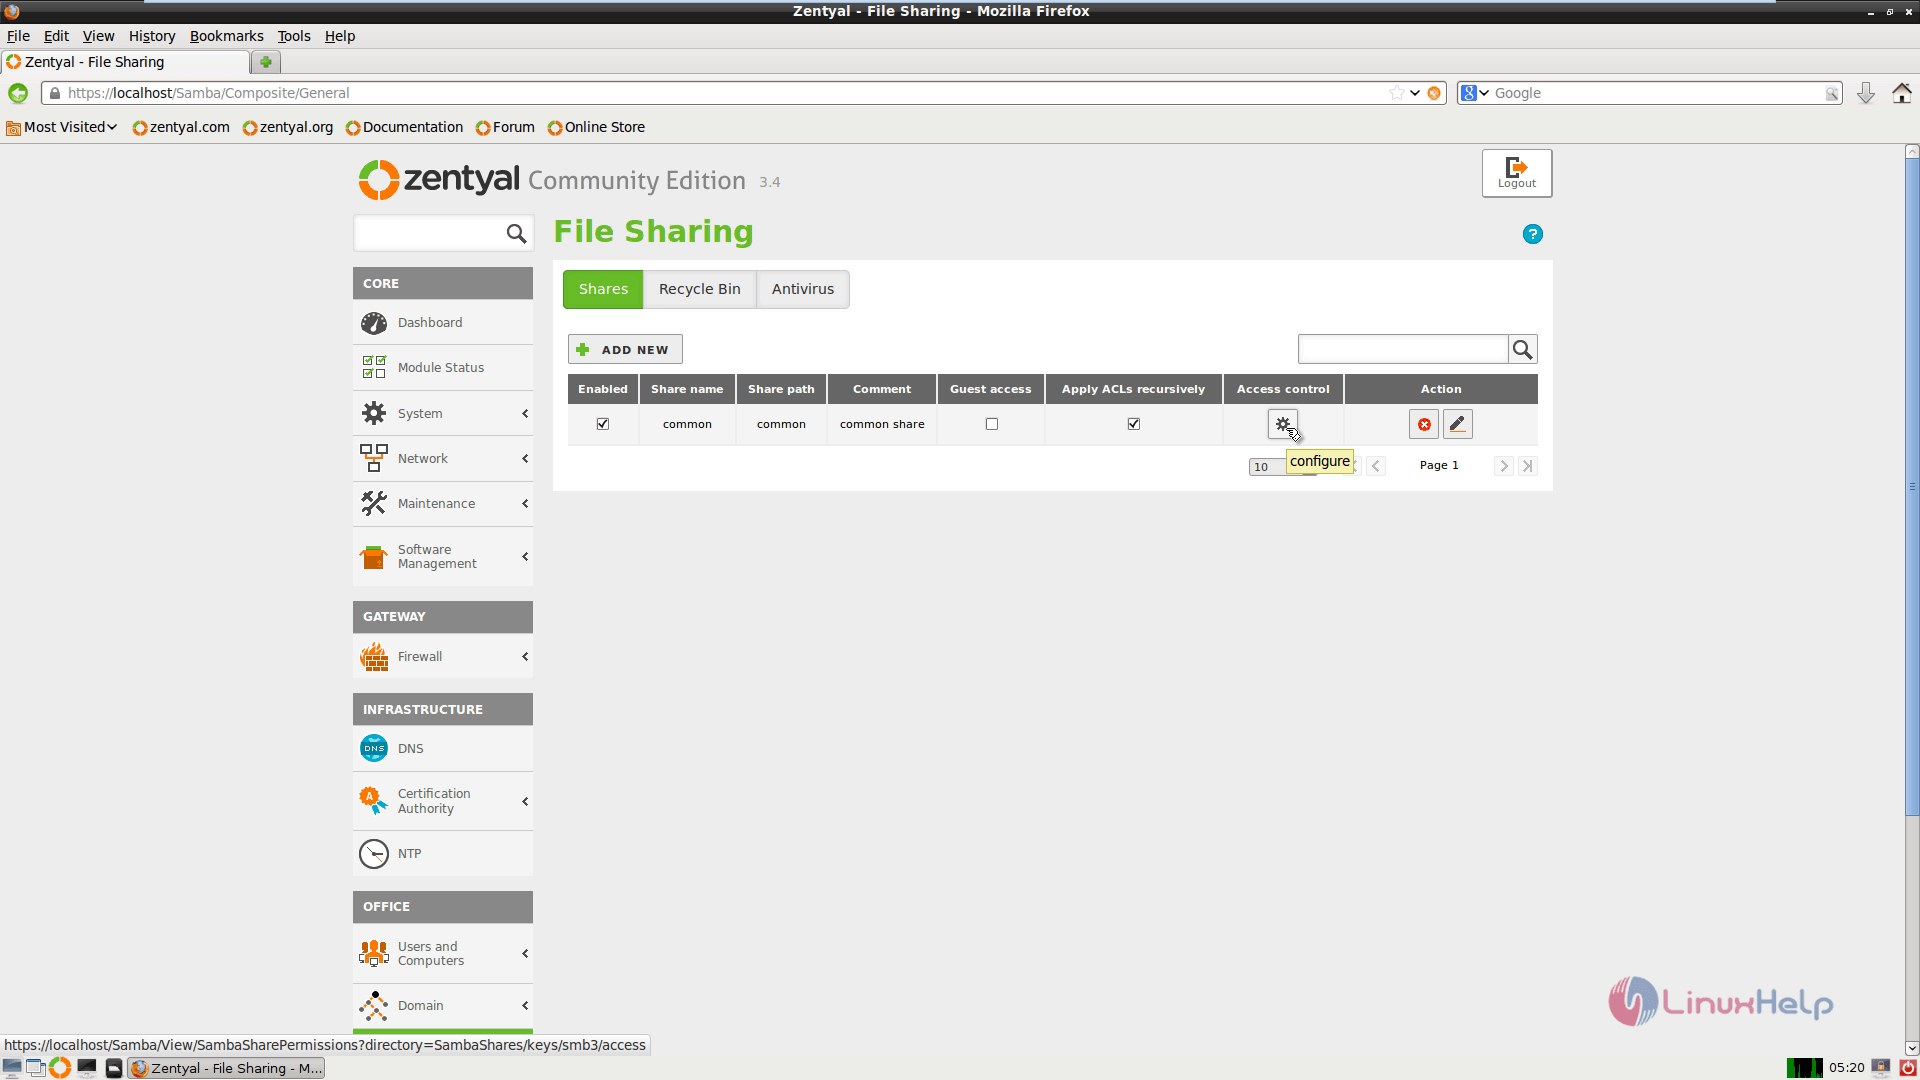
On this share if you wish to give full permissions to the Administrator account on server, go to File Sharing and press Access Control icon.
Click “ Add New” button, then choose User in “ User/Group” selection field and select administrative user, on “ Permissions” selection field and finally choose “ Administrator” and click the Add button.
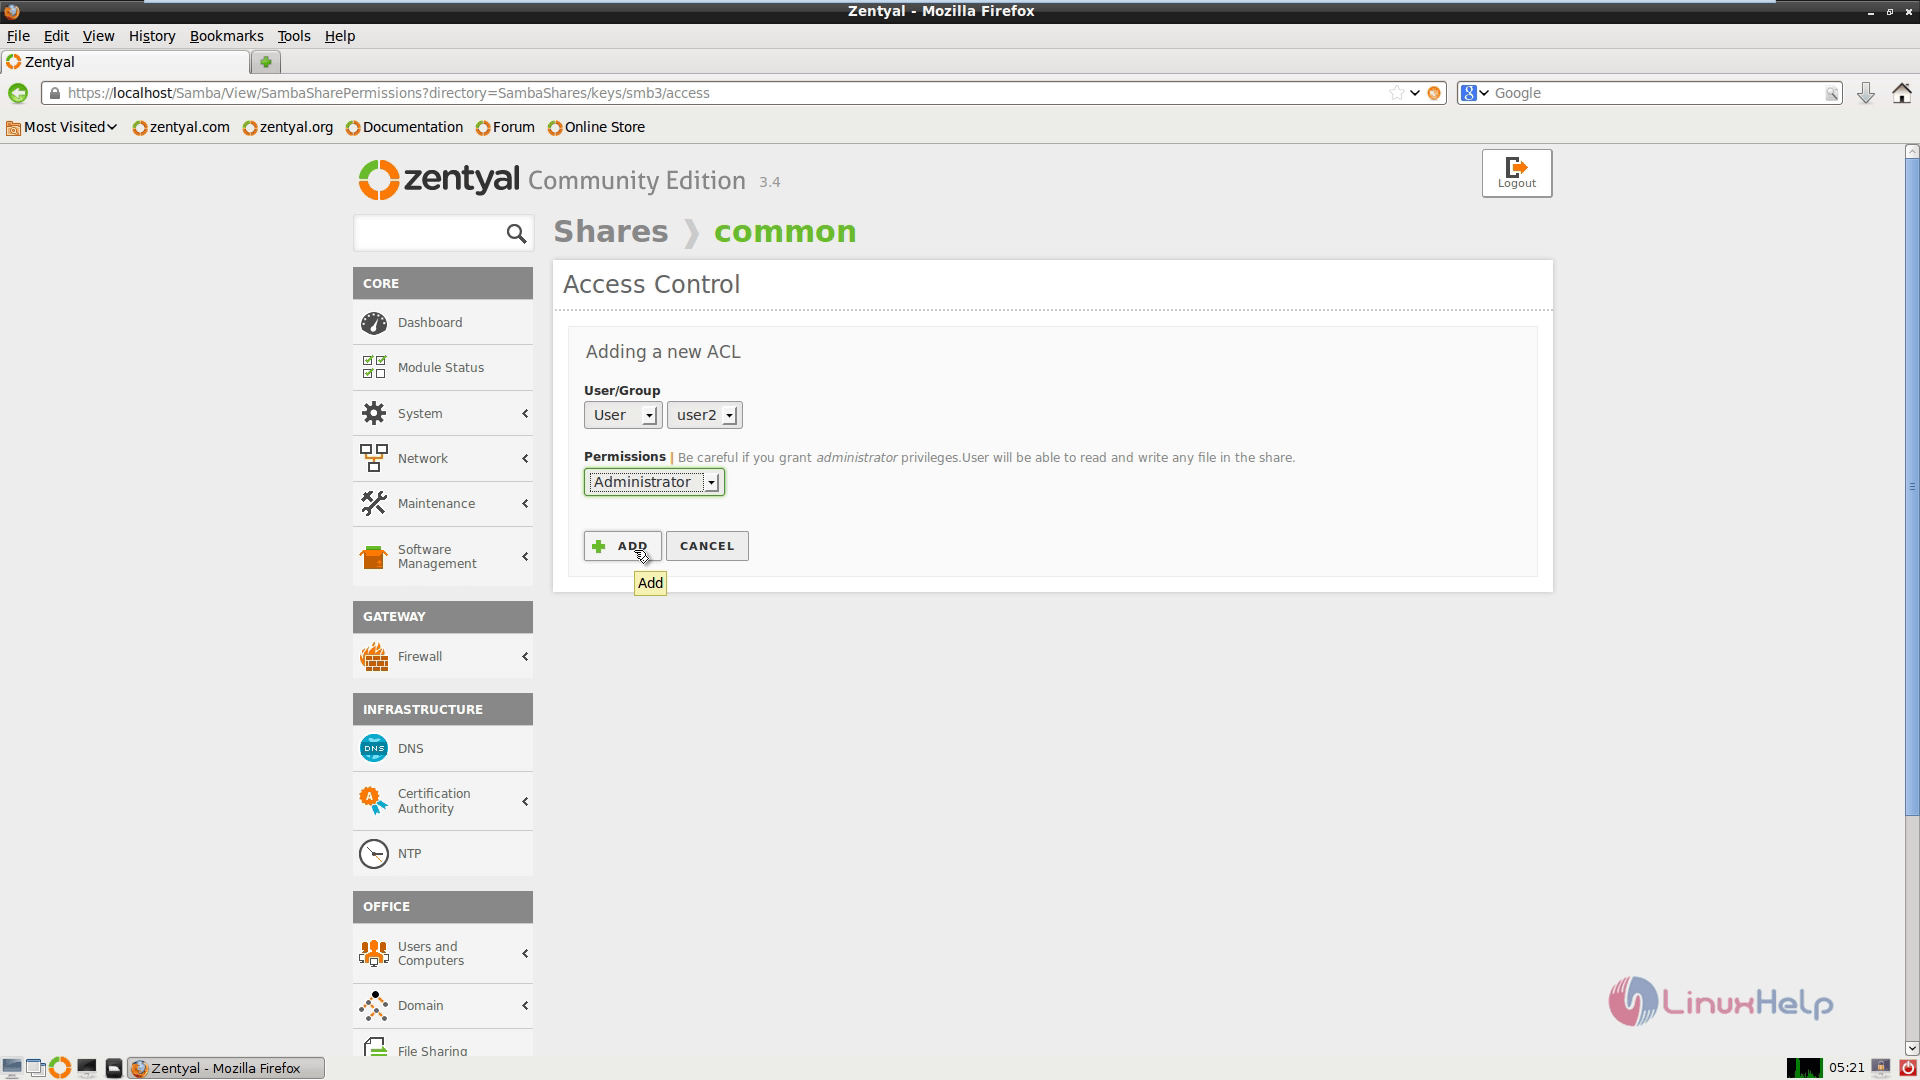
Repeat the same steps for another user and do not forget to permit only with “ Read Only” access on this share. After all user configurations are completed click “ Save Changes” to apply settings.
The other users who are not added to Share Access Control List have no permissions on this share, so they cannot access it.
To Access File Sharing
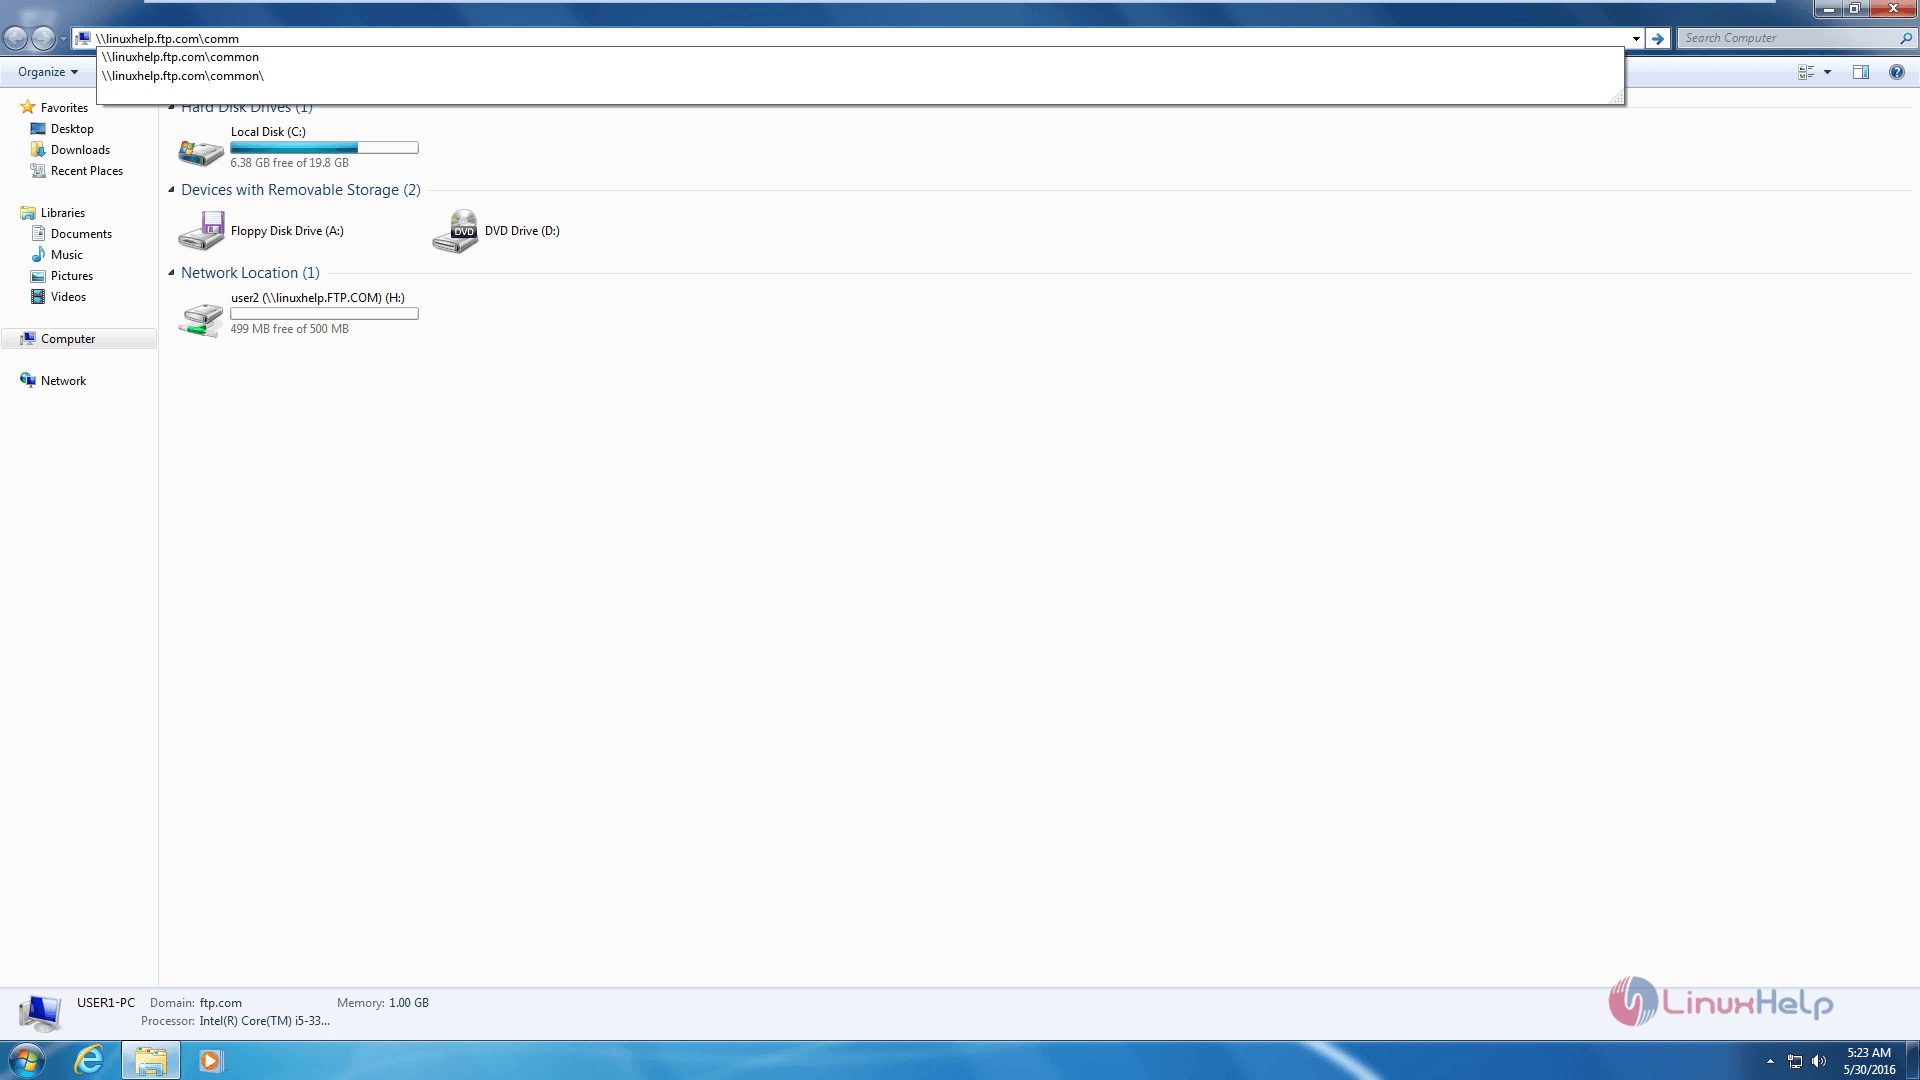
On the Windows go to Computer or this PC shortcut and click on Explorer address field and type \server_FQDNshare_name
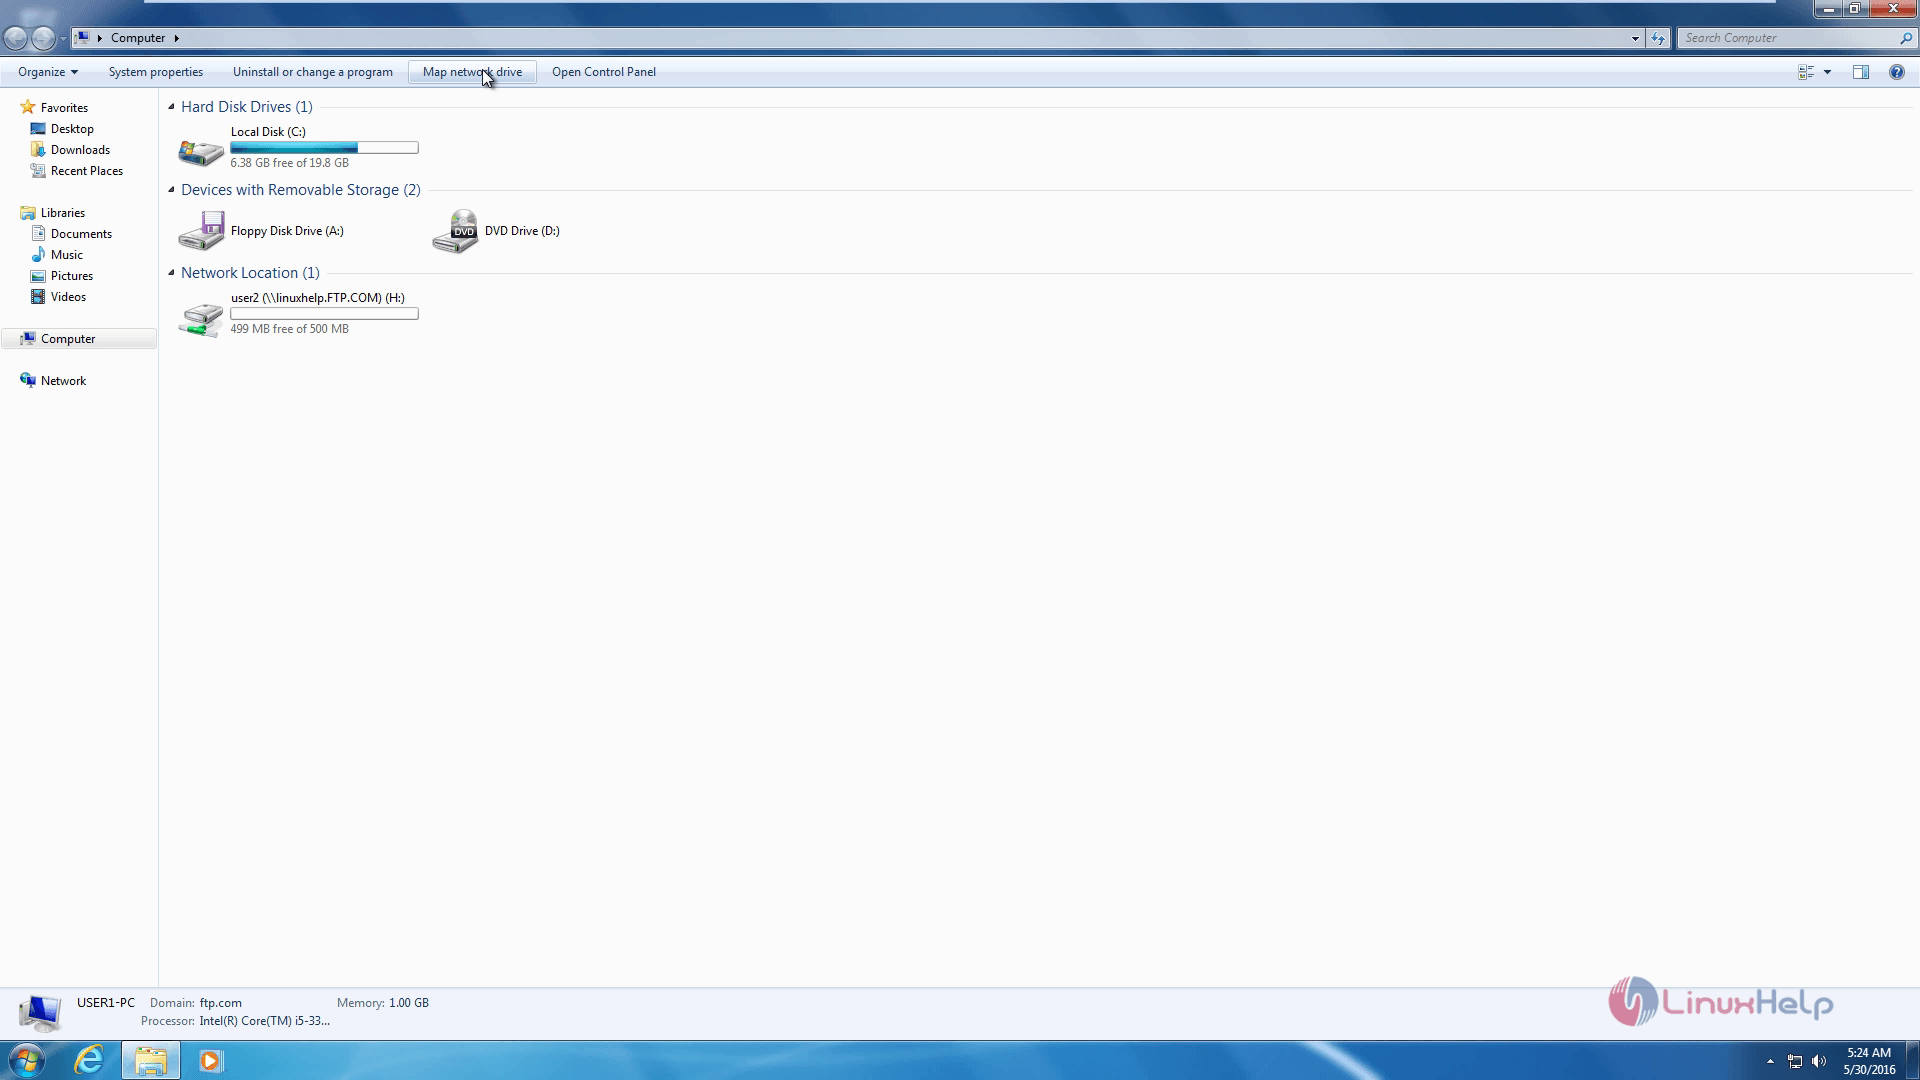
To Auto Mount Share On Reboots
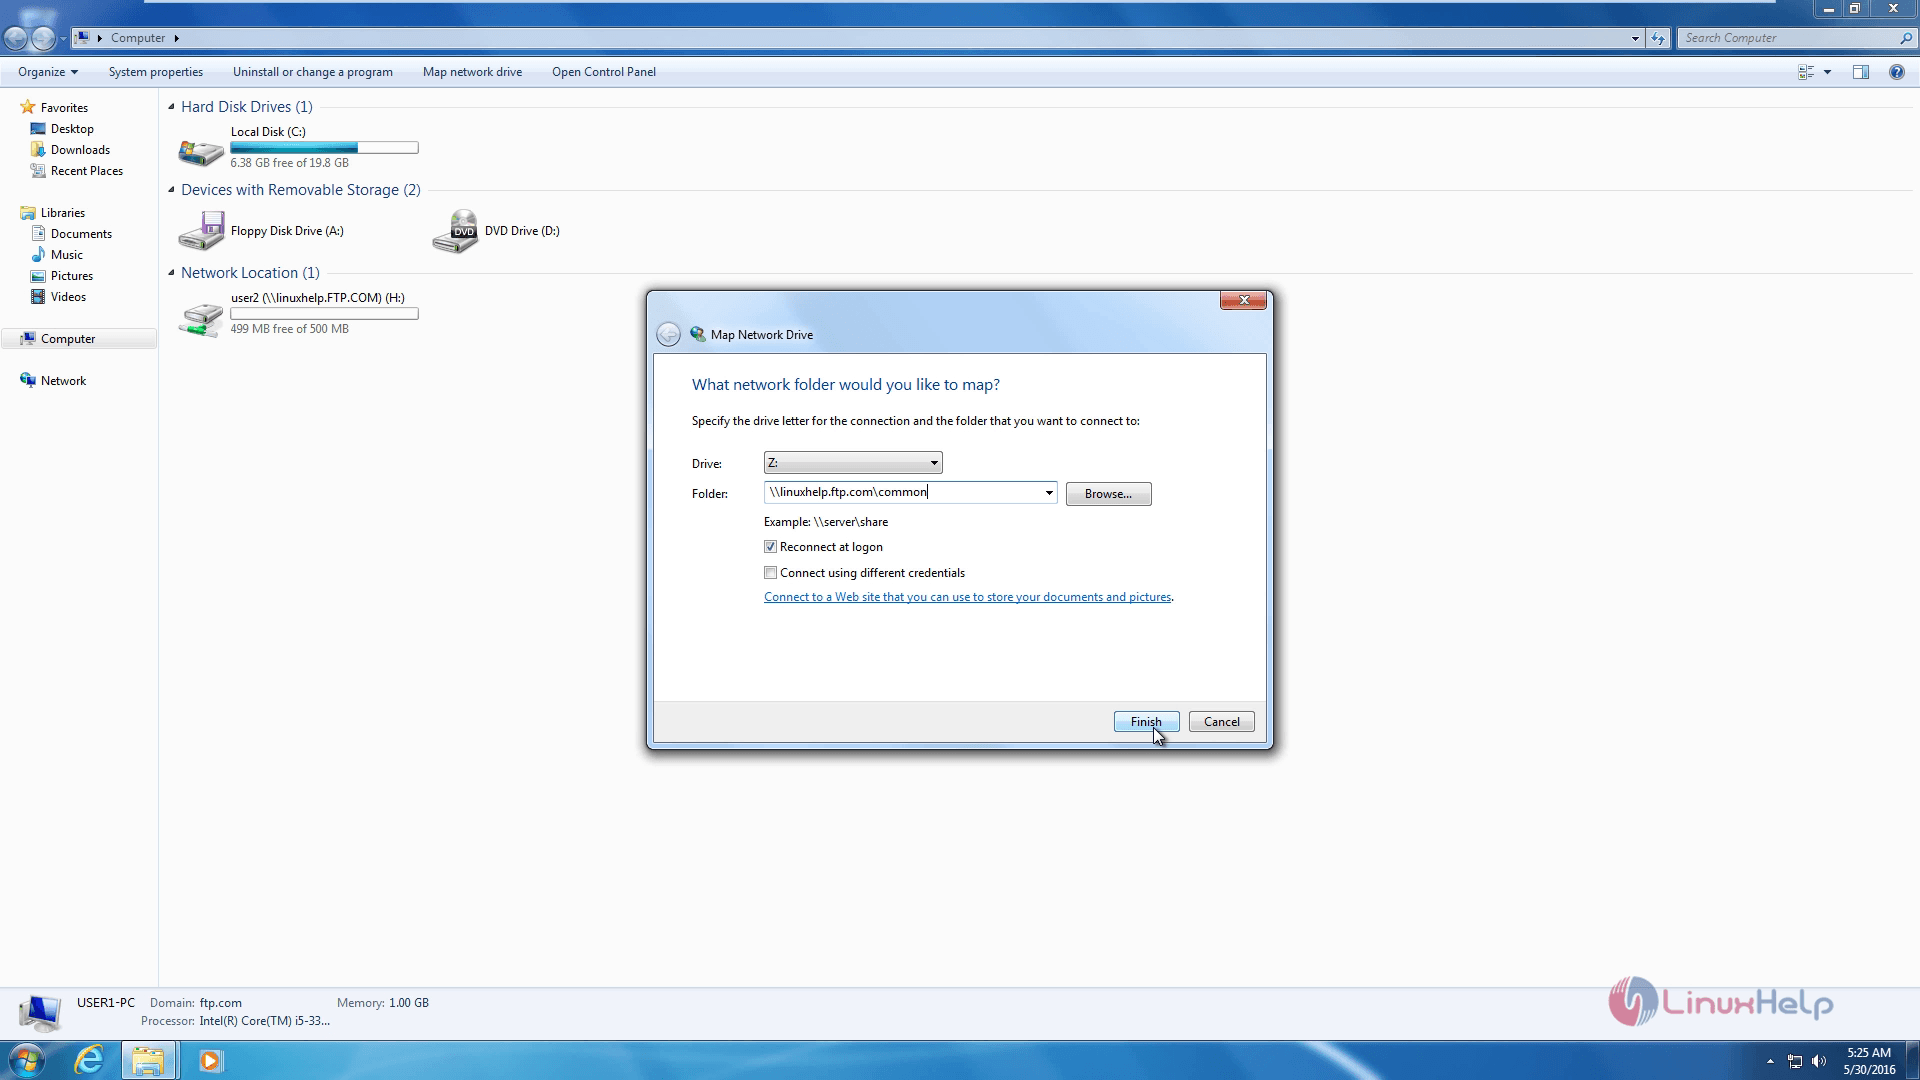
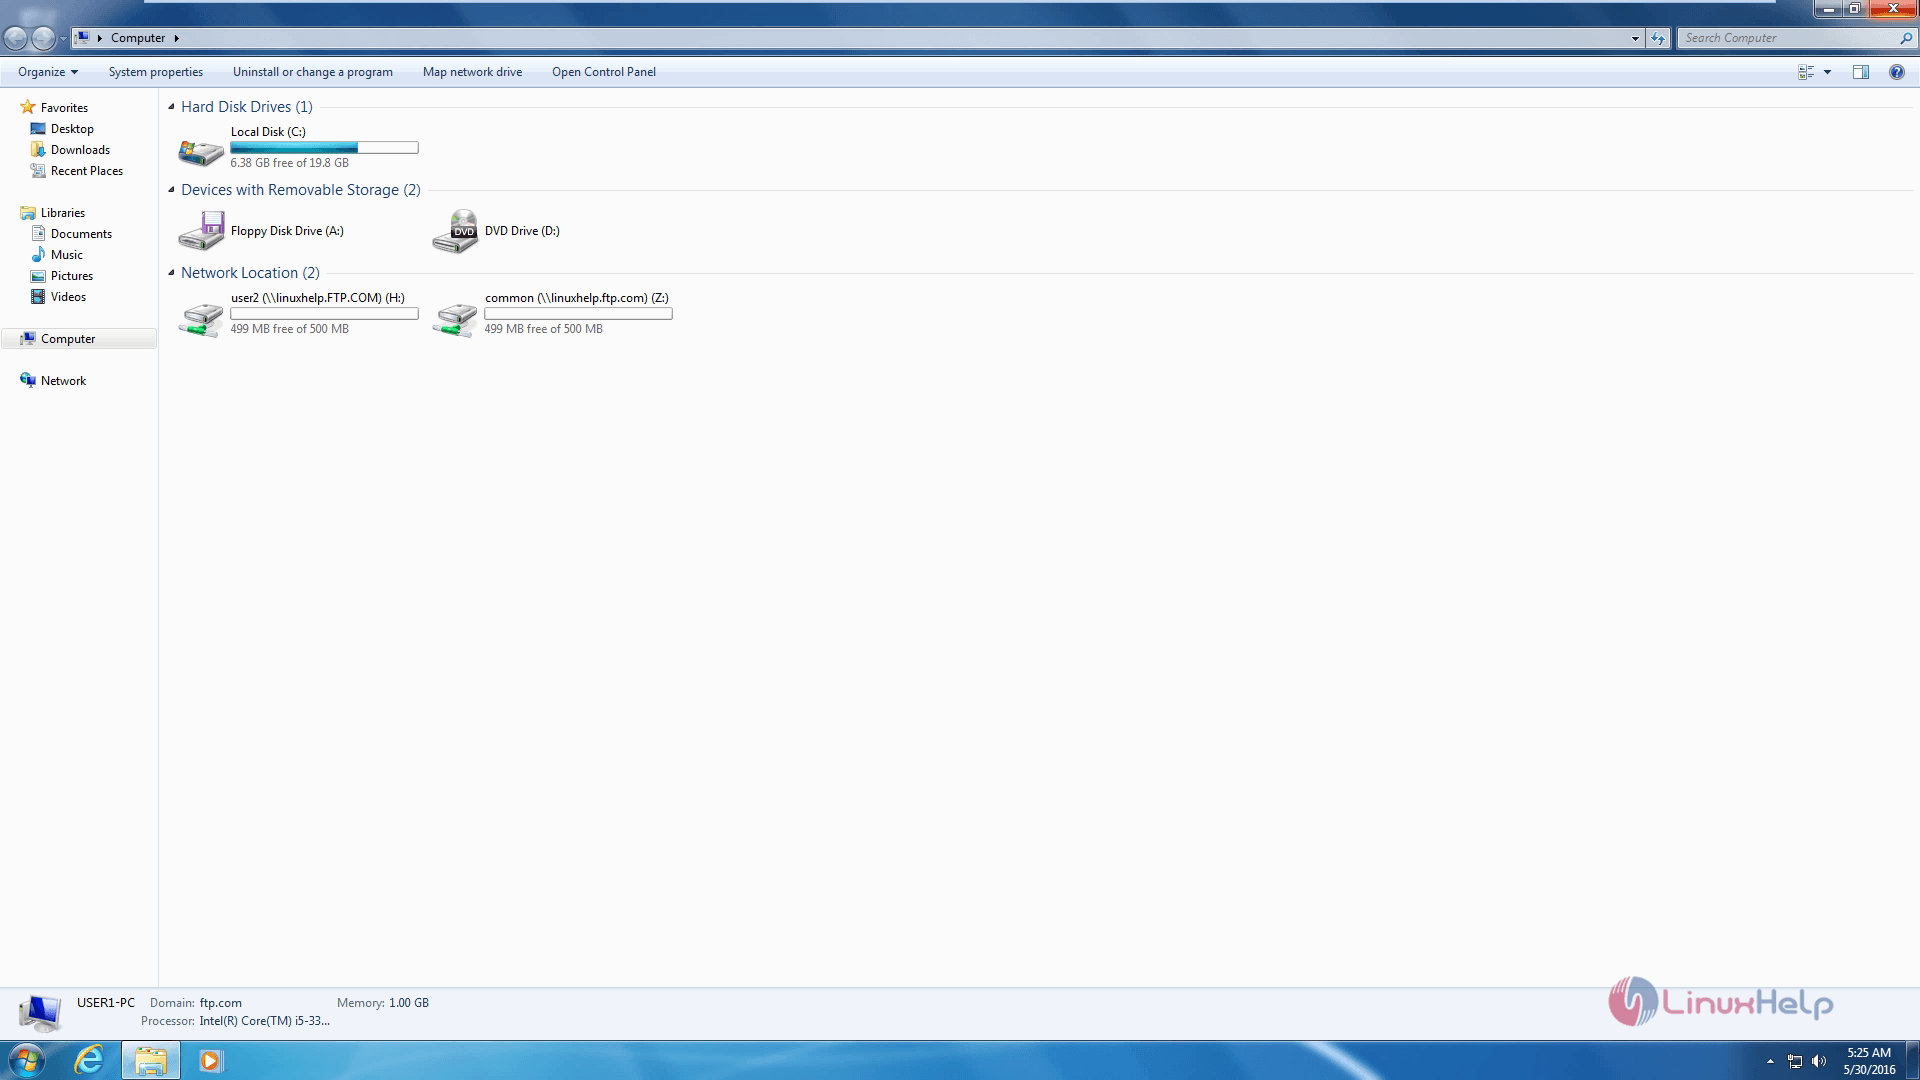
Select map network drive and enter the details as shown in the following screenshot and give finish
If you would like to test it, log off and login again.
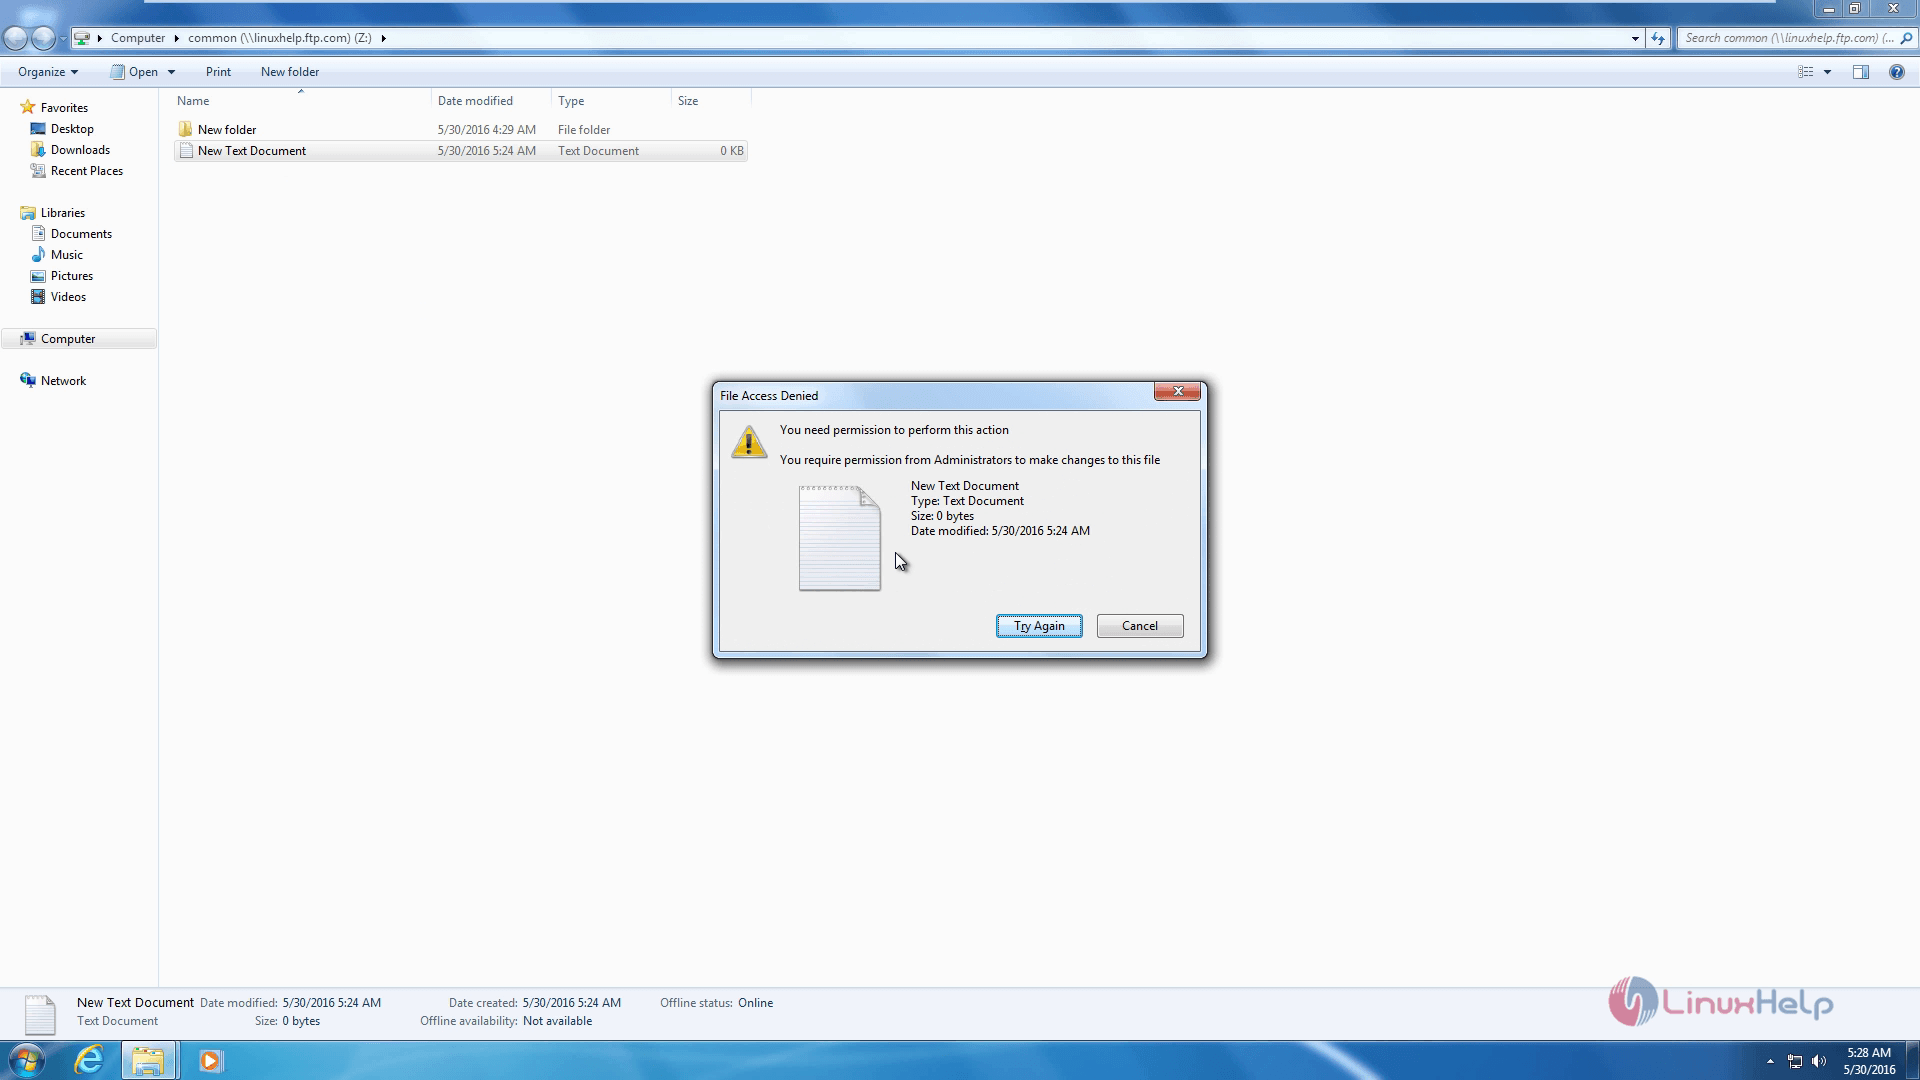
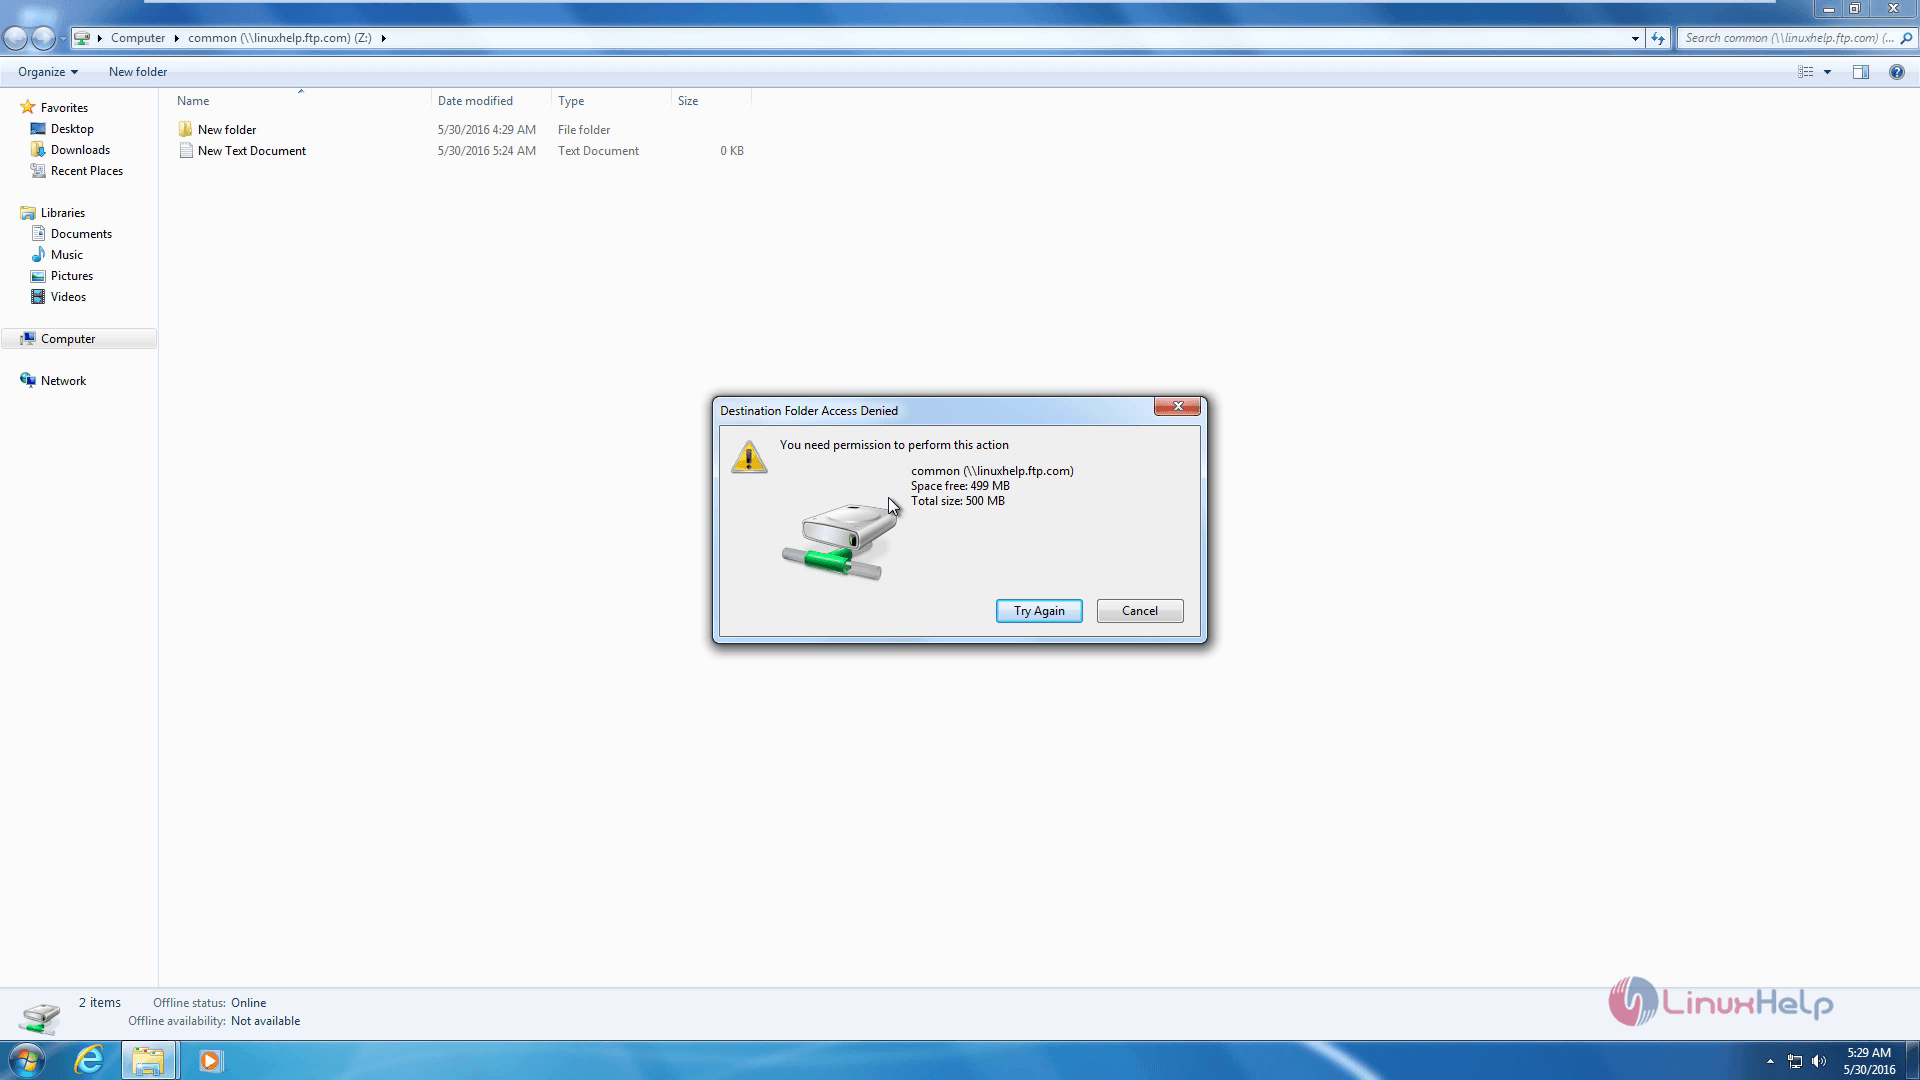
Login as normal user and if you try to create or delete a file or folder, access will be denied because the user has read-only permission
Comments ( 0 )
No comments available