How to install Shinken - Server Monitoring Framework in Ubuntu
To install Shinken - Server Monitoring Framework in Ubuntu
Shinken is a free source, multi-platform, monitoring framework based on Nagios and is programmed in Python which uses the Nagios plugins. Installation of Shinken is explained in this manual.
Features
- Full virtualization integration,
- RAID support,
- Load balancing,
- High availability,
- Endless scalability
- Multi sites management.
Shinken installation
Login as root and start installing the necessary dependency packages by running the following command.
root@linuxhelp:/home/user1# apt-get install python-pip python-pycurl python-cherrypy3 python-setuptools -y
Reading package lists... Done
Building dependency tree
Reading state information... Done
&hellip
&hellip
&hellip
Setting up python-wheel (0.24.0-1~ubuntu1) ...
Setting up python-pycurl (7.19.3-0ubuntu3) ...
Setting up python-webob (1.3.1-1) ...
Processing triggers for libc-bin (2.19-0ubuntu6.7) ...
Utilise the following command to create a new user.
root@linuxhelp:/home/user1# adduser shinken
Adding user `shinken'  ...
Adding new group `shinken'  (1001) ...
Adding new user `shinken'  (1001) with group `shinken'  ...
&hellip
&hellip
Other []:
Is the information correct? [Y/n] y
Download and install shinken
After creating a user, install Shinken- Monitoring tool by using the below command.
root@linuxhelp:/home/user1# pip install shinken
Downloading/unpacking shinken
Downloading Shinken-2.4.3.tar.gz (27.9MB): 27.9MB downloaded
&hellip
&hellip
Shinken setup done
Successfully installed shinken
Cleaning up..
Now switch user to shinken and initialize shinken
root@linuxhelp:/home/user1# su shinken
shinken@linuxhelp:/home/user1$ shinken --init
Creating ini section paths
Creating ini section shinken.io
Saving the new configuration file /home/shinken/.shinken.ini

shinken@linuxhelp:/home/user1$ shinken install webui
Grabbing : webui
OK webui
Then install Shinken identification module, sqlitedb module
shinken@linuxhelp:/home/user1$ shinken install auth-cfg-password
Grabbing : auth-cfg-password
OK auth-cfg-password
shinken@linuxhelp:/home/user1$ shinken install sqlitedb
Grabbing : sqlitedb
OK sqlitedb
Shinken Configuration
Open the broker-master.cfg file and add webui to the modules line.
shinken@linuxhelp:/home/user1$ nano /etc/shinken/brokers/broker-master.cfg
&hellip .
modules webui
&hellip .
Save the file and exit.
Edit the webui.cfg file as follows to enable authentication modules and SQLite database for the new user interface.
shinken@linuxhelp:/home/user1$ nano /etc/shinken/modules/webui.cfg
add auth-cfg-password,SQLitedb to the modules line
&hellip .
modules auth-cfg-password,SQLitedb
&hellip .
Save the file and restart shinken service by running the following command.
shinken@linuxhelp:/home/user1$ service shinken restart
Restarting scheduler
...done.
Restarting poller
...done.
Restarting reactionner
...done.
Restarting broker
...done.
Restarting receiver
...done.
Restarting arbiter
Doing config check
...done.
...done.
Edit the following file and change the default admin user password.
shinken@linuxhelp:/home/user1$ nano /etc/shinken/contacts/admin.cfg
# This is a default admin
# CHANGE ITS PASSWORD!
define contact{
use generic-contact
contact_name admin #admin username
email shinken@localhost
pager 0600000000   contact phone number
password admin #admin password
is_admin 1
expert 1
}
Save that file and restart shinken service.
Run the following command to download and install shinken plugins.
root@linuxhelp:/home/user1# wget --no-check-certificate https://www.monitoring-plugins.org/download/monitoring-plugins-2.1.2.tar.gz
--2016-09-16 05:18:30-- https://www.monitoring-plugins.org/download/monitoring-plugins-2.1.2.tar.gz
&hellip
&hellip
2016-09-16 05:18:37 (445 KB/s) - ‘ monitoring-plugins-2.1.2.tar.gz’  saved [2613060/2613060]
root@linuxhelp:/home/user1# tar -xvf monitoring-plugins-2.1.2.tar.gz
monitoring-plugins-2.1.2/plugins/check_dns.c
monitoring-plugins-2.1.2/plugins/check_dummy.c
monitoring-plugins-2.1.2/plugins/check_fping.c
&hellip
&hellip
monitoring-plugins-2.1.2/po/stamp-po
monitoring-plugins-2.1.2/po/ChangeLog
monitoring-plugins-2.1.2/po/LINGUAS
monitoring-plugins-2.1.2/release
Now, install the plugins using following command.
root@linuxhelp:/home/user1# cd monitoring-plugins-2.1.2
root@linuxhelp:/home/user1/monitoring-plugins-2.1.2# ./configure --with-nagios-user=shinken --with-nagios-group=shinken --enable-libtap --enable-extra-opts --enable-perl-modules --libexecdir=/usr/lib/nagios/plugins
execdir=/usr/lib/nagios/plugins
checking for a BSD-compatible install... /usr/bin/install -c
checking whether build environment is sane... yes
checking for a thread-safe mkdir &ndash p
&hellip
&hellip
--with-cgiurl: /nagios/cgi-bin
--with-trusted-path: /usr/local/sbin:/usr/local/bin:/sbin:/bin:/usr/sbin:/usr/bin
--enable-libtap: yes
root@linuxhelp:/home/user1/monitoring-plugins-2.1.2# make install
cp lib/Test/Builder.pm blib/lib/Test/Builder.pm
cp lib/Test/More.pm blib/lib/Test/More.pm
Manifying blib/man3/Test::More.3pm
&hellip
&hellip
make[2]: Nothing to be done for `install-data-am' .
make[2]: Leaving directory `/home/user1/monitoring-plugins-2.1.2'
make[1]: Leaving directory `/home/user1/monitoring-plugins-2.1.2'
Restart shinken service.
root@linuxhelp:/home/user1/monitoring-plugins-2.1.2# service shinken restart
Restarting scheduler
...done.
Restarting poller
...done.
Restarting reactionner
...done.
Restarting broker
...done.
Restarting receiver
...done.
Restarting arbiter
Doing config check
...done.
...done.
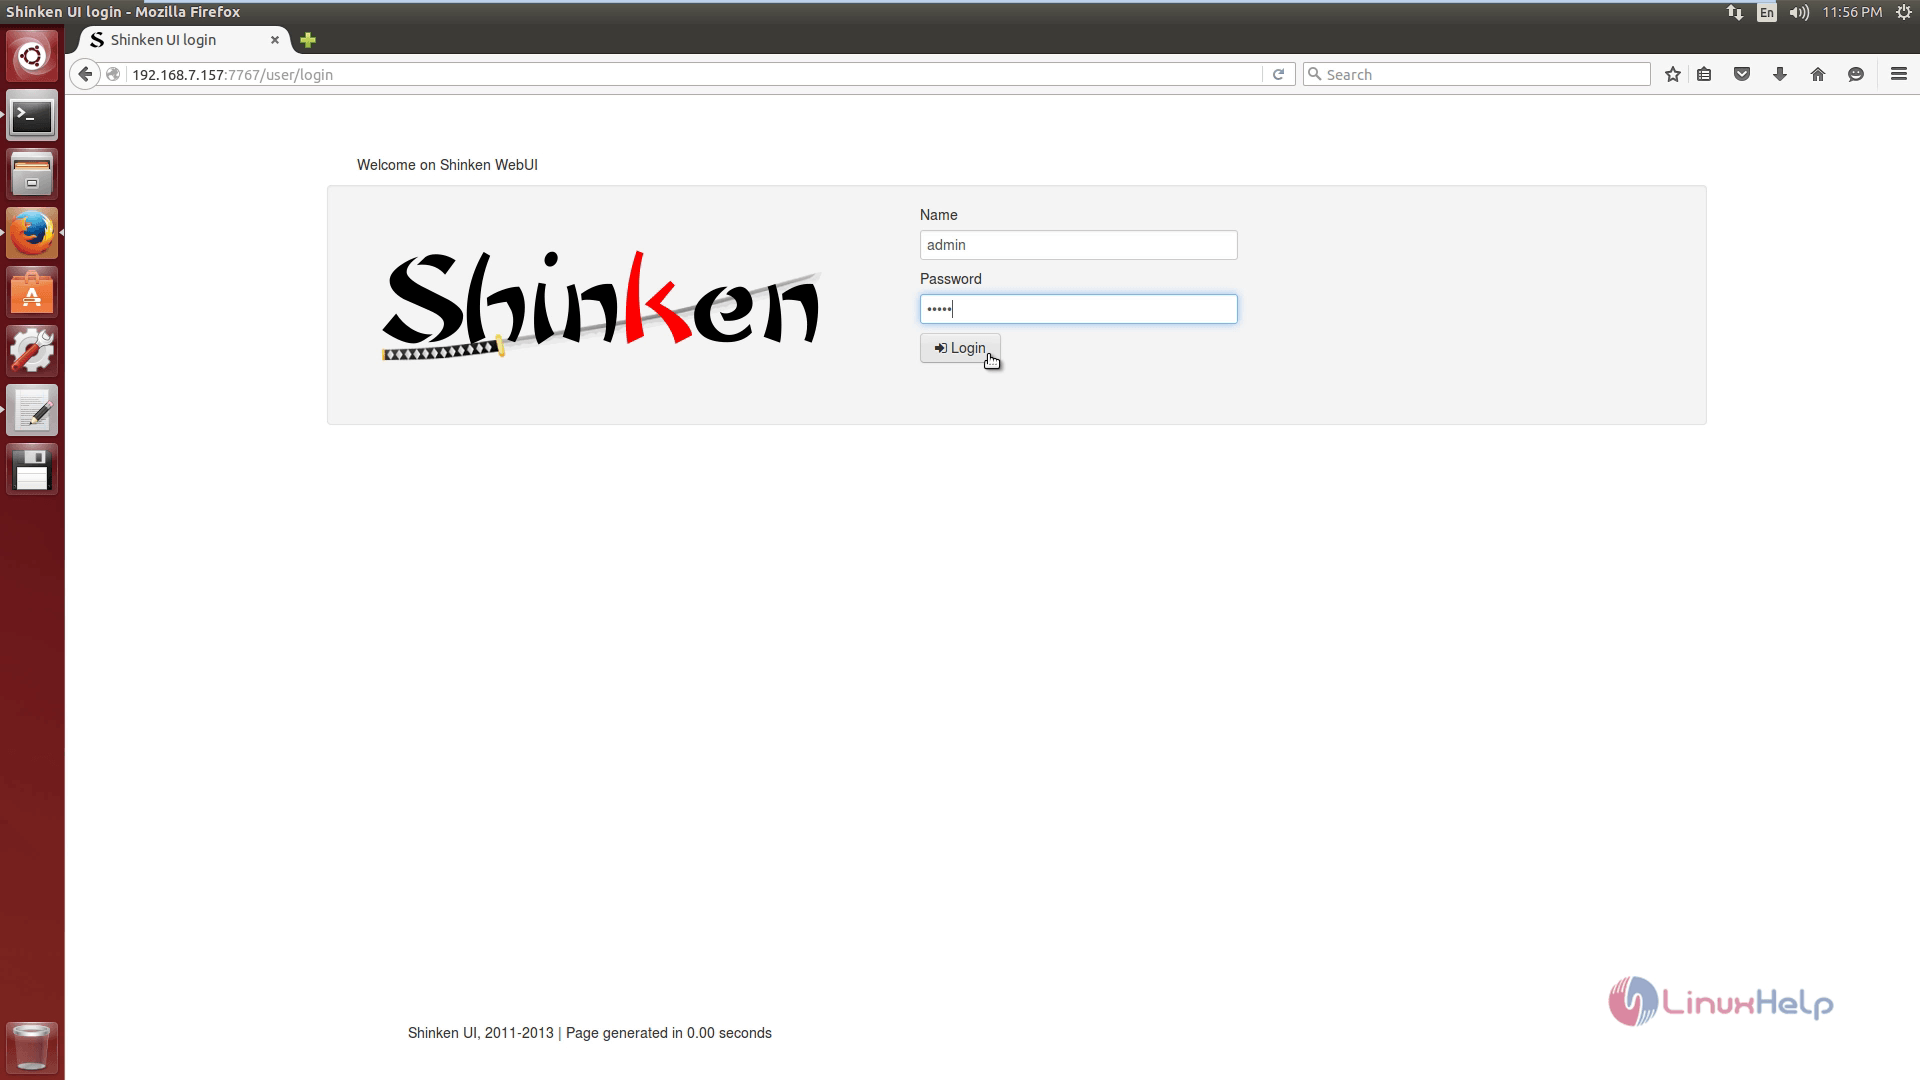
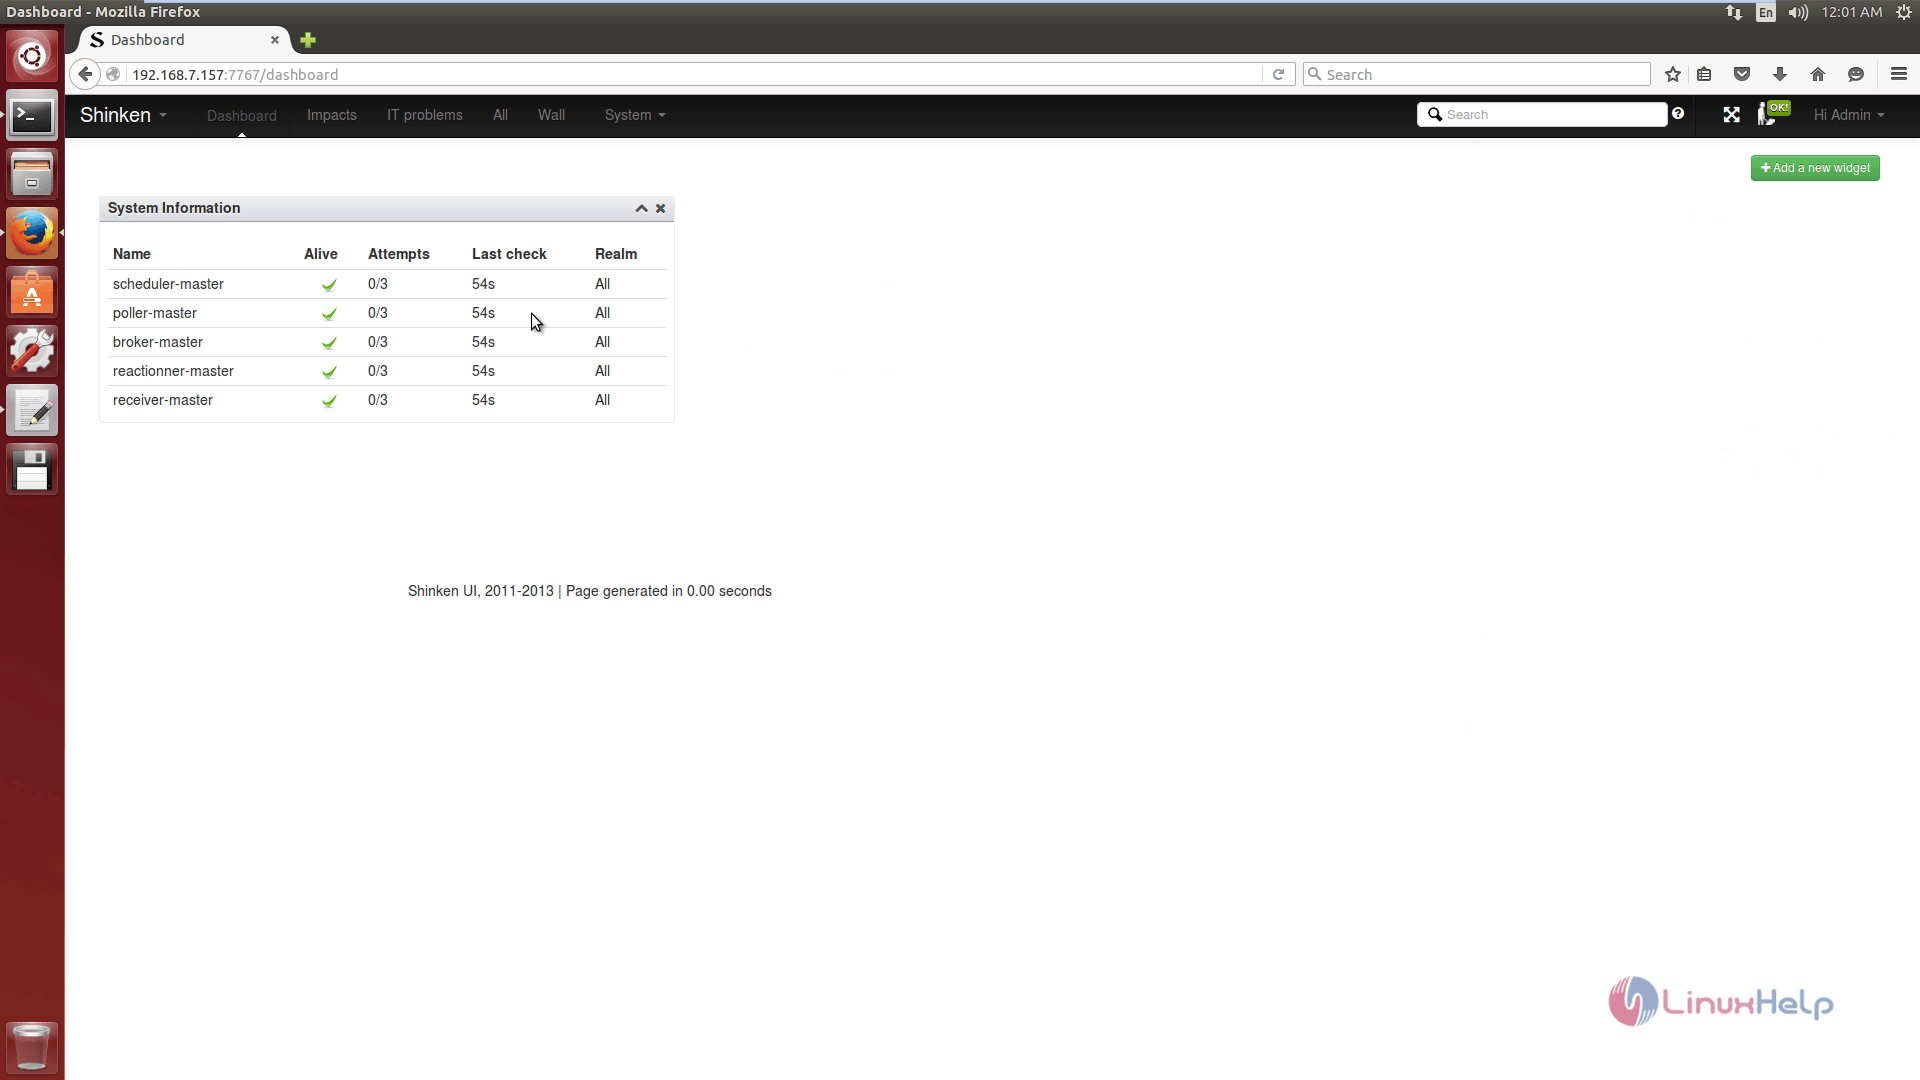
Open the web browser and dive into the URL http://ip-address:7767. Login with the user credentials.
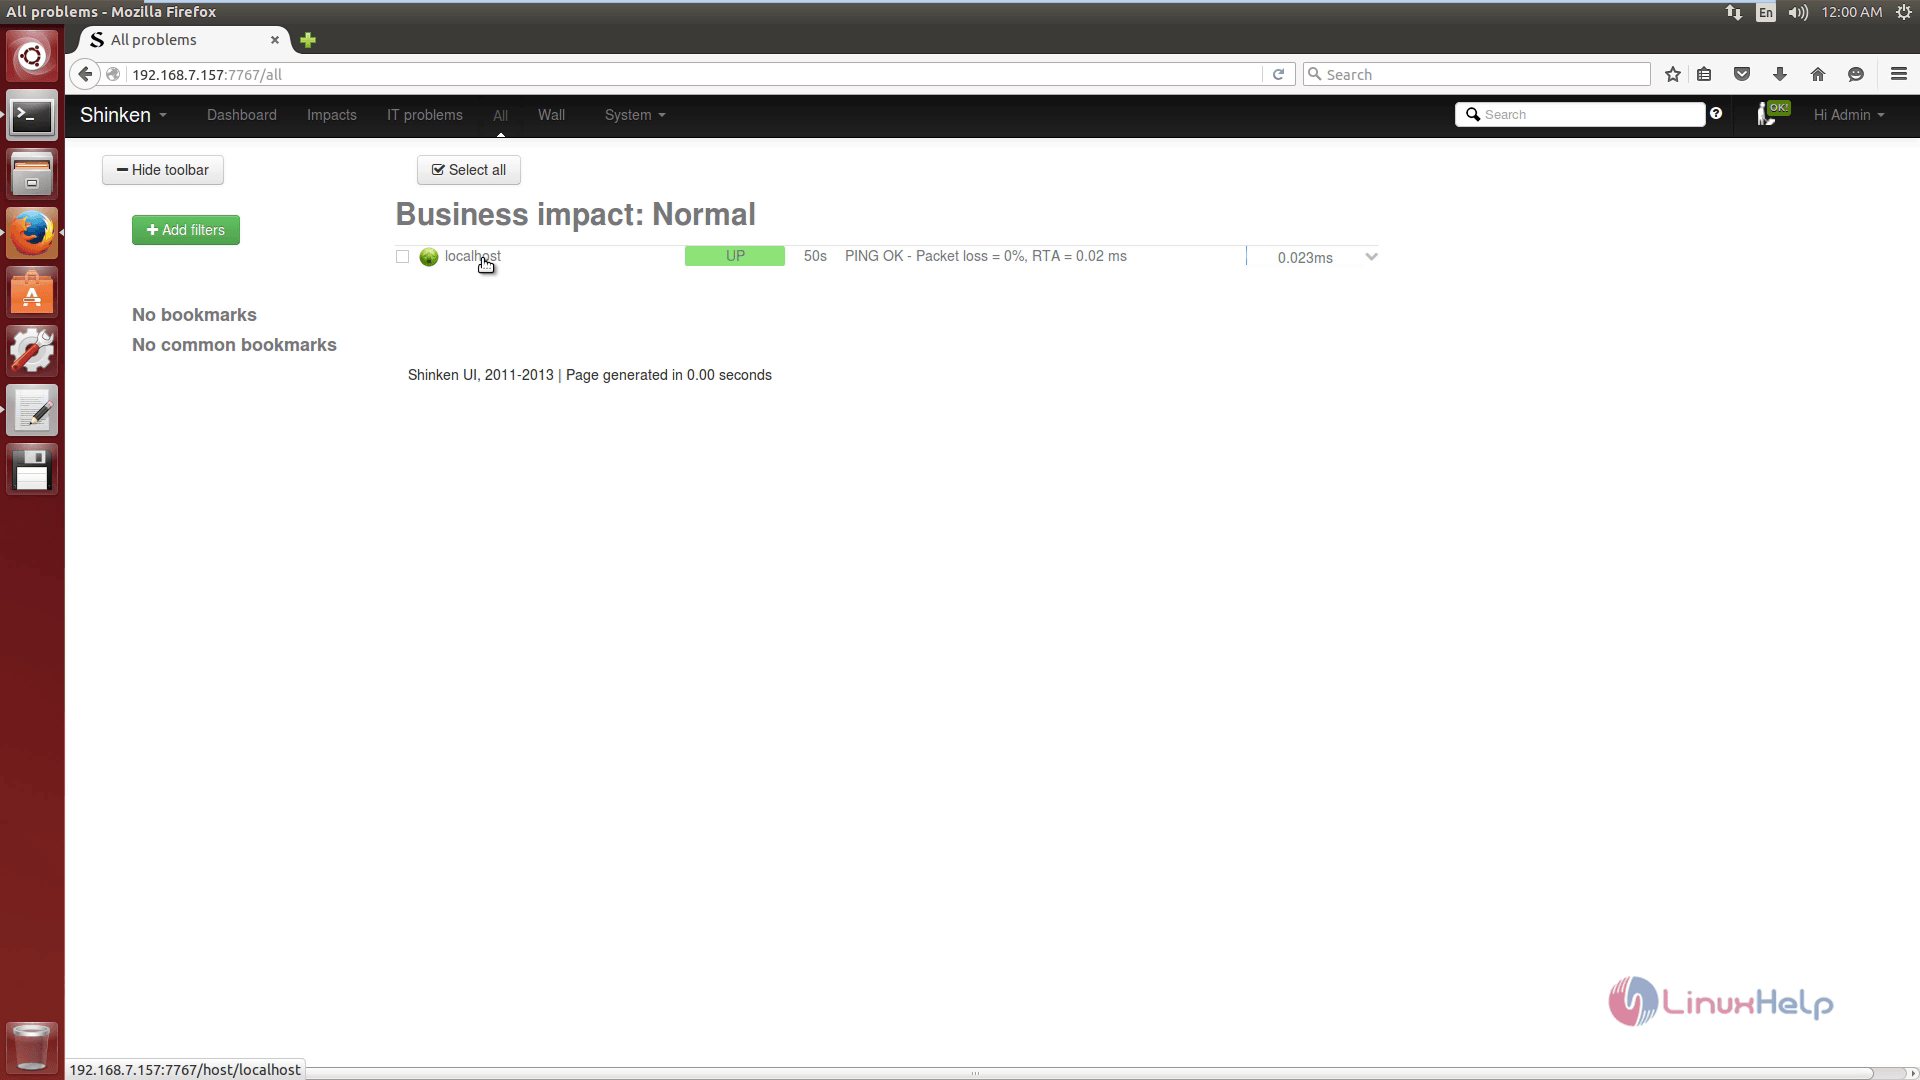
Business impact
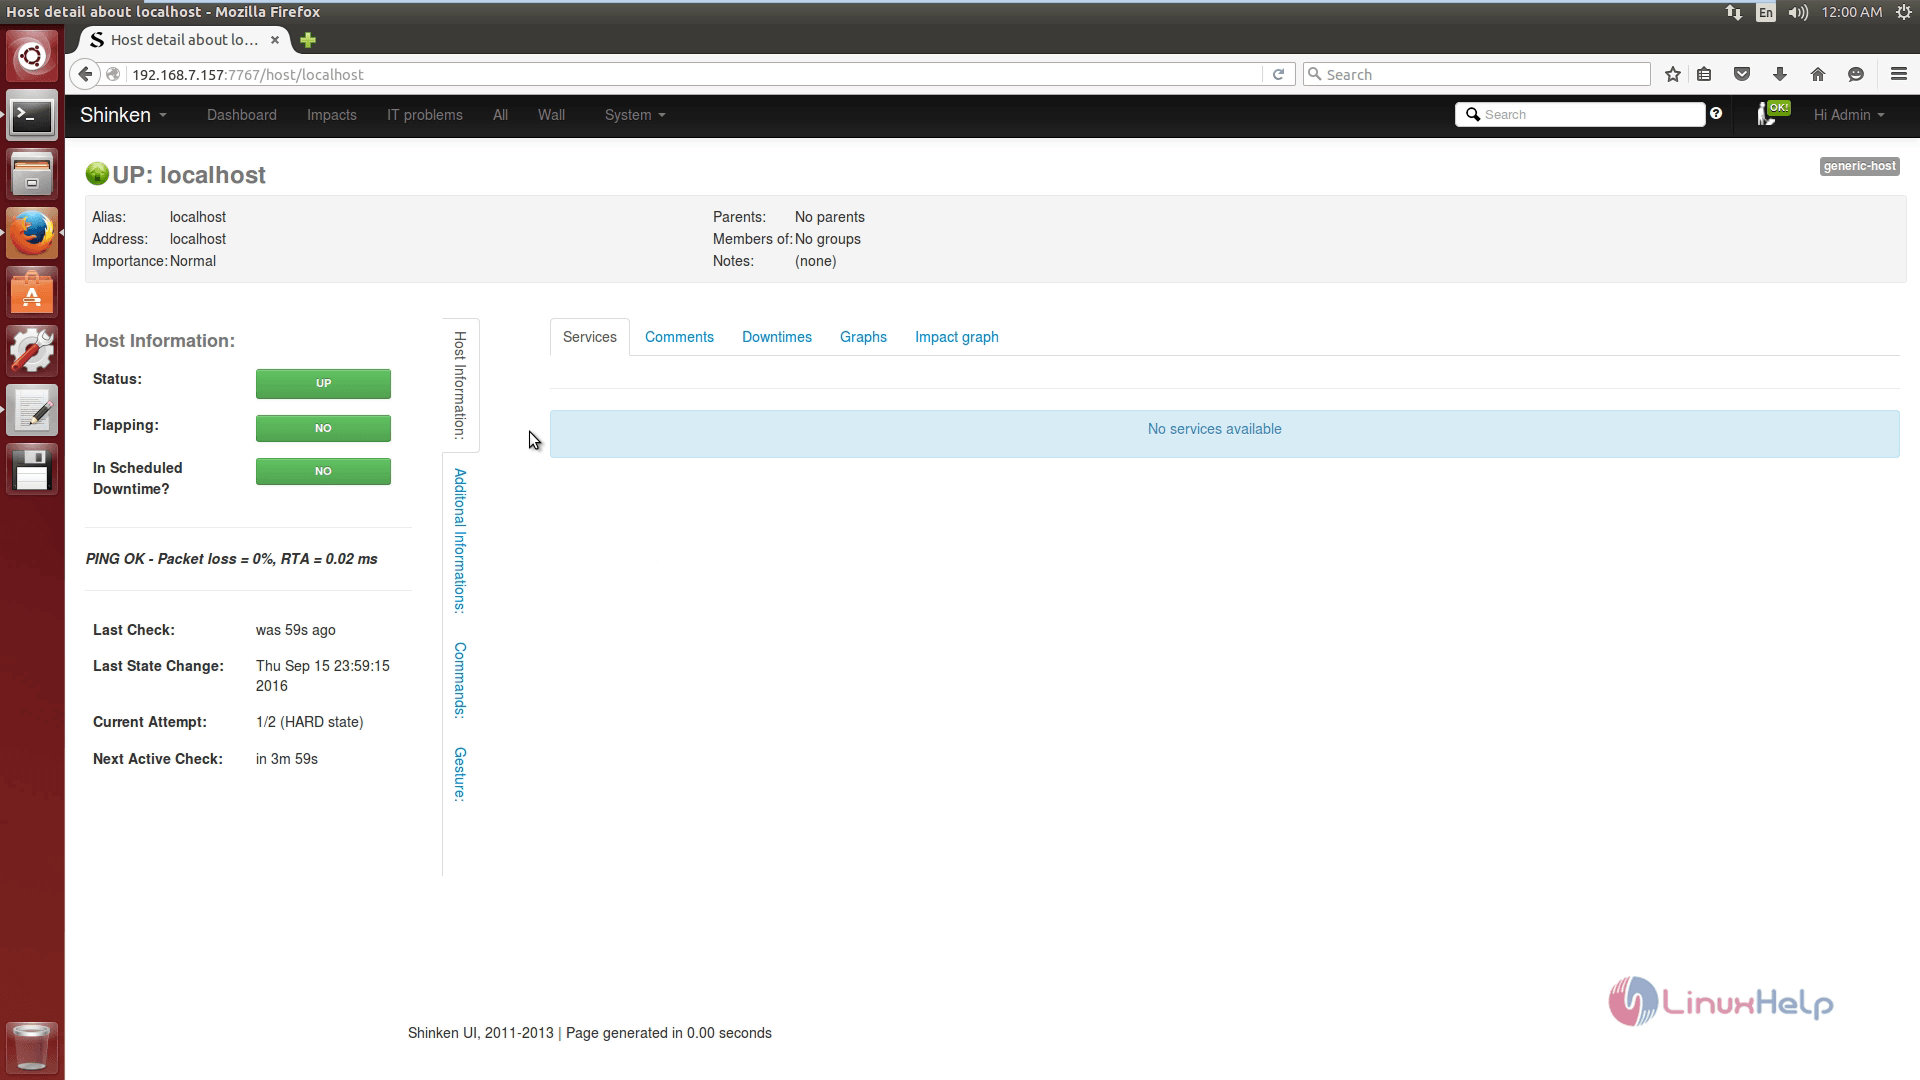
Host information
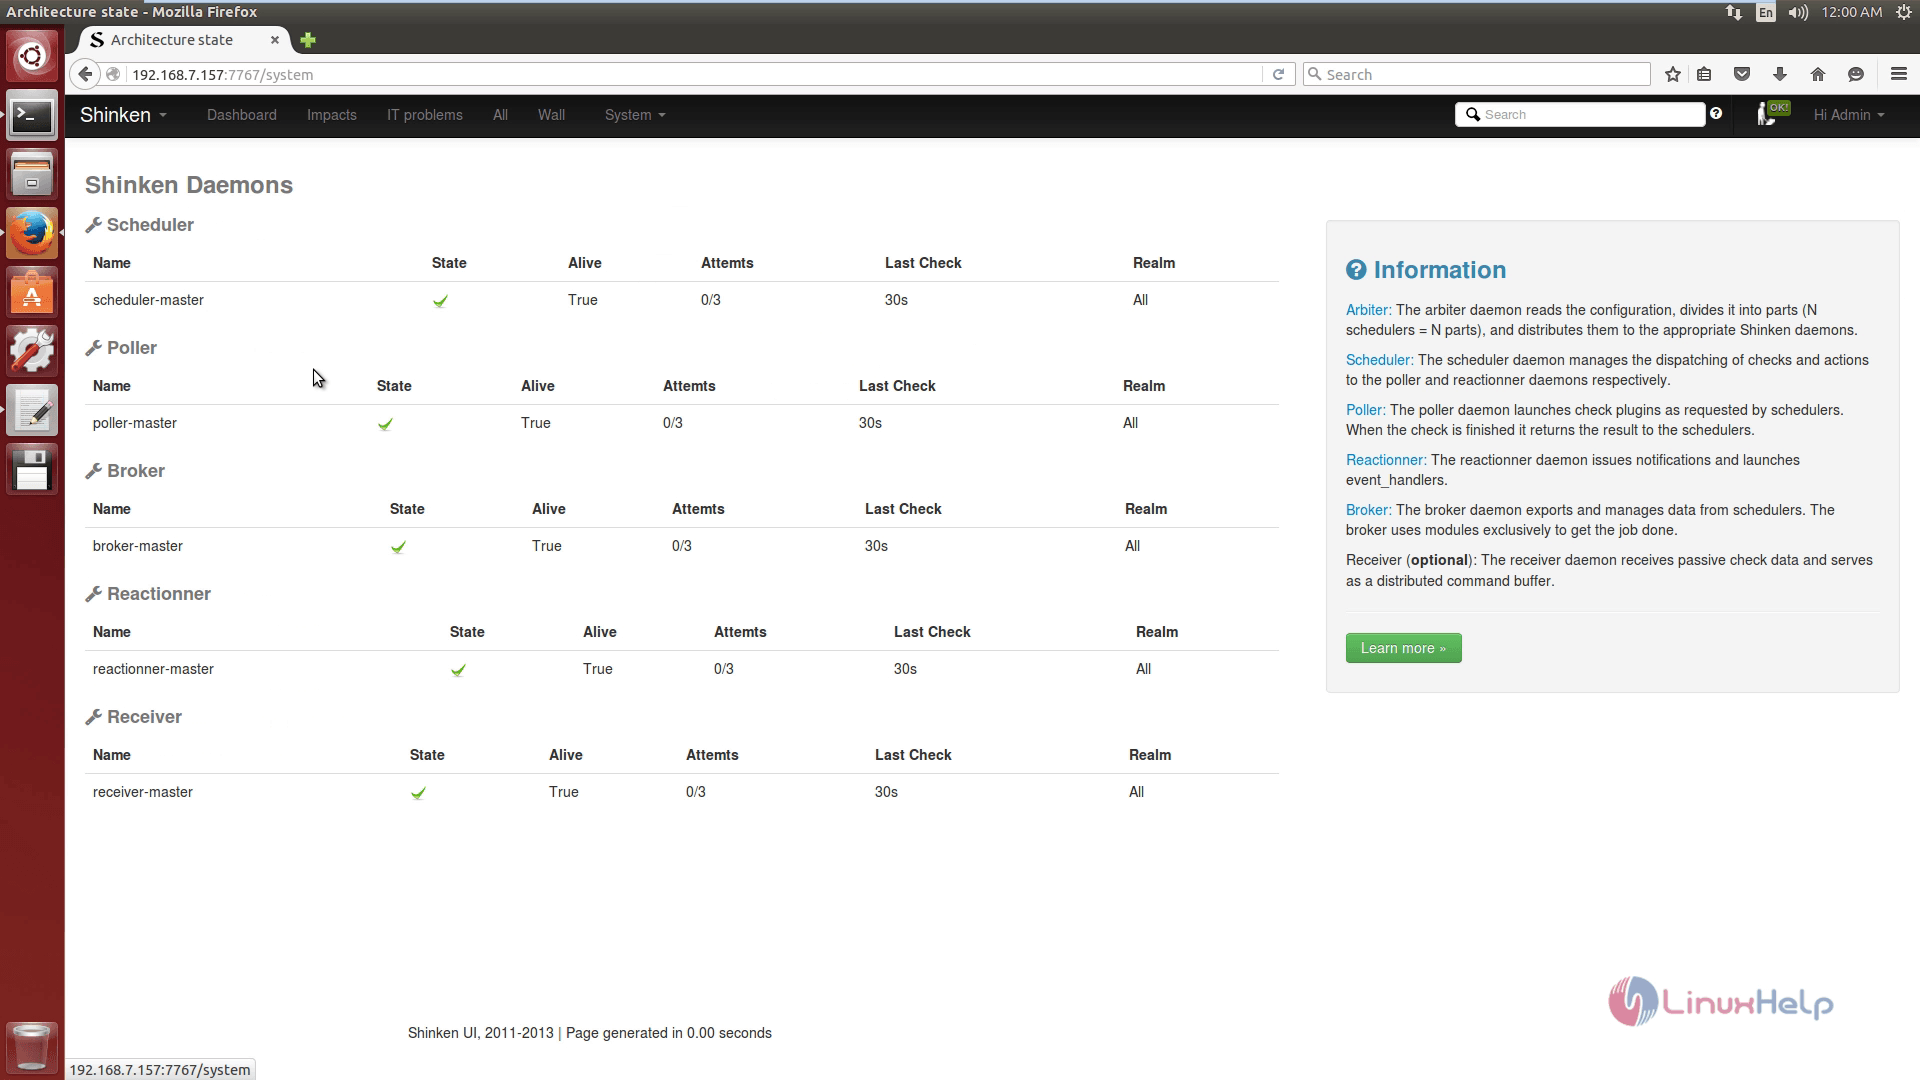
Shinken state
Dashboard with widget
Comments ( 3 )