How to Install Pluck CMS 4.7.9v on Ubuntu 19.04
Installation OF Pluck CMS 4.7.9 On Ubuntu 19.04
Features:
Create an unlimited amount of pages
Create own blog
Create an album to show images to your visitors
Include a contact form in your page.
Software requirements:
LAMP Setup
Ubuntu 19.04
Apache 2.4.3
PHP 7.2
Download Link:
Installation Procedure:
Before you begin, change the directory to Apache’s document root directory.
root@linuxhelp:~# cd /var/www
Create a directory for Pluck CMS
root@linuxhelp:/var/www# mkdir pluck
Change the directory to pluck
root@linuxhelp:/var/www# cd pluck/
Download the pluck CMS using the below-given link.
root@linuxhelp:/var/www/pluck# wget https://github.com/pluck-cms/pluck/archive/4.7.9-dev1.zip
--2019-05-17 20:17:06--  https://github.com/pluck-cms/pluck/archive/4.7.9-dev1.zip
Resolving github.com (github.com)... 192.30.253.112
Connecting to github.com (github.com)|192.30.253.112|:443... connected.
HTTP request sent, awaiting response... 302 Found
Location: https://codeload.github.com/pluck-cms/pluck/zip/4.7.9-dev1 [following]
--2019-05-17 20:17:07--  https://codeload.github.com/pluck-cms/pluck/zip/4.7.9-dev1
Resolving codeload.github.com (codeload.github.com)... 192.30.253.120
Connecting to codeload.github.com (codeload.github.com)|192.30.253.120|:443... connected.
HTTP request sent, awaiting response... 200 OK
Length: unspecified [application/zip]
Saving to: ‘4.7.9-dev1.zip’

4.7.9-dev1.zip                  [           <=>                            ]   1.54M   603KB/s    in 2.6s

2019-05-17 20:17:11 (603 KB/s) - ‘4.7.9-dev1.zip’ saved [1614971]
List the contents to view the downloaded zip file of PlucK CMS.
root@linuxhelp:/var/www/pluck# ll
total 1588
drwxr-xr-x 2 root root    4096 May 17 20:17 ./
drwxr-xr-x 4 root root    4096 May 17 20:16 ../
-rw-r--r-- 1 root root 1614971 May 17 20:17 4.7.9-dev1.zip
Extract the zip file of Pluck CMS.
root@linuxhelp:/var/www/pluck# unzip 4.7.9-dev1.zip
Archive:  4.7.9-dev1.zip
ca6bc74dd0913554e35b3e1a613bfcc23ce34797
   creating: pluck-4.7.9-dev1/
  inflating: pluck-4.7.9-dev1/README.md
  inflating: pluck-4.7.9-dev1/admin.php
   creating: pluck-4.7.9-dev1/data/
   creating: pluck-4.7.9-dev1/data/image/
  inflating: pluck-4.7.9-dev1/data/image/AUTHORS
 extracting: pluck-4.7.9-dev1/data/image/add.png
 extracting: pluck-4.7.9-dev1/data/image/add_small.png
  inflating: pluck-4.7.9-dev1/data/image/back.jpg
  inflating: pluck-4.7.9-dev1/data/image/back_hover.jpg
.
.
.
.
.
inflating: pluck-4.7.9-dev1/files/.htaccess
   creating: pluck-4.7.9-dev1/images/
  inflating: pluck-4.7.9-dev1/images/.htaccess
  inflating: pluck-4.7.9-dev1/index.php
  inflating: pluck-4.7.9-dev1/install.php
  inflating: pluck-4.7.9-dev1/login.php
  inflating: pluck-4.7.9-dev1/requirements.php
  inflating: pluck-4.7.9-dev1/robots.txt
List the contents to view the extracted files.
root@linuxhelp:/var/www/pluck# ll
total 1592
drwxr-xr-x 3 root root    4096 May 17 20:17 ./
drwxr-xr-x 4 root root    4096 May 17 20:16 ../
-rw-r--r-- 1 root root 1614971 May 17 20:17 4.7.9-dev1.zip
drwxr-xr-x 6 root root    4096 Sep  5  2018 pluck-4.7.9-dev1/
Rename the directory that has created during extraction to final.
root@linuxhelp:/var/www/pluck# mv pluck-4.7.9-dev1/ final
Change the directory to final.
root@linuxhelp:/var/www/pluck# cd final/
Change the ownership permissions to the ww-data to the final directory recursively
root@linuxhelp:/var/www/pluck/final# chown -R www-data. ./
Assign writable permissions to the final directory recursively
root@linuxhelp:/var/www/pluck/final# chmod -R 775 ./
Create a Customised Configuration file for Pluck CMS
root@linuxhelp:/var/www/pluck/final# vim /etc/apache2/sites-available/pluck.conf
<virtualhost *:80>
servername www.linuxhelp1.com
documentroot /var/www/pluck/final/

<directory /var/www/pluck/final/>
allowoverride all
allow from all
</directory>
</virtualhost>
Enable the access to Pluck Site
root@linuxhelp:/var/www/pluck/final# a2ensite pluck.conf
Enabling site pluck.
To activate the new configuration, you need to run:
  systemctl reload apache2
Disable the access for the default sites.
root@linuxhelp:/var/www/pluck/final# a2dissite 000-default.conf
Site 000-default disabled.
To activate the new configuration, you need to run:
  systemctl reload apache2
Enable the rewrite Module
root@linuxhelp:/var/www/pluck/final# a2enmod rewrite
Enabling module rewrite.
To activate the new configuration, you need to run:
  systemctl restart apache2
Restart the service Of Apache.
root@linuxhelp:/var/www/pluck/final# systemctl restart apache2
Enter the server name that you have set inside the virtual hosting of Pluck CMS 4.7.9
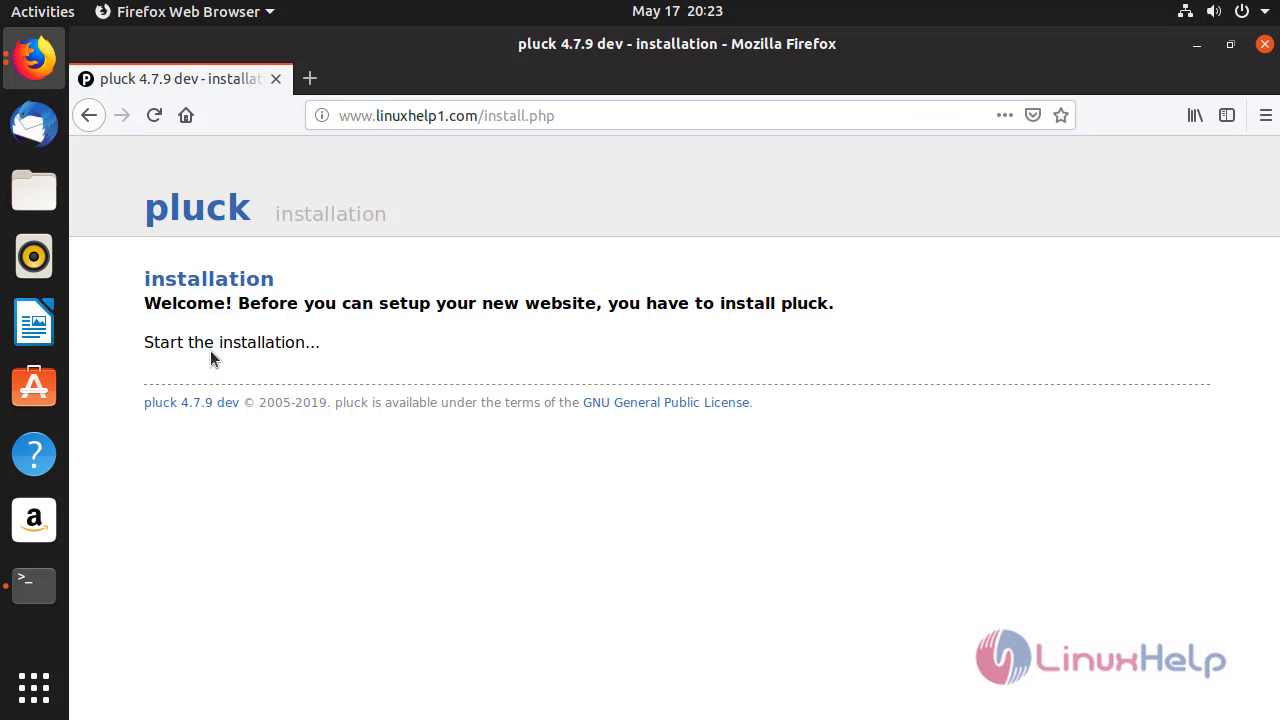
 Click Start the Installation on the welcome page of Pluck CMS 4.7.9 to proceed further.
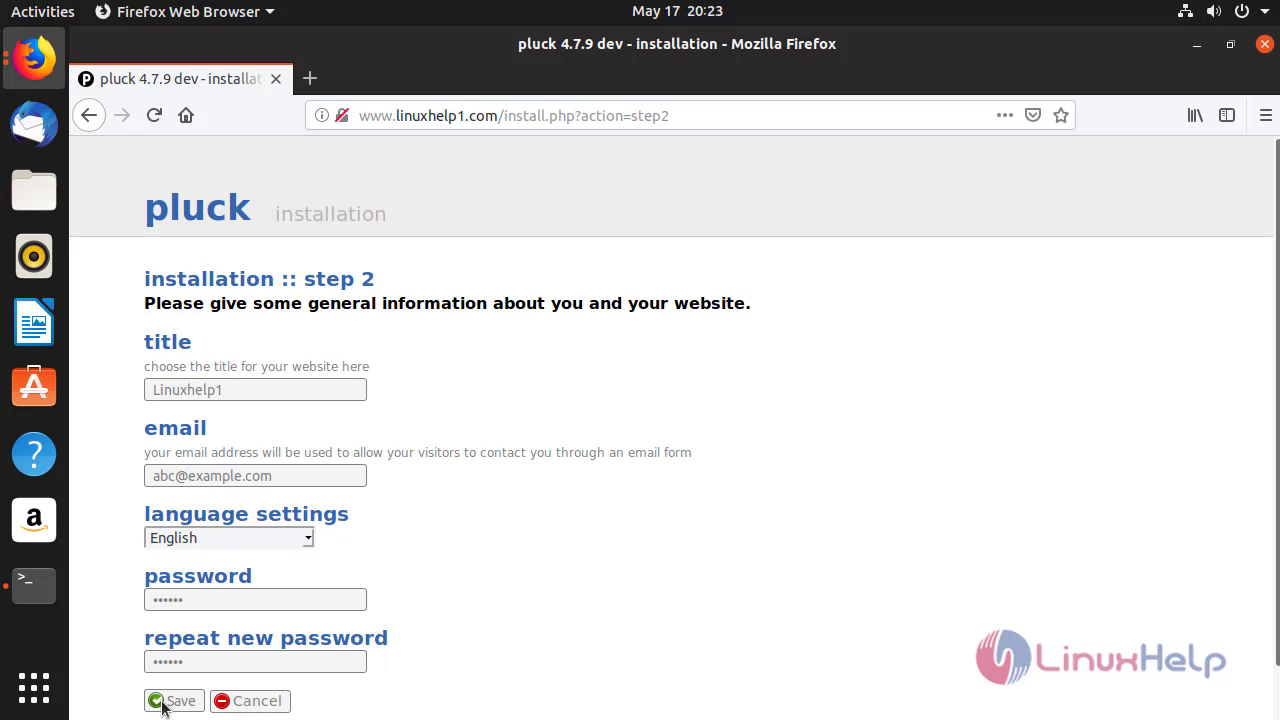
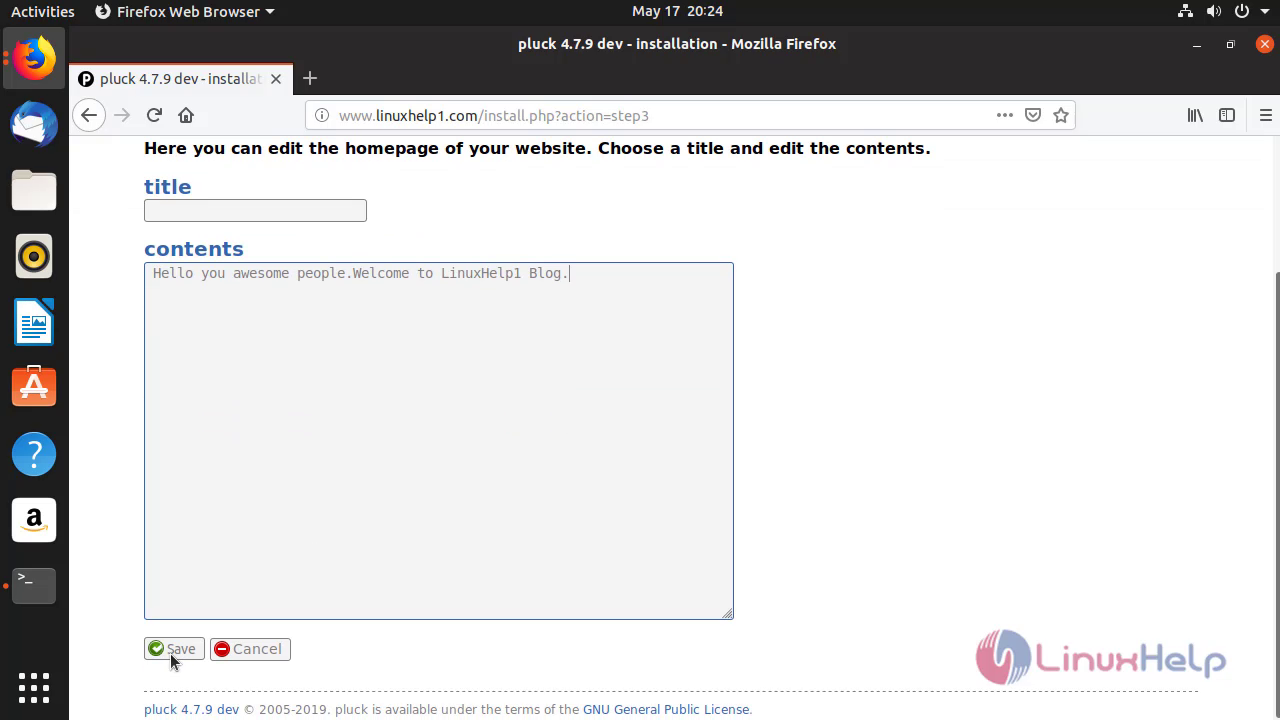
 Save the Configured general information of the website And Admin credentials.
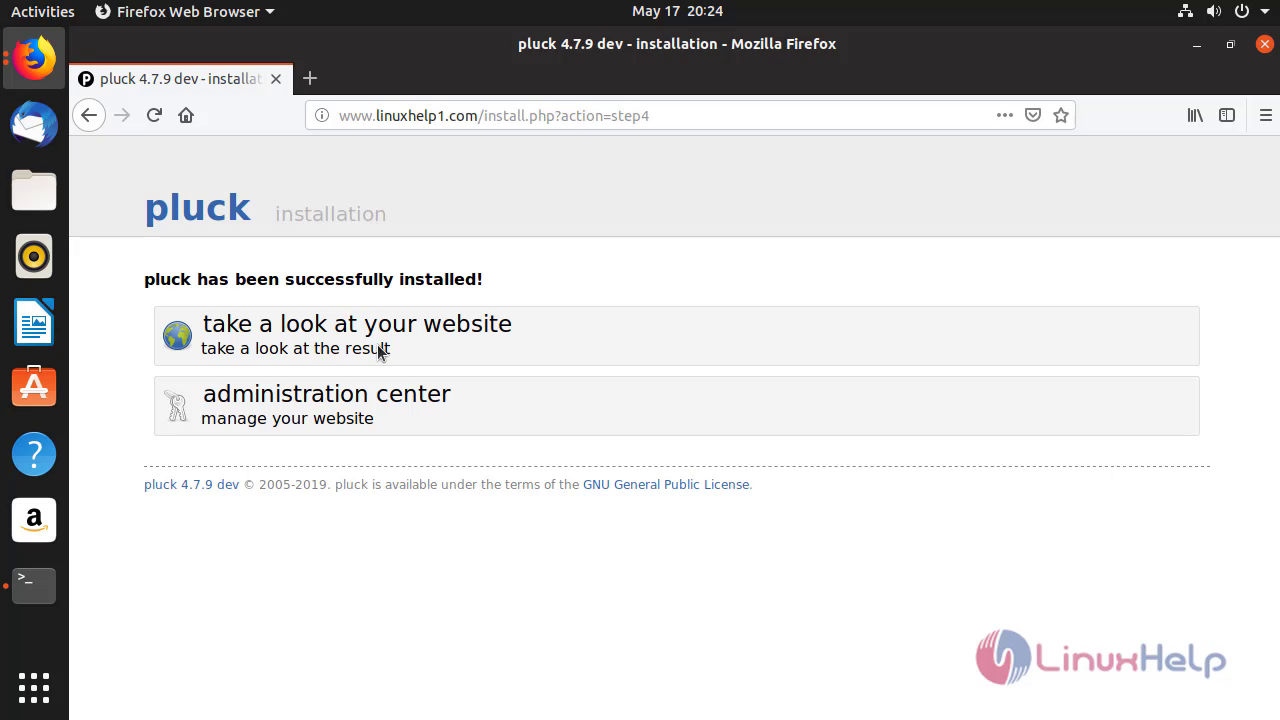
 After the Successful installation of Pluck CMS 4.7.9 click take a look at your website.
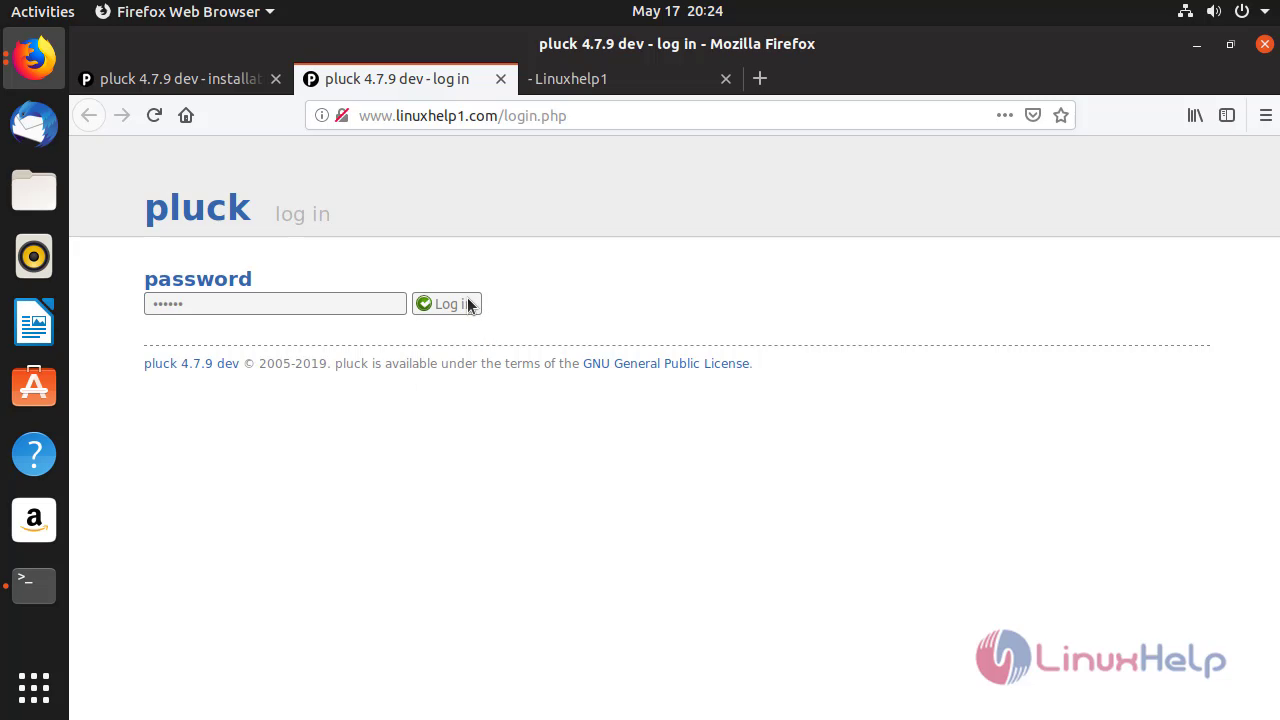
 Go to the backend area by entering the password of admin
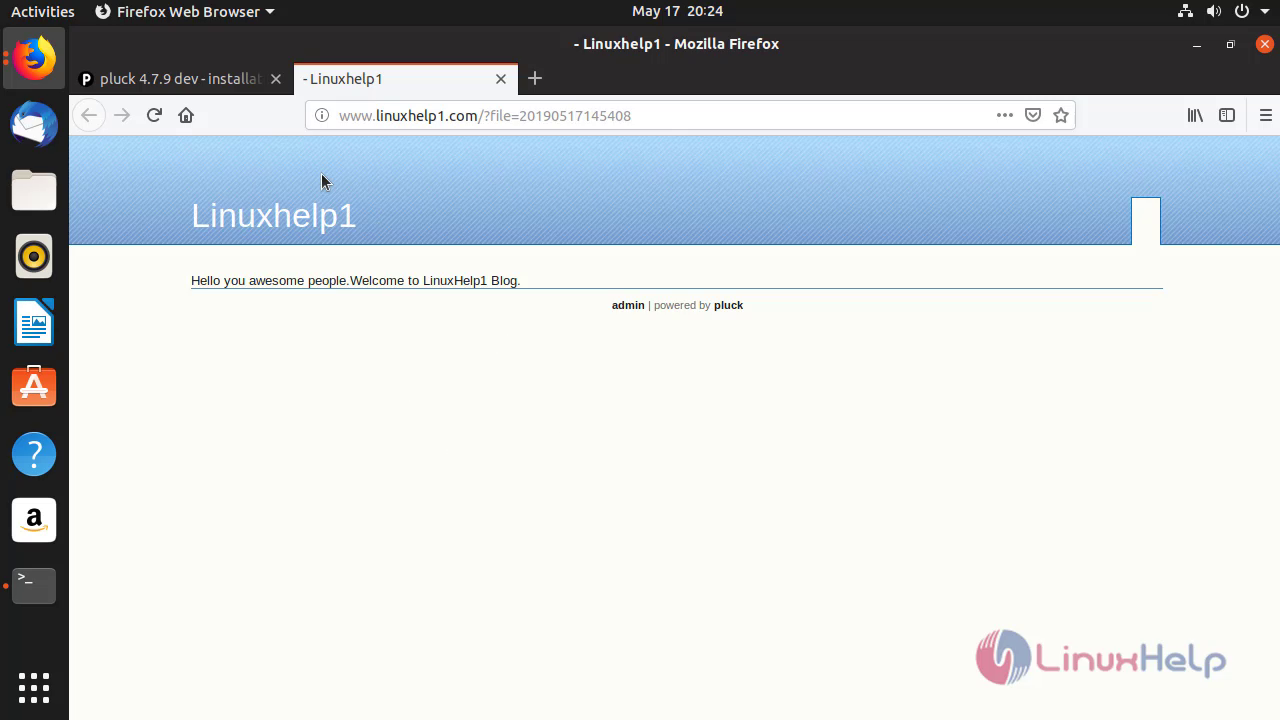
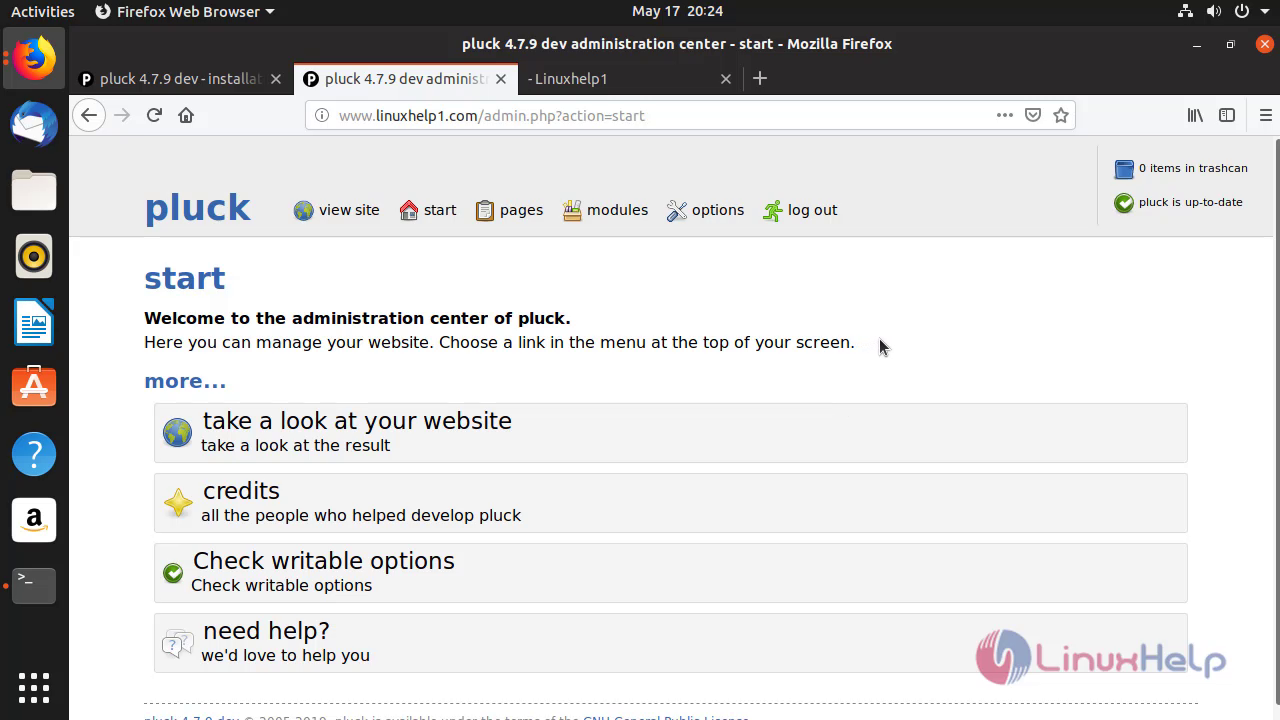
 Manage the website through Admins backend area.
 Thus the installation of pluck Cms 4.7.9 On Ubuntu 19.04 comes to end.
Comments ( 0 )
No comments available