How to install Pligg on OpenSUSE Leap 42.1
To install Pligg on OpenSUSE Leap 42.1
Today we are going to cover the installation and configuration method involved with another CMS tool - Pligg, on OpenSUSE Leap. Pligg is one of the most sought after CMS tools, and one of the reasons for that is because it is designed based on the ground up approach which enables you to create an online community so that your users can interact easily on your web-page by submitting articles, leaving comments and voting on polls. Due to this reason, registered users, and in some cases the visitors, can interact with and moderate your website' s content. Also, Pligg offers a plethora of templates to choose from, along with a large number of plugins and extensions.
By installing Pligg, you are only a step away from creating your very own social publishing community within minutes. So, lets continue with the installation process.
This tutorial covers the installation of Pligg on OpenSUSE Leap 42.1, If you missed the previous CMS tutorial on Textpattern which is also on OpenSUSE Leap 42.1, click here: https://www.linuxhelp.com/how-to-install-textpattern-cms-on-opensuse-42-1/
Requirements
-Apache
- Mariadb
-Php 5.3 and above
zypper in php php5 php5-mysql apache2-mod_php5 php5-gd php5-imap php5-ldap php5-odbc php5-pear php5-xml
php5-xmlrpc php5-mbstring -y
Installing Pligg
In order to install Pligg on your machine, you need its download link. For that, visit its official website and fetch the link for downloading the package and then use it along with wget command in your terminal as follows.
linuxhelp:/srv/www/htdocs # wget http://liquidtelecom.dl.sourceforge.net/project/pligg/Pligg%20CMS/Pligg%20CMS%201.2.2.zip
--2017-10-05 12:51:33--  http://liquidtelecom.dl.sourceforge.net/project/pligg/Pligg%20CMS/Pligg%20CMS%201.2.2.zip
Resolving liquidtelecom.dl.sourceforge.net (liquidtelecom.dl.sourceforge.net)... 197.155.77.8
Connecting to liquidtelecom.dl.sourceforge.net (liquidtelecom.dl.sourceforge.net)|197.155.77.8|:80... connected.
HTTP request sent, awaiting response... 200 OK
Length: 1599431 (1.5M) [application/octet-stream]
Saving to: ‘ Pligg CMS 1.2.2.zip’

100%[=================================================================================================> ] 1,599,431   --.-K/s   in 0.05s

2017-10-05 12:51:39 (33.7 MB/s) - ‘ Pligg CMS 1.2.2.zip’  saved [1599431/1599431]
Once it is done, extract the package in Apache root directory as follows.
linuxhelp:/srv/www/htdocs # unzip Pligg CMS 1.2.2.zip
Archive:  Pligg CMS 1.2.2.zip
   creating: pligg/
  inflating: Pligg Homepage.url
  inflating: Pligg README.txt
   creating: pligg/3rdparty/
   creating: pligg/3rdparty/API/
  inflating: pligg/3rdparty/API/api.php
  inflating: pligg/3rdparty/API/Pligg-API-Installation.txt
 extracting: pligg/3rdparty/index.html
   creating: pligg/3rdparty/kmessaging/
 extracting: pligg/3rdparty/kmessaging/.htaccess
 extracting: pligg/3rdparty/kmessaging/class.KMessaging.php
.
.
.
inflating: pligg/widgets/statistics/lang.conf
  inflating: pligg/widgets/statistics/statistics_readme.htm
   creating: pligg/widgets/statistics/templates/
 extracting: pligg/widgets/statistics/templates/index.html
  inflating: pligg/widgets/statistics/templates/settings.tpl
  inflating: pligg/widgets/statistics/templates/widget.tpl
MySQL configuration
Another essential procedure you need to complete before triggering the installation of Pligg is to create and configure a database for Pligg. Since Pligg is built based on MySQL you should configure it accordingly. Run the following command for the same process and do make the necessary configuration as follows.
linuxhelp:/srv/www/htdocs # mysql -u root -p
Enter password:
Welcome to the MariaDB monitor.  Commands end with   or g.
Your MariaDB connection id is 16
Server version: 10.0.29-MariaDB SLE 12 SP1 package

Copyright (c) 2000, 2016, Oracle, MariaDB Corporation Ab and others.

Type ' help '  or ' h'  for help. Type ' c'  to clear the current input statement.

MariaDB [(none)]>  create database pligg
Query OK, 1 row affected (0.00 sec)

MariaDB [(none)]>  grant all privileges on pligg.* to ' root' @' localhost'  identified by ' 123'
Query OK, 0 rows affected (0.01 sec)

MariaDB [(none)]>  flush privileges
Query OK, 0 rows affected (0.01 sec)

MariaDB [(none)]>  exit
Bye
Later, you should restart your MySQL service as follows.
linuxhelp:/srv/www/htdocs # systemctl restart mysql.service
After creating the Pligg database, move to the web root directory and rename the default files as follows.
linuxhelp:/srv/www/htdocs # cd pligg/
linuxhelp:/srv/www/htdocs/pligg # mv languages/lang_english.conf.default languages/lang_english.conf
linuxhelp:/srv/www/htdocs/pligg # mv libs/dbconnect.php.default libs/dbconnect.php
linuxhelp:/srv/www/htdocs/pligg # mv settings.php.default settings.php
linuxhelp:/srv/www/htdocs # chown -R wwwrun:www /srv/www/htdocs/
linuxhelp:/srv/www/htdocs # chmod -R 777 /srv/www/htdocs/
linuxhelp:/srv/www/htdocs # mv settings.php.default settings.php
And also, you should grant the required permissions to the following folders. You can complete this action by executing the following commands.
linuxhelp:/srv/www/htdocs/pligg # chmod 755 admin/backup/
linuxhelp:/srv/www/htdocs/pligg # chmod 755 avatars/groups_uploaded/
linuxhelp:/srv/www/htdocs/pligg # chmod 755 avatars/user_uploaded/
linuxhelp:/srv/www/htdocs/pligg # chmod 755 cache/
linuxhelp:/srv/www/htdocs/pligg # chmod 755 cache/admin_c/
linuxhelp:/srv/www/htdocs/pligg # chmod 755 cache/templates_c/*.*
linuxhelp:/srv/www/htdocs/pligg # chmod 755 templates/*.*
linuxhelp:/srv/www/htdocs/pligg # chmod 755 languages/*.*
linuxhelp:/srv/www/htdocs/pligg #  chmod 666 libs/dbconnect.php
linuxhelp:/srv/www/htdocs/pligg #  chmod 666 settings.php
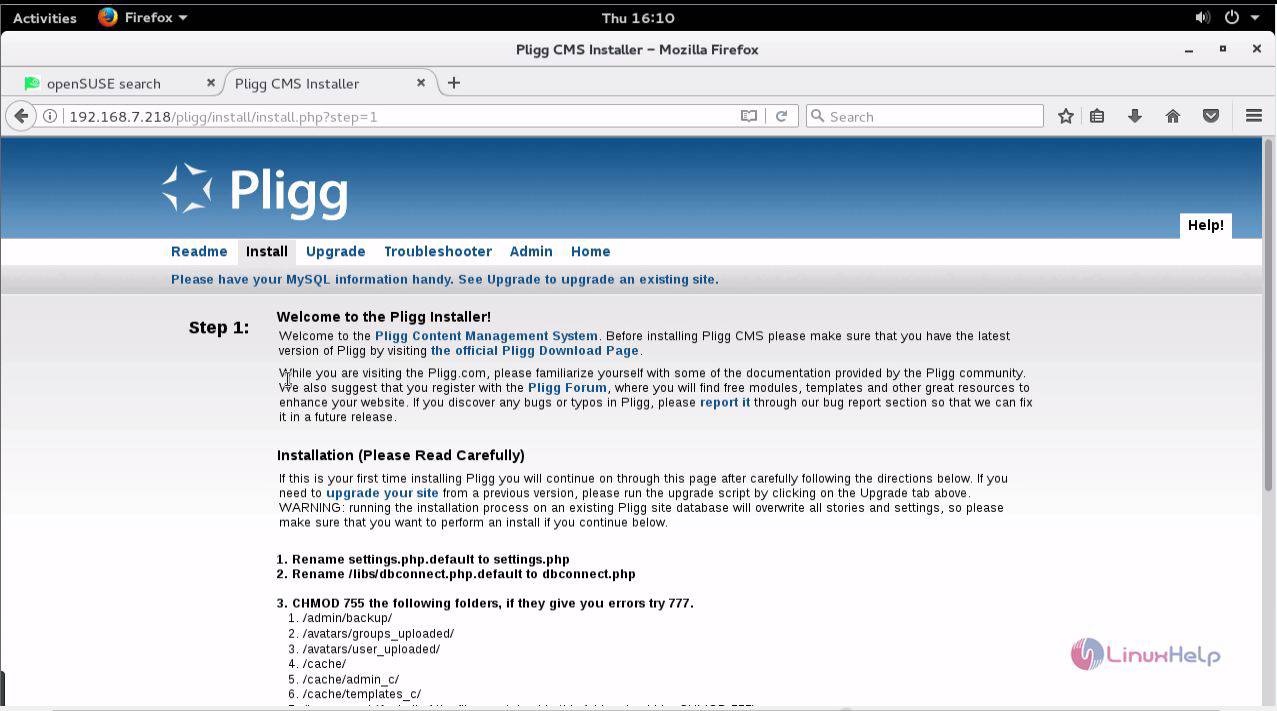
Let us now continue the process via GUI. So, switch over to your browser and navigate to http://< IP_address> /pligg/install/index.php. The installation page appears on your screen.

Start the installation process.
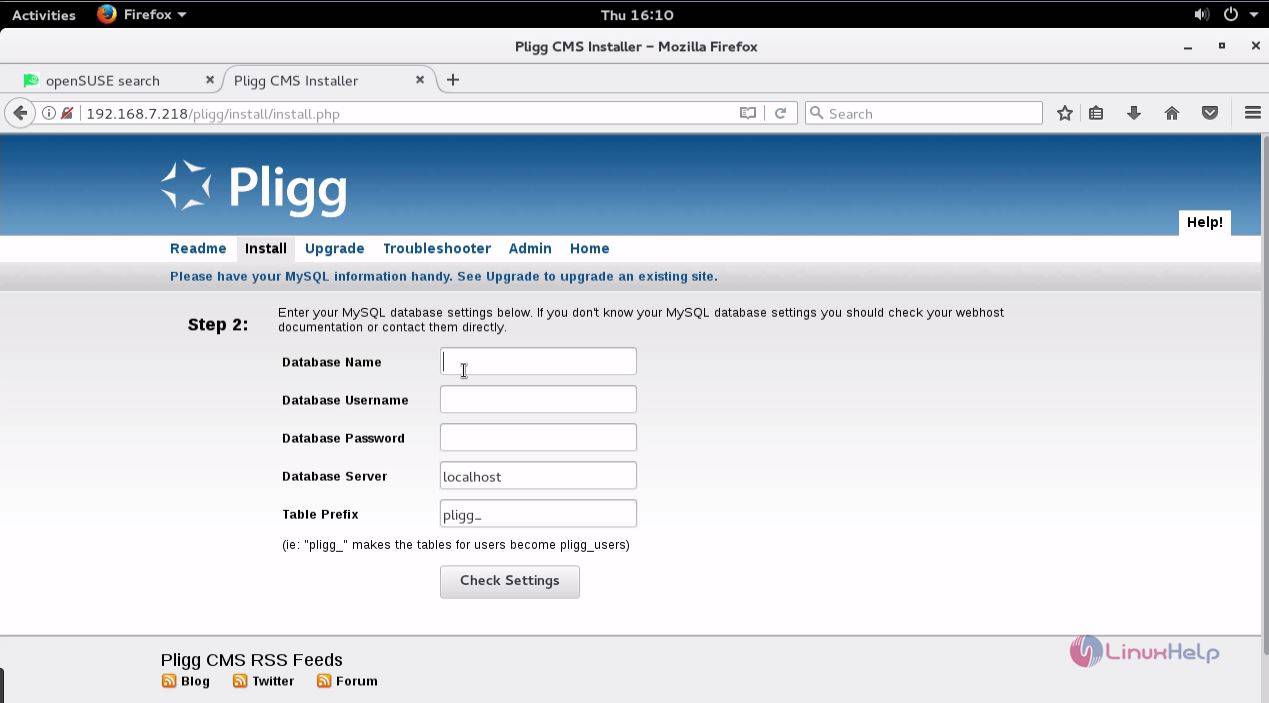
Enter all your database details in the appropriate fields. Click on Check Settings for verifying the application.
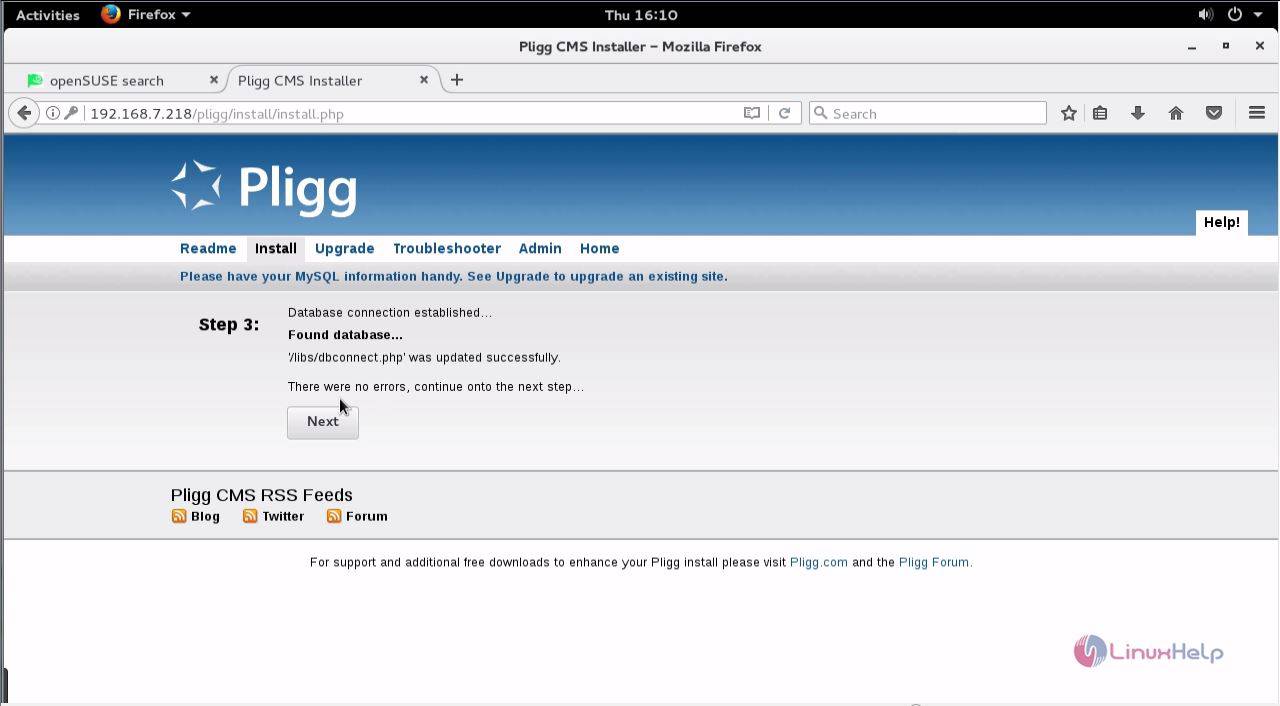
In the next step, your database connection gets established. Click on Next.
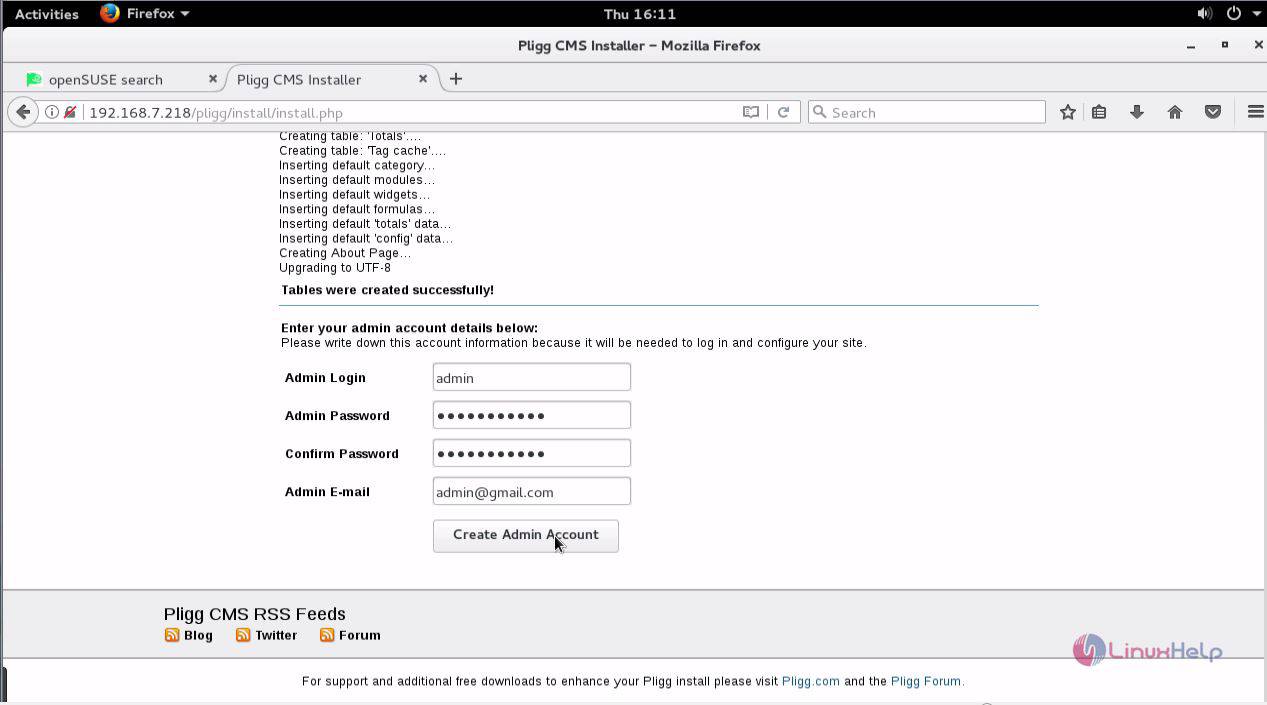
Here, you need to enter all your admin account details and click on Create Admin Account.
Your Pligg site is now installed. The actions which you need to complete after the installation gets displayed on your screen. Make sure you do all those.
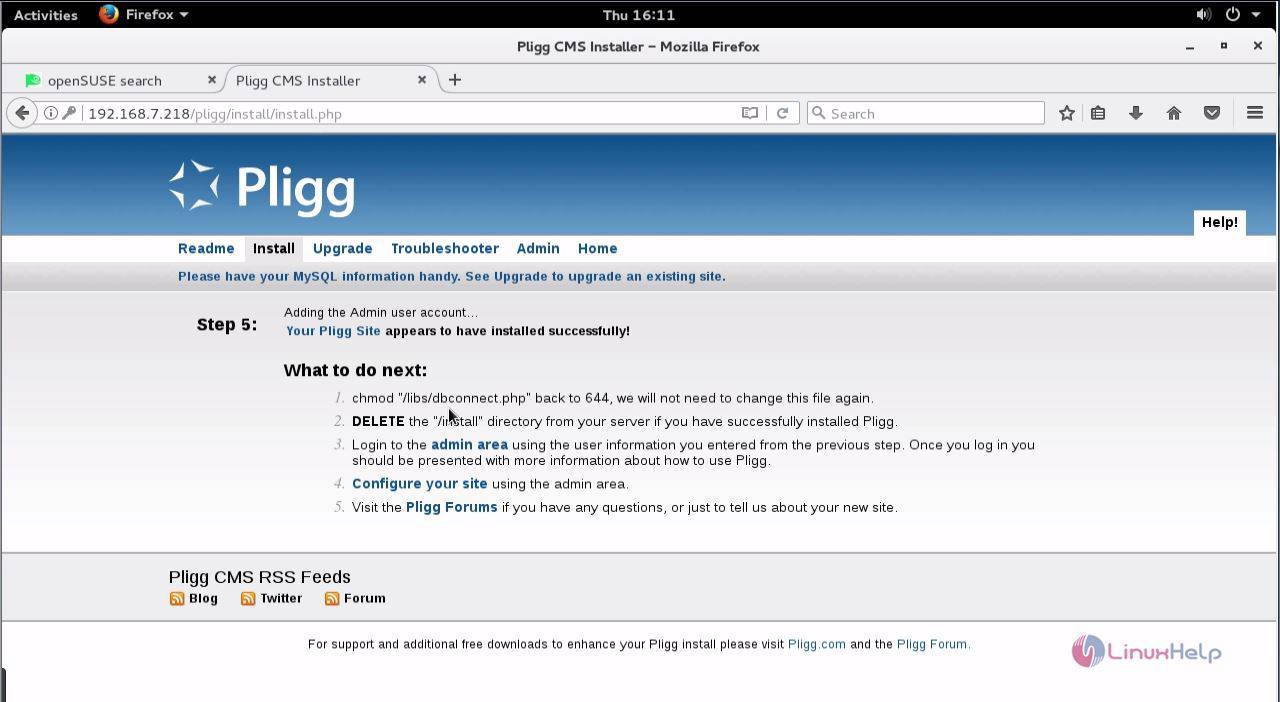
Since it is required to delete the /install directory from your system, run the following command to complete this action.
linuxhelp:/srv/www/htdocs # rm -rf install
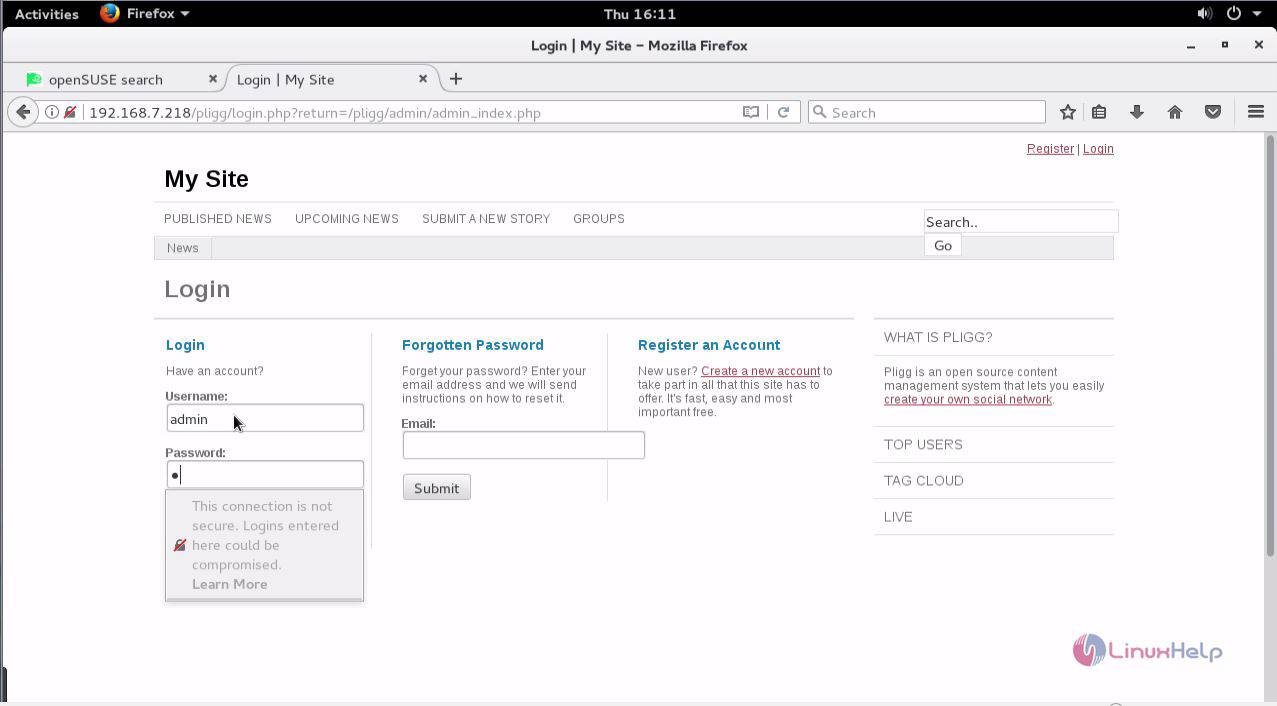
Again, go back to your browser and log into your site.
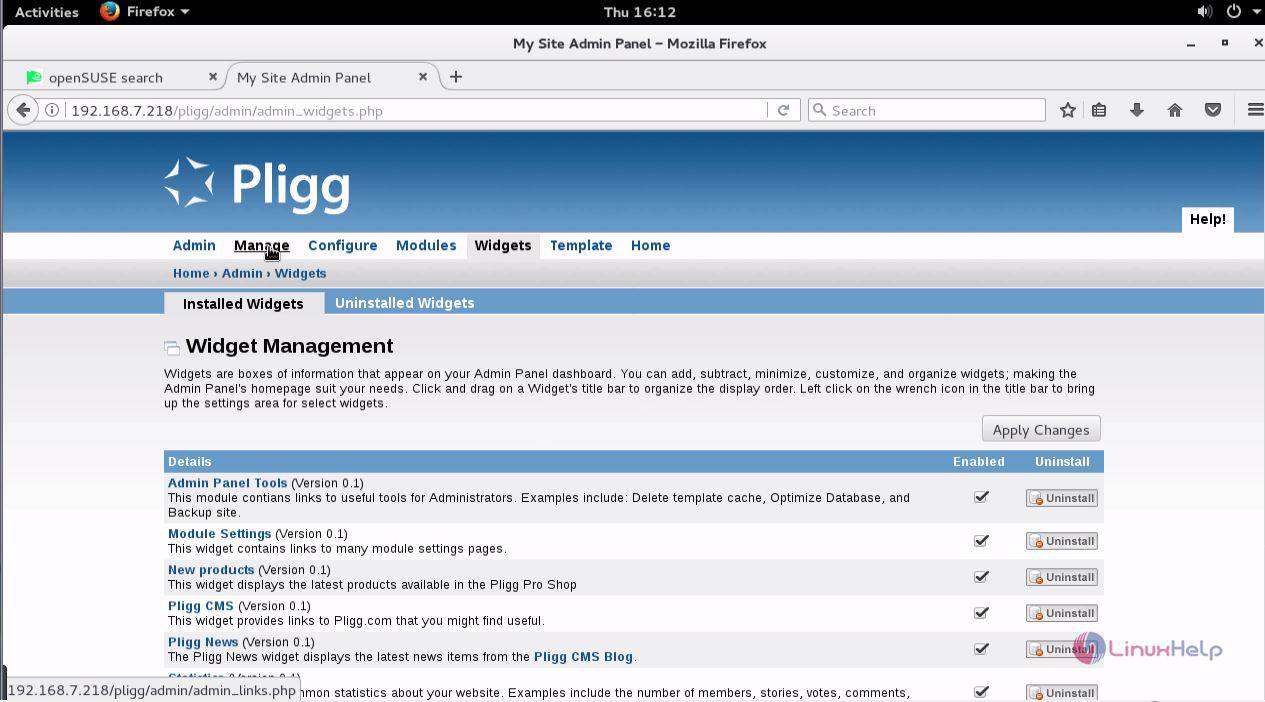
You can manage your Pligg application as it has all the necessary options.
With this, the installation of Pligg CMS on OpenSUSE Leap gets completed. Enjoy creating your own social site with the help of Pligg.
Comments ( 0 )
No comments available