How to install MATE Desktop in FreeBSD
To install MATE Desktop in FreeBSD
The MATE Desktop Environment is the continuation of GNOME 2 and it provides an intuitive, attractive desktop environment. Installation of MATE Desktop in FreeBSD is explained in this article.
To install XORG
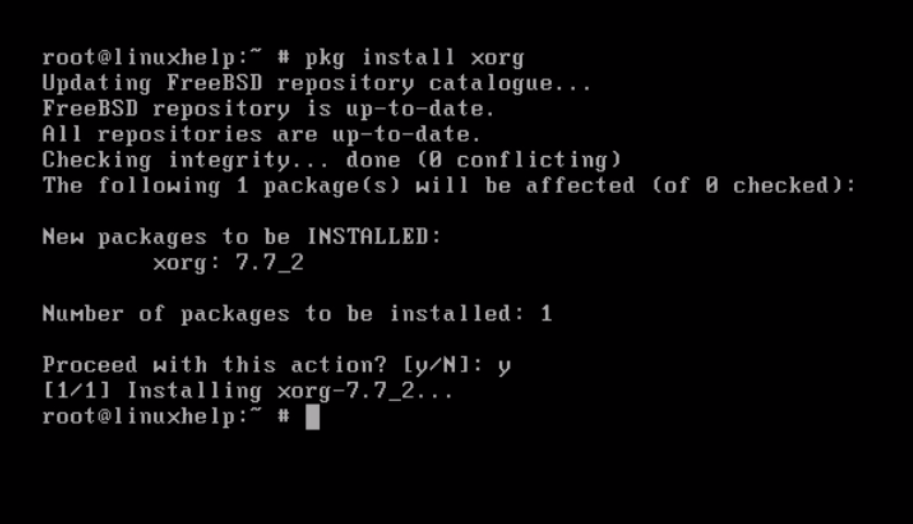
Install XORG package by using “ pkg install” command.
# pkg install xorg
During the installation, just give confirmation to proceed further.
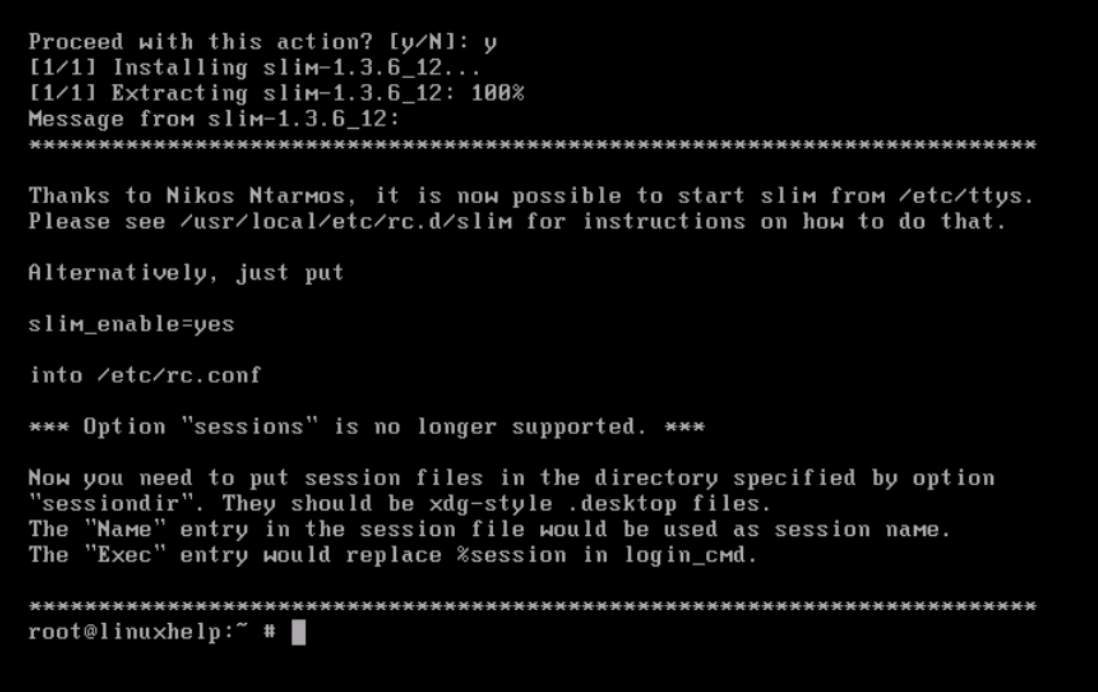
Install “ slim” by using “ pkg install” command.
# pkg install slim
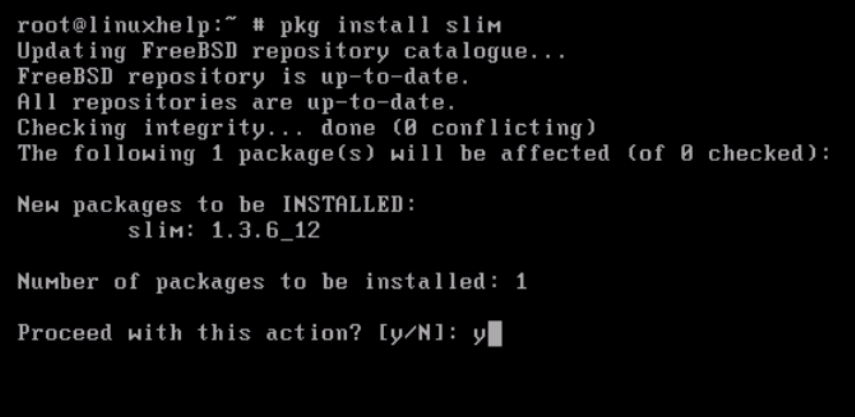
Press “ y” to proceed further.
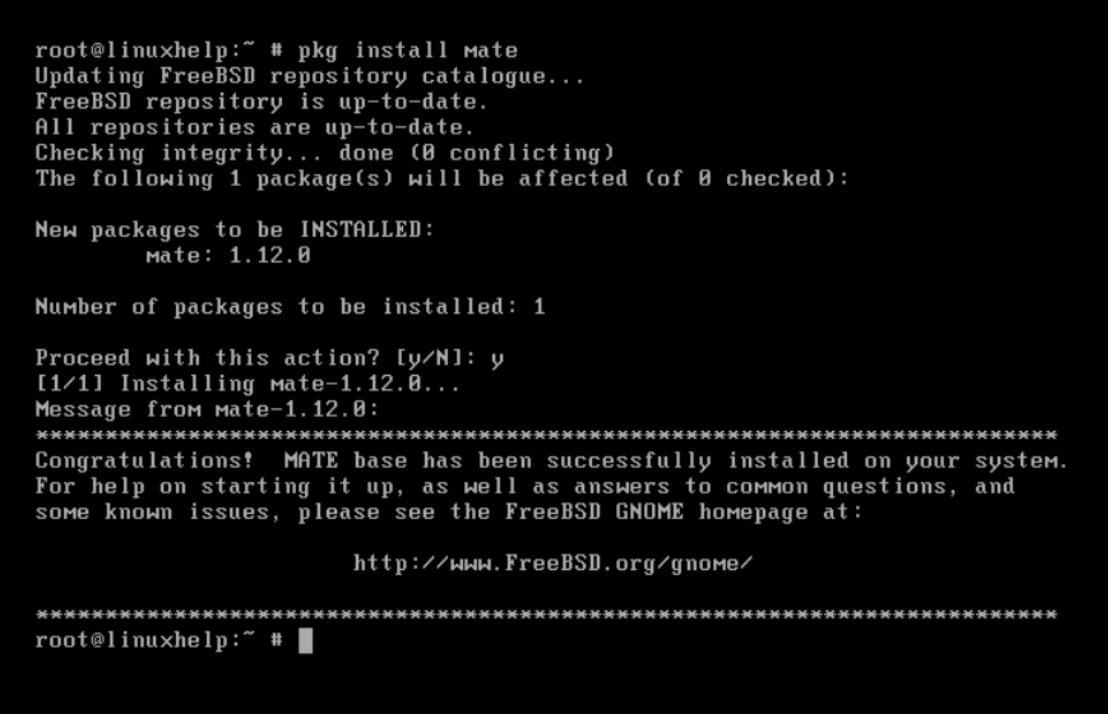
Install “ mate” by running the following command.
# pkg install mate
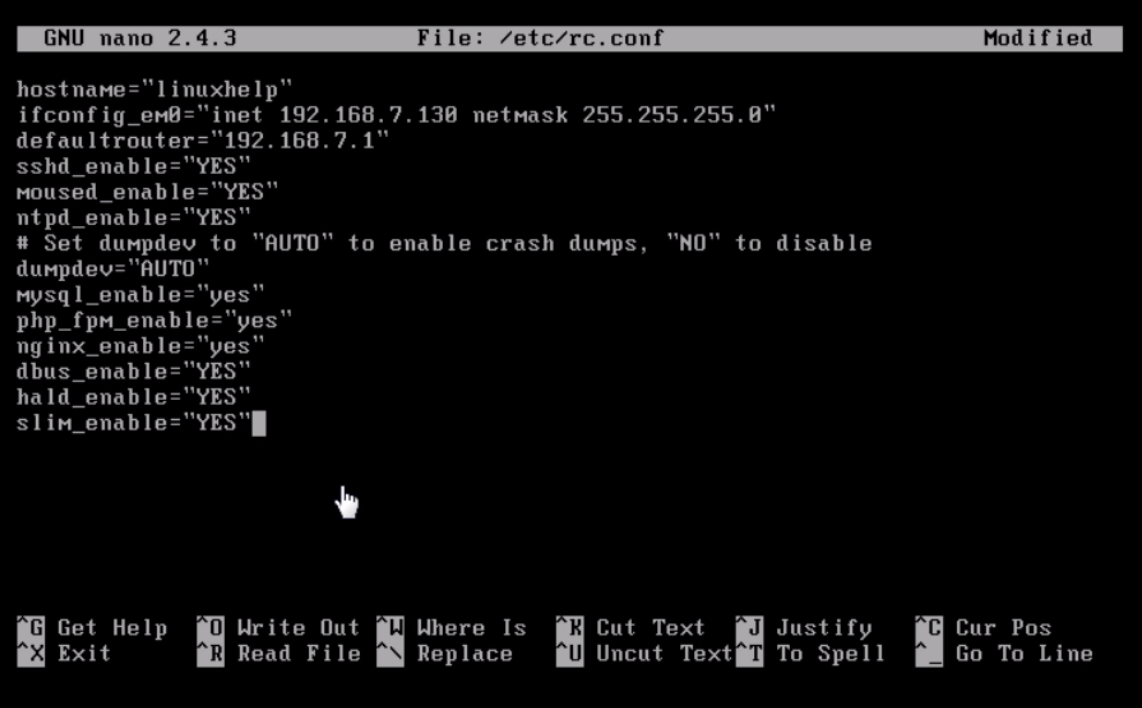
Next edit the “ rc.conf” file.
# nano /etc/rc.conf
Open the file and add following lines to it.
dbus_enable=” YES”
hald_enable=” YES”
slim_enable=” YES”
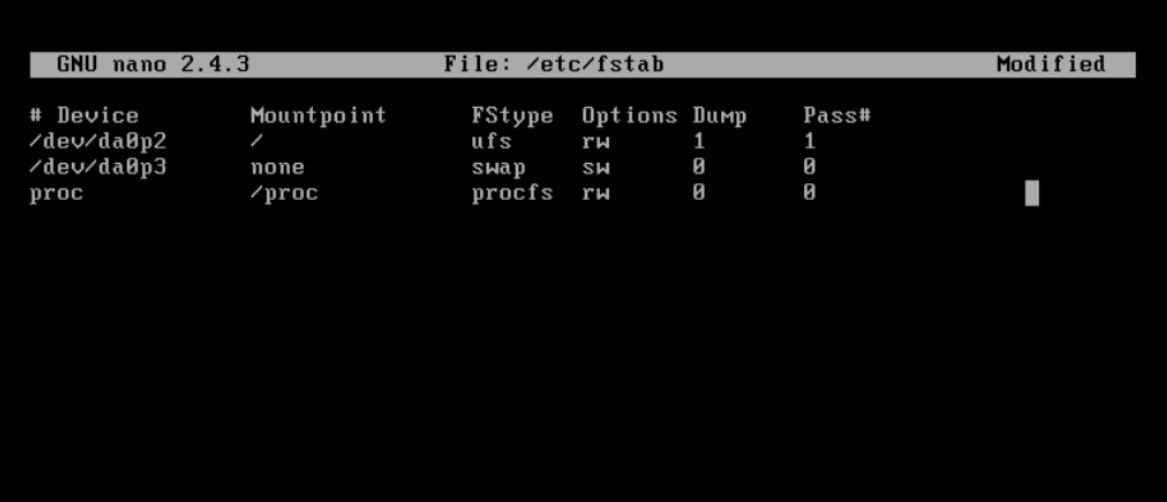
Configure “ fstab” as shown below.
# nano /etc/fstab
Open the file and add the following line to mount.
proc /proc procfs rw 0 0
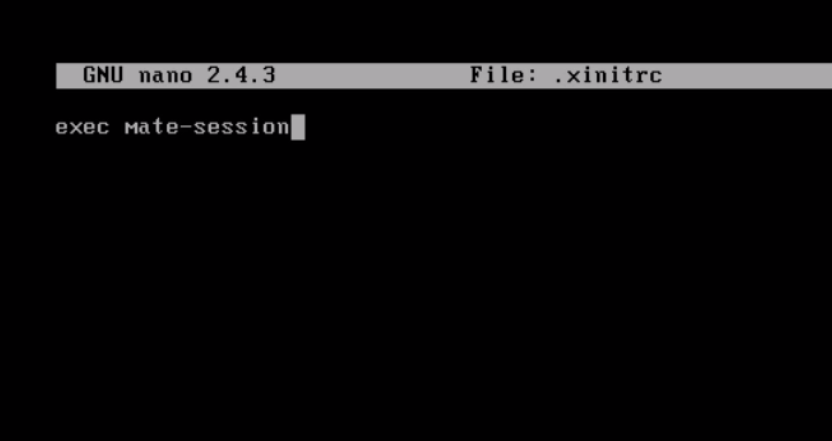
Create “ .xinitrc” file.
# nano .xinitrc
Then add following line for execute the mate session.
exec mate-session
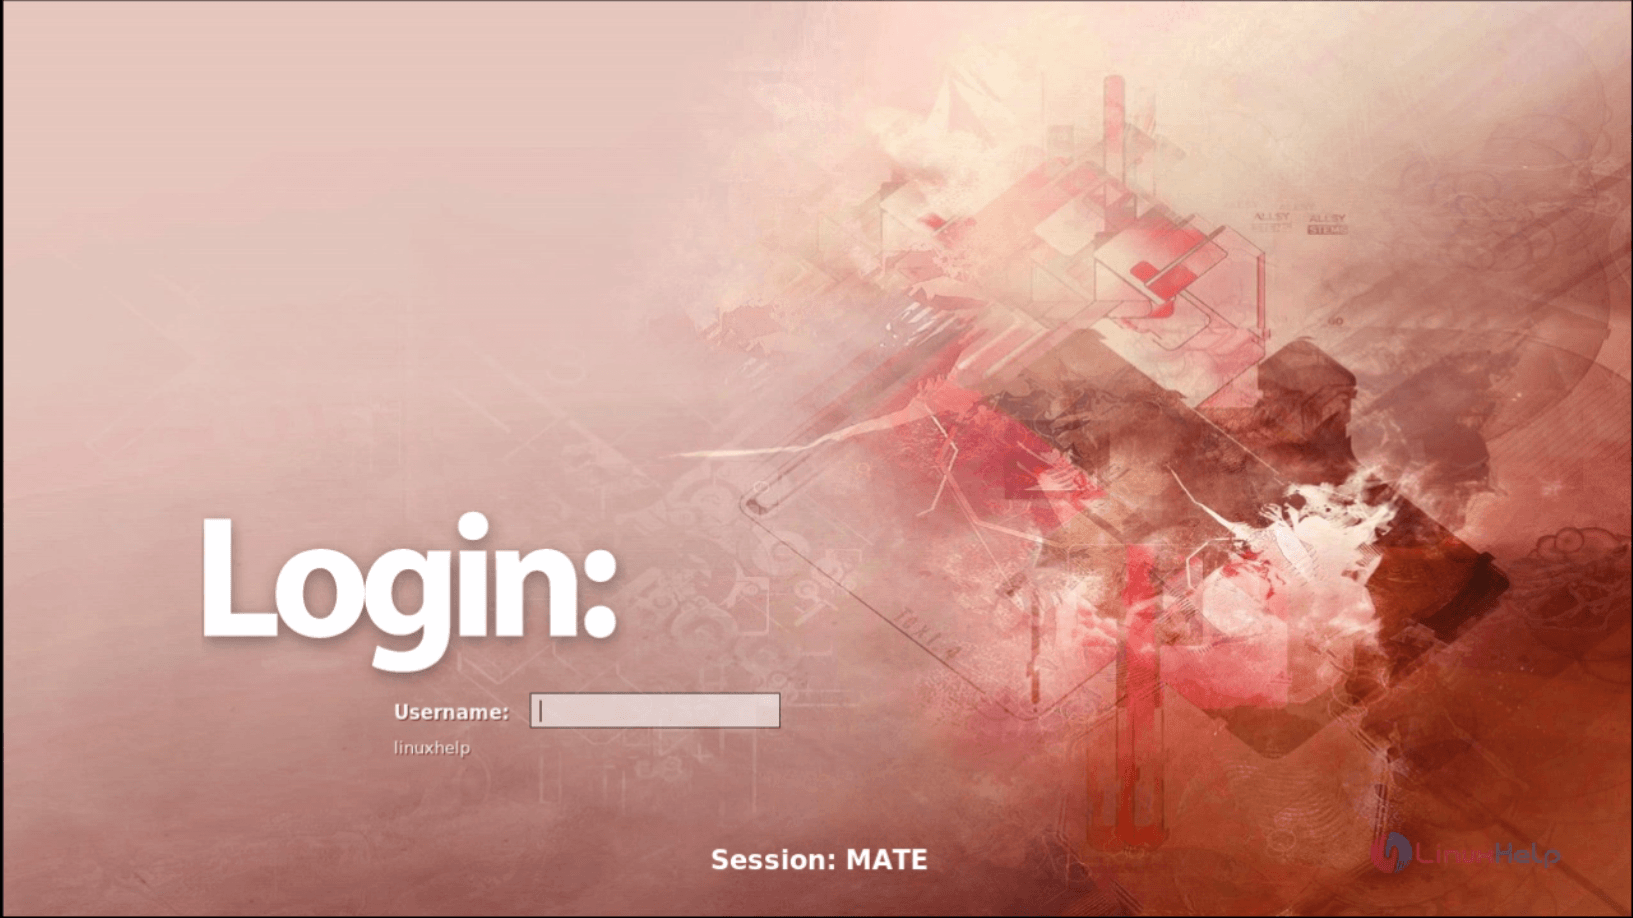
Run the following command to “ reboot” the system.
# reboot
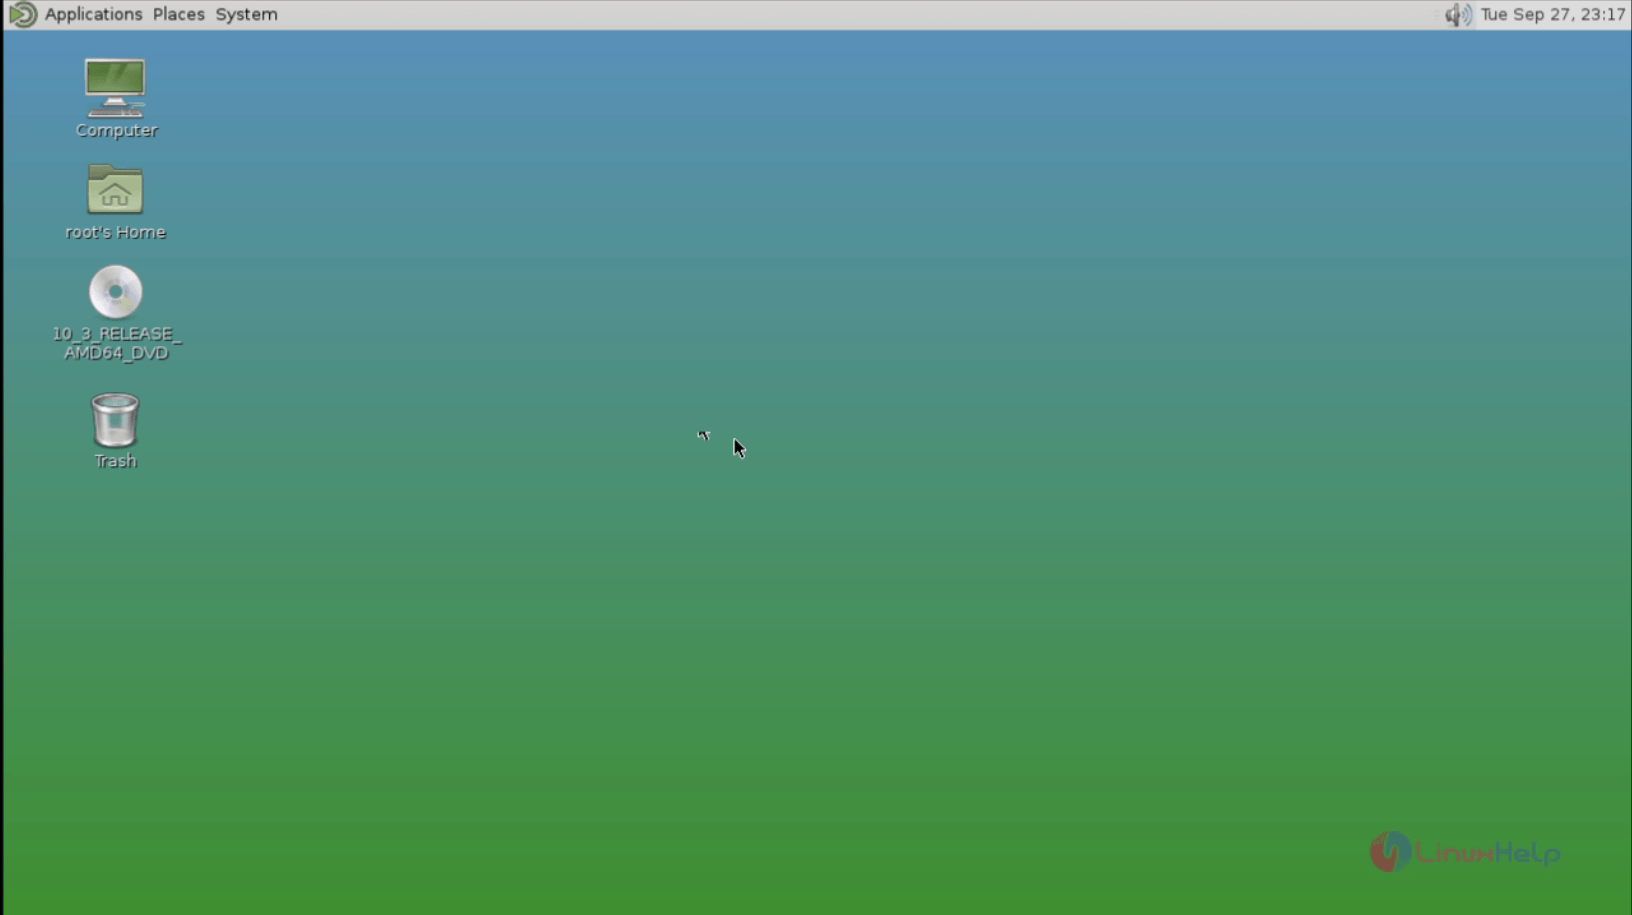
After rebooting, Login to Mate Desktop using the login credentials.
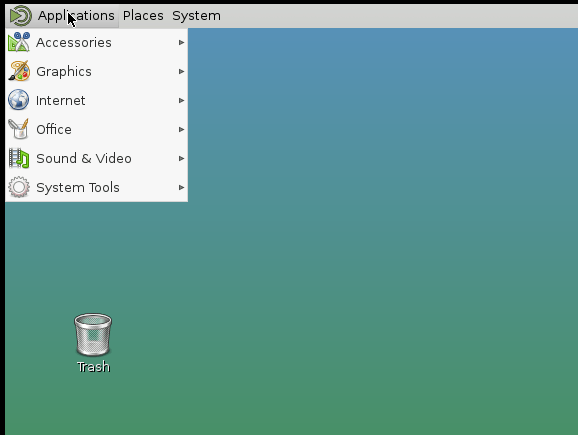
To view the applications, click on Applications.
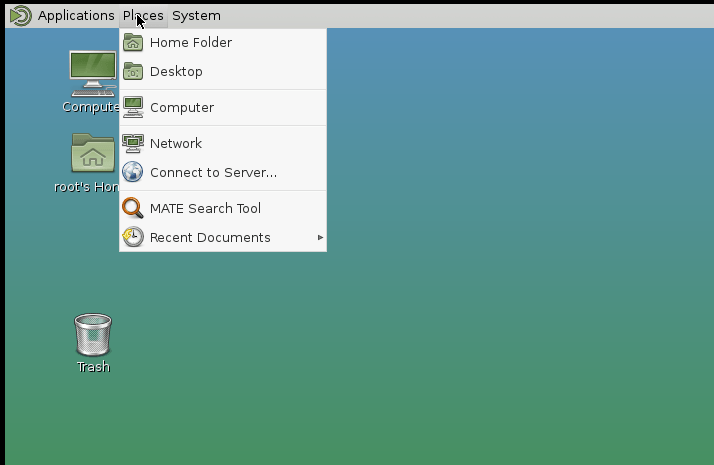
Click on places,
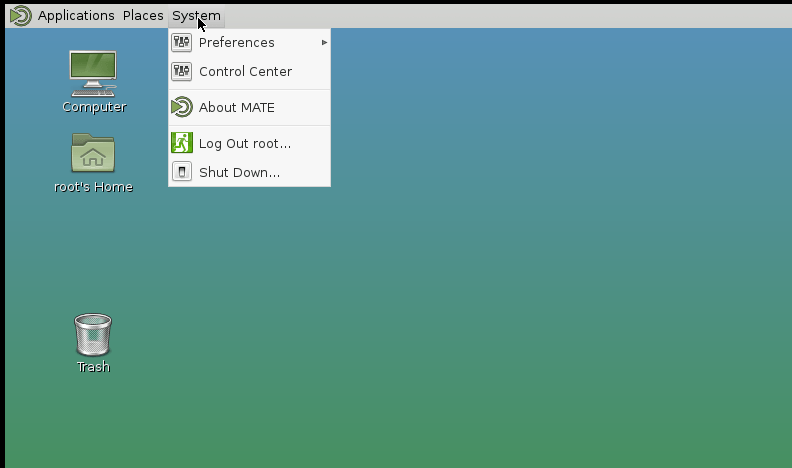
Click on system.
Comments ( 2 )