How To Install Ivms-4200 PCNVR On Windows 7
Installation Of Ivms 4200 PCNVR On Windows7
The iVMS-4200 PCNVR can connect and manage to the front-end network cameras and encoders, and the iVMS-4200 client can be used to manage the PCNVR which provides relatively complete function of the management Network cameras and encoders. This tutorial explain how to install ivms 4200 pcnvr on windows 7
Installation process.
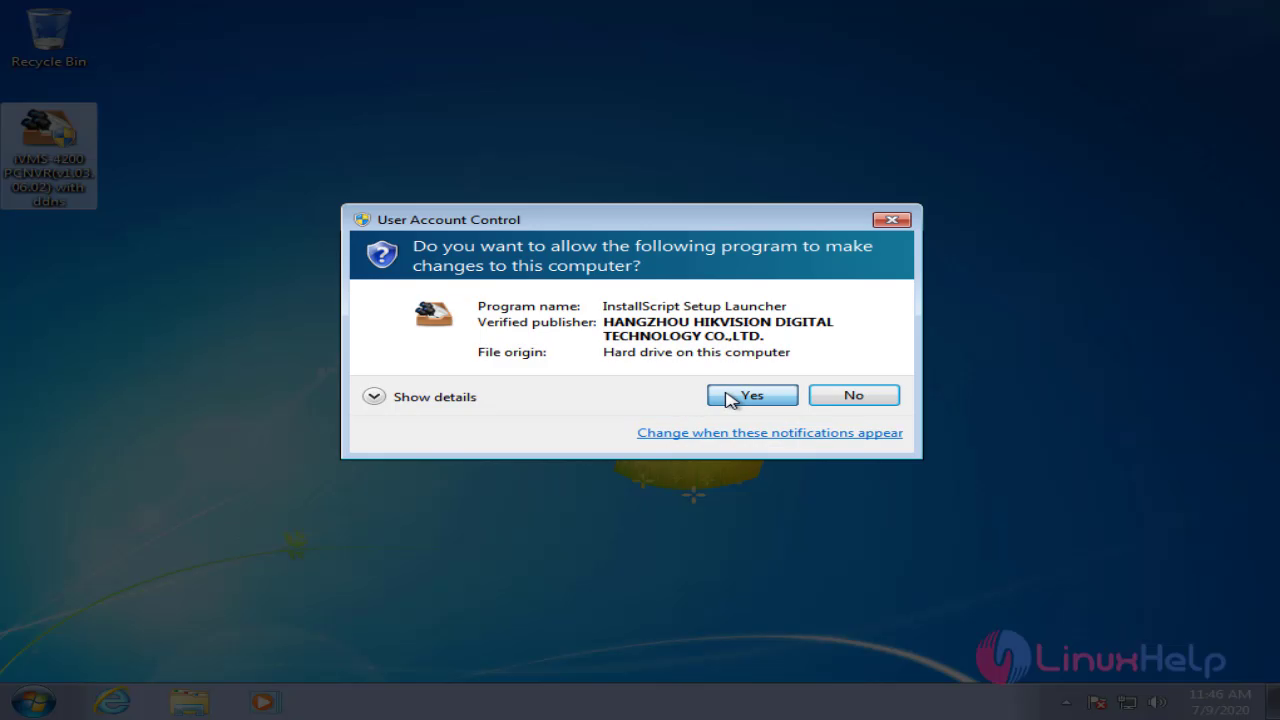
To install iVMS, click and run it using administrator
 Allow the software to install by admin
 The iVMS installation setup in process
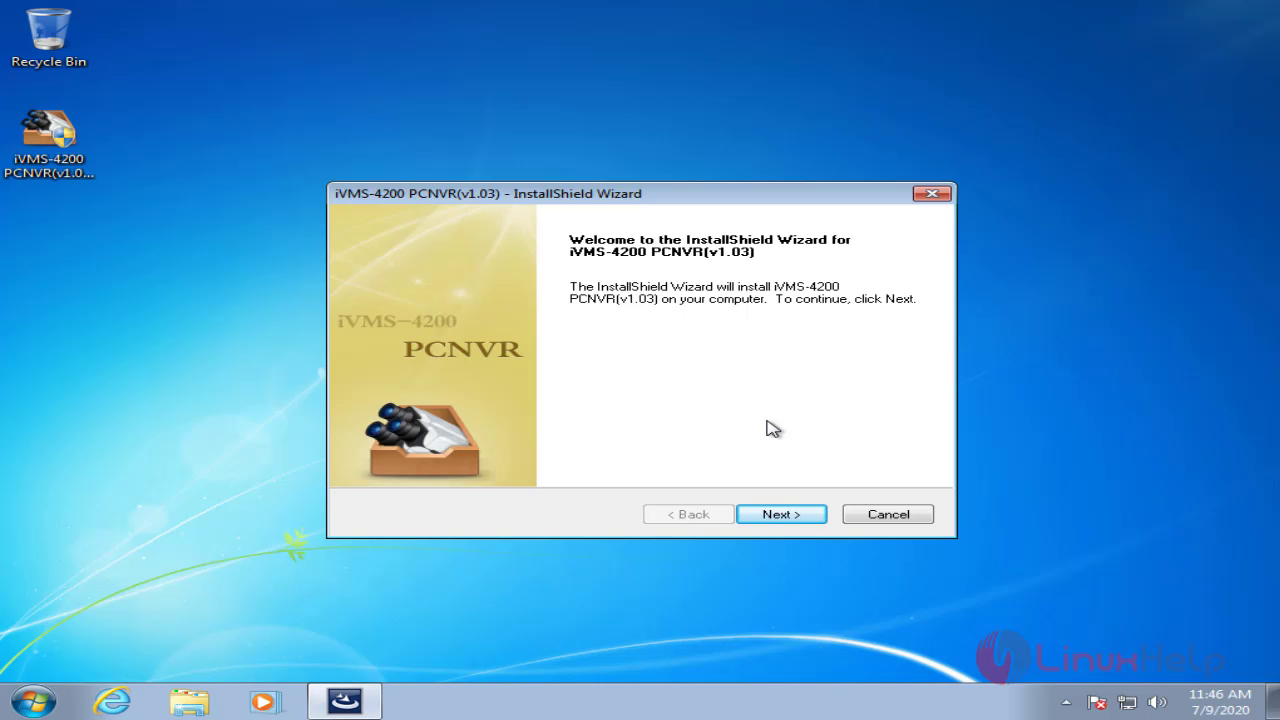
 This is the welcome page of iVMS software, Now click next to start the installing process
Accept the terms and policy of iVMS software
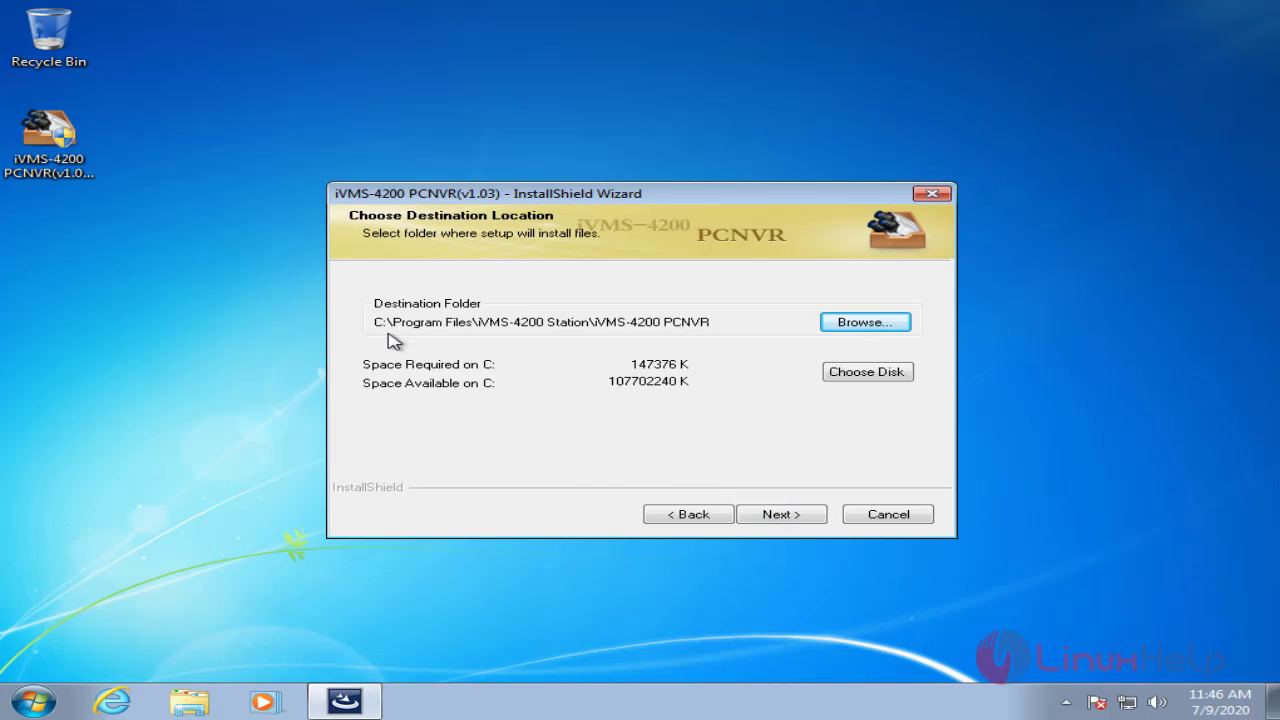
 Choose the destination location for iVMS to be installed
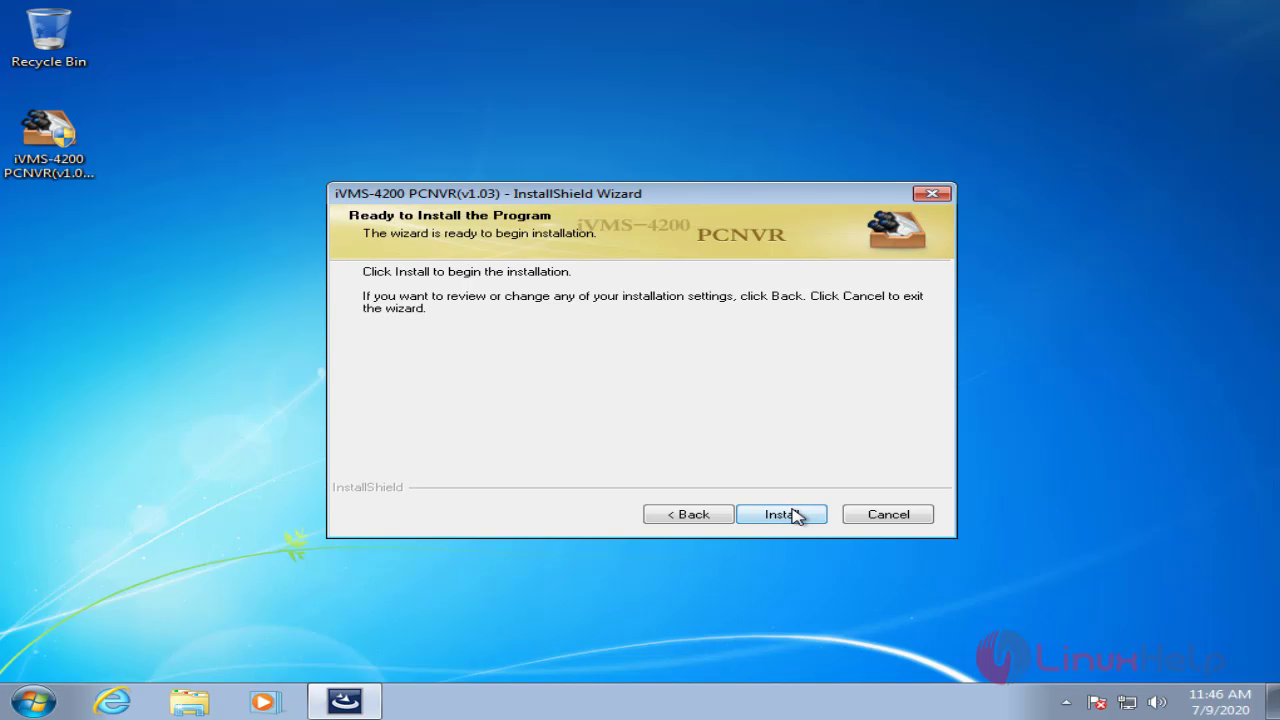
 Click the install to start the installation
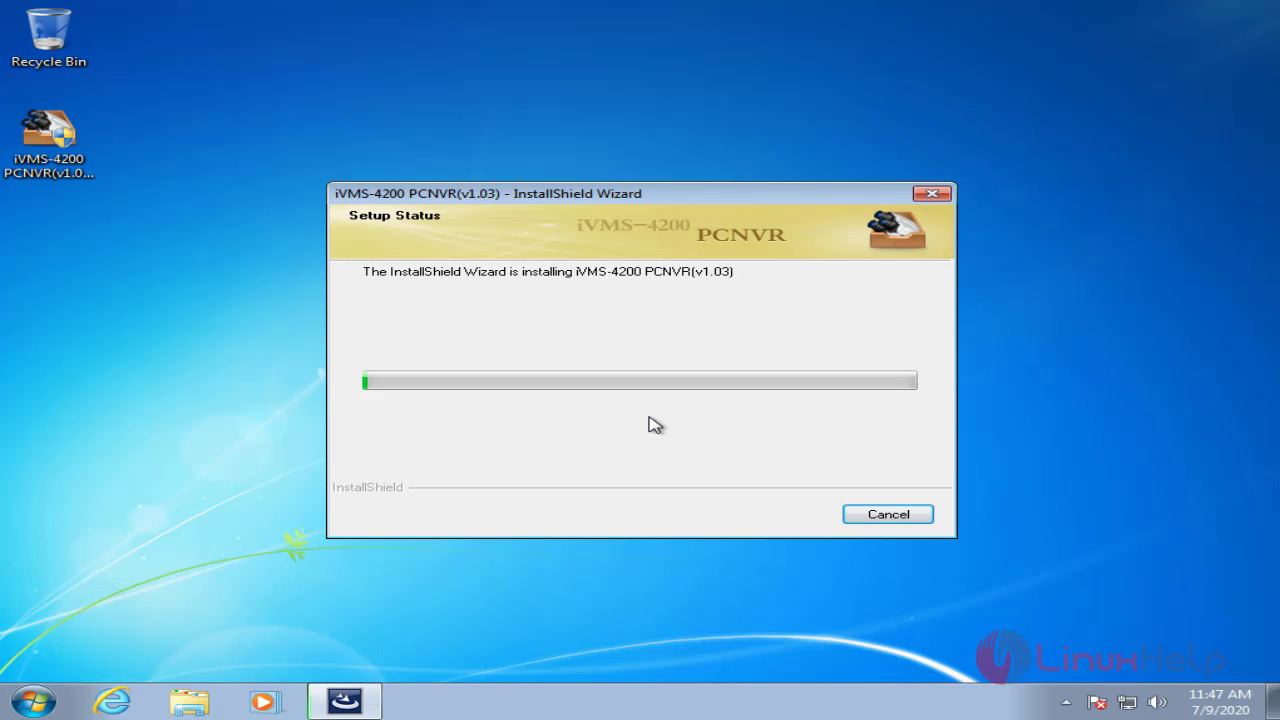
 The installation is on process
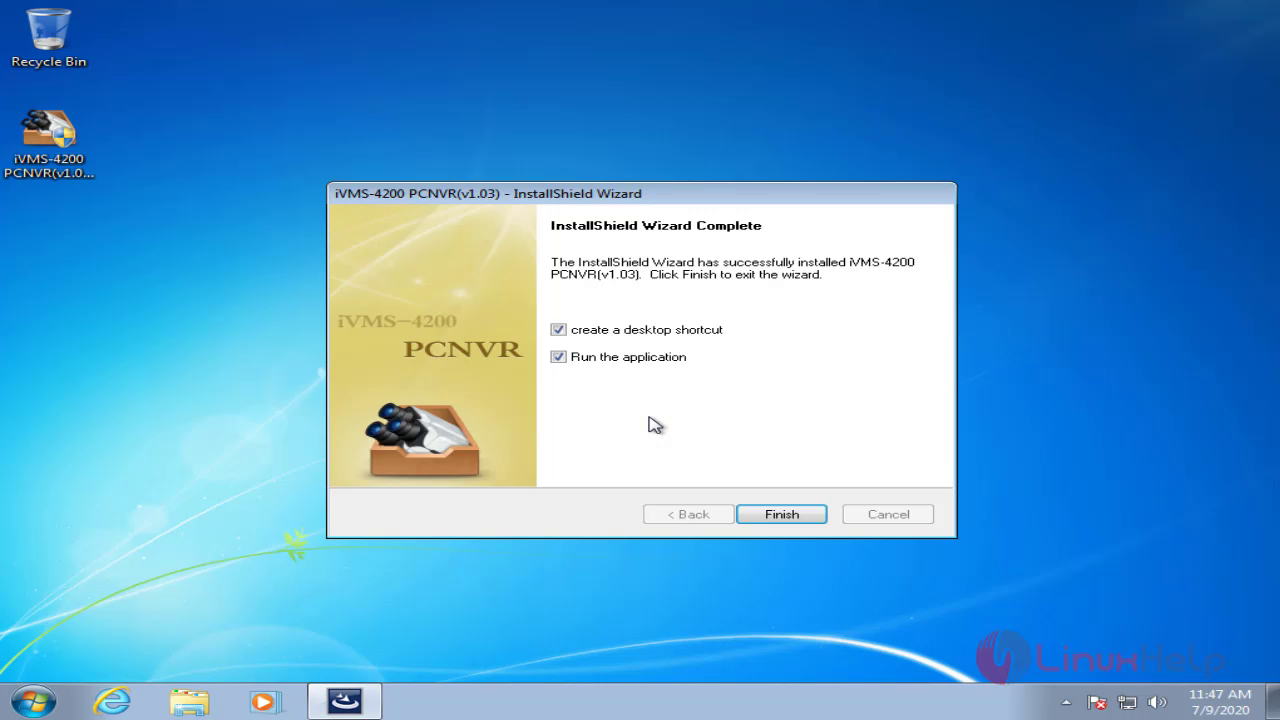
 Installation process is completed now run the ivms pcnvr 4200
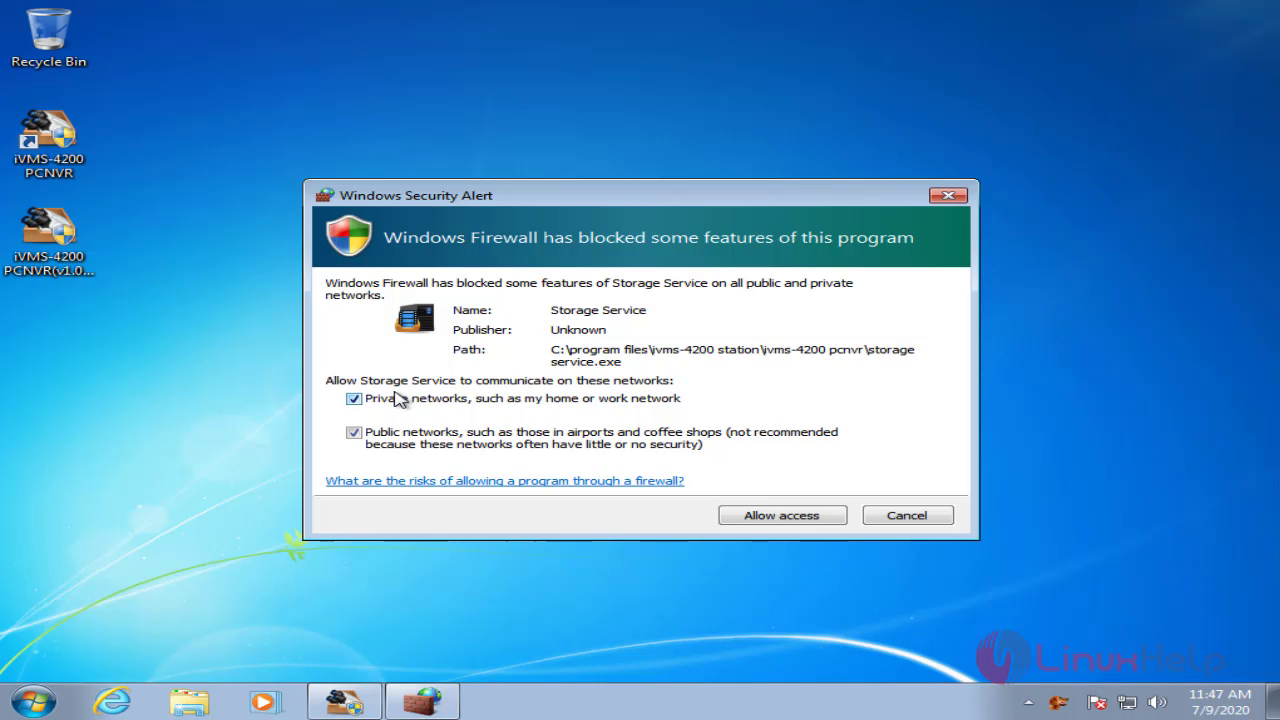
 Allow the access through firewall
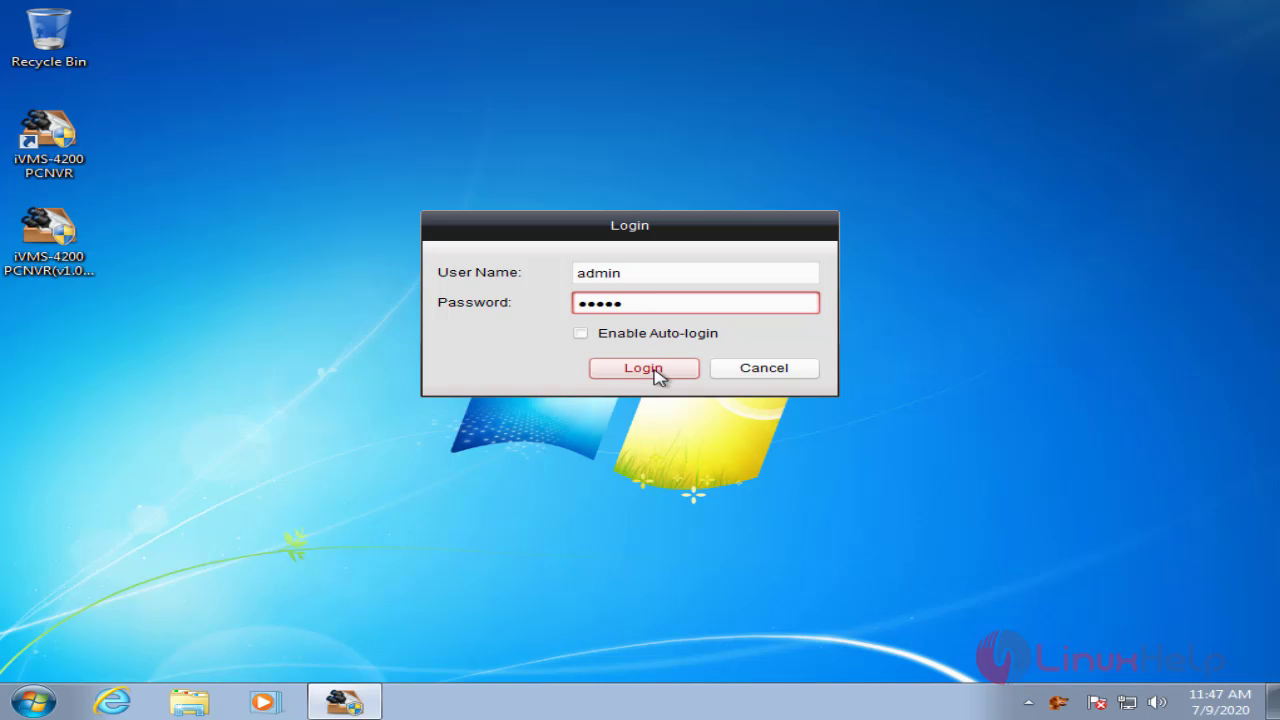
 The IVMS login page’s default username is admin and password is 12345
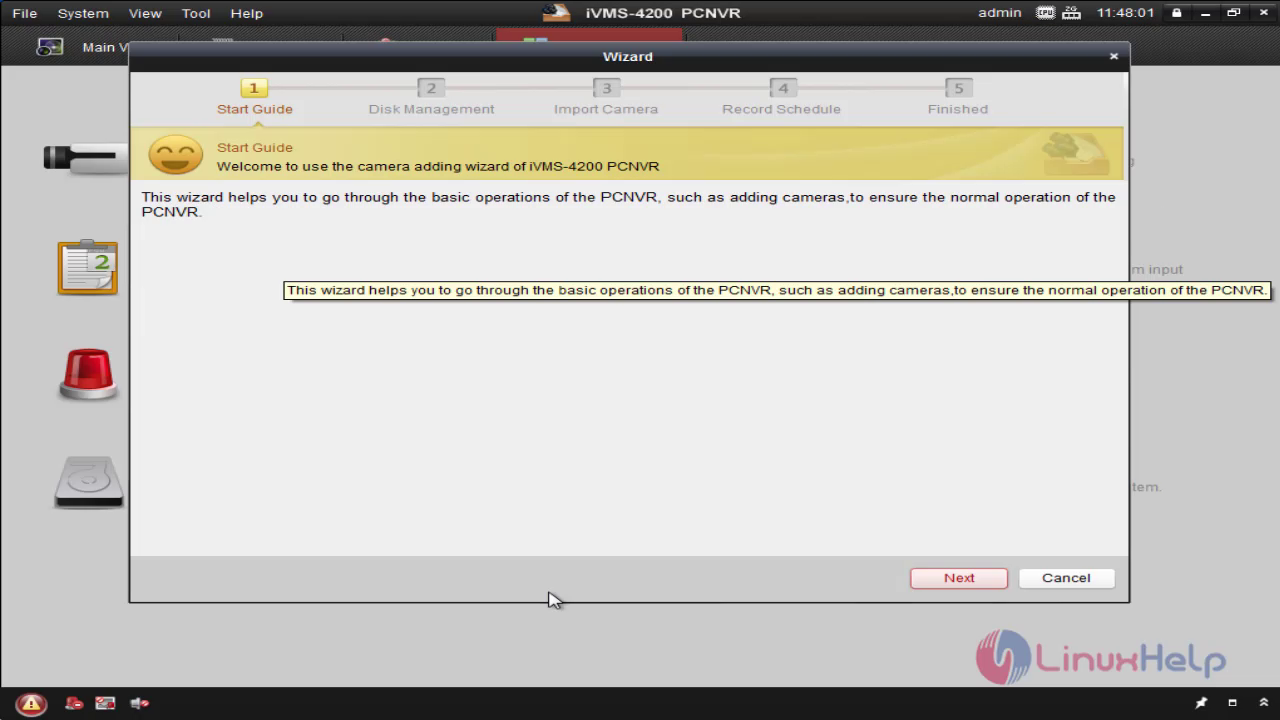
 This is the welcome page of iVMS software
 This is the disk management for record the videos on server
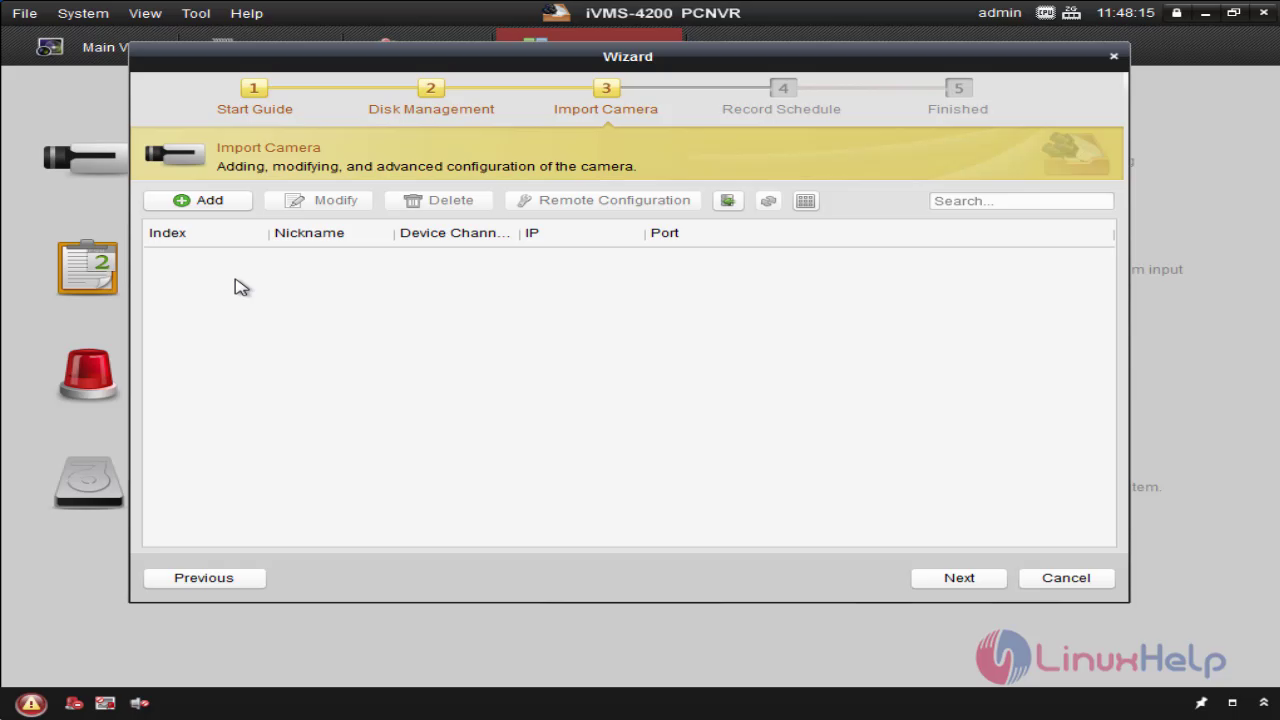
 This is the option to import camera on server
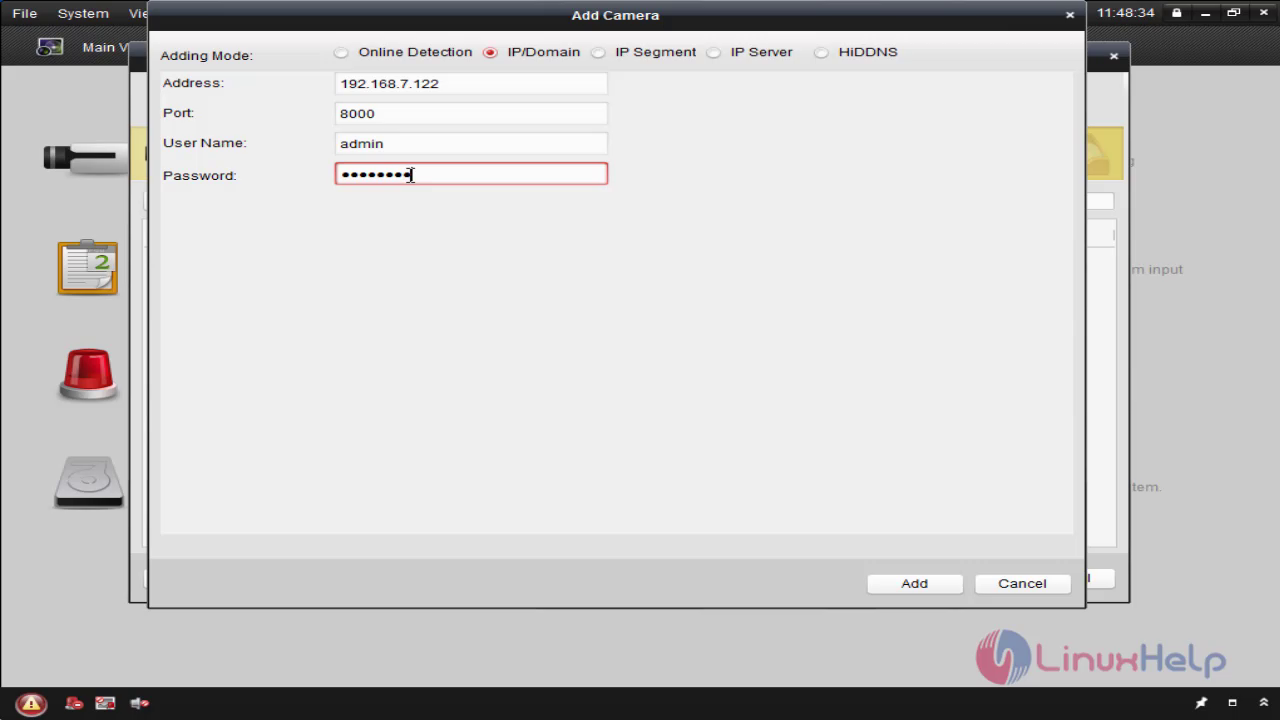
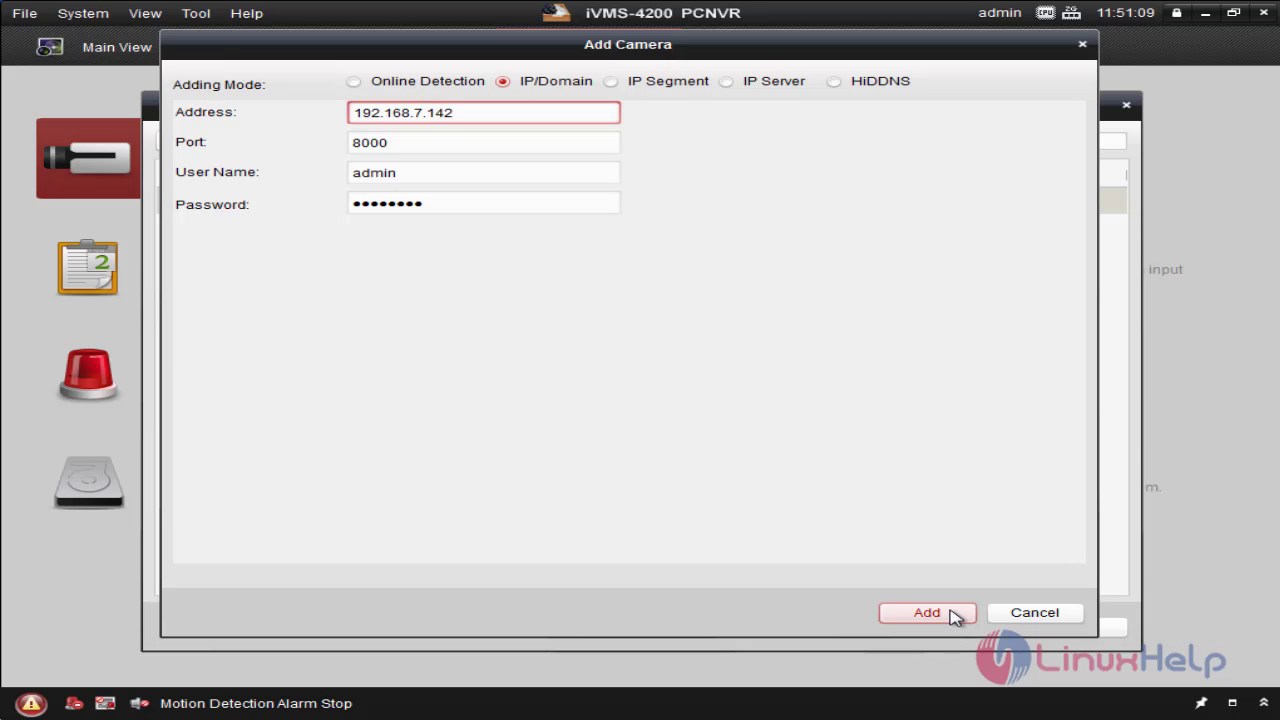
 Choose the IP mode and add the address of your camera and enter the username and password
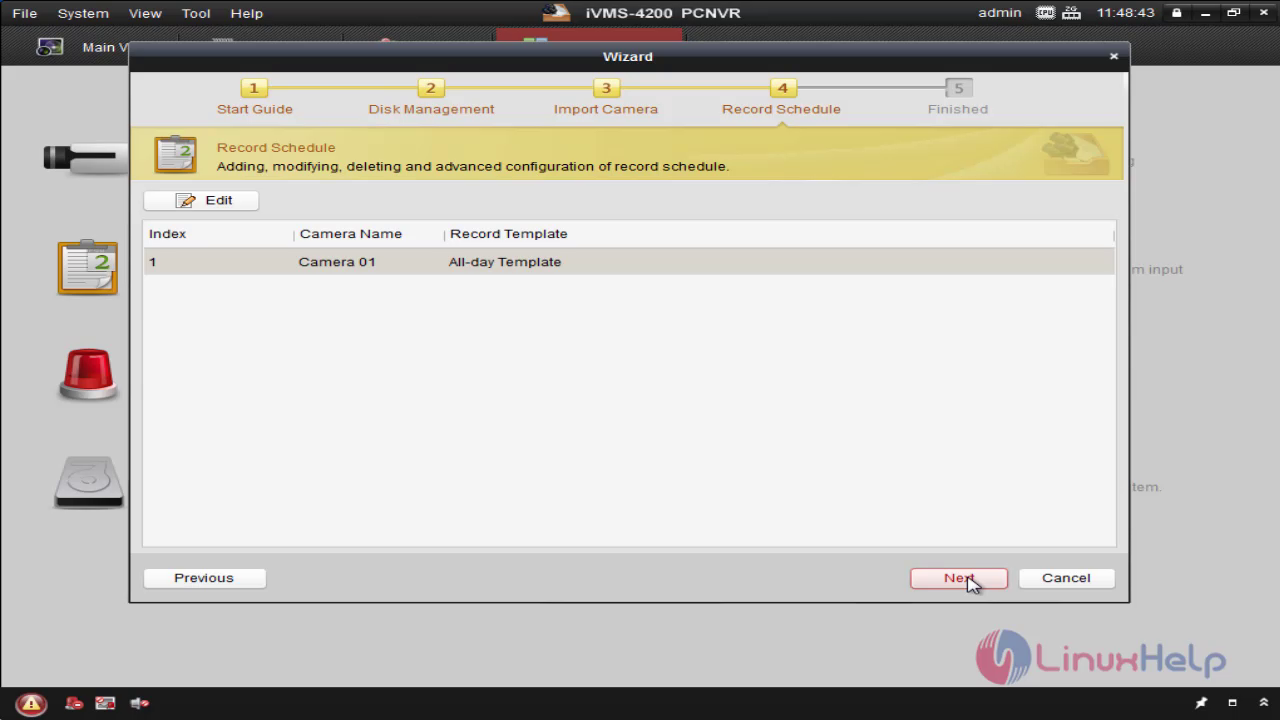
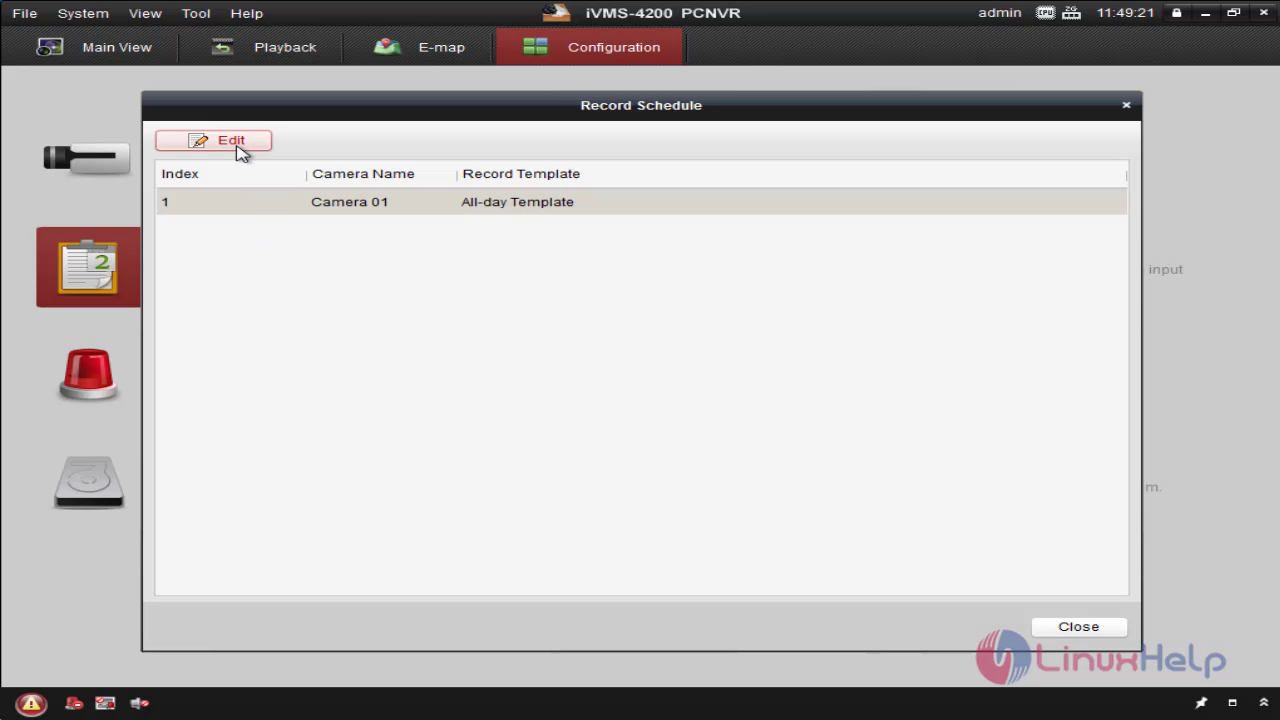
 The Record schedule Feature is used for managing the recording schedule of all camera
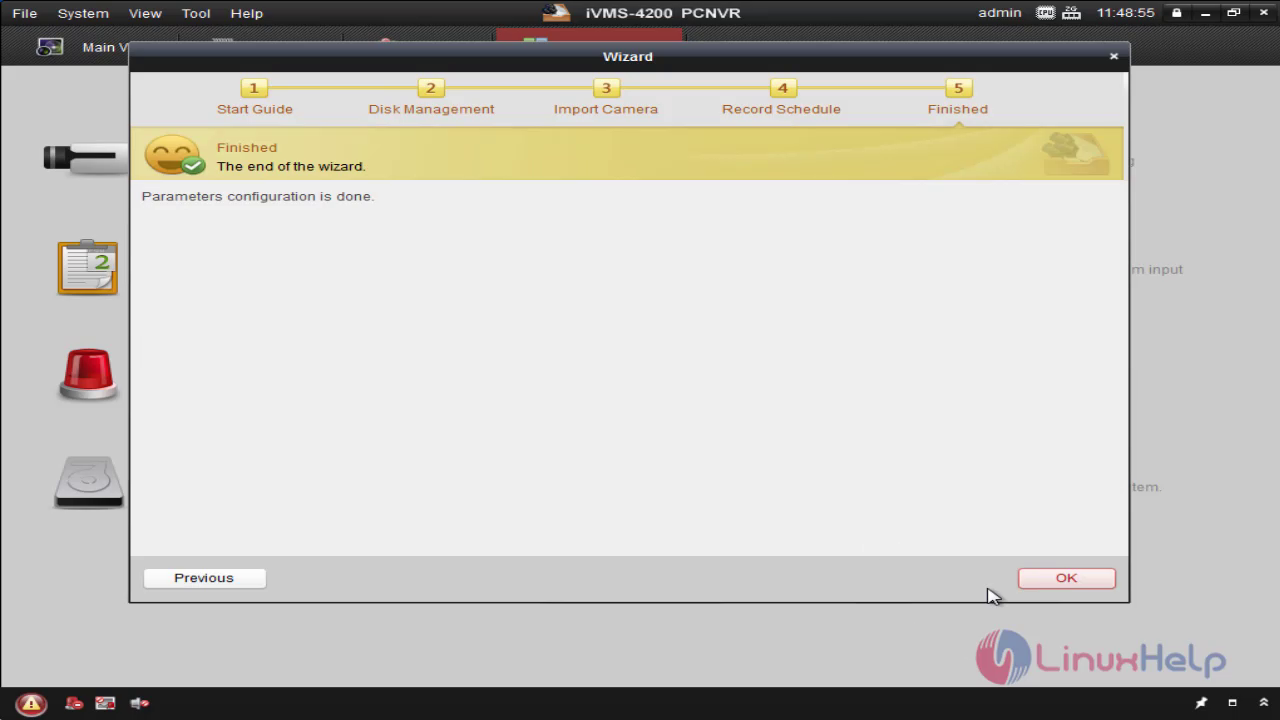
This is the end of wizard
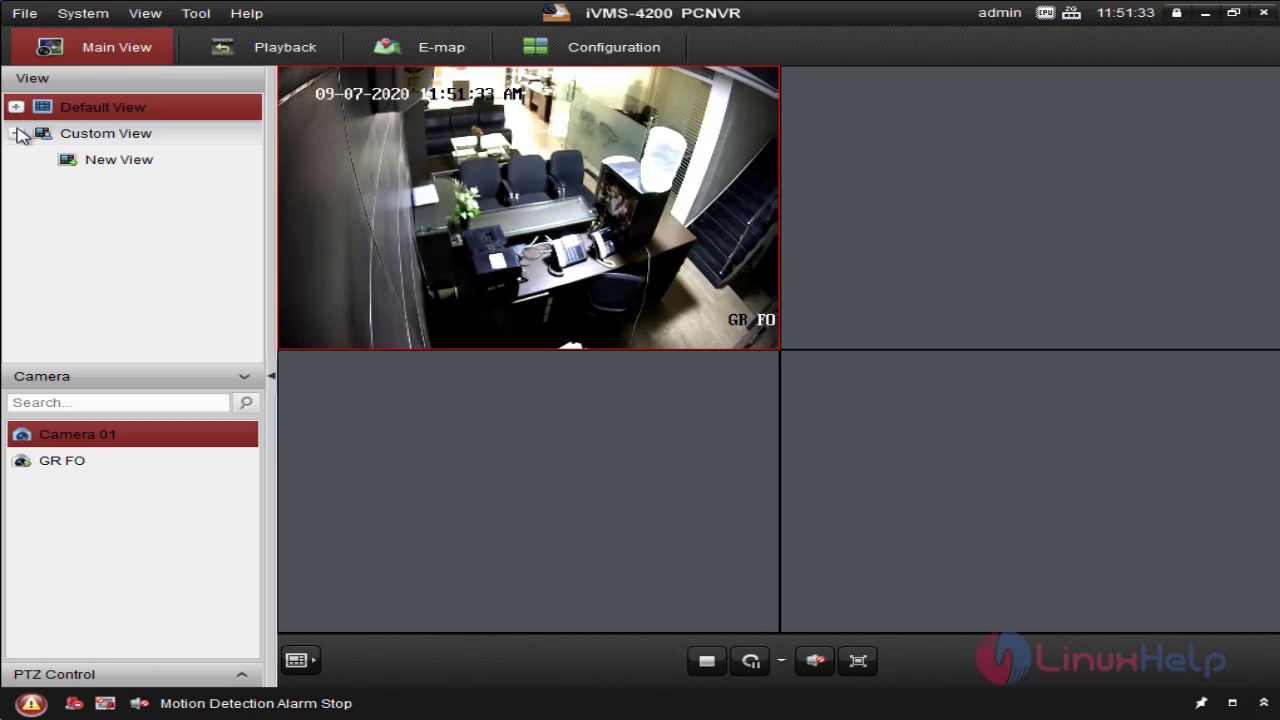
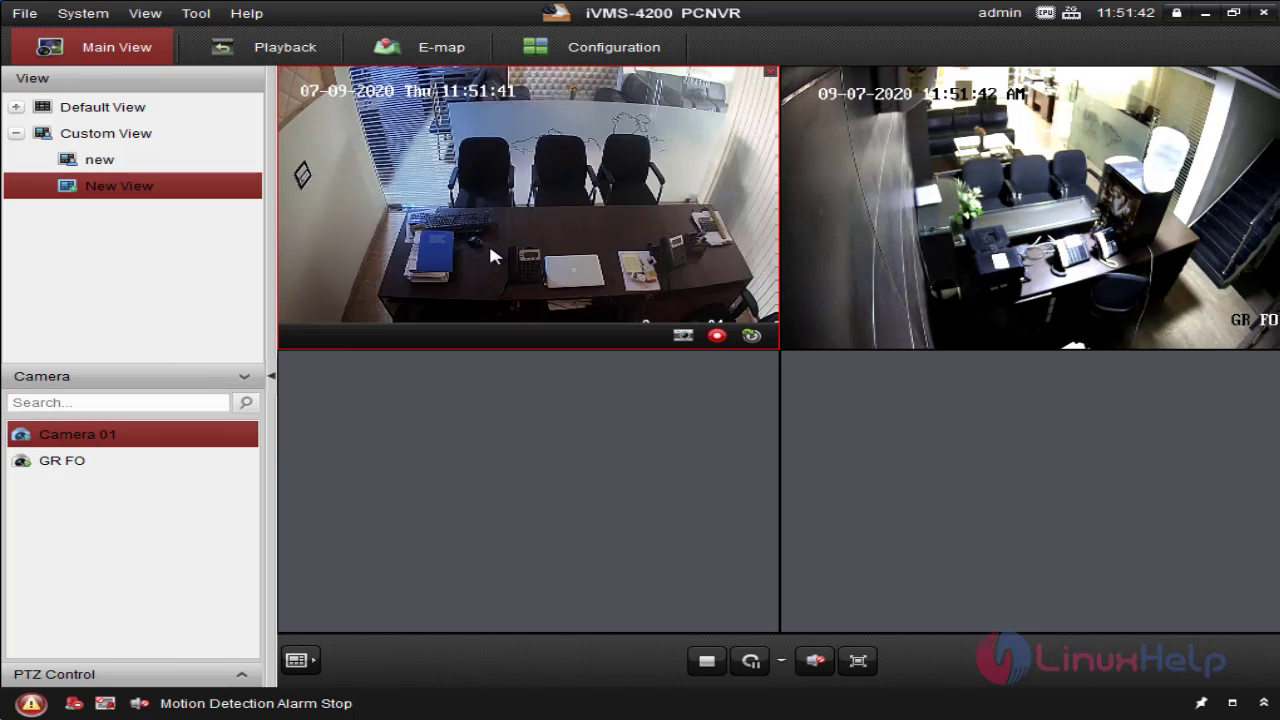
 You can see the camera is added in the view
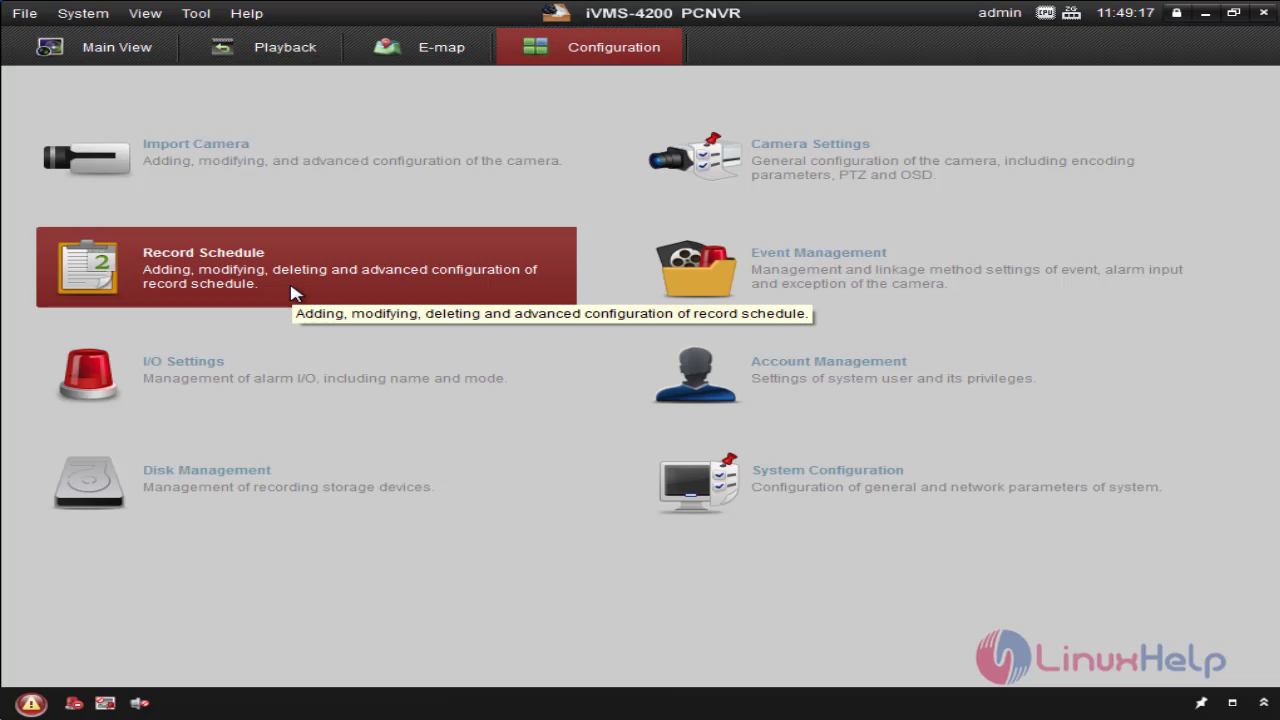
 Enter into record schedule
 Select the camera and click edit option
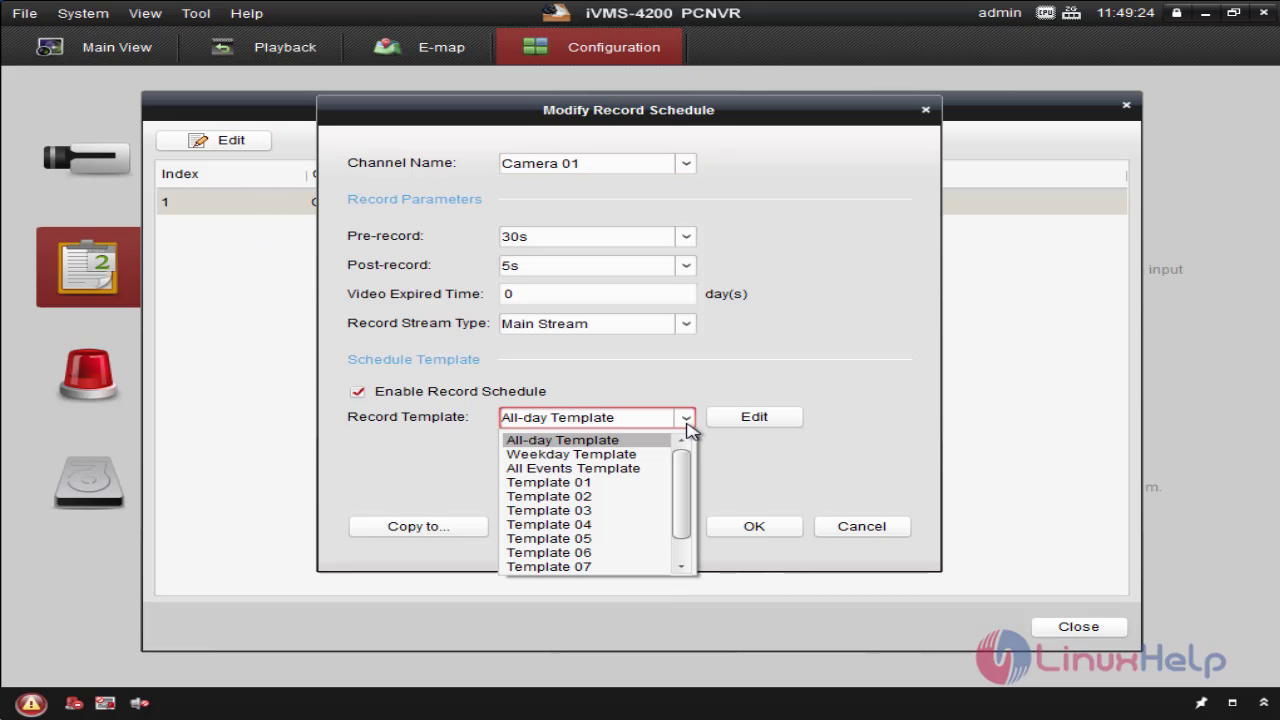
 You can add a template for recording schedule
 You can add another camera using the same methode
 Once you added another camera you can get the view in ivms
With this the installation and configuration of ivms pcnvr 4200 on windows 7 comes to end.
Comments ( 0 )
No comments available