How to create Extensions on AI SmartCaller
To Create Extensions on AI SmartCaller
Introduction
In this lecture, we will provide a detailed overview of creating extensions within the AI SmartCaller application. AI SmartCaller is an extremely valuable tool for developing extensions tailored for office environments through its graphical user interface. Additionally, this session will address the process of creating a SIP within AI SmartCaller and the necessary steps to configure it with the microphone.
Procedure
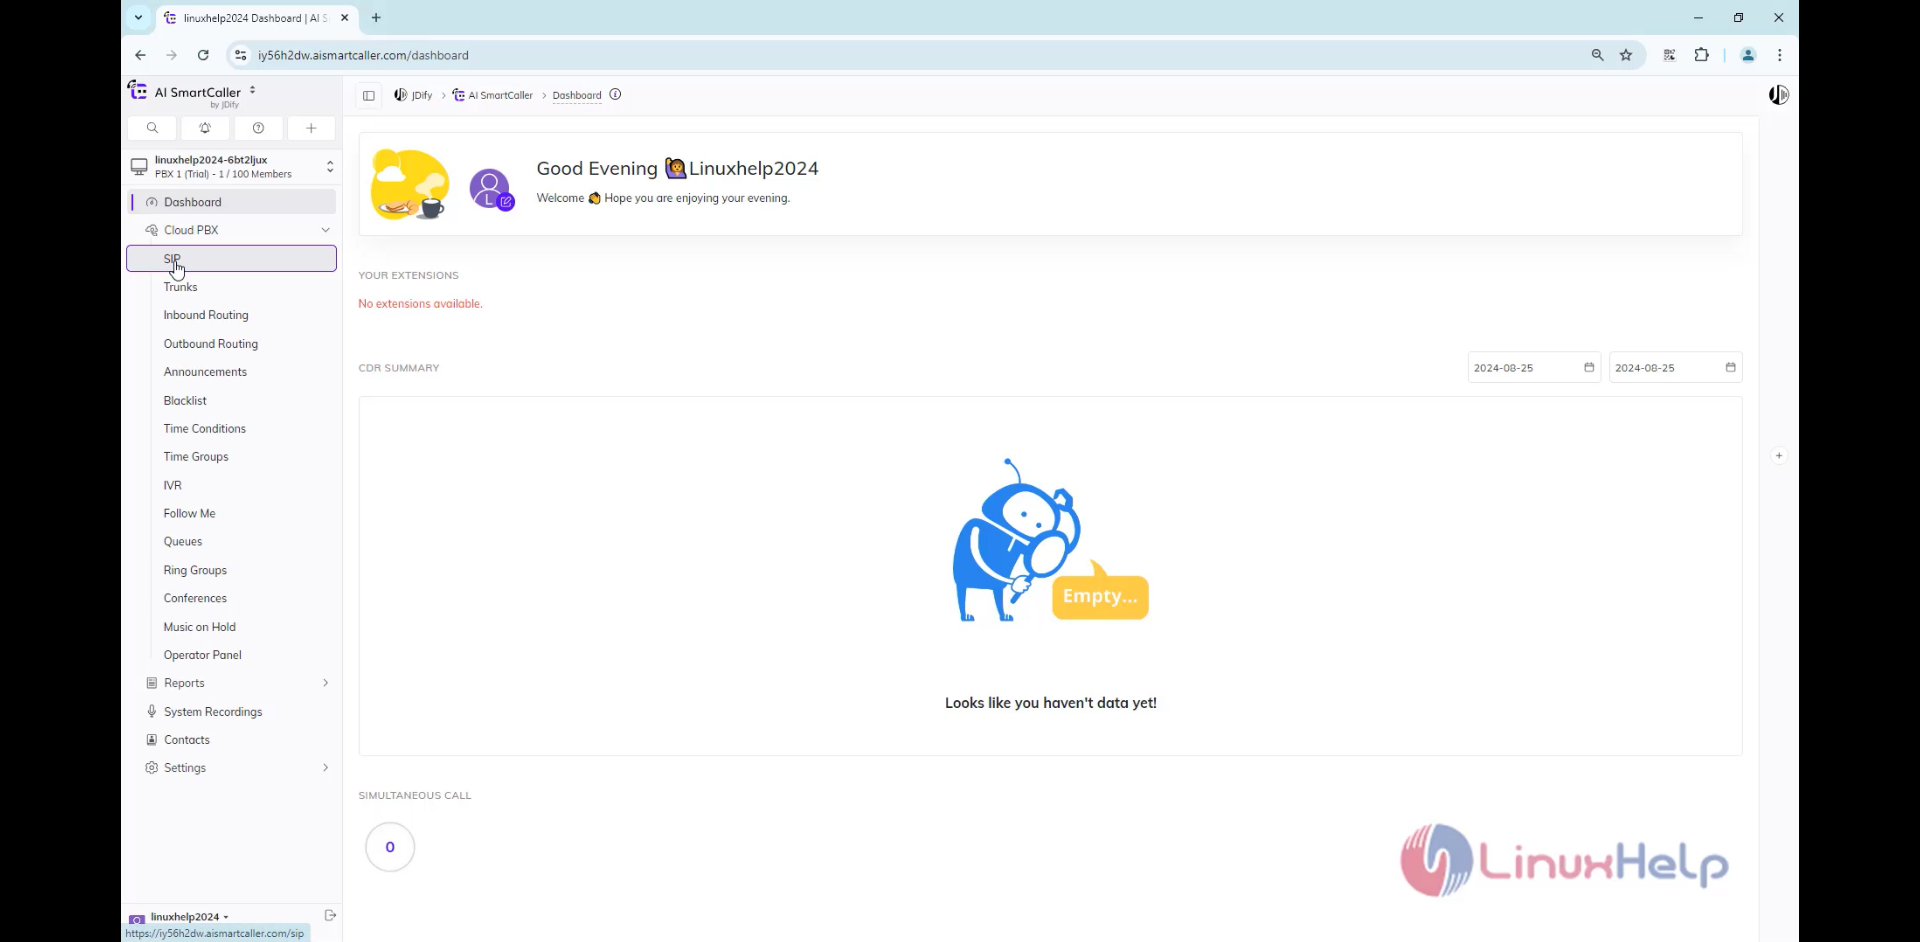
Step 1: Select Cloud PBX and click on SIP
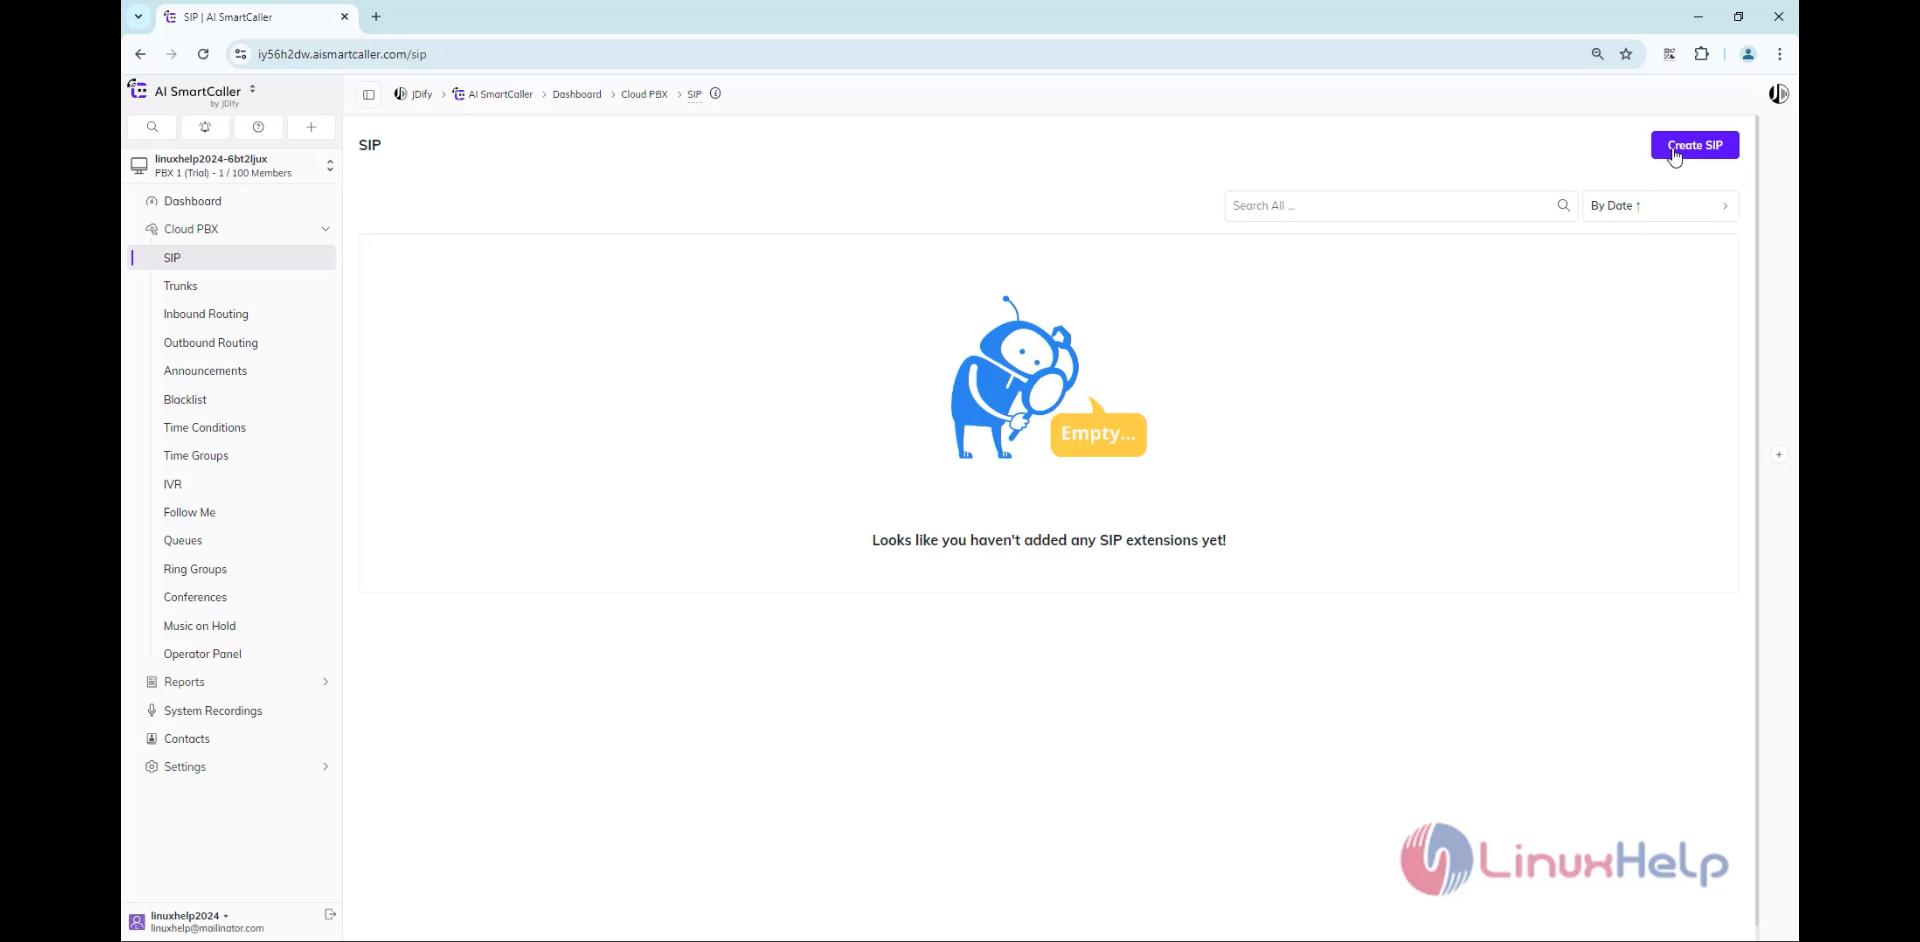
Step 2: Click & create SIP
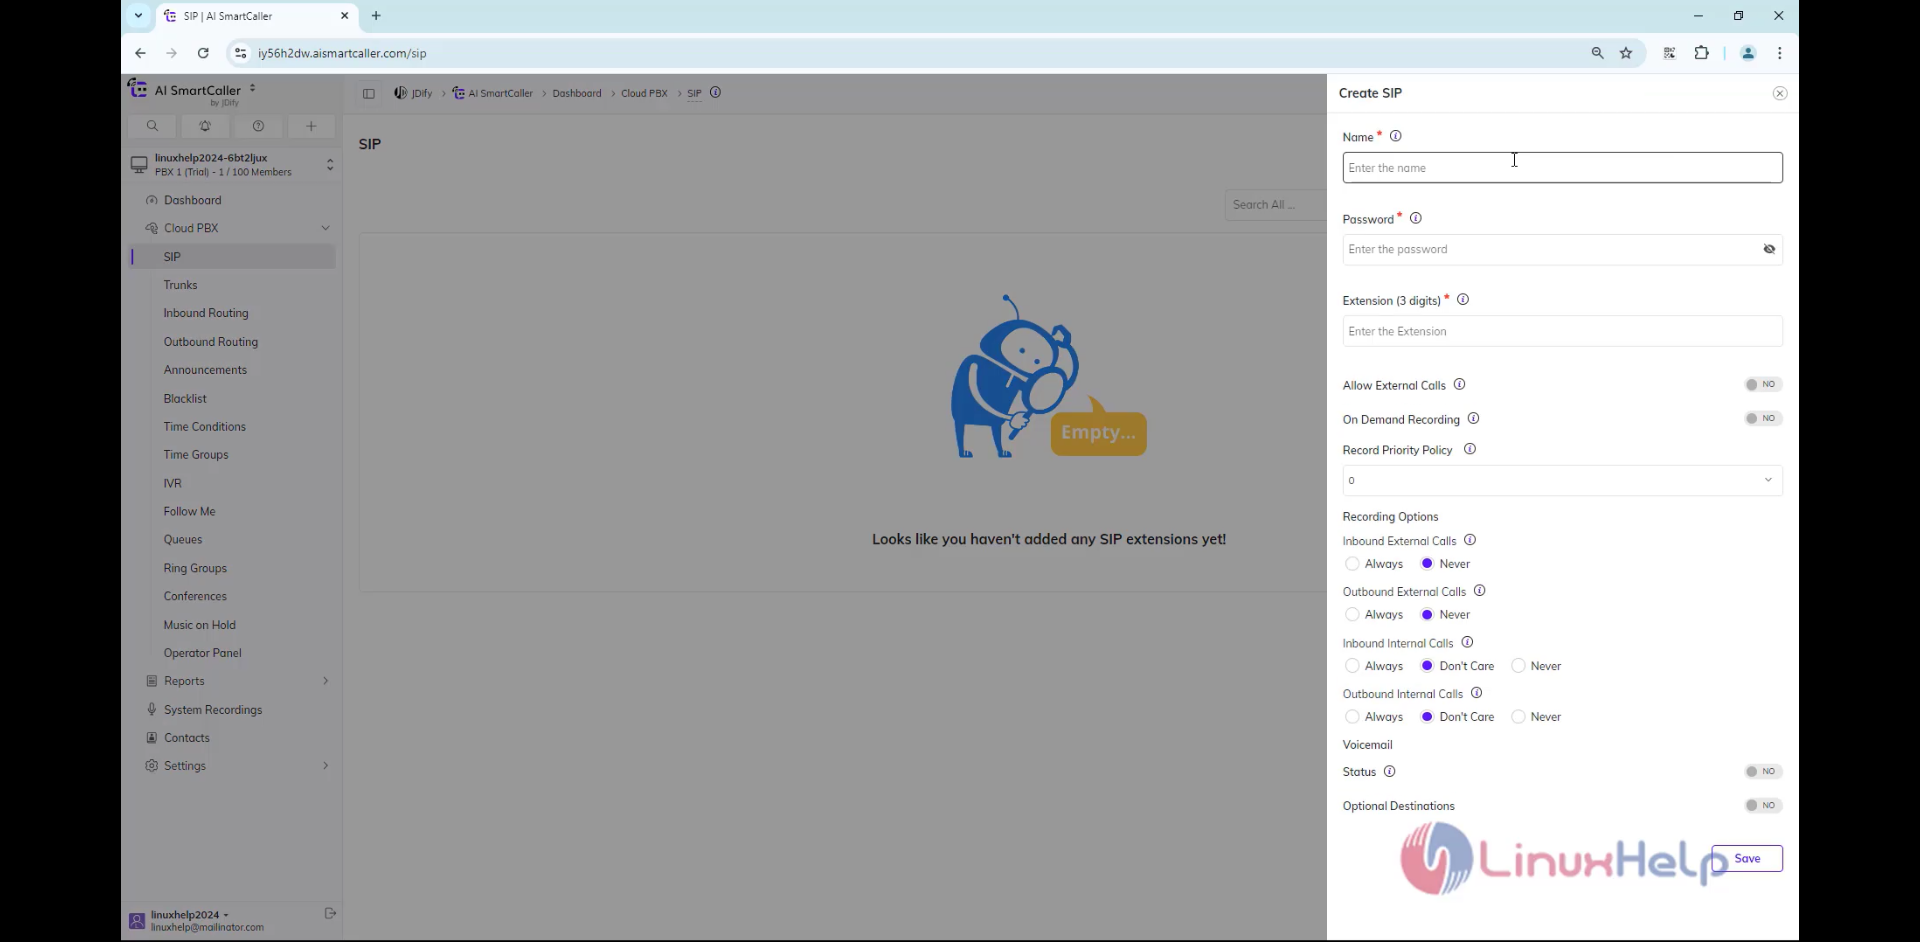
Step 3: Shown the default details
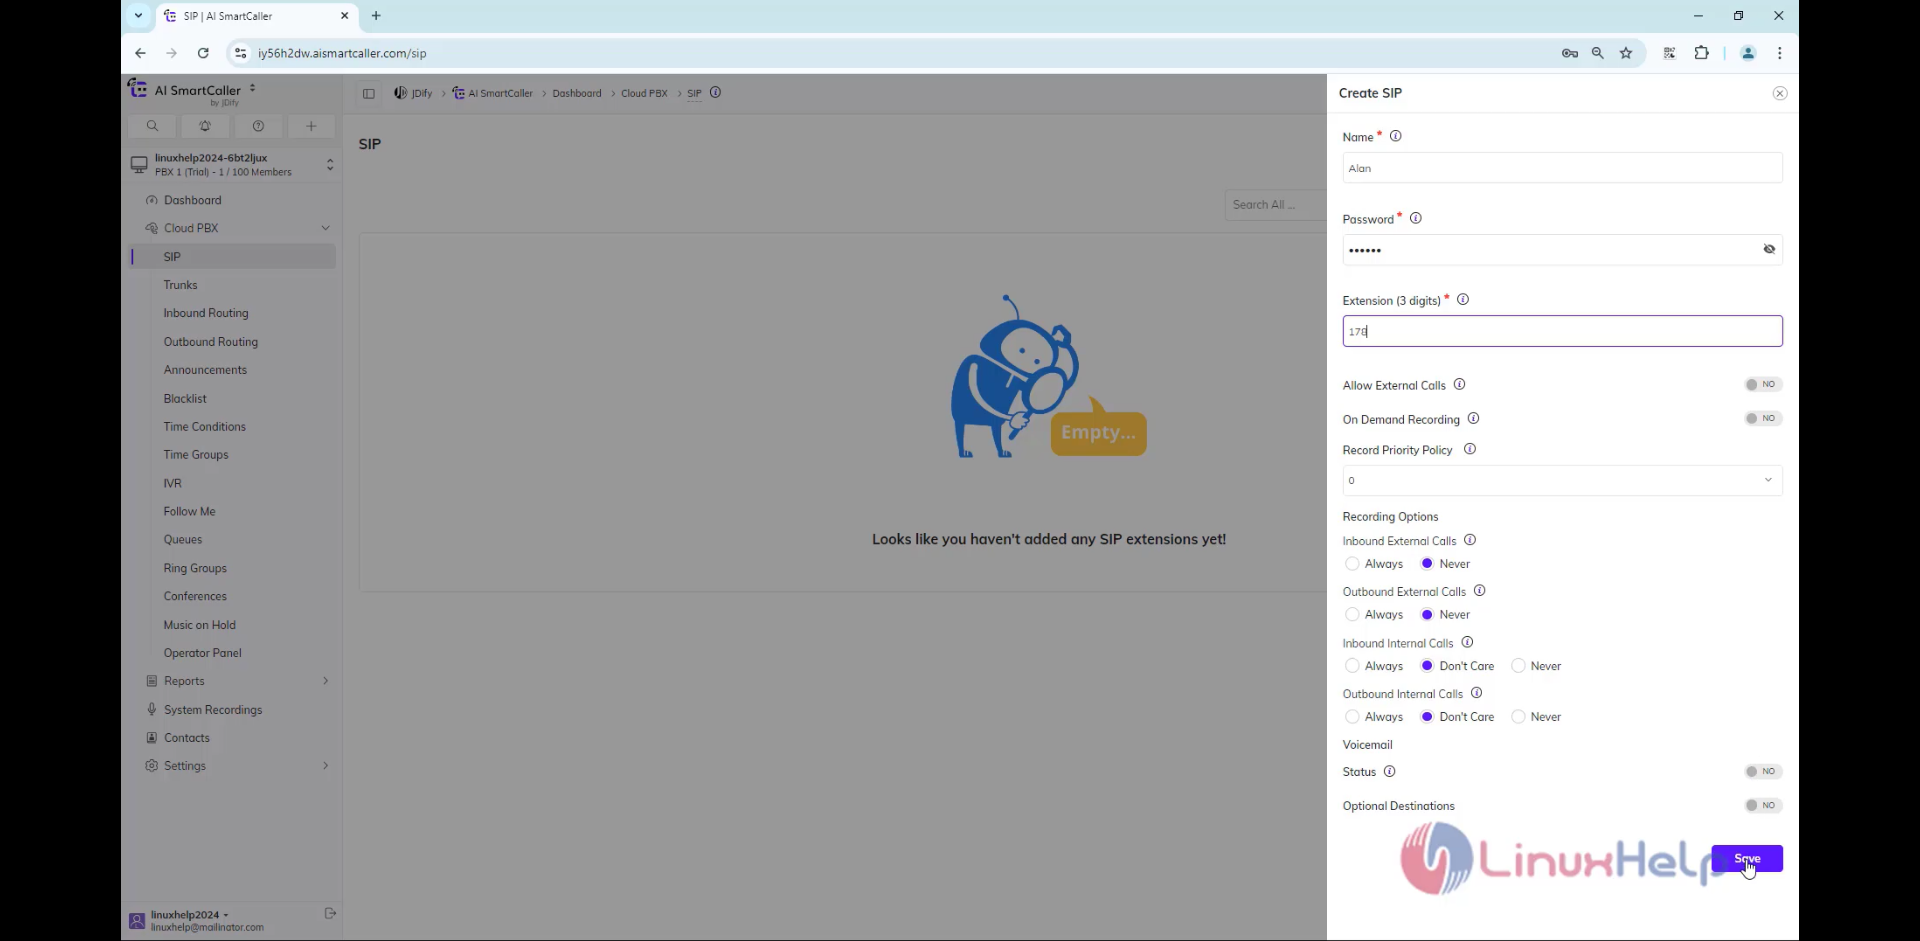
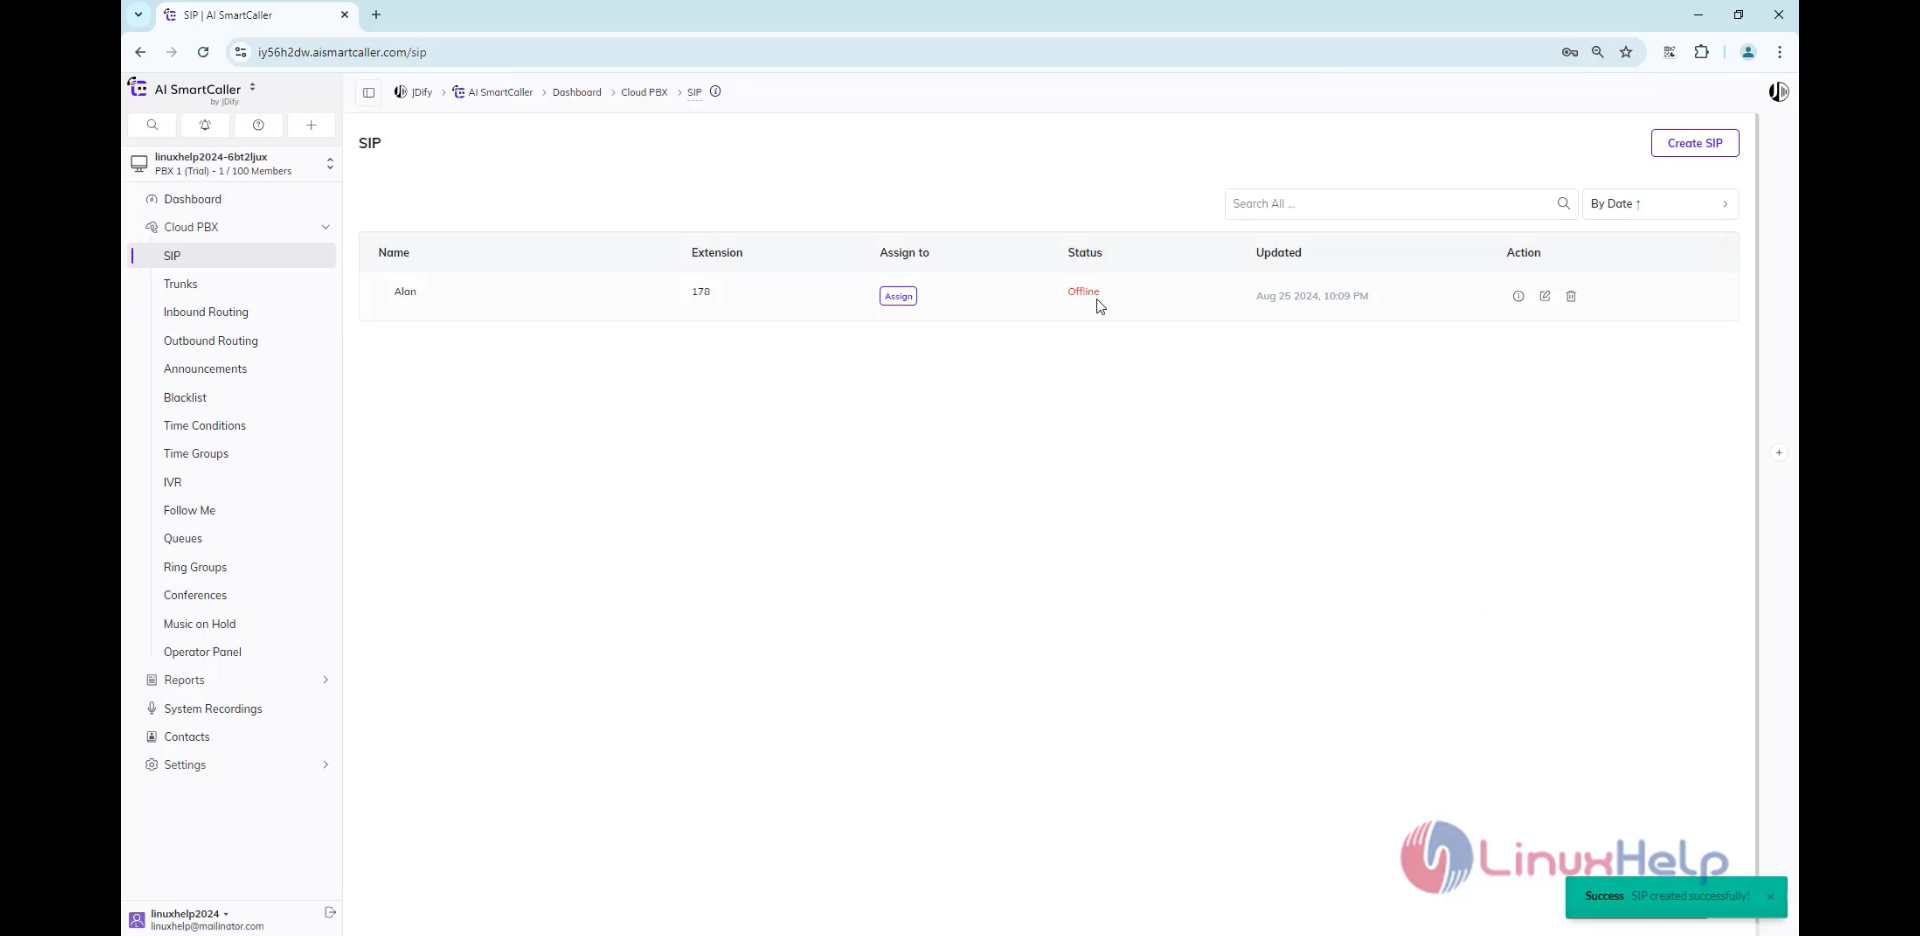
Step 4: Add the extension details and save
Step 5: Now check the extension was updated
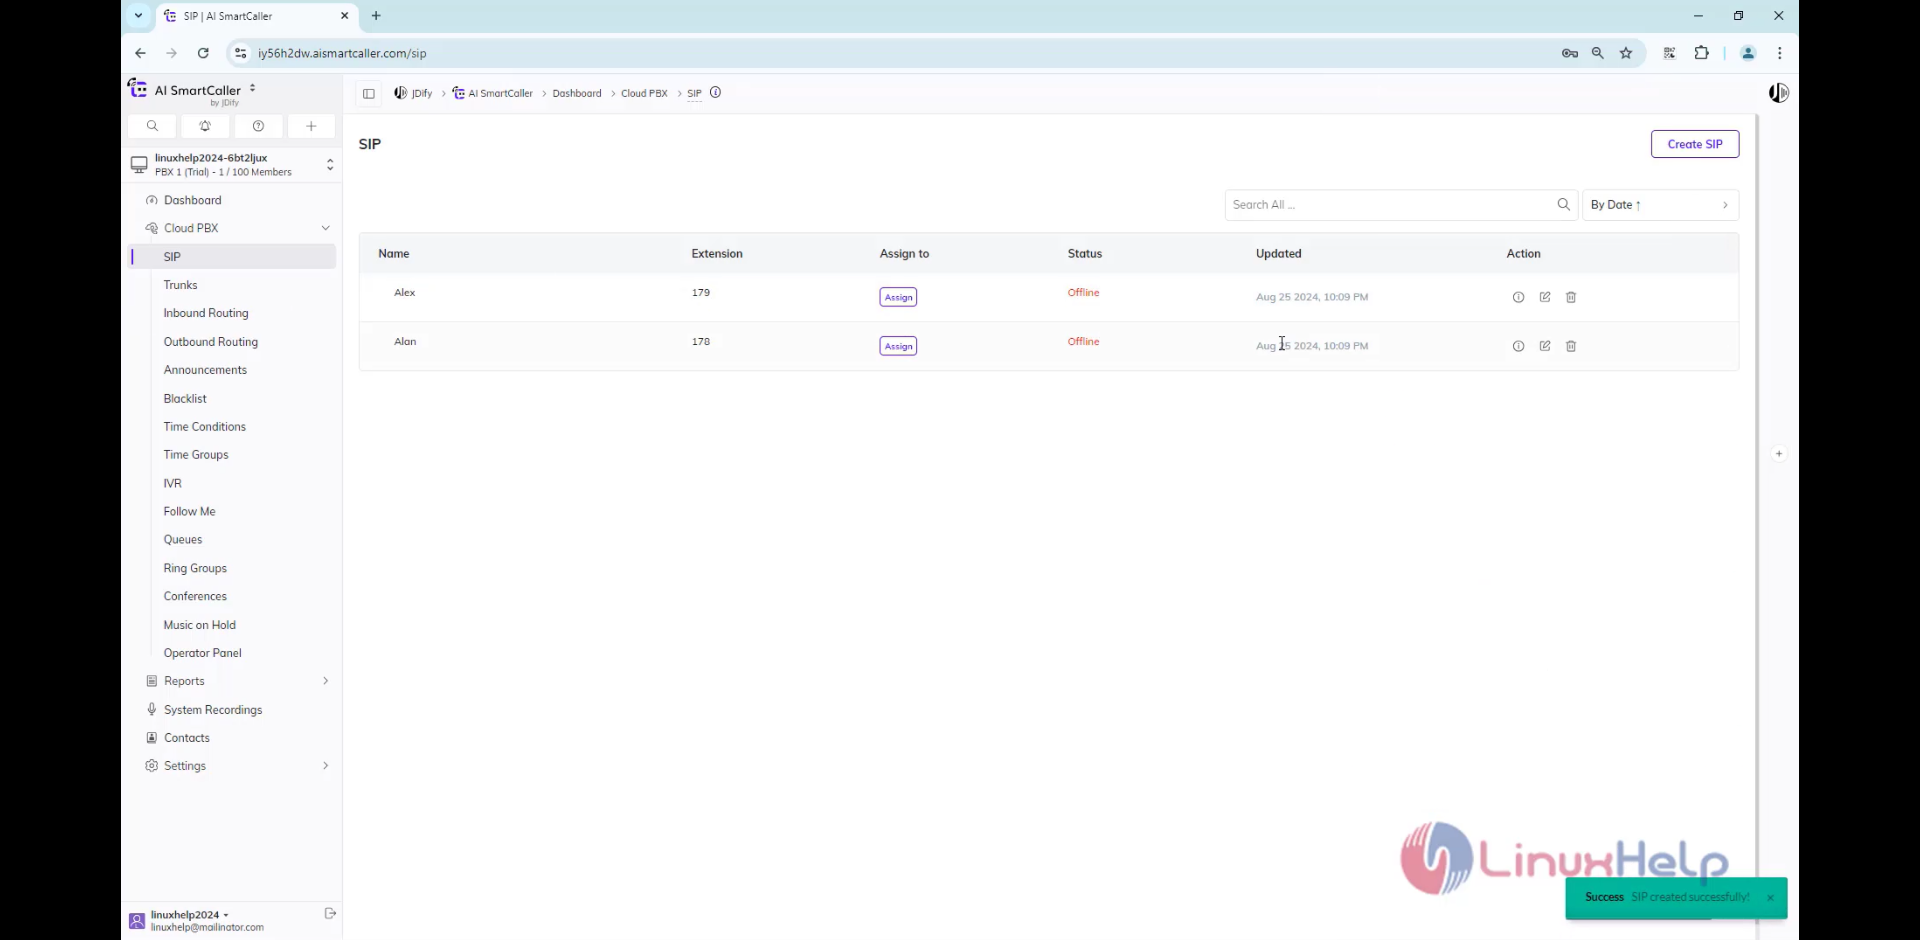
Step 6: Now create another SIP and save

Step 7: Check the extension was updated
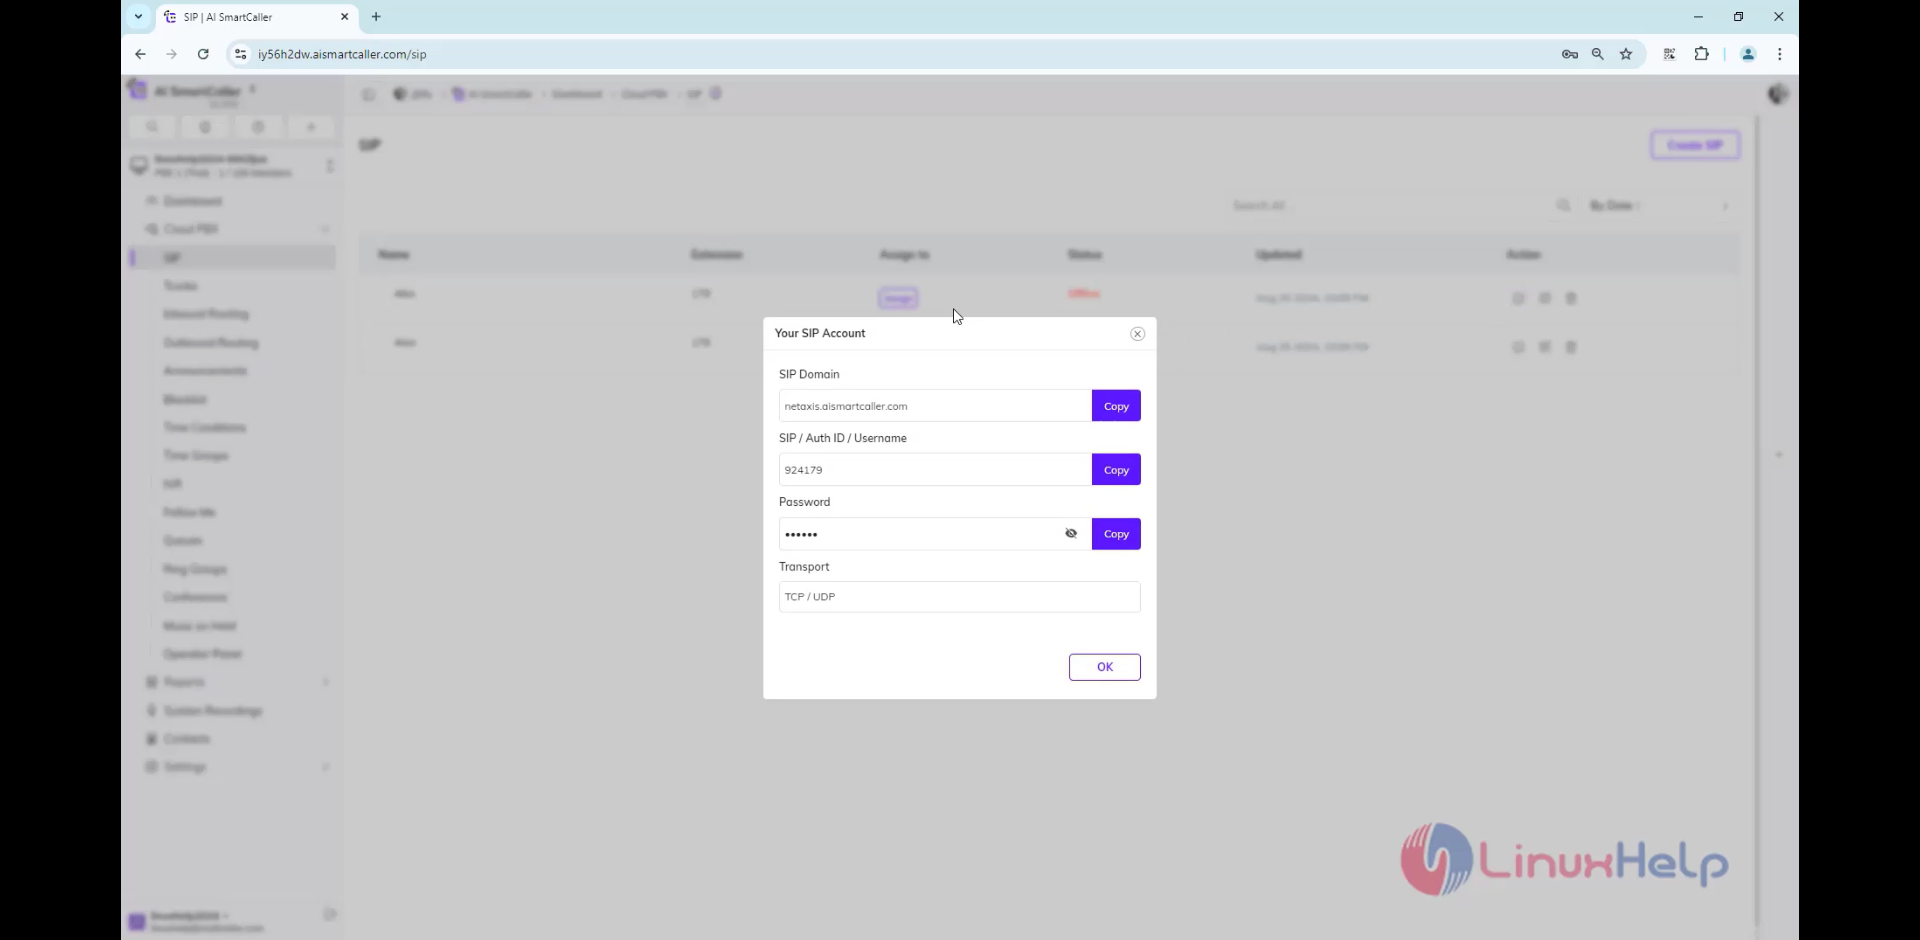
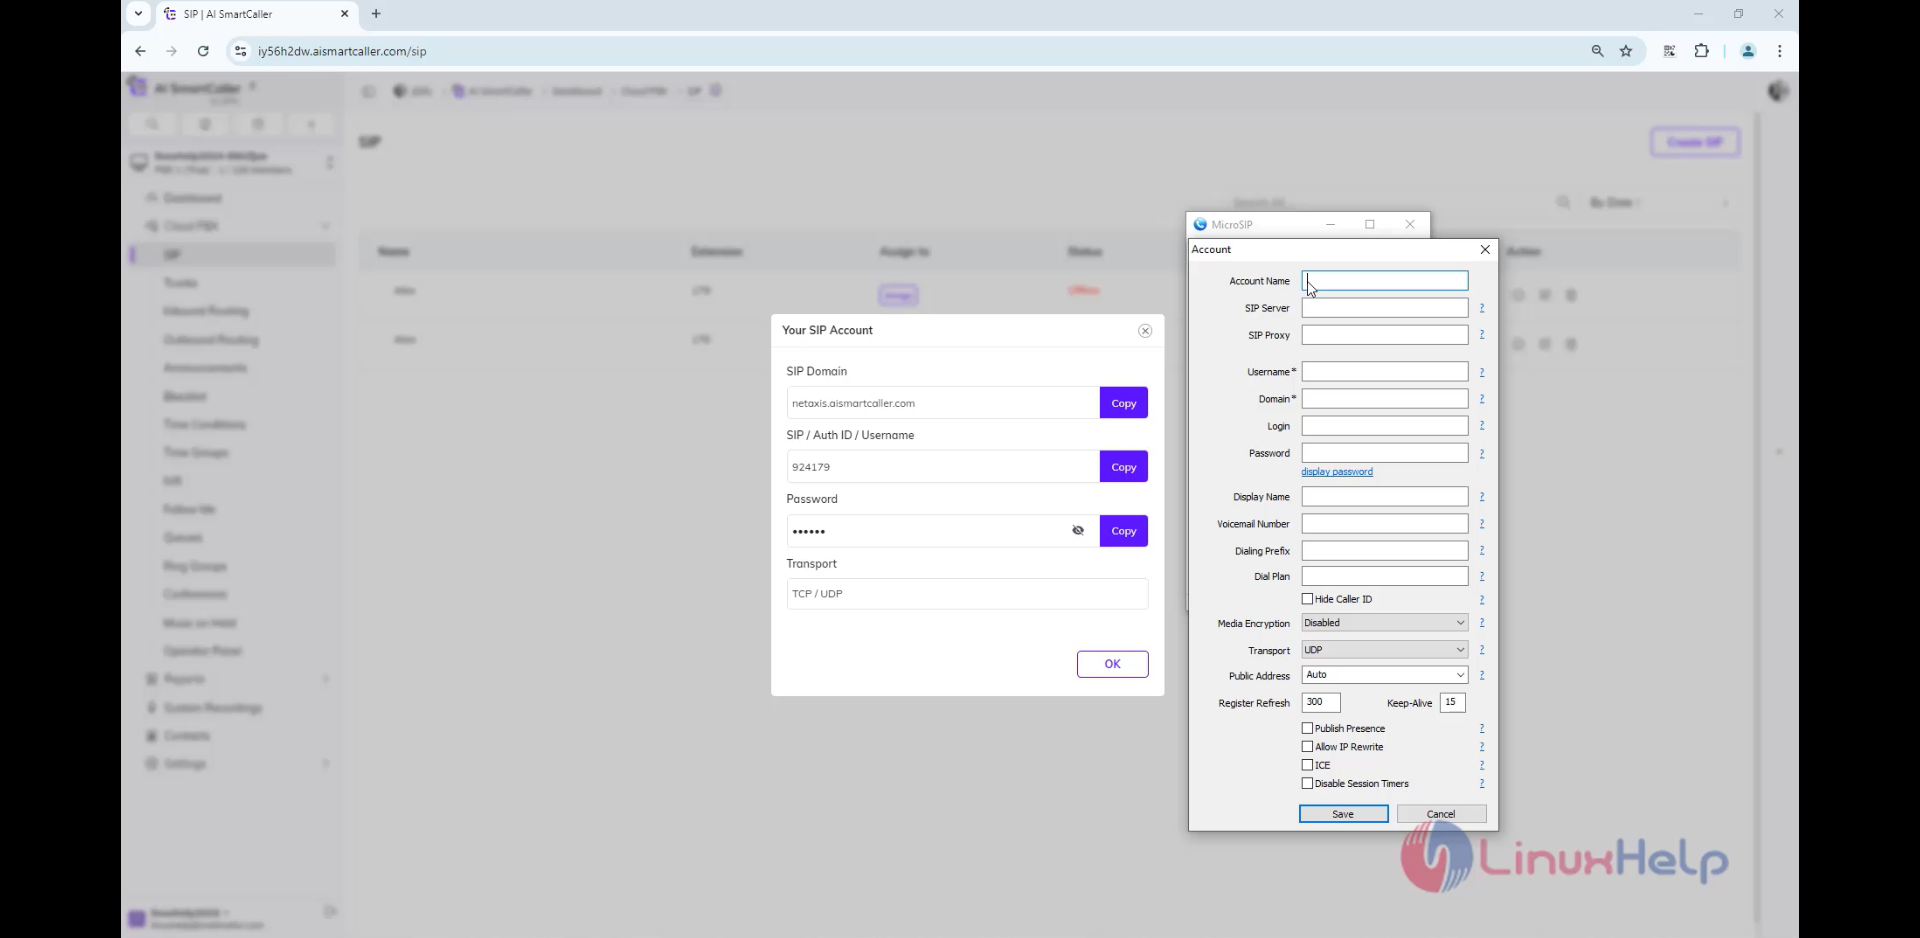
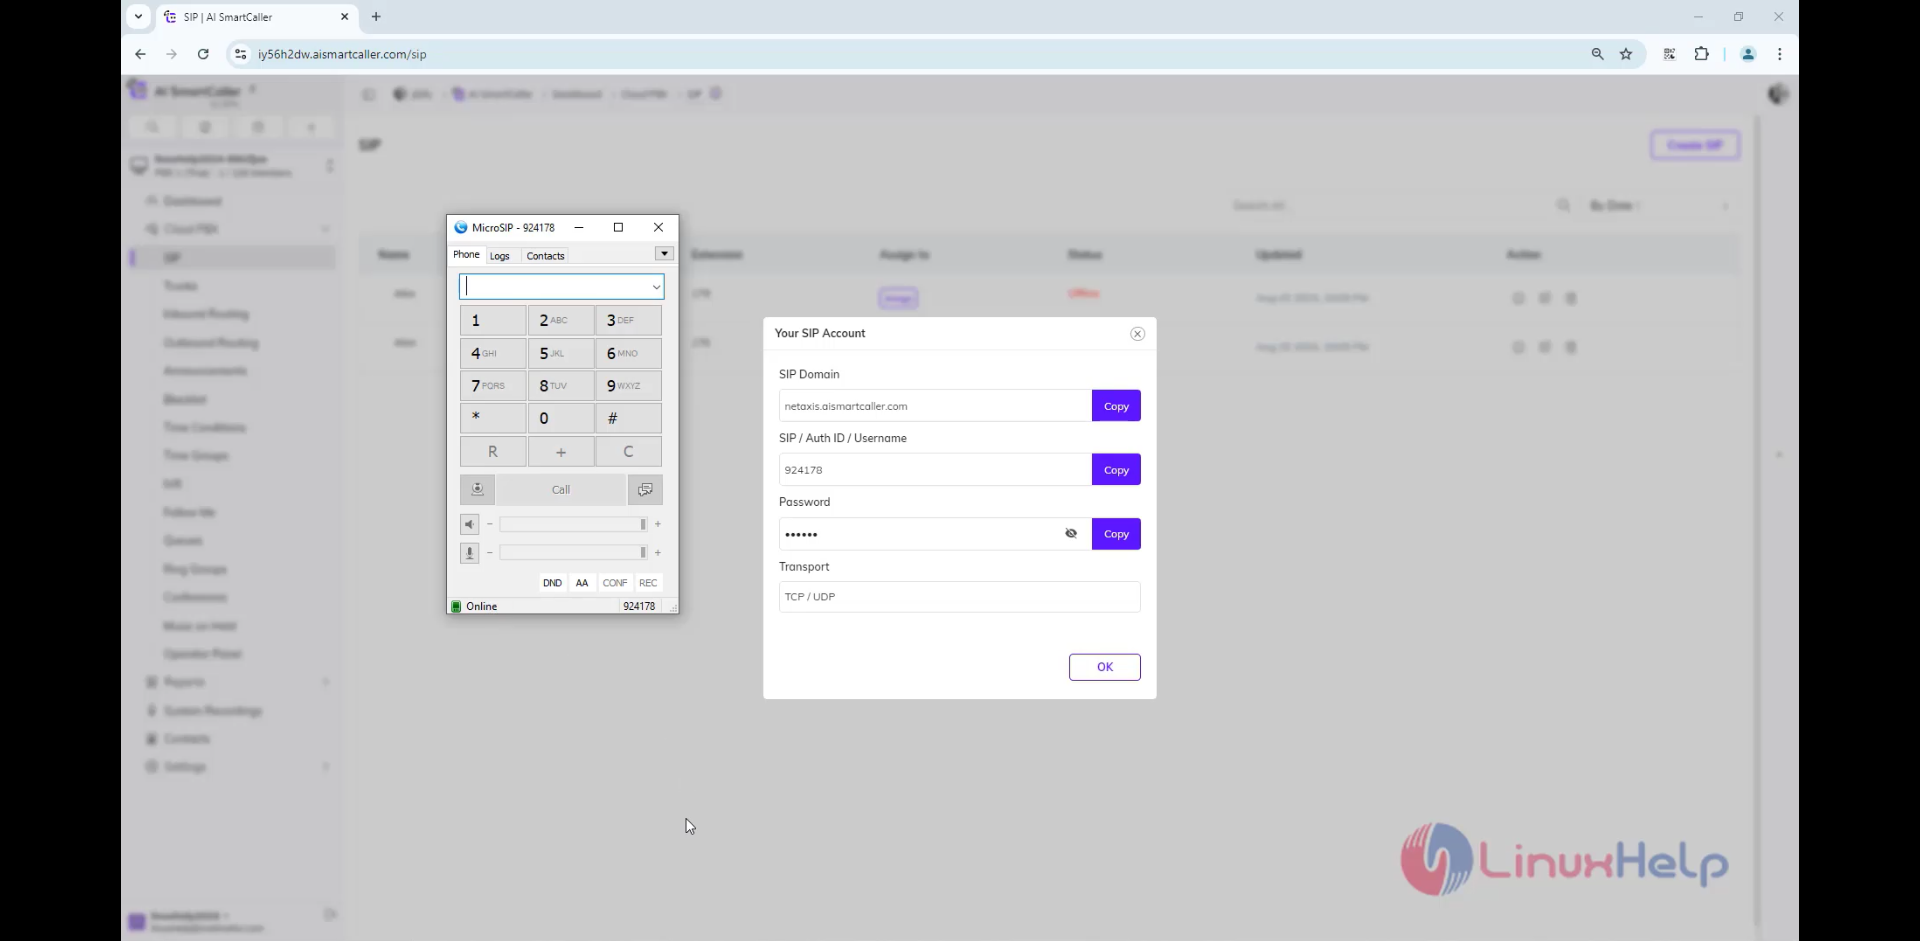
Step 8: Now click the i icon on the extension
Step 9: Open the MicroSIP app edit the settings to configure the extension
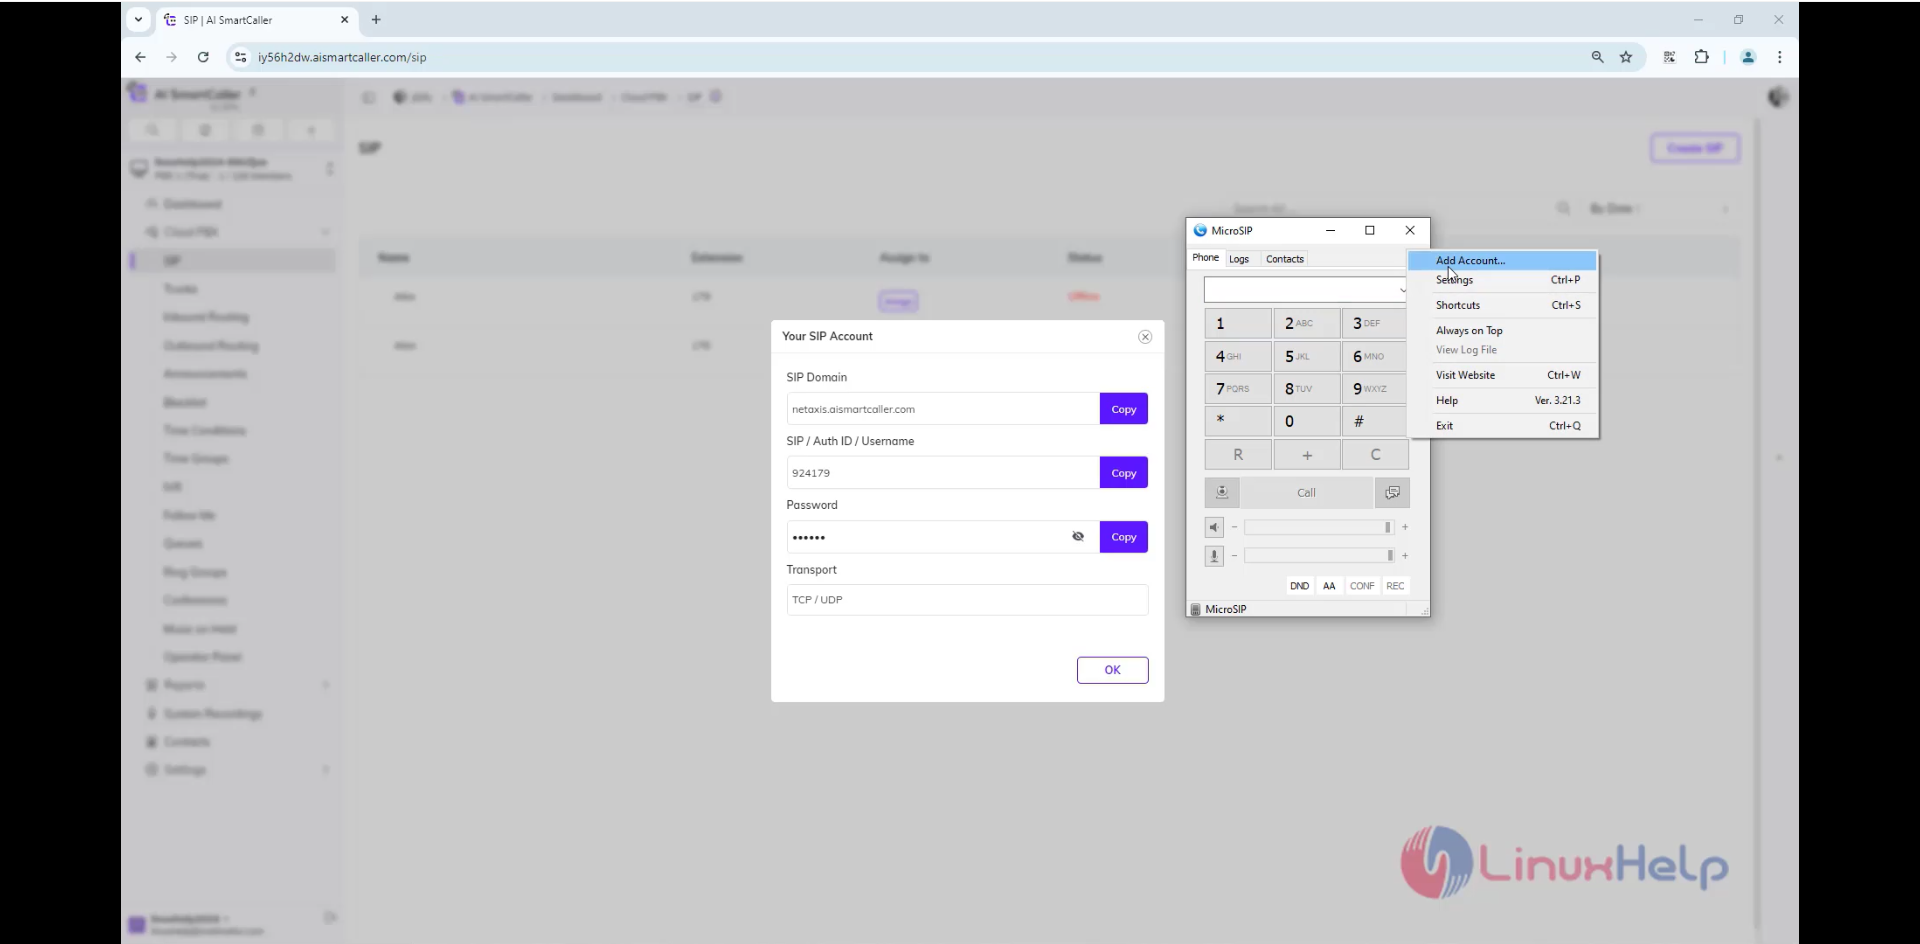
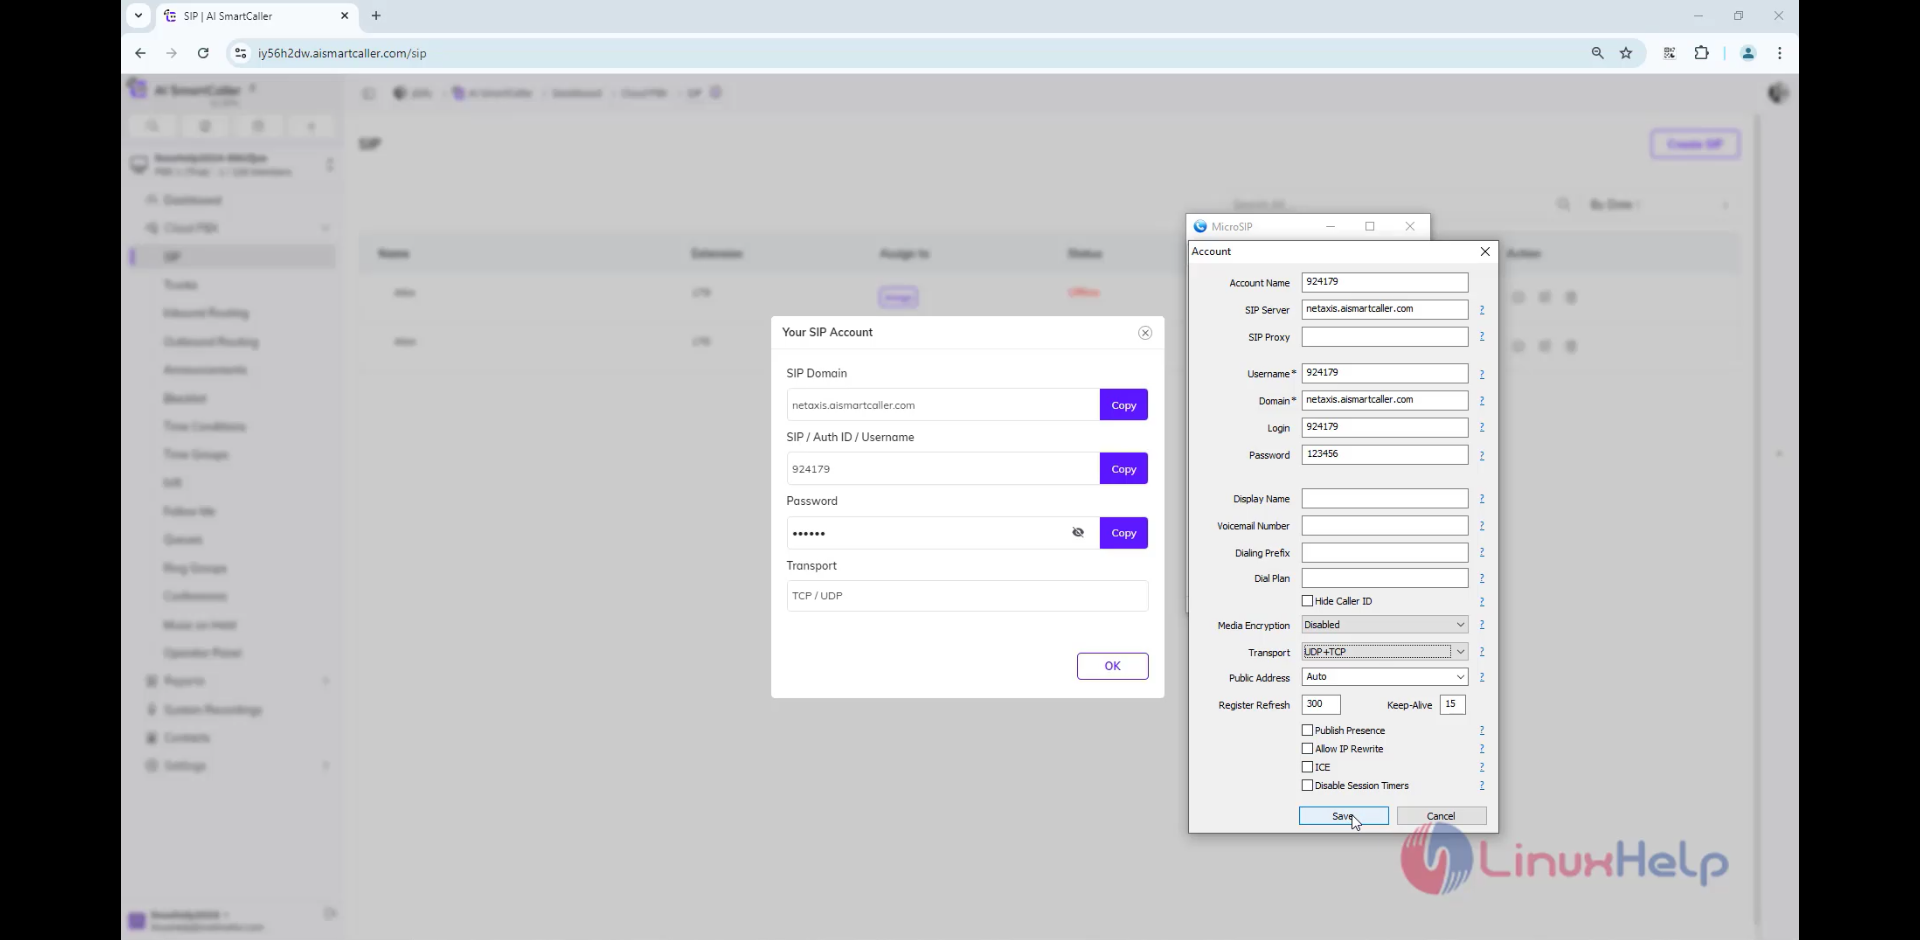
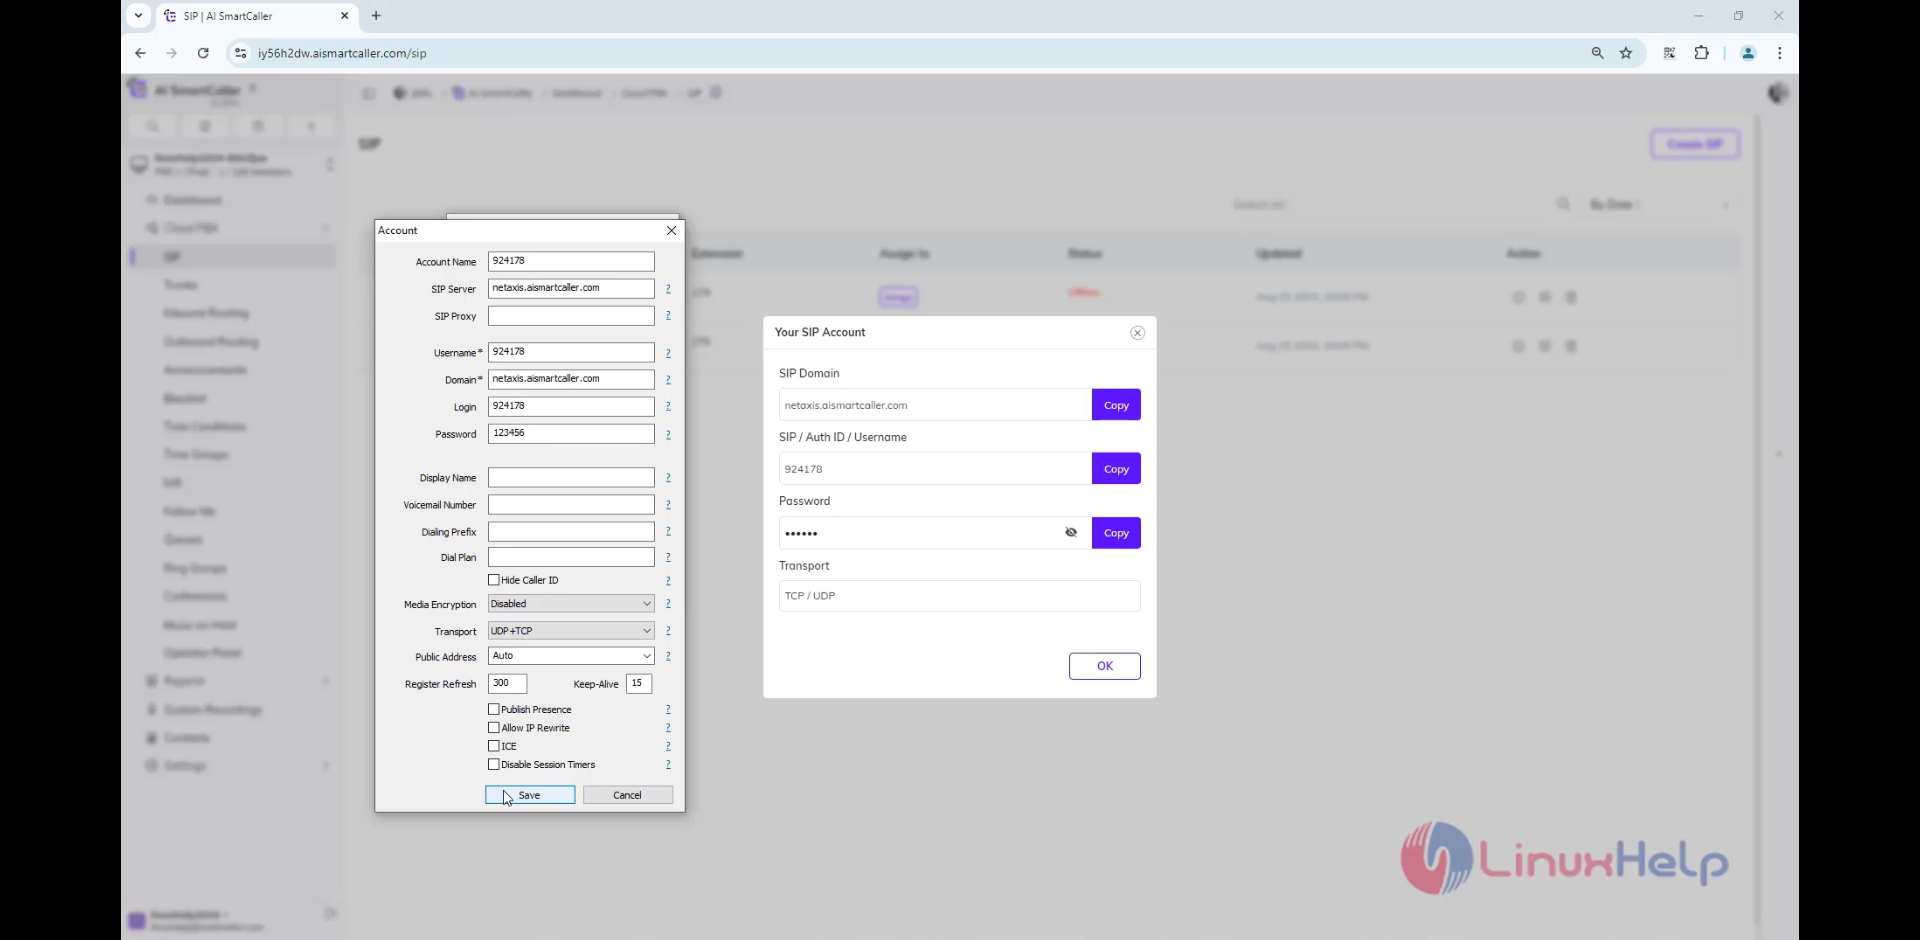
Step 10: Enter the credentials and save
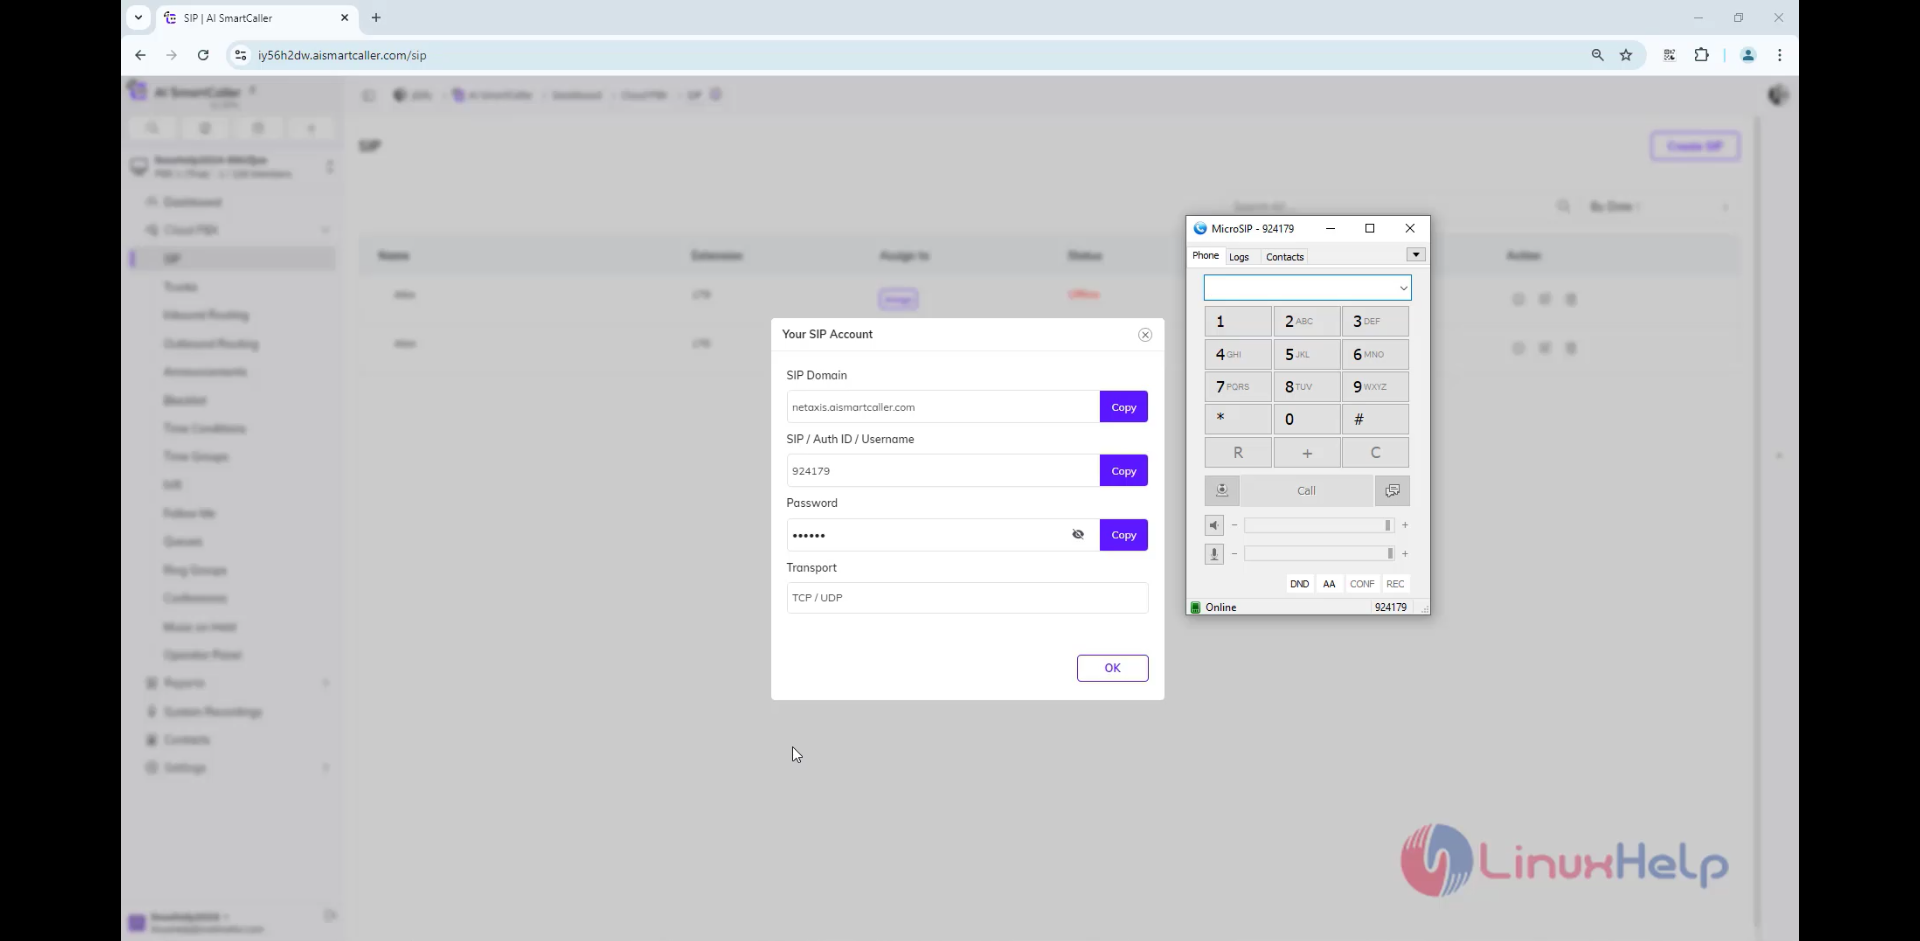
Step 11: Check it shows in online
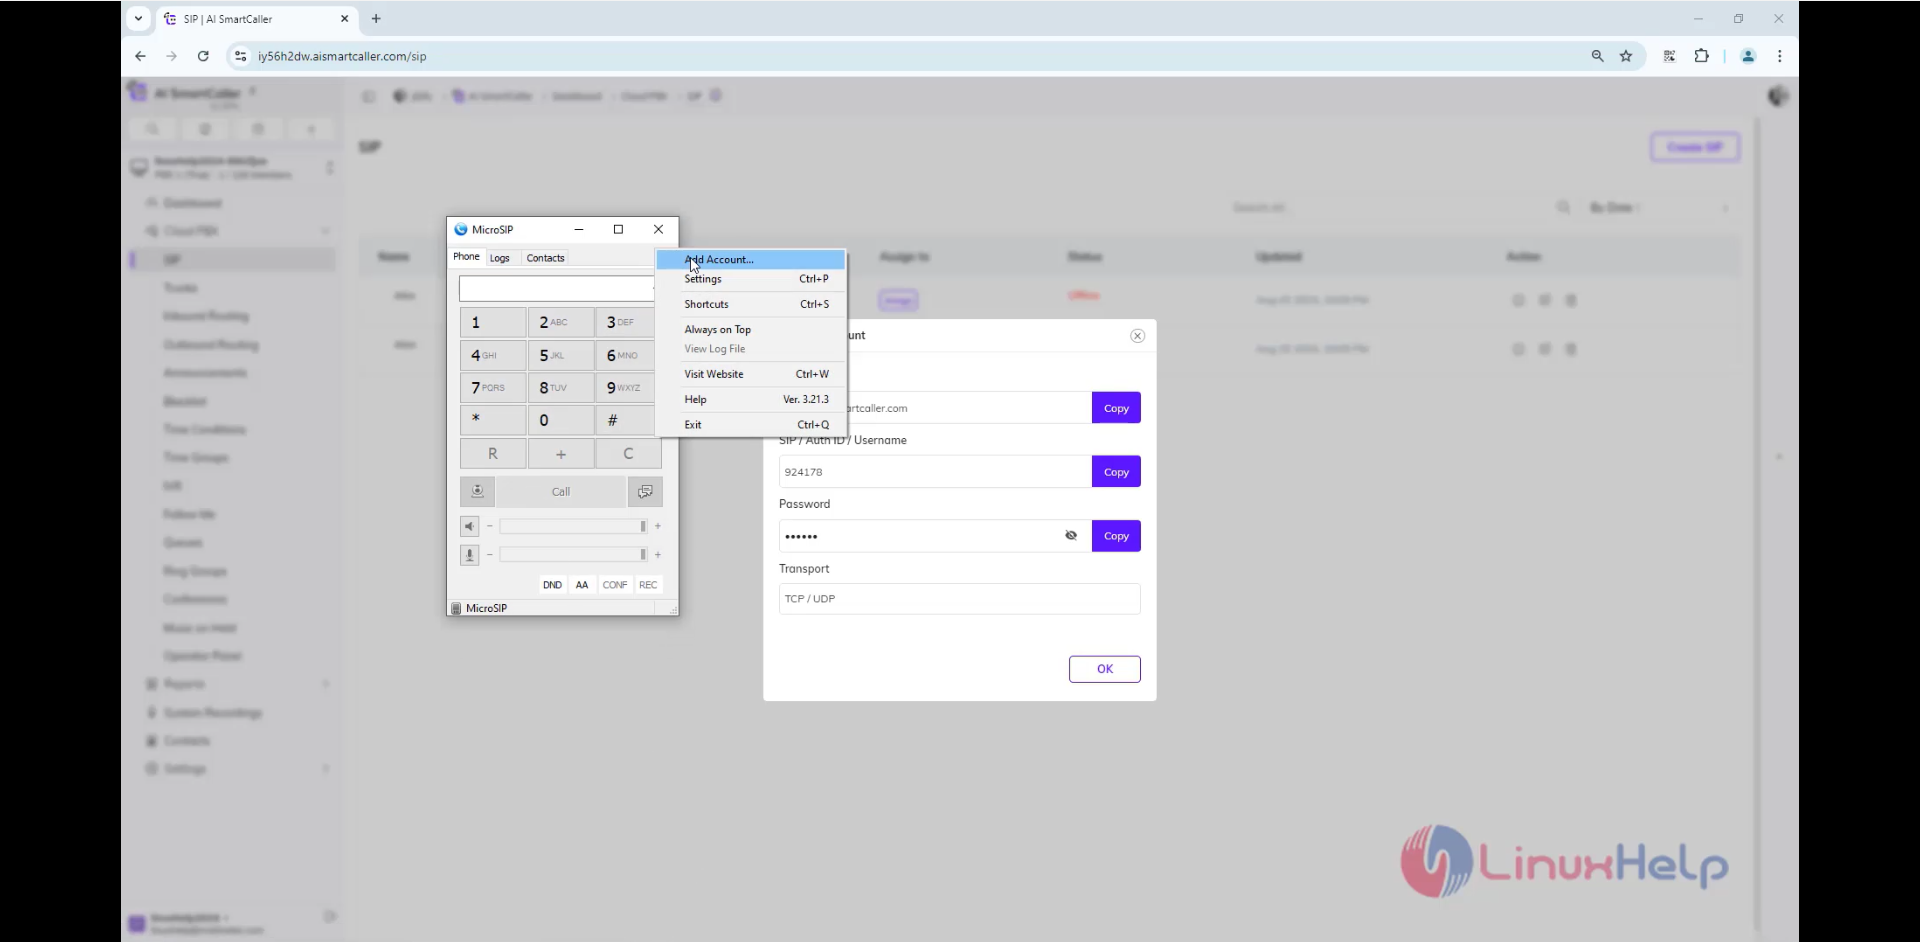
Step 12: Click on another extension's i icon
Step 13: open the another MicroSIP and click edit settings
Step 14: Configure the another extension settings
Step 15: Check the status is shown Online
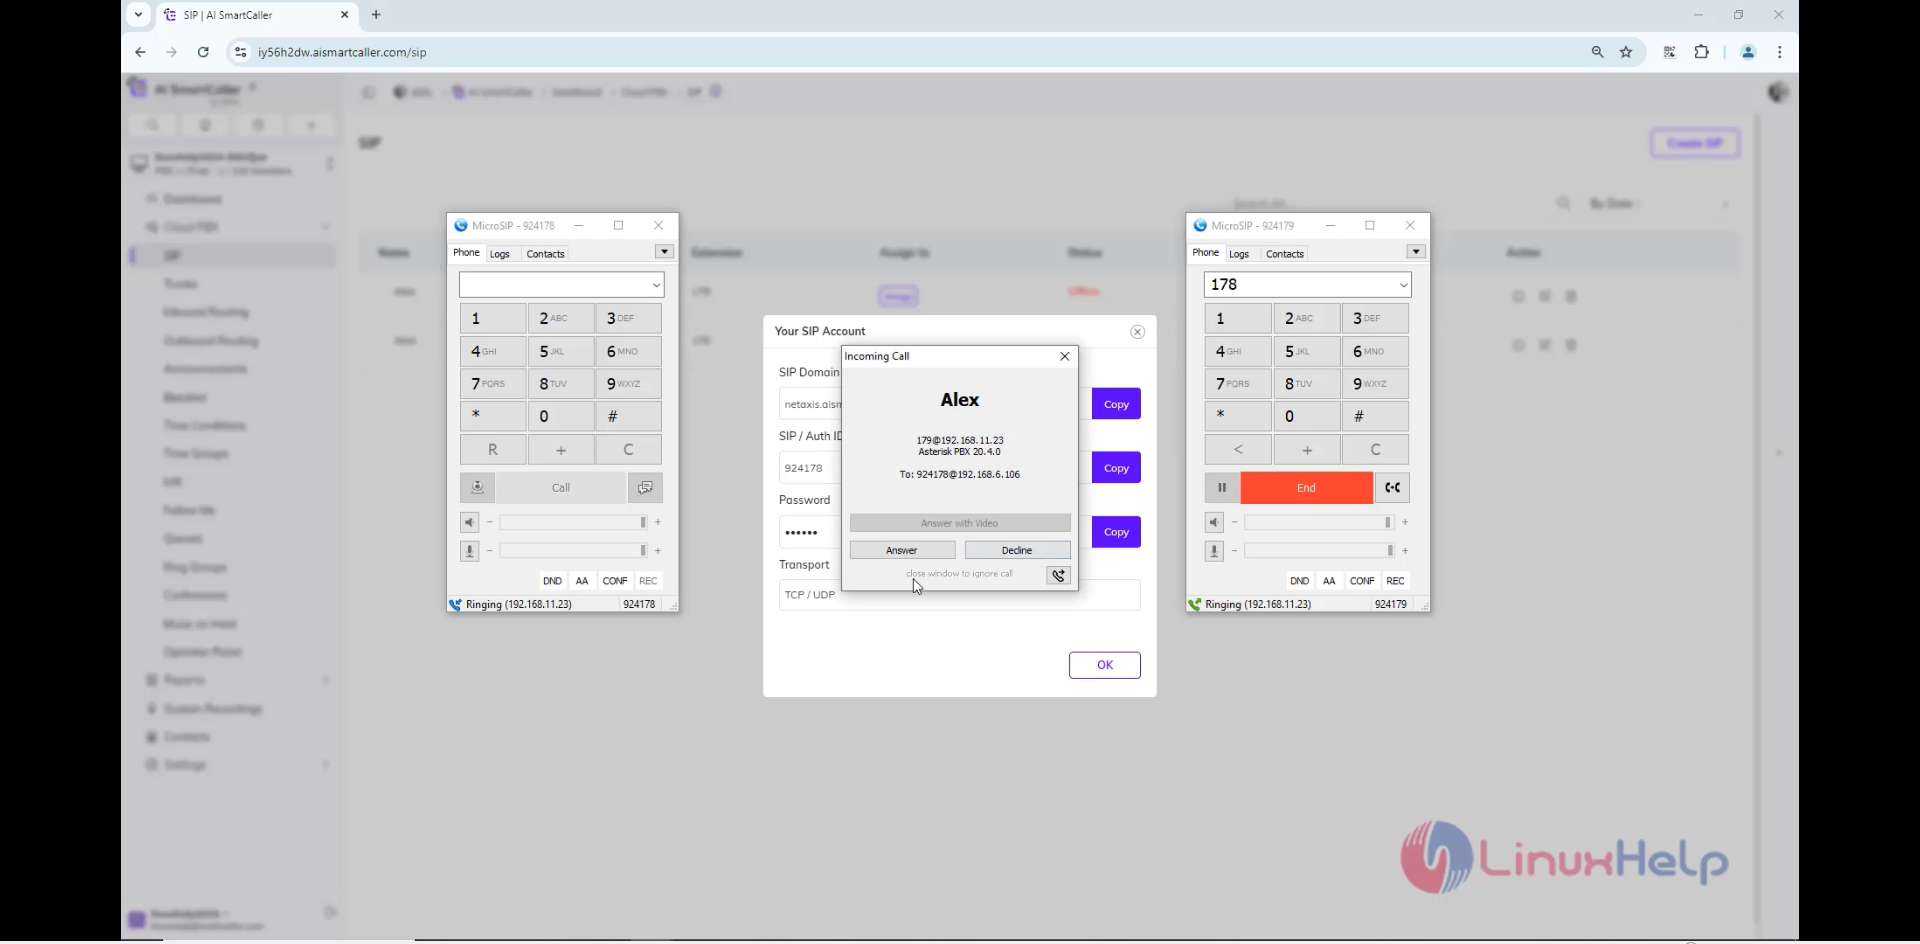
Step 16: Make a call from one extension to another
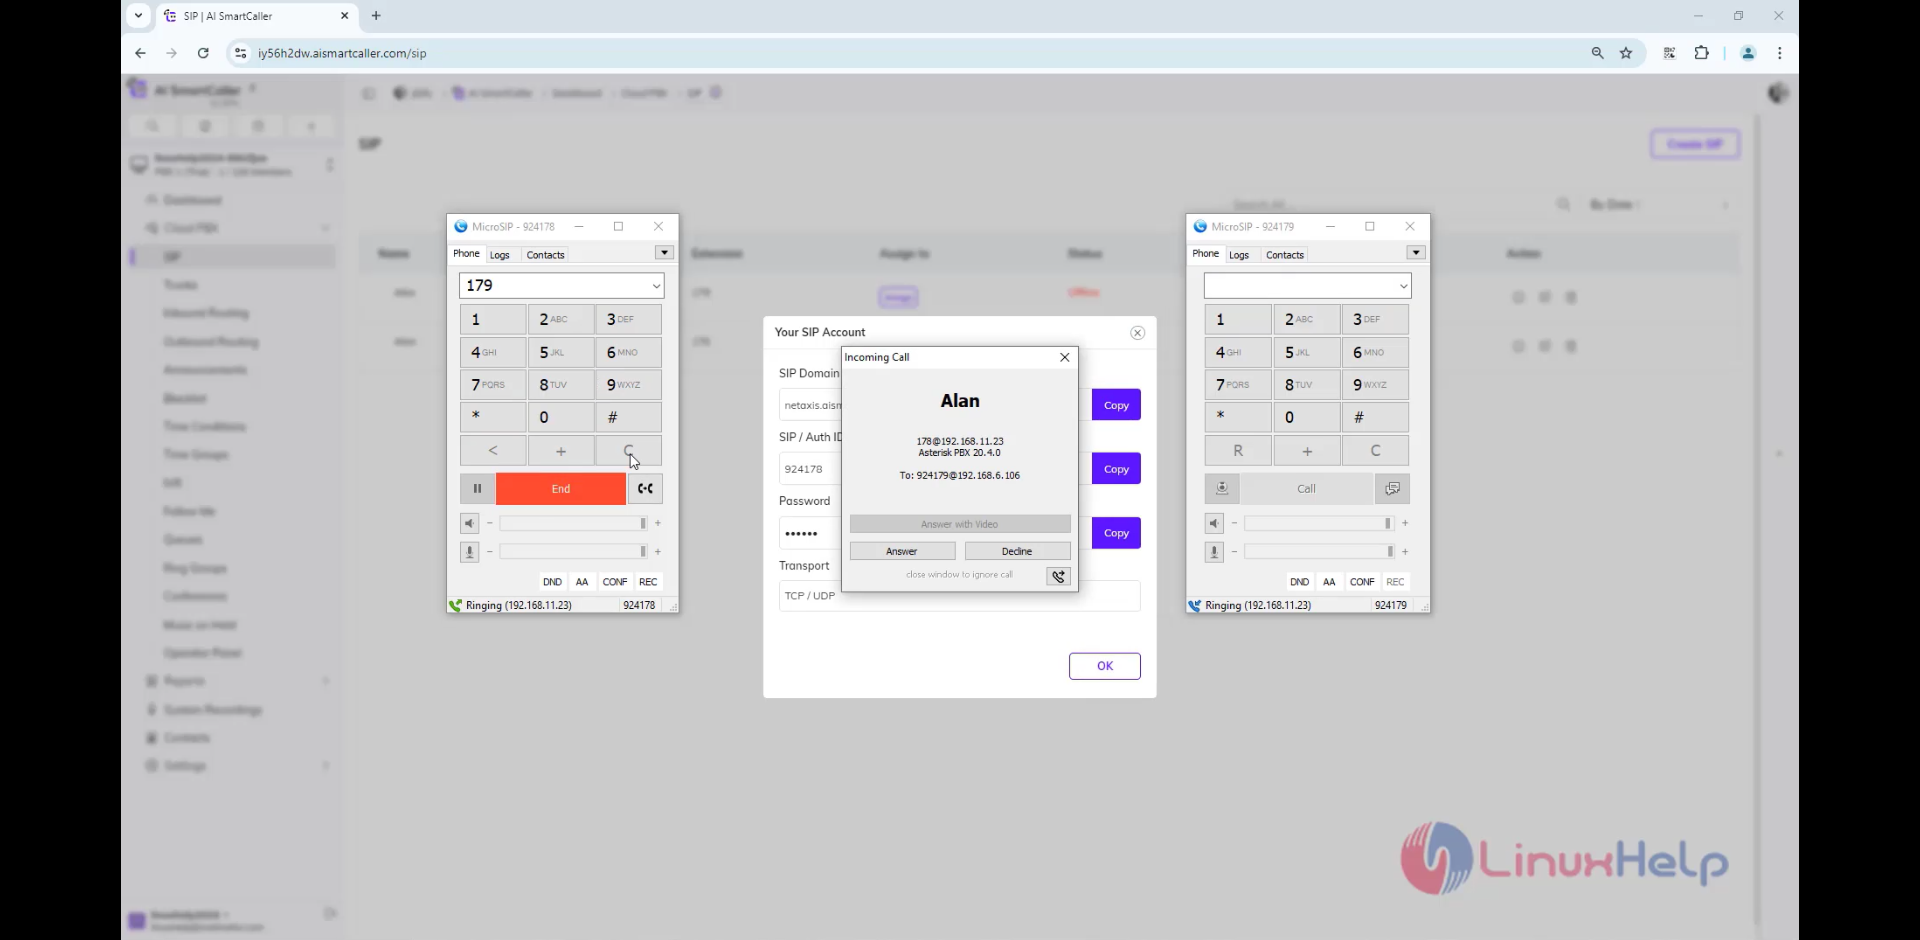
Step 17: Make a call from one extension to another
Conclusion:
We have reached the end of this article. In this guide, we have walked you through the steps required to create Extensions on AI smartcaller. Your feedback is much welcome.
Comments ( 0 )
No comments available