How to configure Trunks on issabel
To configure Trunks on issabel
In this article, we are going to see how to configure trunks on issabel .Trunk will handle the incoming and outgoing calls, Outbound Caller ID will be mentioned in Trunk, to transfer the call to outside choose the respective Trunk name on Outbound Routes.
To Create Trunks
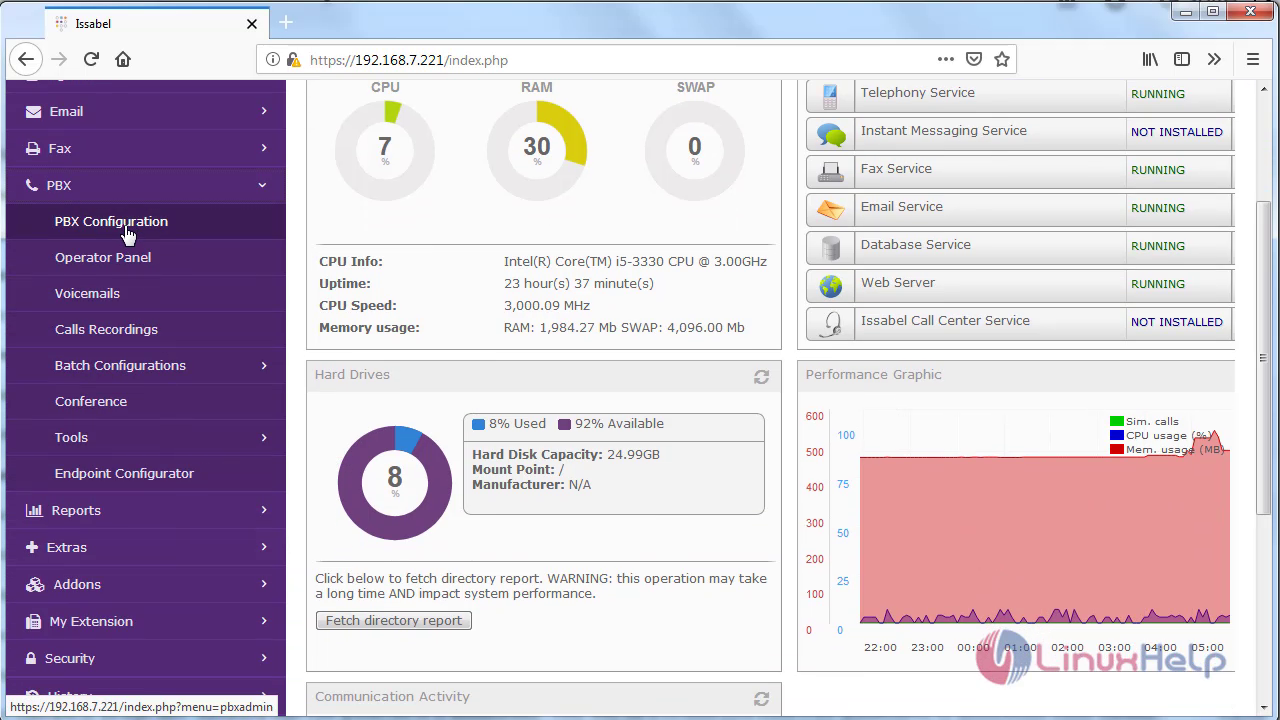
From the Issabel dashboard, click PBX from the top menu bar.
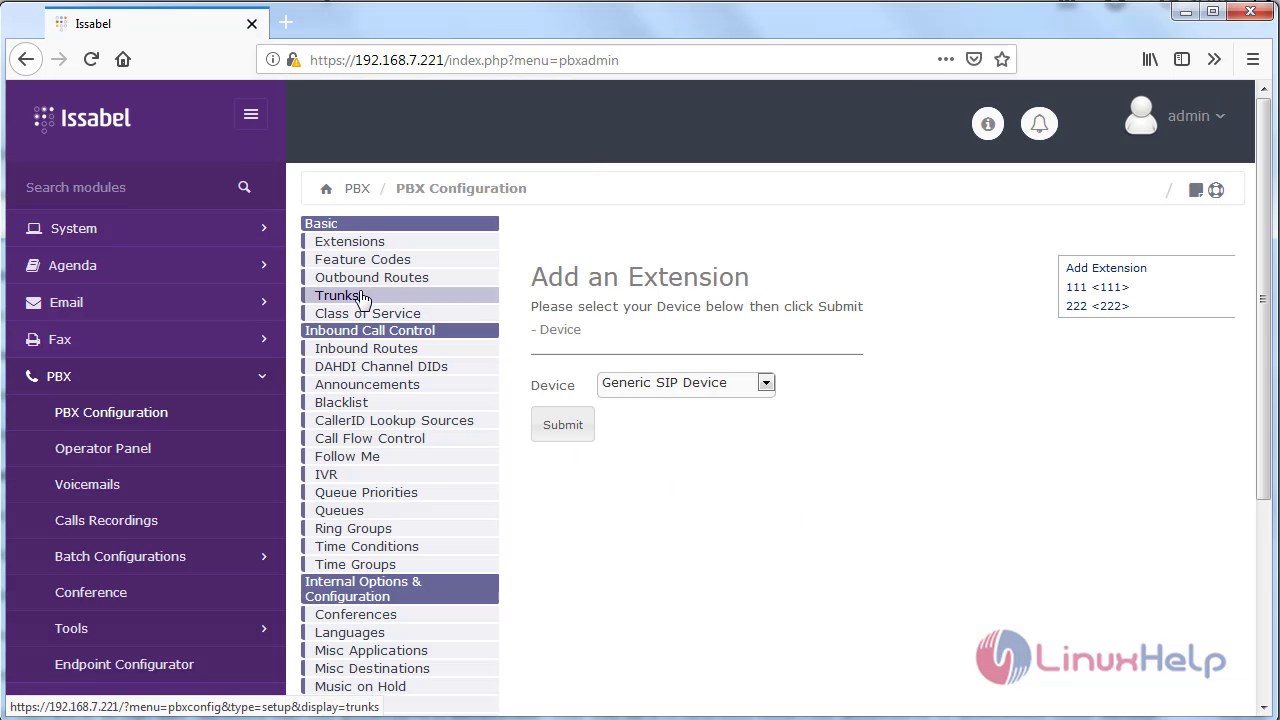
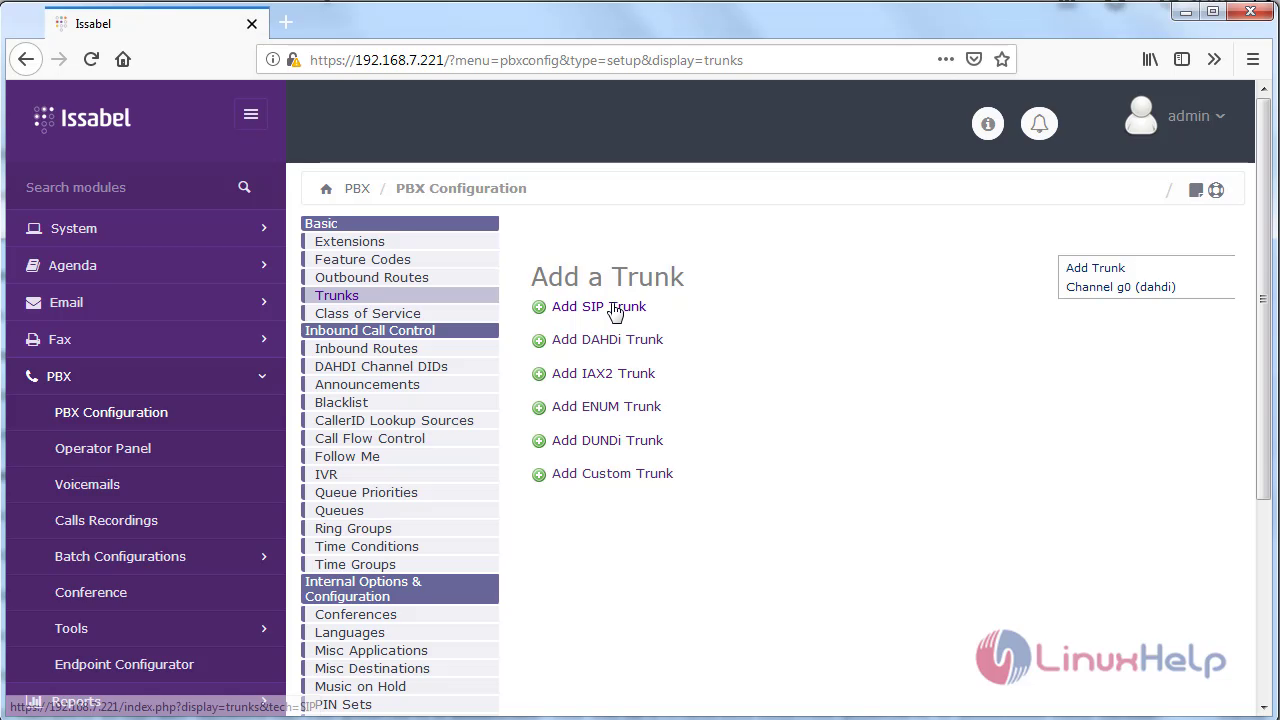
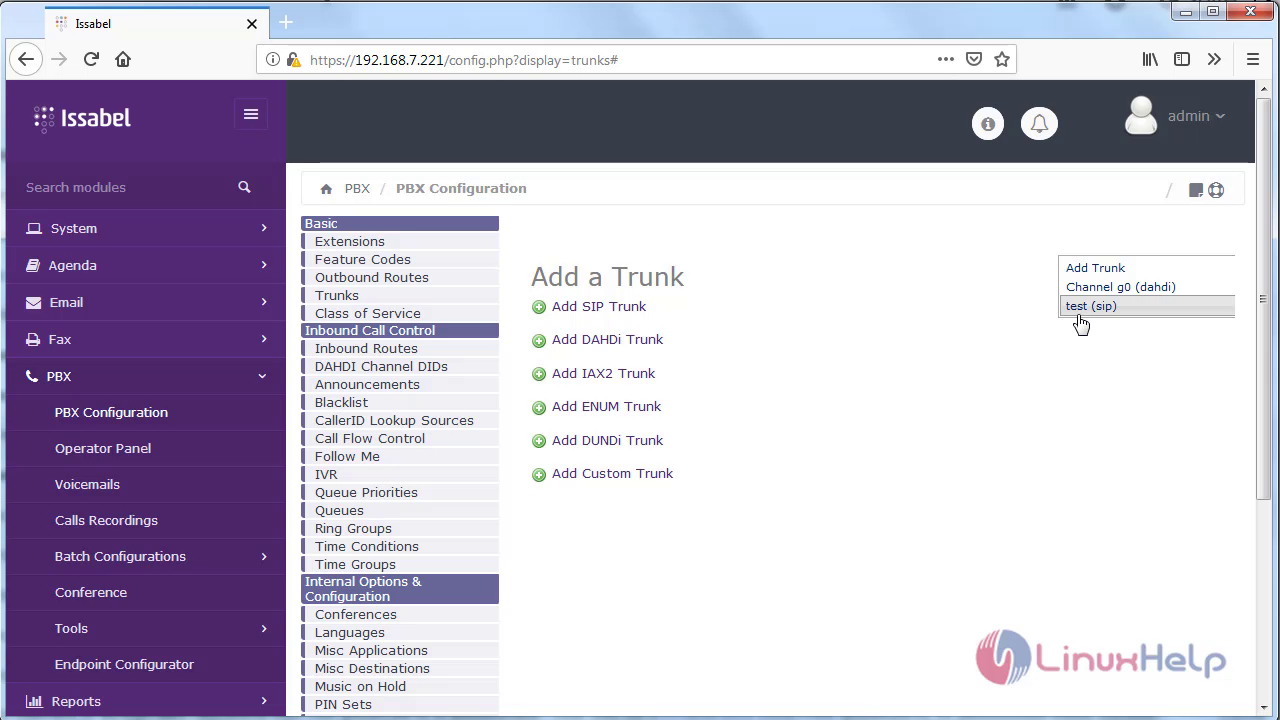
 Click on Trunks from the left hand menu, and then select Add SIP Trunk.
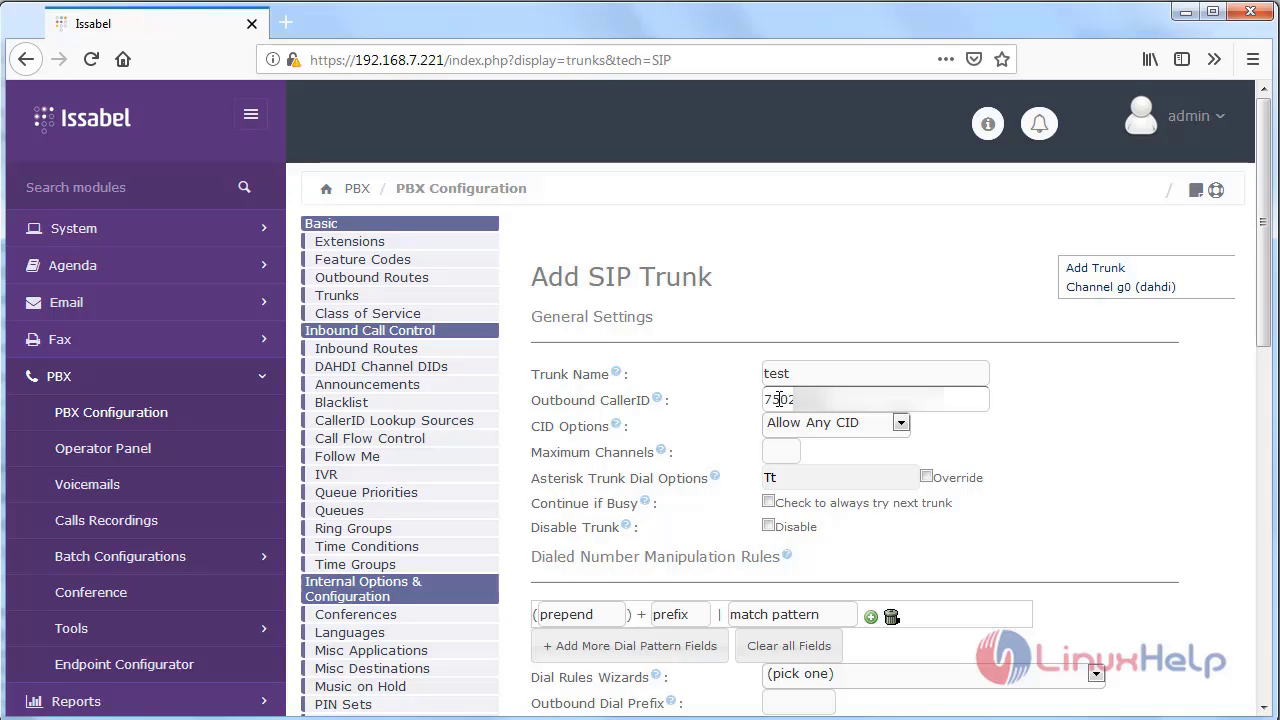
 Enter the details of your sip trunk. Only the changes made below need to be modified where rest of the values can be left as default.
Trunk Name: enter a name for the trunk
Outbound caller ID: enter the telephone number that you wish for the trunk to present to the called party
Enter the details of your sip trunk. Only the changes made below need to be modified where rest of the values can be left as default.
Trunk Name: enter a name for the trunk
Outbound caller ID: enter the telephone number that you wish for the trunk to present to the called party
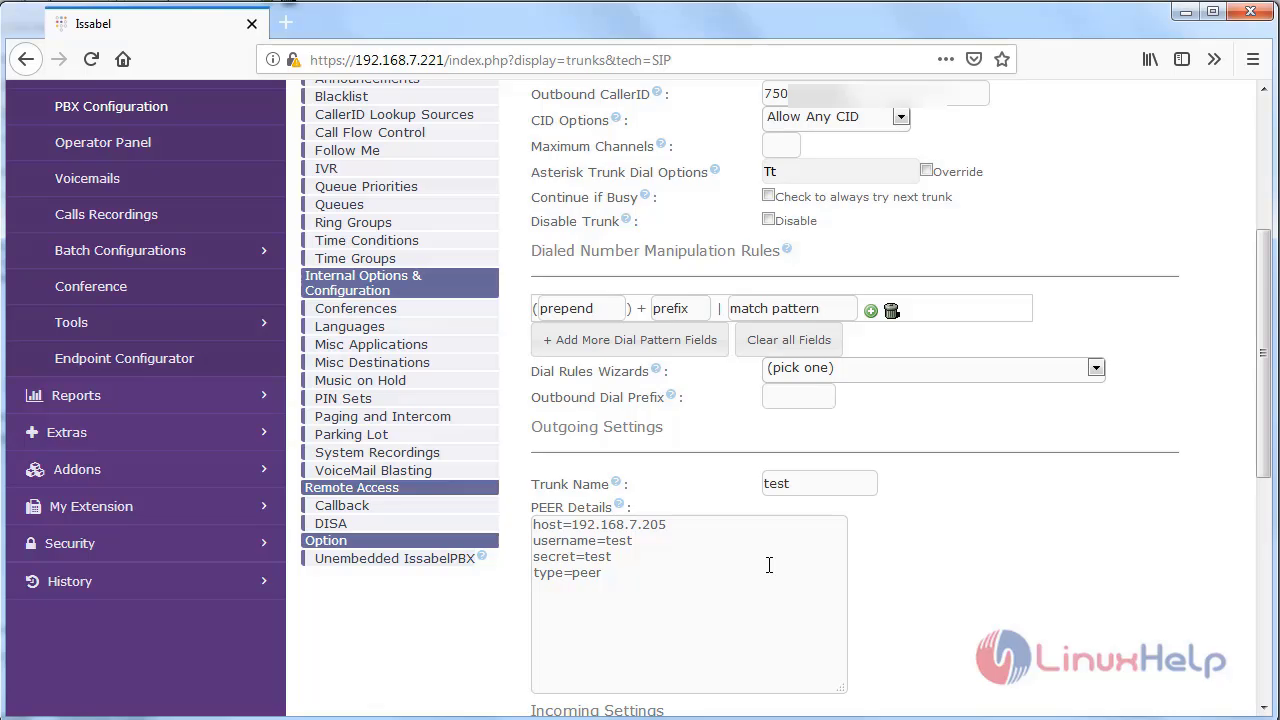
 Now scroll down to Outgoing Settings & set the Trunk Name. In the PEER Details field enter:
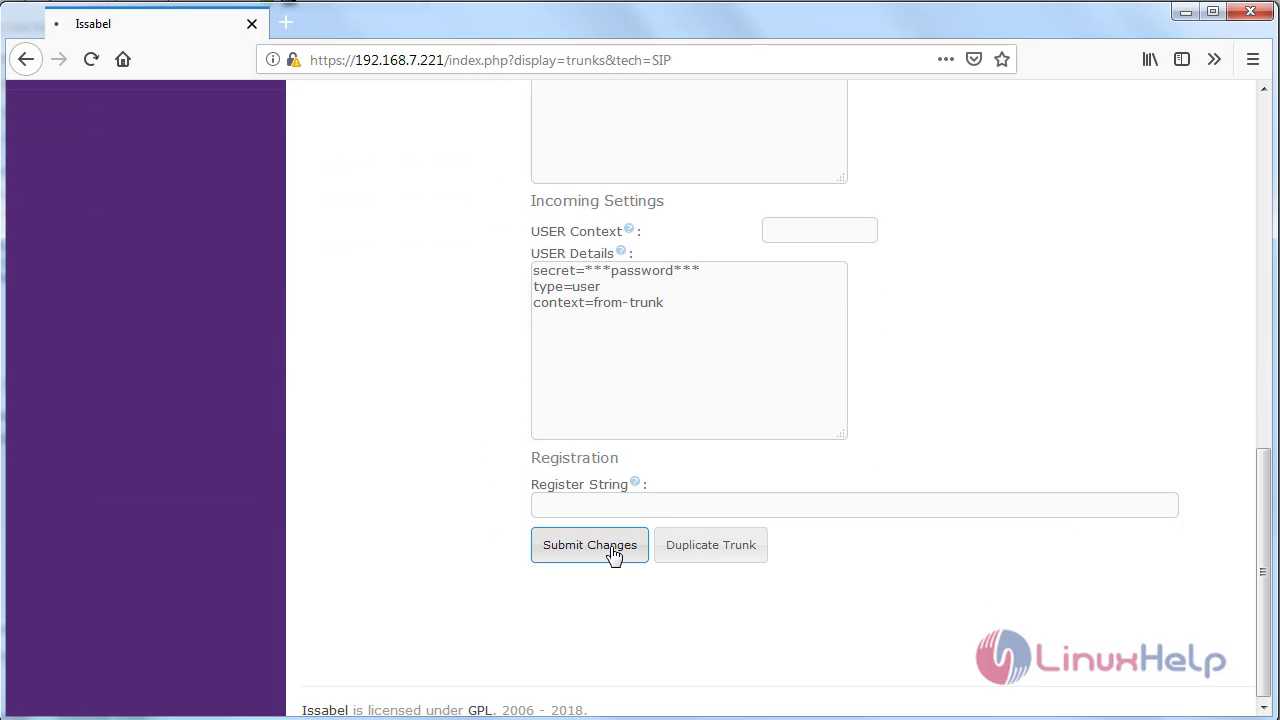
 Click Submit Changes
 Click on he apply config , now sip trunk has been created
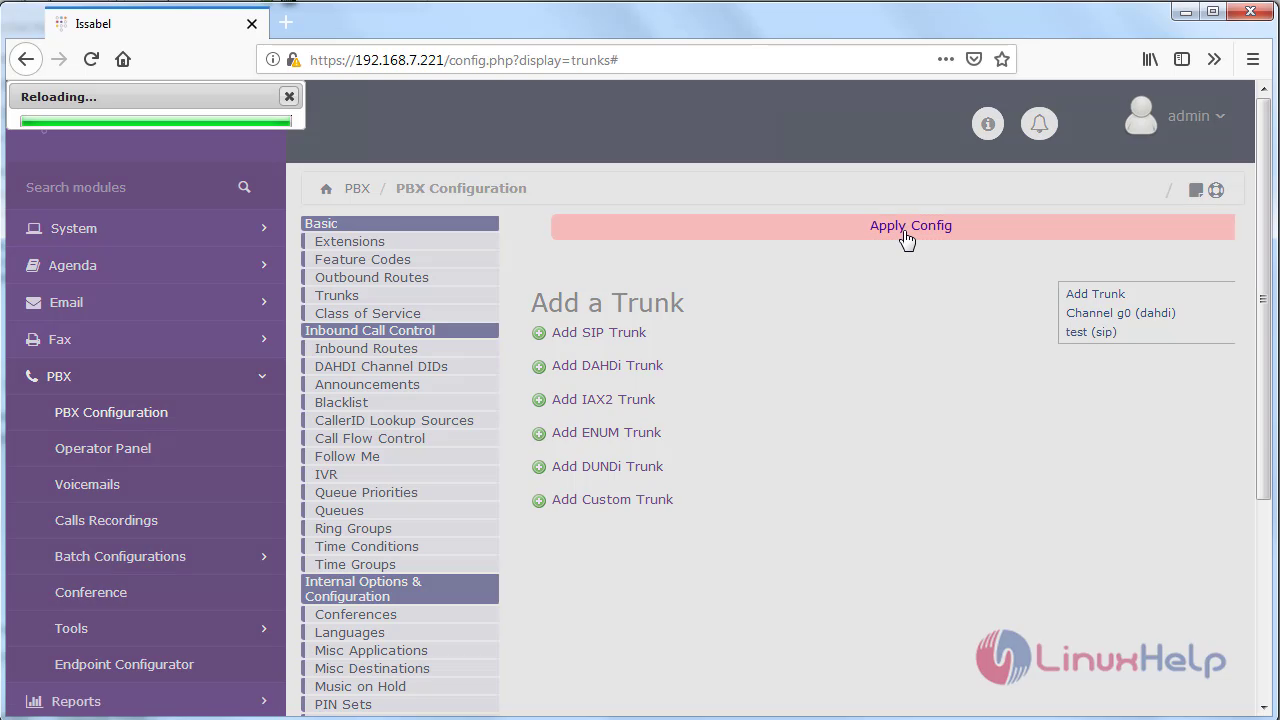 The Sip trunk has been sucessfully created.
 With this, the method to configure Trunks on issabel comes to an end
Comments ( 0 )
No comments available