How To Change MX record in WHM/cPanel
To Change MX record in WHM/cPanel
MX(Mail Exchange) record is an important part of website' s DNS. It informs the entire internet where the mails for a particular domain has to be forwarded. Procedure to create MX Record for mail server in WHM/cPanel is explained in this tutorial.
During mail server installation, you may get an error that none of the MX records has been assigned for the respective domain. Here, we are installing Zimbra mail server and the following error appears. To overcome this error, change the MX record pointing to that particular domain.

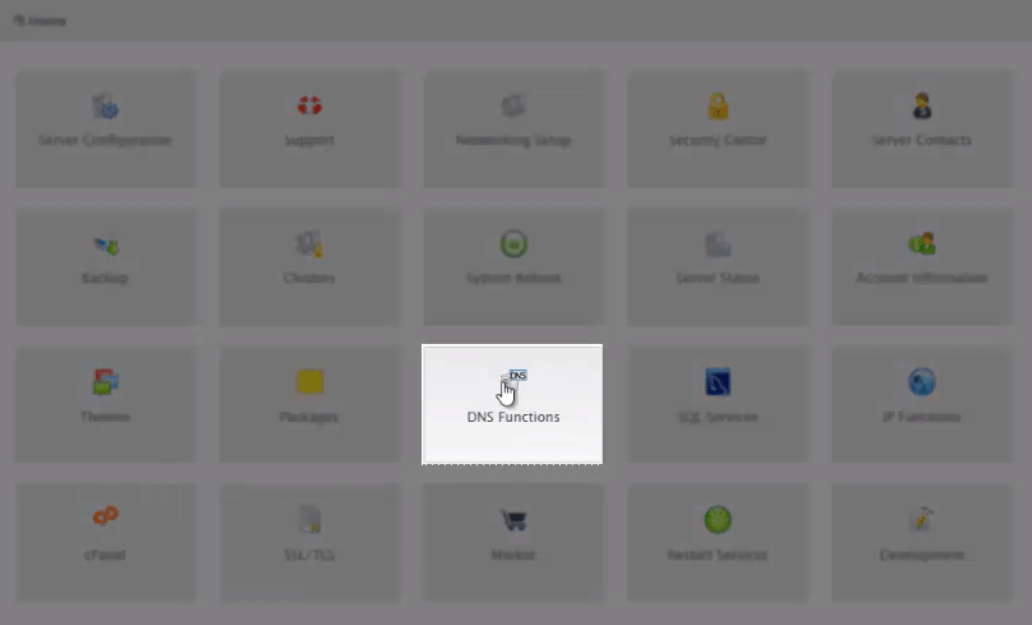
First Login to the WHM home page. Click DNS Functions then navigate to Edit DNS zone.
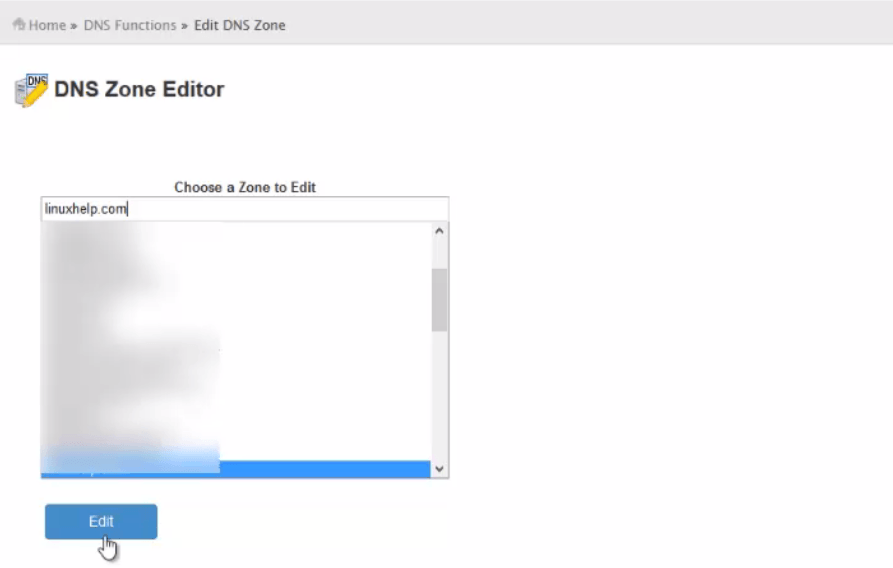
Now search for the required domain in DNS Zone Editor and click Edit.
In the MX record inteface, mention the priority as per your requirement and enter the Domain name. Here, we are setting the priority as 10 which is recommended.
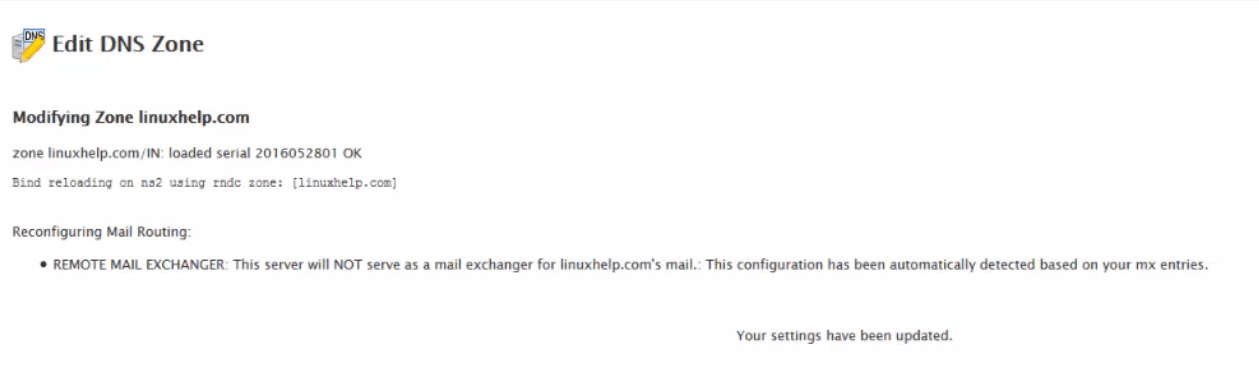
In the mail interface, change the category to " A" and add your mail server' s public IP address. Once you click Save, then the message like " The DNS record changed successfully" will appear.

Now we have successfully updated the DNS Zone.
Navigate to mail server installation page. Enter " Y" and retype the domain name. Finally hit enter.
Make sure that you enter the same domain name that we have added in DNS Zone Editor.
Once you hit enter the " It is suggested that the domain name have an MX record configured in DNS" message appears. Now you can continue with the mail server installation.
MX Record
Comments ( 2 )