How to Install and configure FreeNas 11.2
To Install and configure FreeNas
Introduction of FreeNas:
FreeNAS is an operating system that manages network-attached storage and also a free BSD operating system that supports NFS, ISCSI, FTP, RSYN, and RAID file systems. The data stored on a ZFS file system is encrypted.
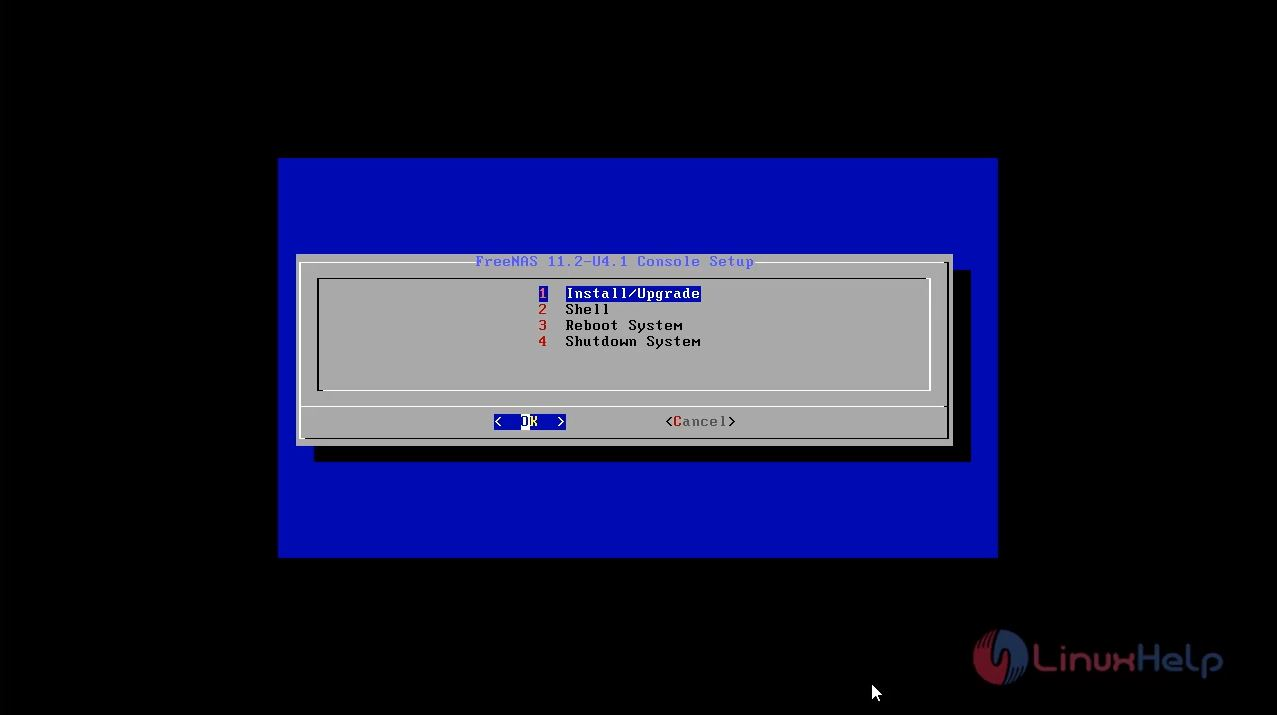
Installation Procedure:
First, boot the Free-NAS ISO image into Vmware Workstation and cross-check the virtual machine settings.
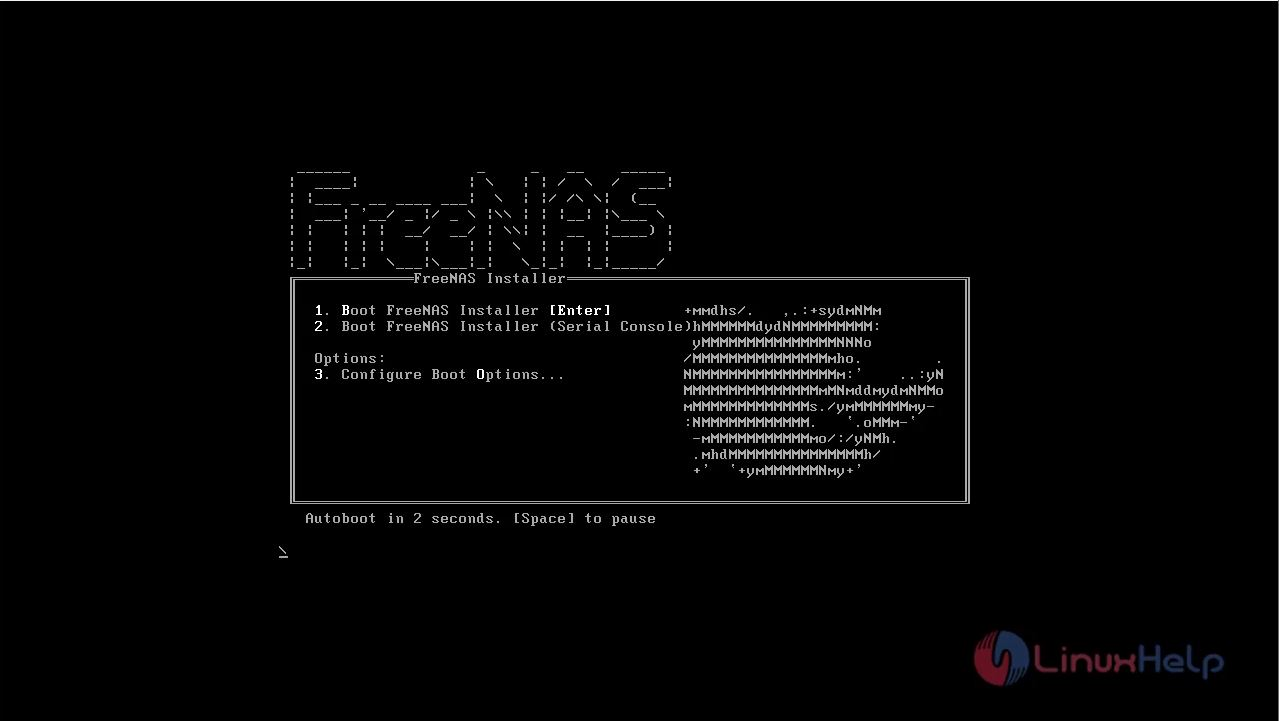
Step1: Now, the OS has started the boot process, so please select option 1 to install Free-NAS as shown in the below image.
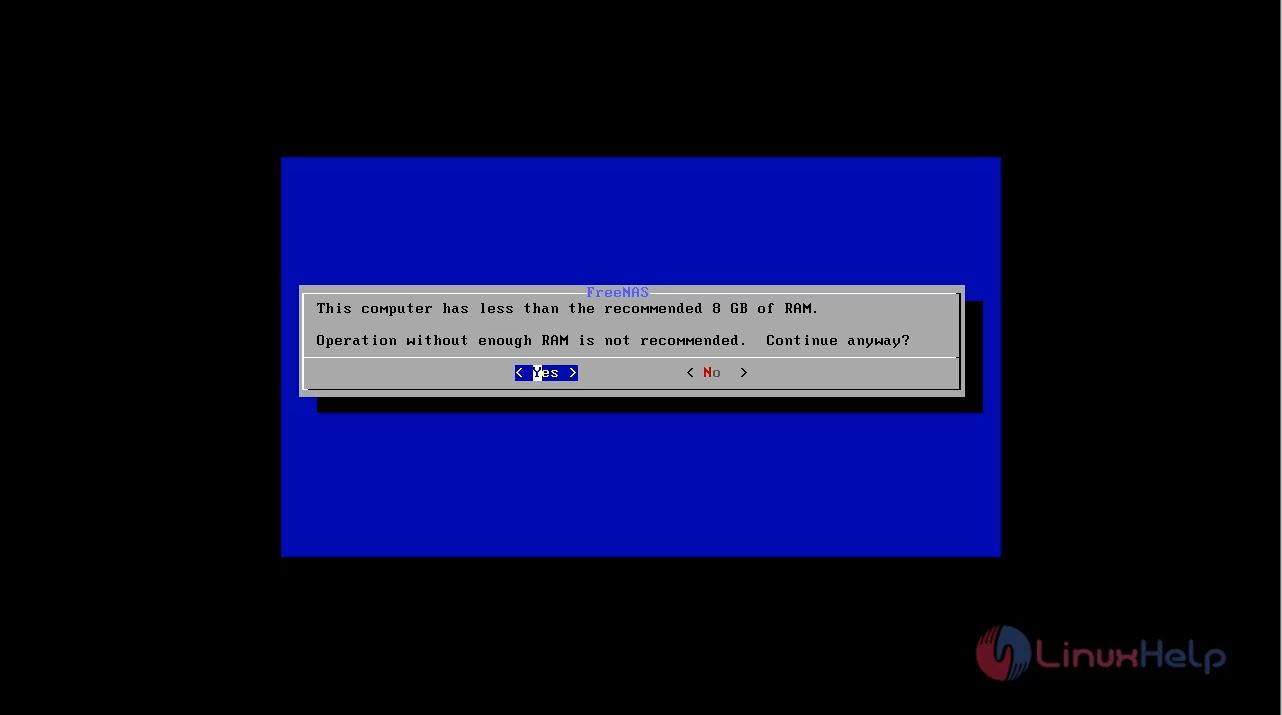
Step 2: If Ram is below recommend 8GB RAM click yes to continue process as shown in the below image.
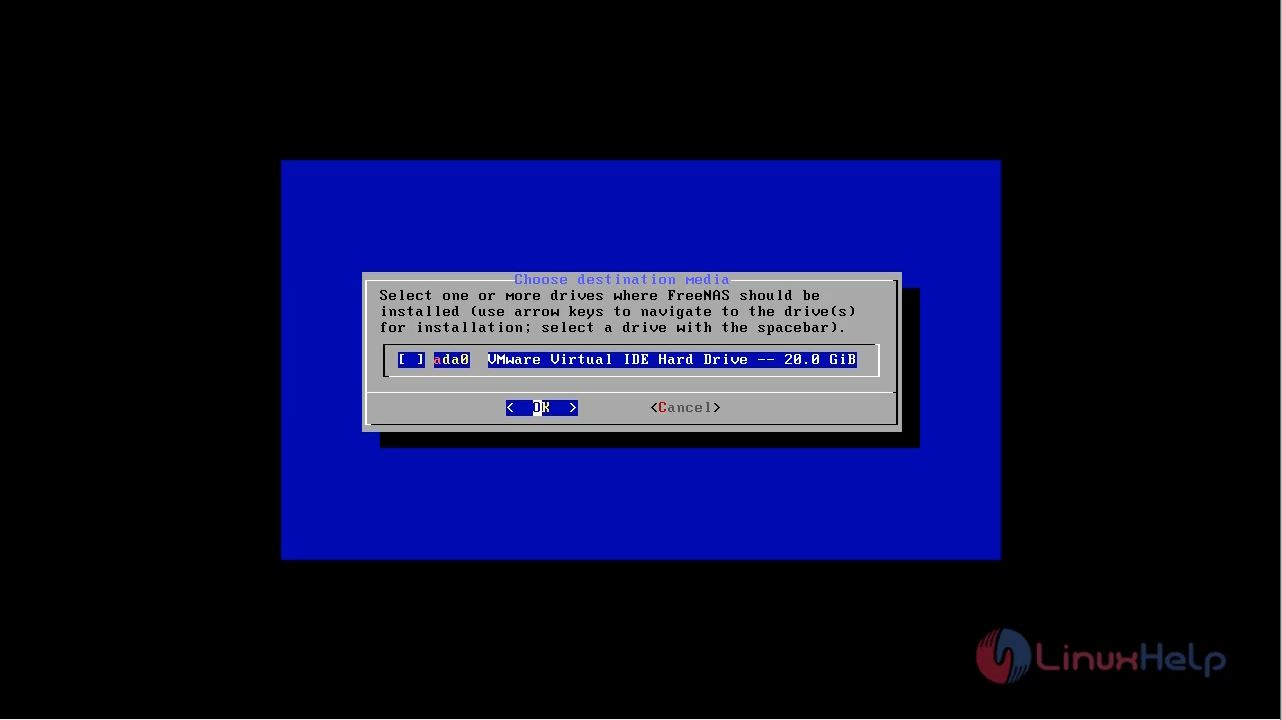
Step 3: Here, select the disk and click OK as shown in the below image.
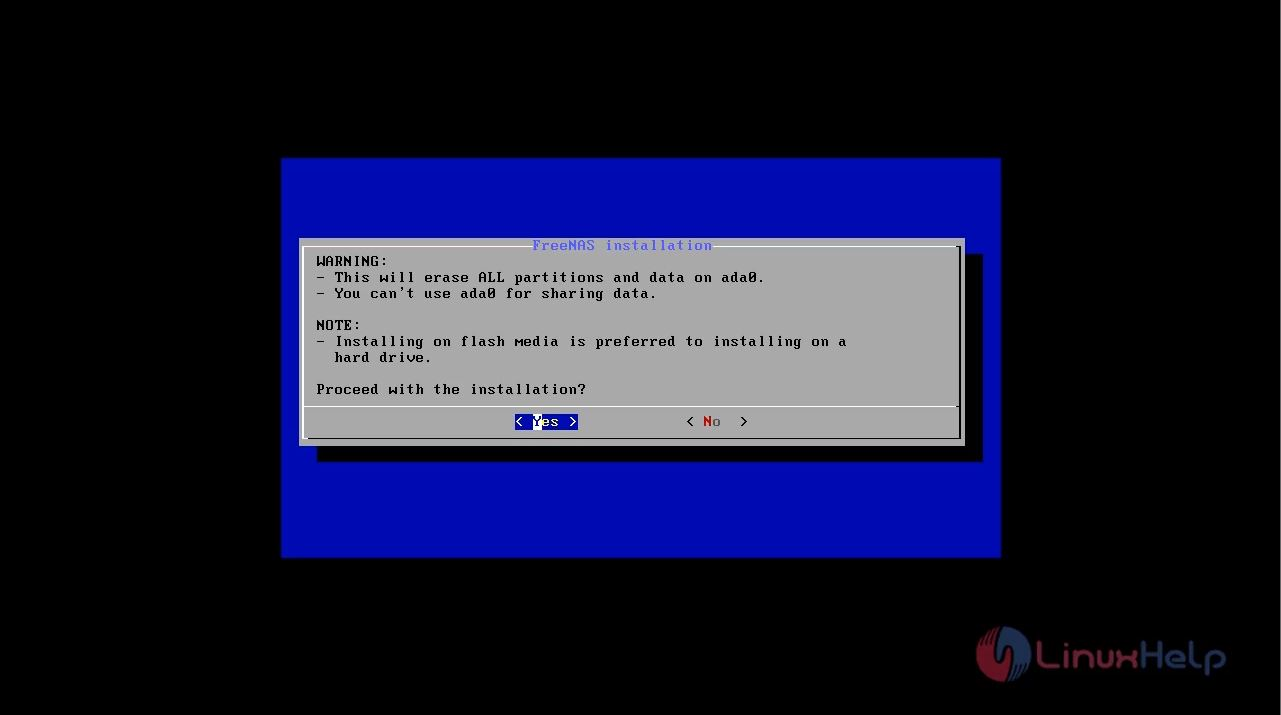
Step 4: Now, again select Yes, and click OK to proceed if you using fresh disk for installation as shown in the below image.
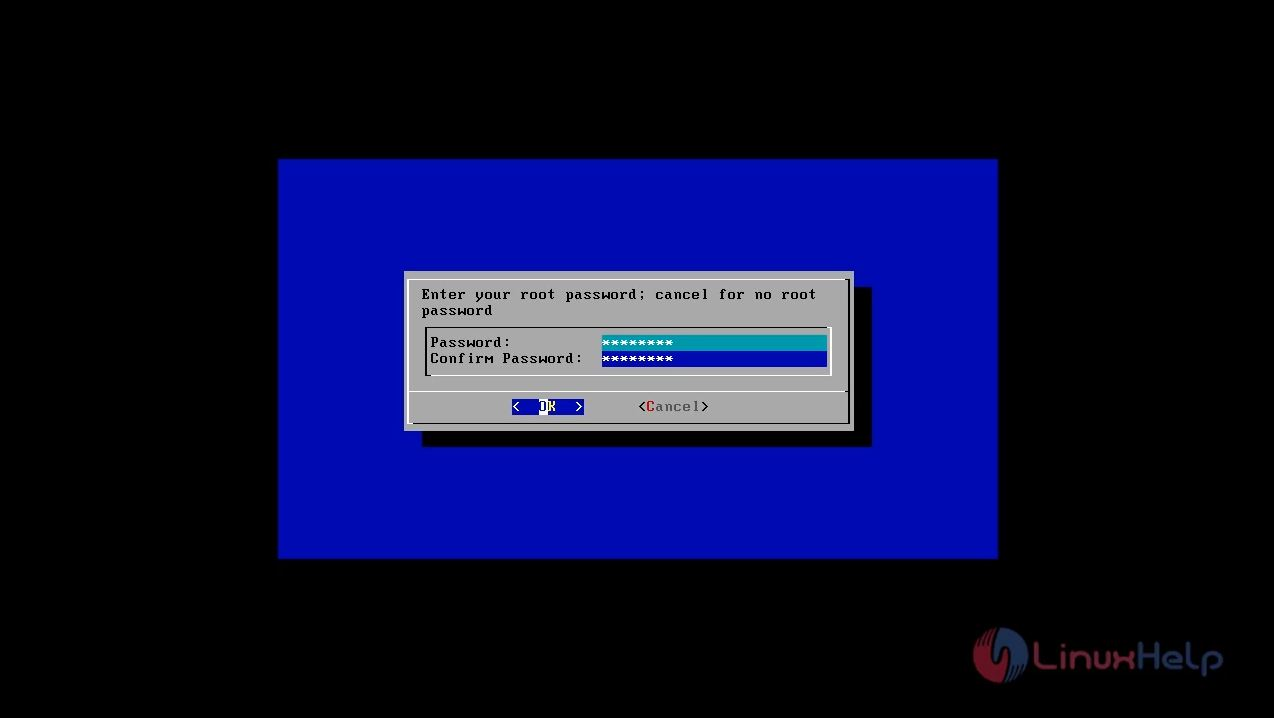
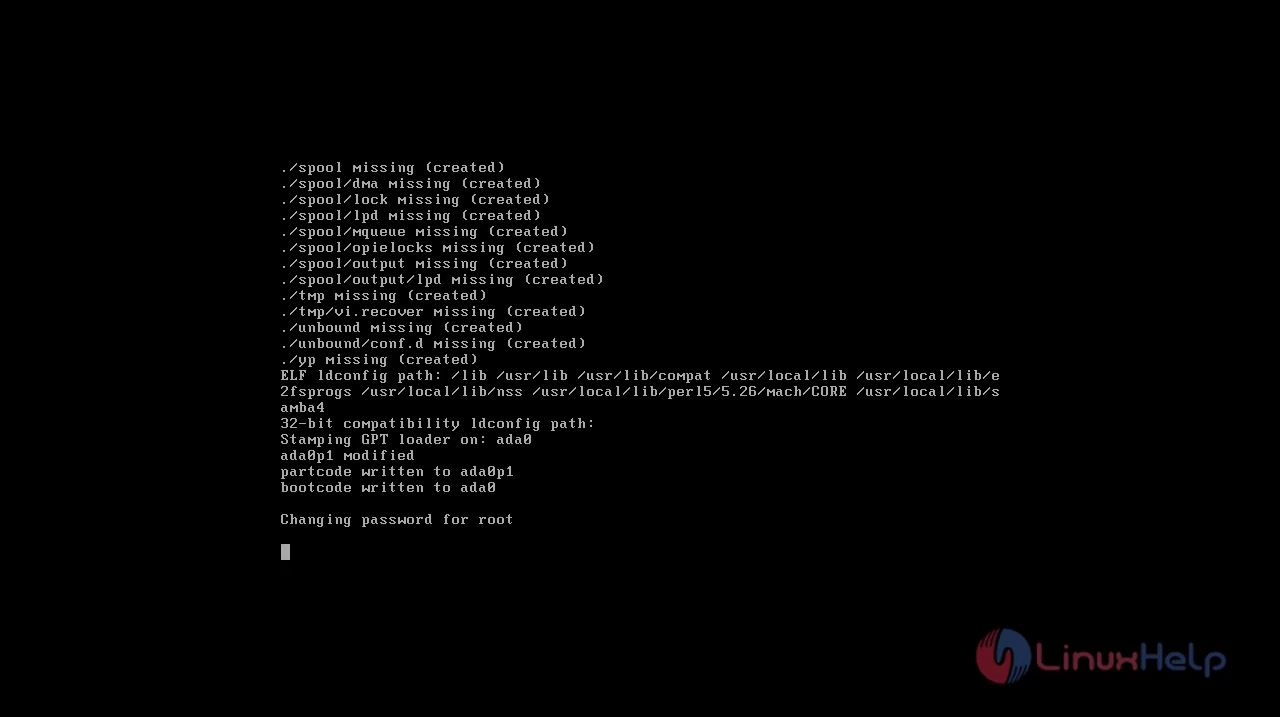
Step 5: You should now set a root password for FreeNAS as shown in the below image.
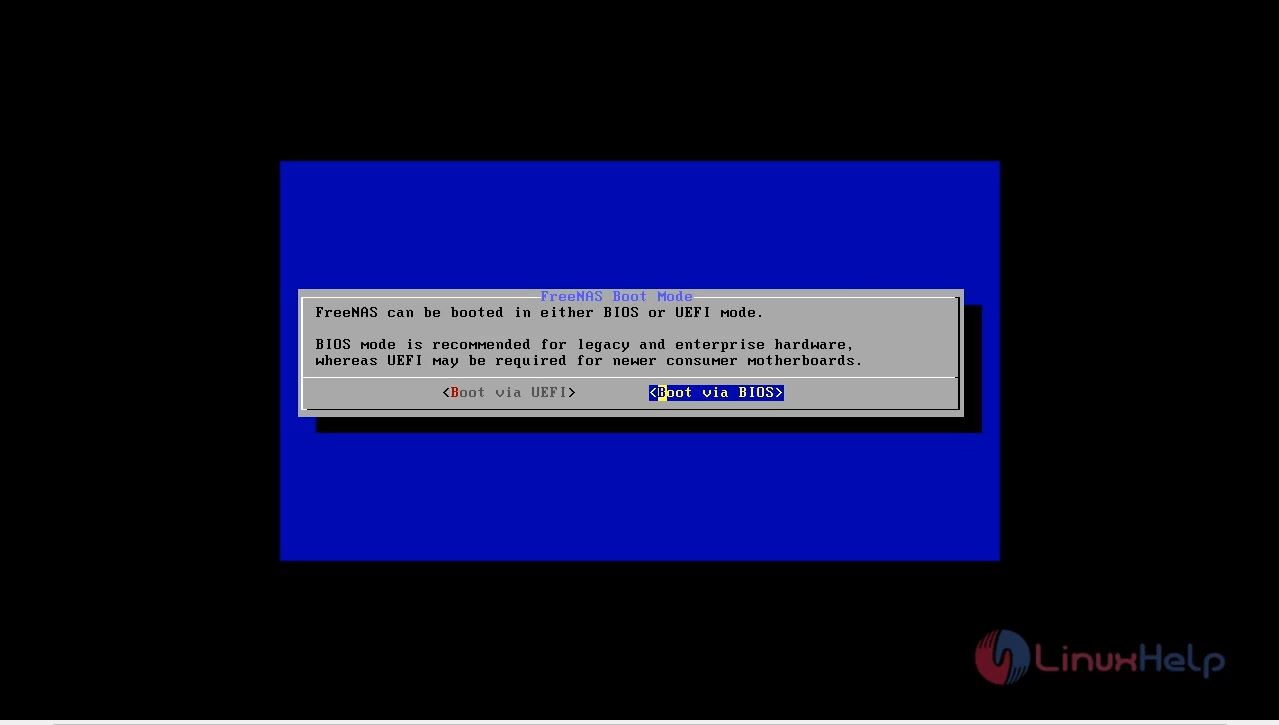
Step 6: Select the boot mode via bios as shown in the below image.
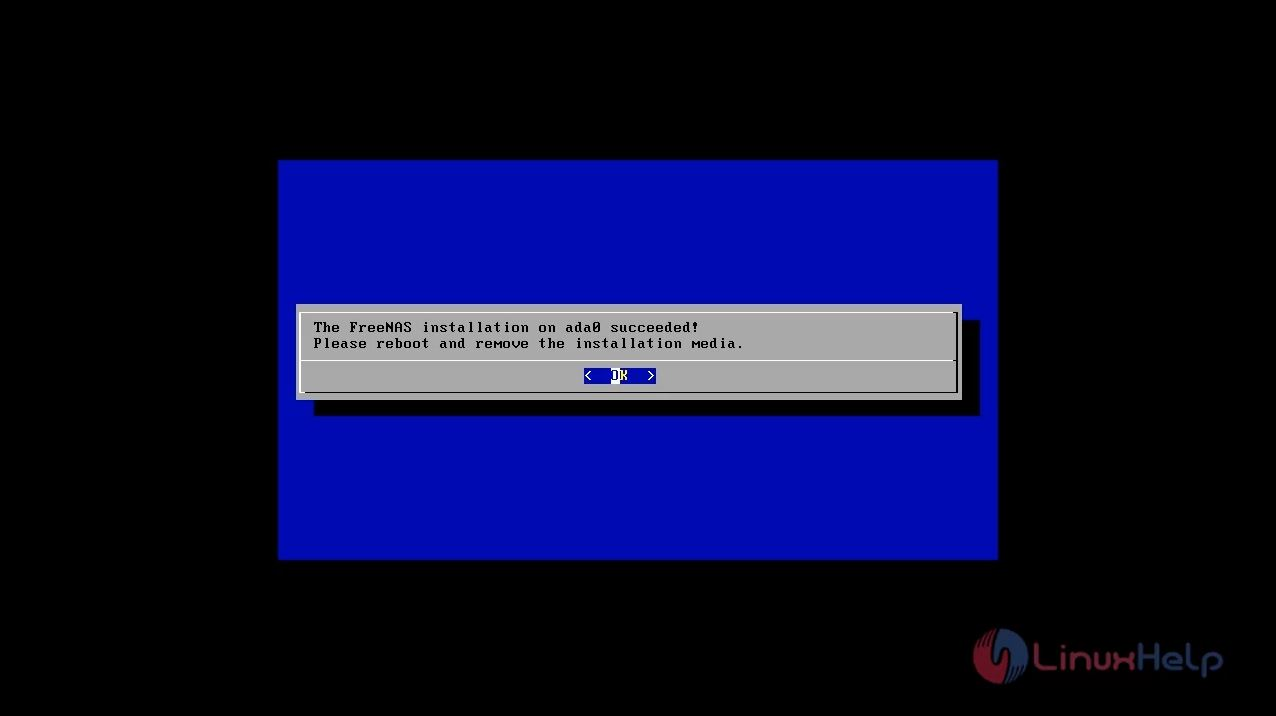
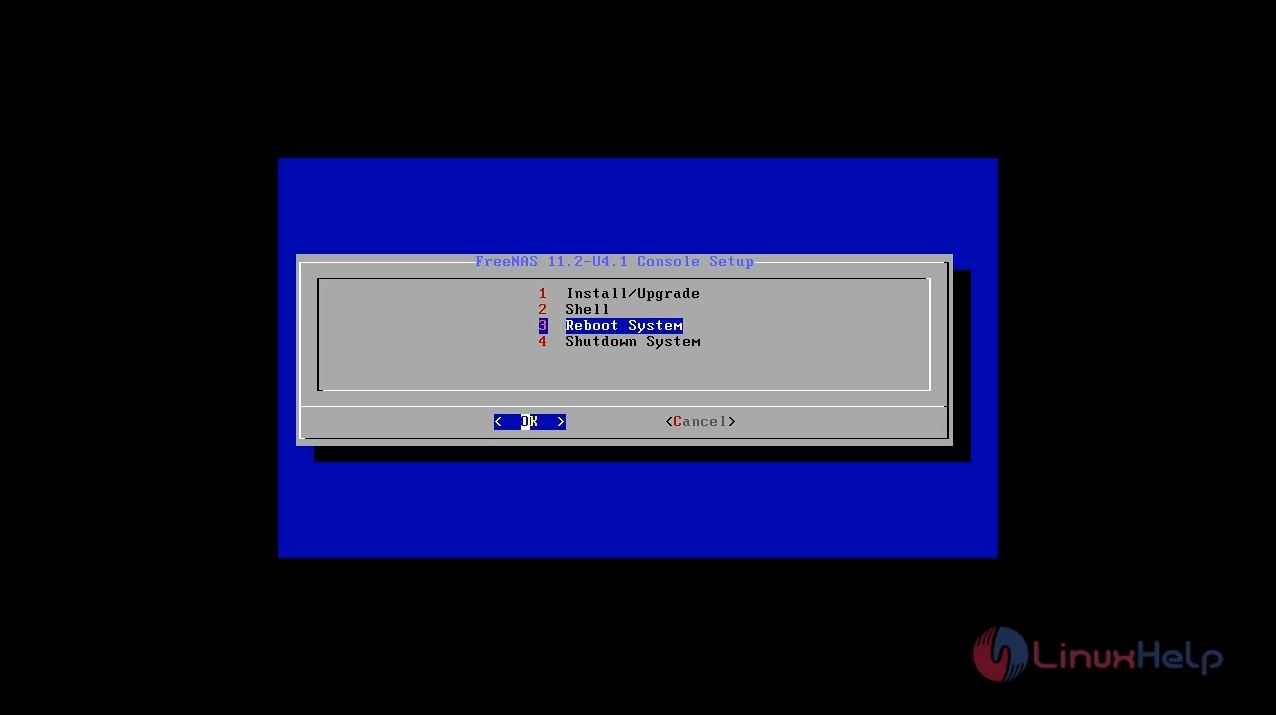
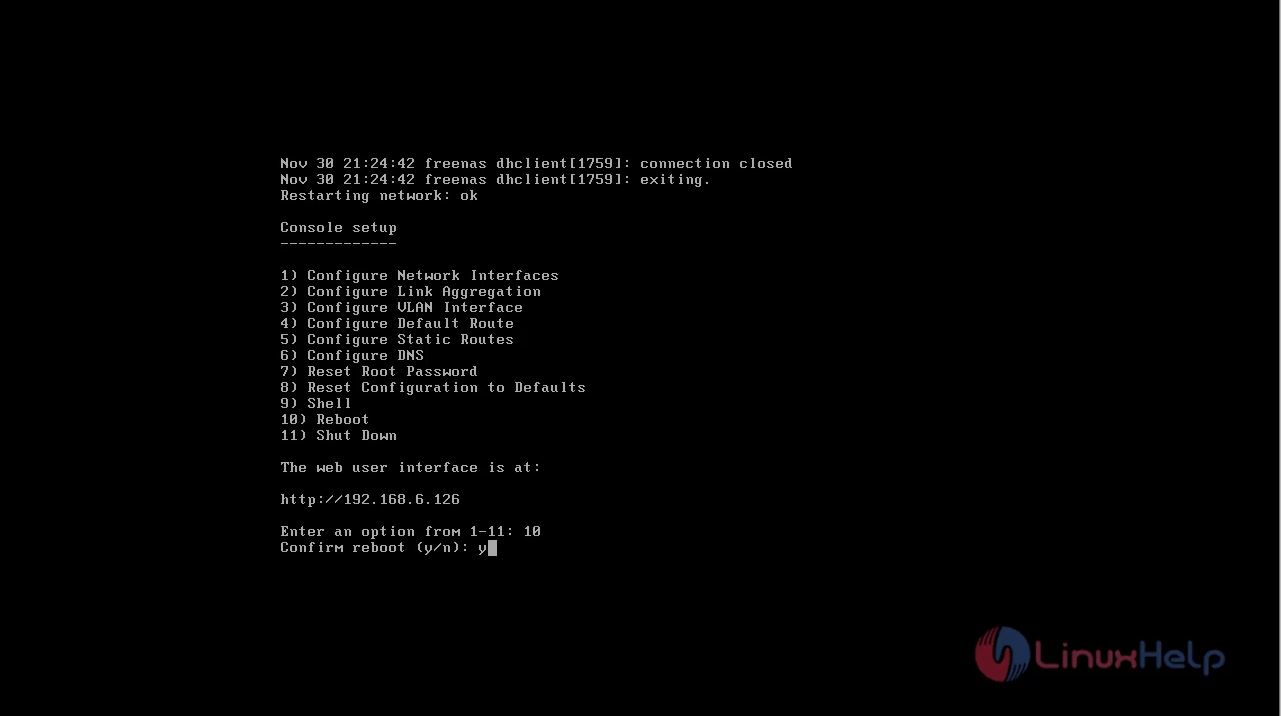
Step 7: After completed the installation, click OK and then select option to reboot as shown in the below image.
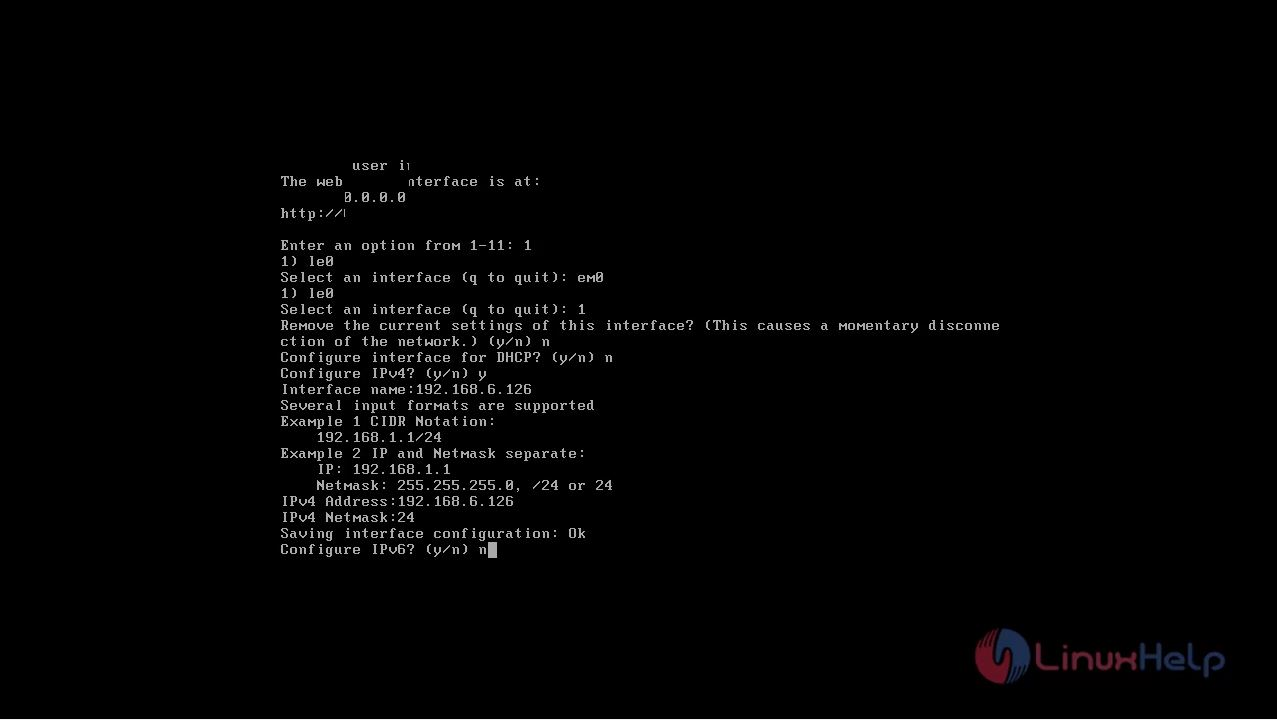
Step 8: Now we need to make the basic network configuration. So, we need to set static IP for Free-NAS as shown in the below image.
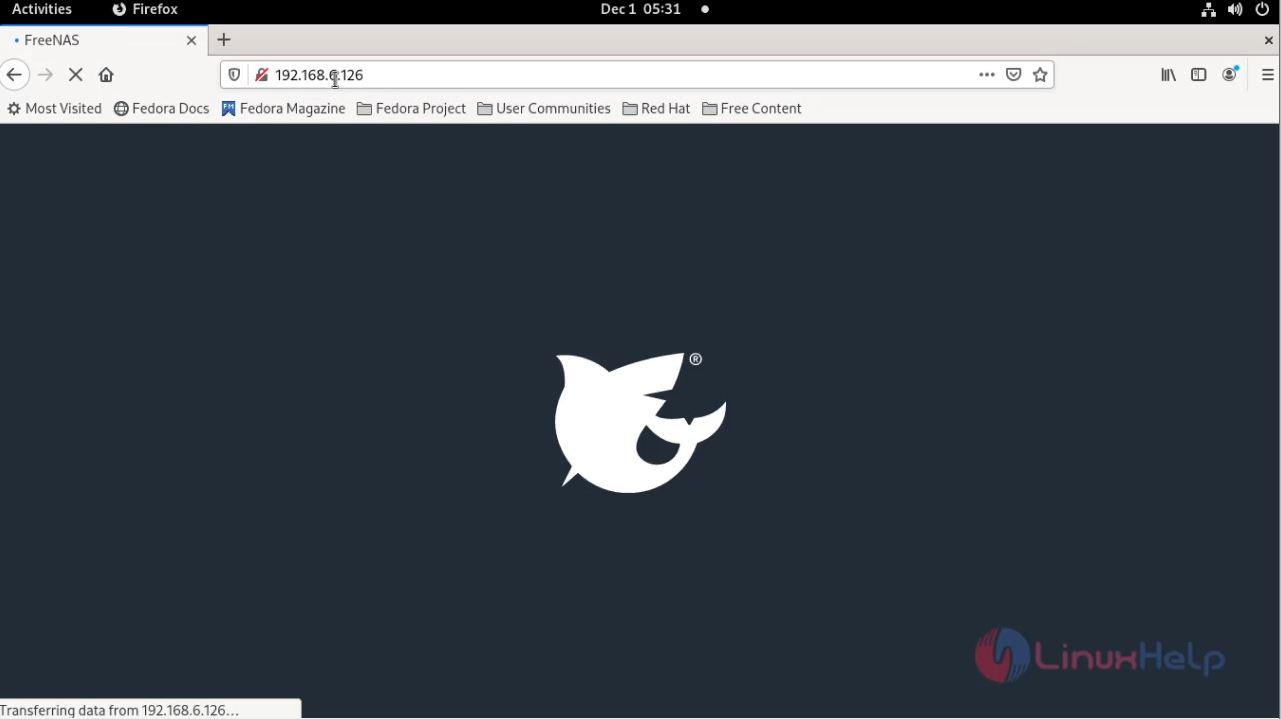
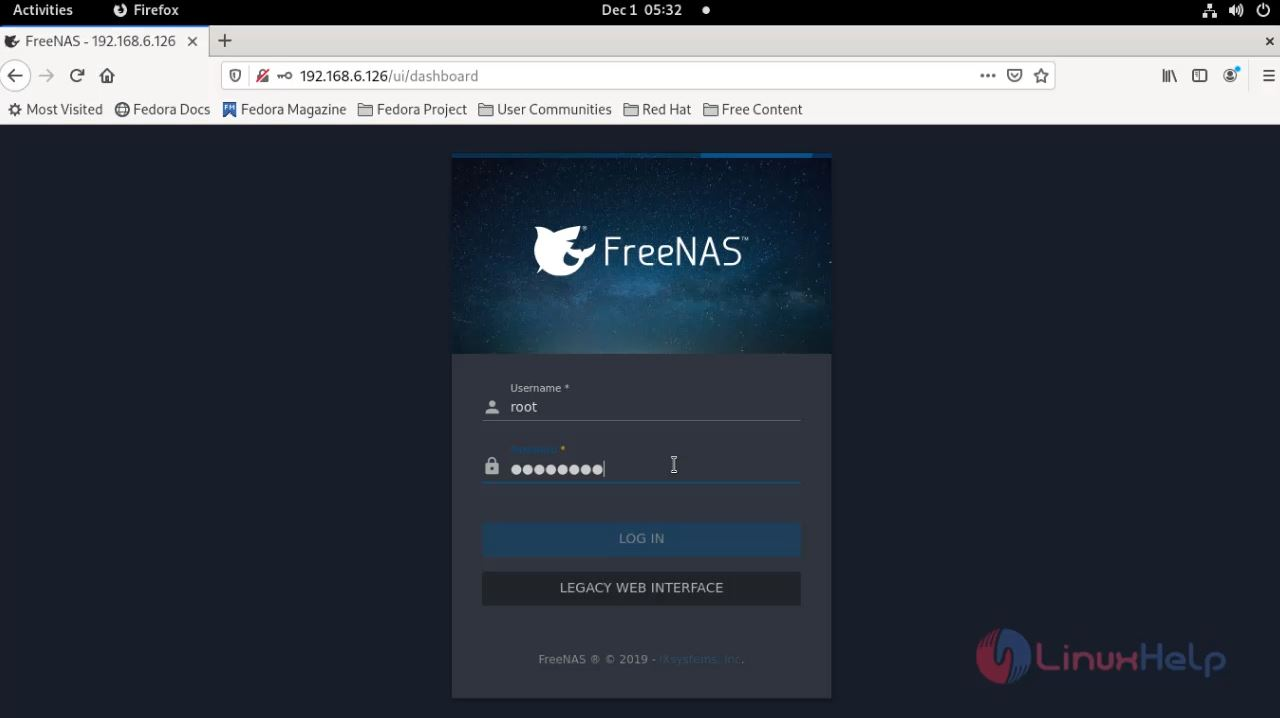
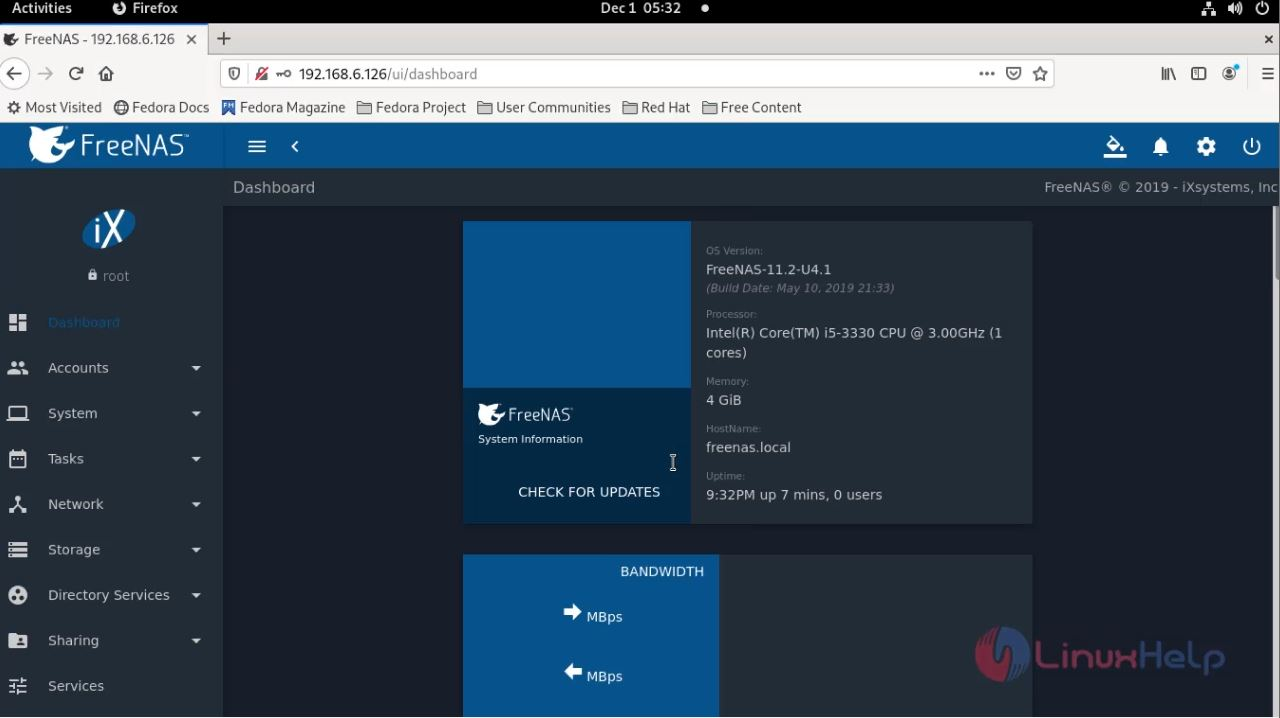
Step 9: Go to browser and Enter the ip address and port number as shown in the below image.
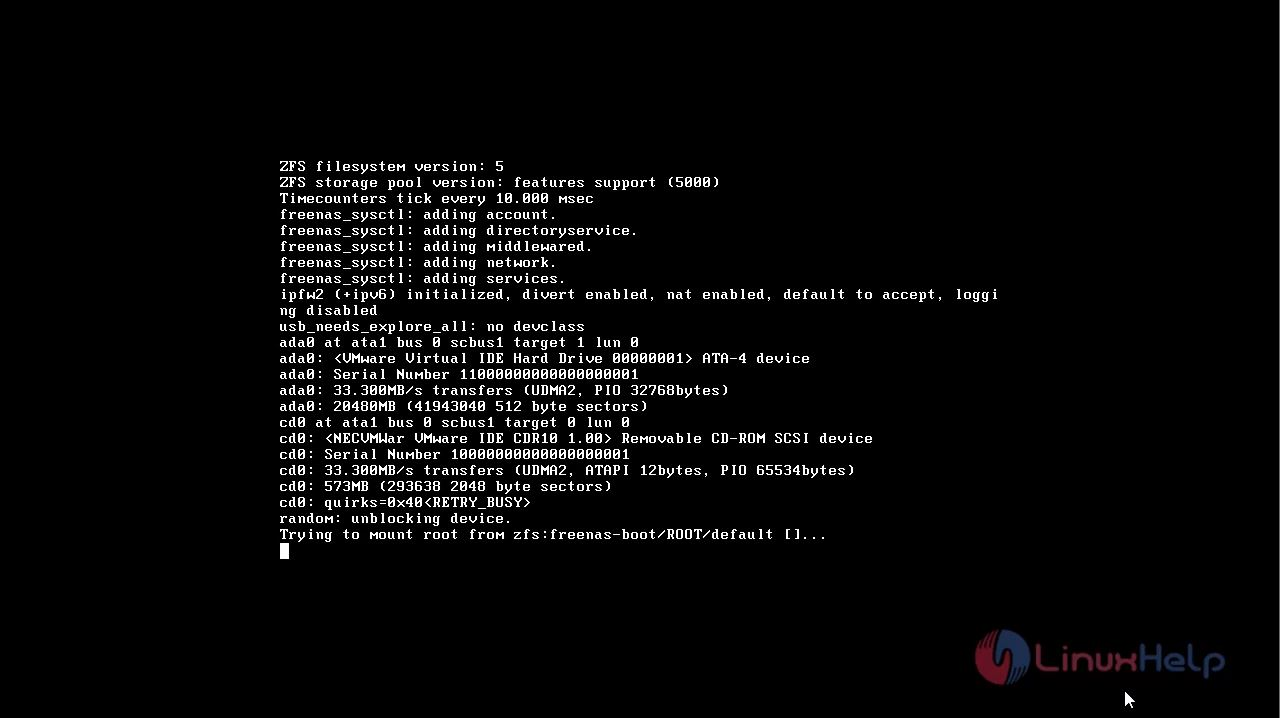
By this the installation of FreeNAS documentary file has comes to an End
Comments ( 0 )
No comments available