How to install Nextcloud on Debian 11.3
- 00:40 lsb_release -a
- 00:50 sudo apt-get update
- 01:17 sudo apt install apache2 mariadb-server -y
- 01:58 systemctl status apache2
- 02:10 systemctl status mysqld
- 02:36 echo "deb https://packages.sury.org/php/ $(lsb_release -sc) main"| sudo tee /etc/apt/sources.list.d/sury-php.list
- 02:54 wget -qO - https://packages.sury.org/php/apt.gpg | sudo apt-key add -
- 03:15 sudo apt-get update
- 03:27 sudo apt install php8.0
- 04:20 sudo a2enmod proxy_fcgi setenvif
- 04:40 sudo a2enconf php8.0-fpm
- 04:54 sudo systemctl restart apache2
- 05:14 sudo mysql_secure_installation
- 05:48 sudo mysql
- 05:58 CREATE DATABASE clouddb;
- 06:17 CREATE USER 'linuxhelp1'@'localhost' IDENTIFIED BY 'Linuxc#7';
- 06:56 GRANT ALL ON clouddb.* TO 'linuxhelp1'@'localhost';
- 07:26 FLUSH PRIVILEGES;
- 07:39 exit
- 07:46 wget https://download.nextcloud.com/server/releases/nextcloud-22.2.0.zip
- 08:09 ls -la
- 08:17 unzip nextcloud-22.2.0.zip
- 08:30 sudo mv nextcloud /var/www/html/
- 08:36 sudo chown -R www-data:www-data /var/www/html/nextcloud
- 09:00 sudo nano /etc/apache2/sites-available/nextcloud.conf
- 09:46 sudo a2dissite 000-default.conf
- 10:00 sudo a2ensite nextcloud.conf
- 10:18 sudo a2enmod headers rewrite env dir mime
- 10:40 systemctl restart apache2
To Install NextCloud on Debian 11.3
Introduction:
Nextcloud is free software distributed beneath an open-source license and can be used to set up a private cloud just like Google Drive, iCloud, Dropbox, and OneDrive. When using a client, the server is automatically synchronized with a local directory. Hence, the exact data stored on NextCloud can be accessed from multiple devices using a client app or via the web interface.
Installation Procedure:
Step 1: Check the OS Version by using the below command
[root@linuxhelp:~#] lsb_release -a
No LSB modules are available.
Distributor ID:	Debian
Description:	Debian GNU/Linux 11 (bullseye)
Release:	11
Codename:	bullseye
Step 2: Next, update the system package by using the below command
[root@linuxhelp:~#] sudo apt-get update
Get:1 http://deb.debian.org/debian bullseye InRelease [116 kB]
Get:2 http://security.debian.org/debian-security bullseye-security InRelease [48.4 kB]
Get:3 http://deb.debian.org/debian bullseye-updates InRelease [44.1 kB]
Get:4 http://deb.debian.org/debian bullseye/main Sources [8,633 kB]
Get:5 http://security.debian.org/debian-security bullseye-security/main Sources [158 kB]
Get:6 http://security.debian.org/debian-security bullseye-security/main amd64 Packages [186 kB]
Get:7 http://security.debian.org/debian-security bullseye-security/main Translation-en [117 kB]
Get:8 http://deb.debian.org/debian bullseye-updates/main Sources.diff/Index [11.7 kB]
Get:9 http://deb.debian.org/debian bullseye-updates/main amd64 Packages.diff/Index [11.7 kB]
Step 3: Next Install the Apache web server and MariaDB Database server by using the below command
[root@linuxhelp:~#] sudo apt install apache2 mariadb-server –y

Reading package lists... Done
Building dependency tree... Done
Reading state information... Done
The following additional packages will be installed:
  apache2-data apache2-utils galera-4 gawk libaio1 libcgi-fast-perl libcgi-pm-perl libconfig-inifiles-perl libdbd-mariadb-perl libdbi-perl
  libfcgi-bin libfcgi-perl libfcgi0ldbl libhtml-template-perl libmariadb3 libsigsegv2 libterm-readkey-perl mariadb-client-10.5
  mariadb-client-core-10.5 mariadb-common mariadb-server-10.5 mariadb-server-core-10.5 mysql-common rsync socat
Suggested packages:
  apache2-doc apache2-suexec-pristine | apache2-suexec-custom gawk-doc libmldbm-perl libnet-daemon-perl libsql-statement-perl
  libipc-sharedcache-perl mailx mariadb-test netcat-openbsd
The following NEW packages will be installed:
  apache2 apache2-data apache2-utils galera-4 gawk libaio1 libcgi-fast-perl libcgi-pm-perl libconfig-inifiles-perl libdbd-mariadb-perl
  libdbi-perl libfcgi-bin libfcgi-perl libfcgi0ldbl libhtml-template-perl libmariadb3 libsigsegv2 libterm-readkey-perl mariadb-client-10.5
  mariadb-client-core-10.5 mariadb-common mariadb-server mariadb-server-10.5 mariadb-server-core-10.5 mysql-common rsync socat
0 upgraded, 27 newly installed, 0 to remove and 112 not upgraded.
Need to get 17.8 MB of archives.
After this operation, 159 MB of additional disk space will be used.
Get:27 http://deb.debian.org/debian bullseye/main amd64 mariadb-server all 1:10.5.15-0+deb11u1 [35.3 kB]
Fetched 17.8 MB in 3s (6,731 kB/s)
Preconfiguring packages ...
Selecting previously unselected package apache2-data.


(Reading database ... 139326 files and directories currently installed.)
Selecting previously unselected package apache2.
Processing triggers for man-db (2.9.4-2) ...
Processing triggers for libc-bin (2.31-13+deb11u3) ...
Step 4: Check the status of Apache webserver and database server by using the below command
[root@linuxhelp:~#] systemctl status apache2
● apache2.service - The Apache HTTP Server
     Loaded: loaded (/lib/systemd/system/apache2.service; enabled; vendor preset: enabled)
     Active: active (running) since Tue 2022-10-04 01:50:42 IST; 8s ago
       Docs: https://httpd.apache.org/docs/2.4/
   Main PID: 4956 (apache2)
      Tasks: 55 (limit: 3450)
     Memory: 10.5M
        CPU: 23ms
     CGroup: /system.slice/apache2.service
             ├─4956 /usr/sbin/apache2 -k start

             ├─4958 /usr/sbin/apache2 -k start
             └─4959 /usr/sbin/apache2 -k start

Oct 04 01:50:42 linuxhelp systemd[1]: Starting The Apache HTTP Server...
Oct 04 01:50:42 linuxhelp systemd[1]: Started The Apache HTTP Server.


[root@linuxhelp:~#] systemctl status mysqld
● mariadb.service - MariaDB 10.5.15 database server
     Loaded: loaded (/lib/systemd/system/mariadb.service; enabled; vendor preset: enabled)
     Active: active (running) since Tue 2022-10-04 01:50:45 IST; 10s ago
       Docs: man:mariadbd(8)
             https://mariadb.com/kb/en/library/systemd/
    Process: 5257 ExecStartPre=/bin/sh -c [ ! -e /usr/bin/galera_recovery ] && VAR= ||   VAR=`cd /usr/bin/..; /usr/bin/galera_recovery`; [ $? >
    Process: 5318 ExecStartPost=/bin/sh -c systemctl unset-environment _WSREP_START_POSITION (code=exited, status=0/SUCCESS)

     Status: "Taking your SQL requests now..."
      Tasks: 13 (limit: 3450)
     Memory: 72.0M
        CPU: 302ms
     CGroup: /system.slice/mariadb.service
             └─5305 /usr/sbin/mariadbd
Step 5: Next install the Php 8.0. We have need for deb packages by using the below command
[root@linuxhelp:~#] echo "deb https://packages.sury.org/php/ $(lsb_release -sc) main"| sudo tee /etc/apt/sources.list.d/sury-php.list
deb https://packages.sury.org/php/ bullseye main
[root@linuxhelp:~#] wget -qO - https://packages.sury.org/php/apt.gpg | sudo apt-key add -
Warning: apt-key is deprecated. Manage keyring files in trusted.gpg.d instead (see apt-key(8)).
OK
Step 6: Again update the system package by using the below command
[root@linuxhelp:~#] sudo apt-get update
Hit:1 http://deb.debian.org/debian bullseye InRelease
Hit:2 http://security.debian.org/debian-security bullseye-security InRelease
Hit:3 http://deb.debian.org/debian bullseye-updates InRelease
Get:4 https://packages.sury.org/php bullseye InRelease [6,841 B]
Get:5 https://packages.sury.org/php bullseye/main amd64 Packages [337 kB]
Fetched 344 kB in 1s (325 kB/s)
Reading package lists... Done
Building dependency tree... Done
Reading state information... Done
115 packages can be upgraded. Run 'apt list --upgradable' to see them.
Step 7: Install PHP 8.0 by using the below command.
[root@linuxhelp:~#] sudo apt install php8.0
Reading package lists... Done
Building dependency tree... Done
Reading state information... Done
The following additional packages will be installed:
  libapache2-mod-php8.0 libpcre2-8-0 php-common php8.0-cli php8.0-common php8.0-opcache php8.0-readline
Suggested packages:
  php-pear
The following NEW packages will be installed:
  libapache2-mod-php8.0 php-common php8.0 php8.0-cli php8.0-common php8.0-opcache php8.0-readline
The following packages will be upgraded:

libpcre2-8-0
1 upgraded, 7 newly installed, 0 to remove and 114 not upgraded.
Selecting previously unselected package php8.0-readline.
Preparing to unpack .../3-php8.0-readline_1%3a8.0.24-1+0~20220929.42+debian11~1.gbp2c640a_amd64.deb ...
NOTICE: To enable PHP 8.0 FPM in Apache2 do:
NOTICE: a2enmod proxy_fcgi setenvif
NOTICE: a2enconf php8.0-fpm
NOTICE: You are seeing this message because you have apache2 package installed.
Step 8: Then install PHP Extension by using the below command
[root@linuxhelp:~#] sudo a2enmod proxy_fcgi setenvif
Considering dependency proxy for proxy_fcgi:
Enabling module proxy.
Enabling module proxy_fcgi.
Module setenvif already enabled
To activate the new configuration, you need to run:
  systemctl restart apache2
Step 9: Next, Add FPM support and Restart Apache by using the below command
[root@linuxhelp:~#] sudo a2enconf php8.0-fpm
Enabling conf php8.0-fpm.
To activate the new configuration, you need to run:
  systemctl reload apache2


[root@linuxhelp: ~#] sudo systemctl restart apache2
Step 10: Now, run the command to remove demo user & database, including to set MySQL root password by using the below command.
[root@linuxhelp:~#] sudo mysql_secure_installation

NOTE: RUNNING ALL PARTS OF THIS SCRIPT IS RECOMMENDED FOR ALL MariaDB
      SERVERS IN PRODUCTION USE!  PLEASE READ EACH STEP CAREFULLY!

In order to log into MariaDB to secure it, we'll need the current
password for the root user. If you've just installed MariaDB, and
haven't set the root password yet, you should just press enter here.

Enter current password for root (enter for none):
OK, successfully used password, moving on...

Setting the root password or using the unix_socket ensures that nobody
can log into the MariaDB root user without the proper authorisation.

You already have your root account protected, so you can safely answer 'n'.

Switch to unix_socket authentication [Y/n] n
 ... skipping.

You already have your root account protected, so you can safely answer 'n'.

Change the root password? [Y/n] n
 ... skipping.


By default, a MariaDB installation has an anonymous user, allowing anyone
to log into MariaDB without having to have a user account created for
them.  This is intended only for testing, and to make the installation
go a bit smoother.  You should remove them before moving into a
production environment.

Remove anonymous users? [Y/n] n
 ... skipping.

Normally, root should only be allowed to connect from 'localhost'.  This
ensures that someone cannot guess at the root password from the network.

Disallow root login remotely? [Y/n] n
 ... skipping.

By default, MariaDB comes with a database named 'test' that anyone can
access.  This is also intended only for testing, and should be removed
before moving into a production environment.

Remove test database and access to it? [Y/n] n
 ... skipping.

Reloading the privilege tables will ensure that all changes made so far
will take effect immediately.

Reload privilege tables now? [Y/n] n
 ... skipping.
Cleaning up...
All done!  If you've completed all of the above steps, your MariaDB
installation should now be secure.

Thanks for using MariaDB!
Step 11: Login to database server by using the below command.
[root@linuxhelp:~#] sudo mysql
Welcome to the MariaDB monitor.  Commands end with ; or \g.
Your MariaDB connection id is 31
Server version: 10.5.15-MariaDB-0+deb11u1 Debian 11

Copyright (c) 2000, 2018, Oracle, MariaDB Corporation Ab and others.
Type 'help;' or '\h' for help. Type '\c' to clear the current input statement.
Step 12: Next create the database by using the below command
MariaDB [(none)]> CREATE DATABASE clouddb;
Query OK, 1 row affected (0.001 sec)
Step 13: Now create the database username and password and grant all privileges and flush the privileges by using the below command
MariaDB [(none)]> CREATE USER 'linuxhelp1'@'localhost' IDENTIFIED BY 'Linuxc#7';
Query OK, 0 rows affected (0.001 sec)
MariaDB [(none)]> GRANT ALL ON clouddb.* TO 'linuxhelp1'@'localhost';
Query OK, 0 rows affected (0.001 sec)
MariaDB [(none)]> FLUSH PRIVILEGES;
Query OK, 0 rows affected (0.000 sec)
Step 14: Exit from the database.
MariaDB [(none)]> exit
Bye
Step 15: Now download the latest version of the Nextcloud by using the below command
[root@linuxhelp:~#] wget https://download.nextcloud.com/server/releases/nextcloud-22.2.0.zip
--2022-10-04 01:55:06--  https://download.nextcloud.com/server/releases/nextcloud-22.2.0.zip
Resolving download.nextcloud.com (download.nextcloud.com)... 95.217.64.181, 2a01:4f9:2a:3119::181
Connecting to download.nextcloud.com (download.nextcloud.com)|95.217.64.181|:443... connected.
HTTP request sent, awaiting response... 200 OK
Length: 159315304 (152M) [application/zip]
Saving to: ‘nextcloud-22.2.0.zip’
nextcloud-22.2.0.zip                100%[==================================================================>] 151.93M  7.32MB/s    in 22s
2022-10-04 01:55:29 (6.97 MB/s) - ‘nextcloud-22.2.0.zip’ saved [159315304/159315304]
Step 16: Long listing the directory by using the below command.
[root@linuxhelp:~#] ls -la
total 155620
drwx------  3 root root      4096 Oct  4 01:55 .
drwxr-xr-x 19 root root      4096 Jul 14 12:54 ..
-rw-r--r--  1 root root       571 Apr 11  2021 .bashrc

drwx------  3 root root      4096 Jul 14 13:00 .cache
-rw-------  1 root root       210 Oct  4 01:54 .mysql_history
-rw-r--r--  1 root root 159315304 Sep 30  2021 nextcloud-22.2.0.zip
-rw-r--r--  1 root root       161 Jul  9  2019 .profile
-rw-------  1 root root      1444 Jul 14 13:20 .viminfo
-rw-r--r--  1 root root        17 Jul 14 13:13 .vimrc
-rw-r--r--  1 root root       177 Oct  4 01:55 .wget-hsts
Step 17: Let’s unpack the downloaded compress file of Next cloud by using the below command
[root@linuxhelp:~#] unzip nextcloud-22.2.0.zip
Archive:  nextcloud-22.2.0.zip
   creating: nextcloud/
  inflating: nextcloud/index.php
   creating: nextcloud/ocs-provider/
  inflating: nextcloud/ocs-provider/index.php
   creating: nextcloud/ocs/
  inflating: nextcloud/ocs/v2.php

  inflating: nextcloud/ocs/providers.php
  inflating: nextcloud/ocs/v1.php
   creating: nextcloud/resources/
  inflating: nextcloud/resources/update-locales.php
  inflating: nextcloud/resources/app-info.xsd
   creating: nextcloud/resources/codesigning/
  inflating: nextcloud/resources/codesigning/root.crt
  inflating: nextcloud/resources/codesigning/core.crt

  inflating: nextcloud/resources/codesigning/root.crl
  inflating: nextcloud/lib/l10n/et_EE.js
  inflating: nextcloud/lib/l10n/hr.js
  inflating: nextcloud/lib/l10n/es_PE.json
  inflating: nextcloud/lib/l10n/zh_TW.json
  inflating: nextcloud/lib/l10n/es_419.json
  inflating: nextcloud/lib/l10n/ug.json
  inflating: nextcloud/COPYING
   creating: nextcloud/config/
 extracting: nextcloud/config/CAN_INSTALL
  inflating: nextcloud/config/config.sample.php
  inflating: nextcloud/config/.htaccess
Step 18: Move the extracted file to the Apache web root folder by using the below command.
[root@linuxhelp:~#] sudo mv nextcloud /var/www/html/
Step 19: Assign the ownership of the moved Nextcloud folder to the Apache user www-data so that it can access the files.
[root@linuxhelp:~#] sudo chown -R www-data:www-data /var/www/html/nextcloud
Step 20: Next, Create Apache Virtual Configuration for Nextcloud by using the below command
[root@linuxhelp:~#] sudo nano /etc/apache2/sites-available/nextcloud.conf
<VirtualHost *:80>
     ServerAdmin admin@linuxhelp1.com
     DocumentRoot /var/www/html/nextcloud

     ServerName linuxhelp1.com
     ServerAlias www.linuxhelp1.com

     <Directory /var/www/html/nextcloud/>
          Options FollowSymlinks
          AllowOverride All
          Require all granted
     </Directory>
ErrorLog ${APACHE_LOG_DIR}/error.log
     CustomLog ${APACHE_LOG_DIR}/access.log combined

     <Directory /var/www/html/nextcloud/>
            RewriteEngine on
            RewriteBase /

RewriteCond %{REQUEST_FILENAME} !-f
            RewriteRule ^(.*) index.php [PT,L]
    </Directory>
</VirtualHost>
Step 21: Disable the default Apache configuration and enable the new one you have created above by using the below command
[root@linuxhelp:~#] sudo a2dissite 000-default.conf
Site 000-default disabled.
To activate the new configuration, you need to run:
  systemctl reload apache2


[root@linuxhelp:~#] sudo a2ensite nextcloud.conf
Enabling site nextcloud.
To activate the new configuration, you need to run:
  systemctl reload apache2
Step 22: Also, enable a few modules by using the below command.
[root@linuxhelp:~#] sudo a2enmod headers rewrite env dir mime
Enabling module headers.
Enabling module rewrite.
Module env already enabled
Module dir already enabled
Module mime already enabled
To activate the new configuration, you need to run:
  systemctl restart apache2
Step 23: Finally Restart the apache Webserver by using the below command
[root@linuxhelp:~#] systemctl restart apache2
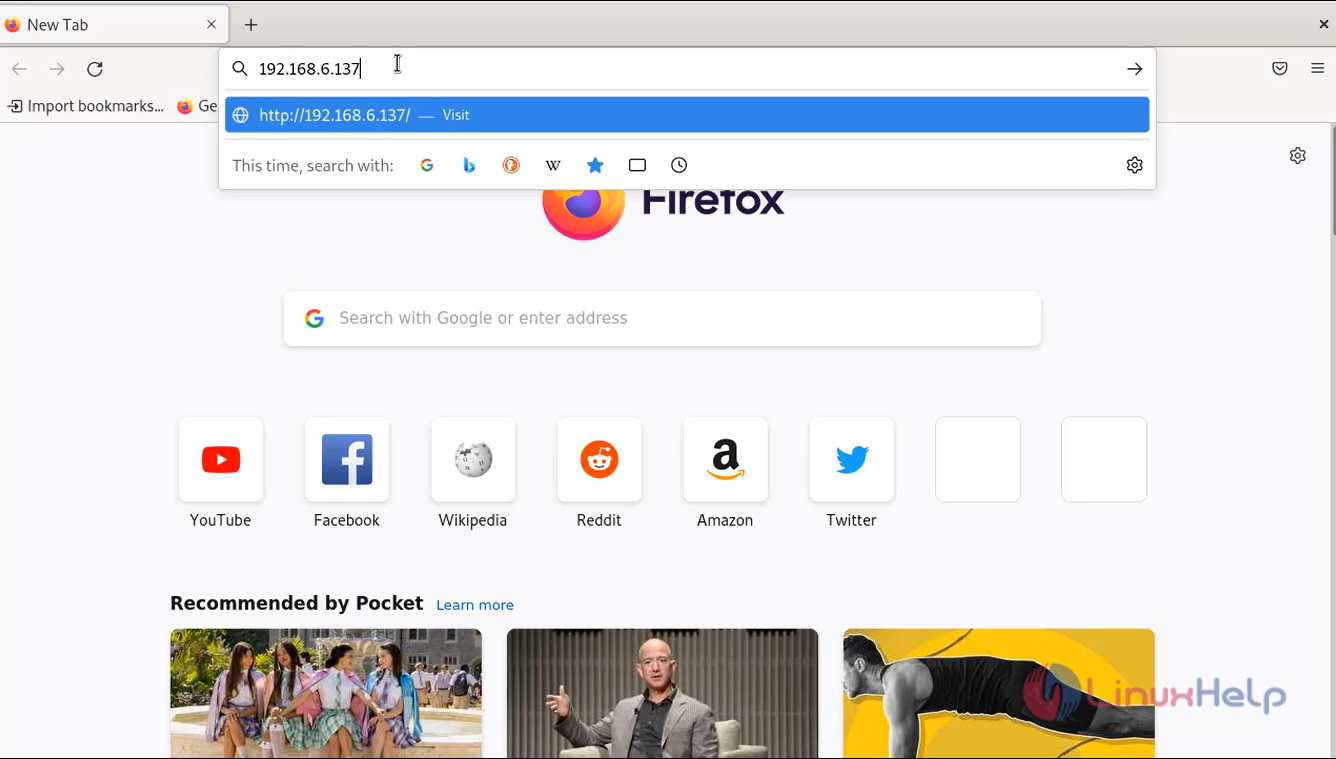
Step 24: Go to the browser and browse the IP address as shown in the below image
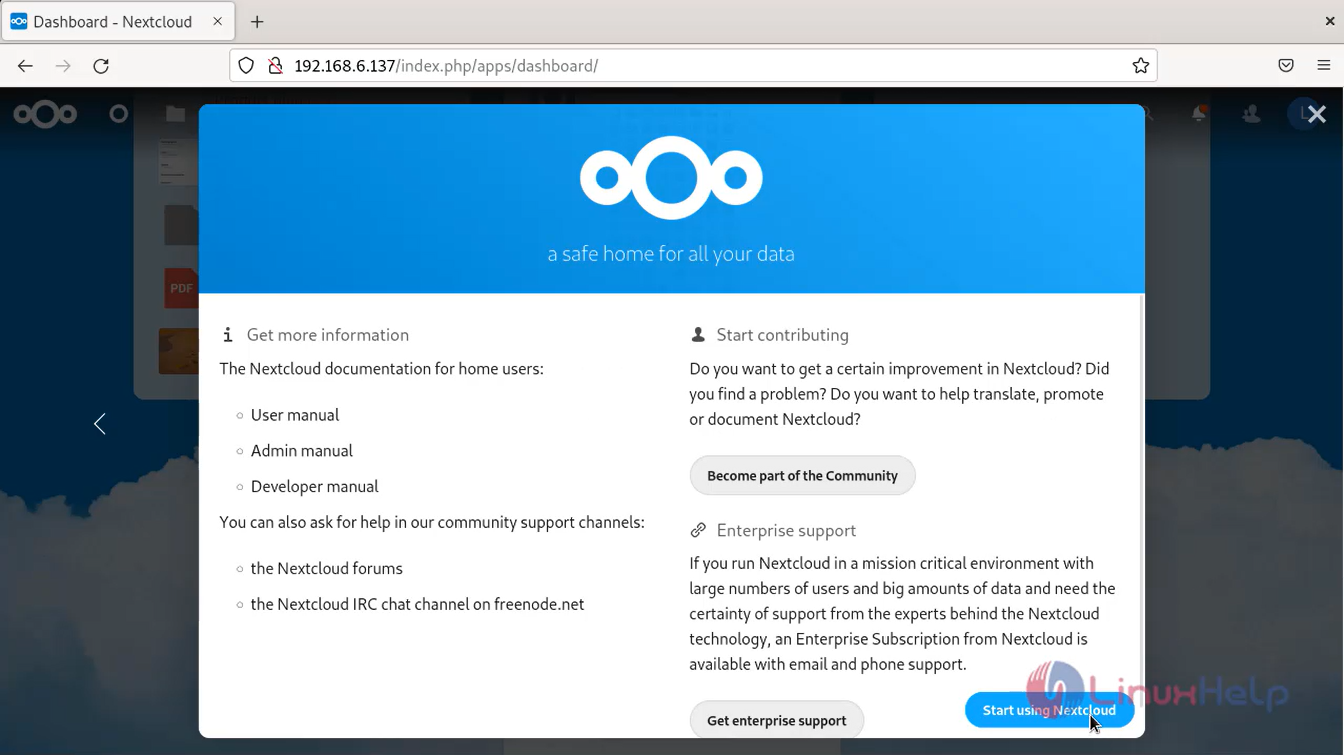
Step 25: Create Nextcloud User and add Database Details. Once done, click on the Finish button and wait for a few minutes, it will install the important apps.

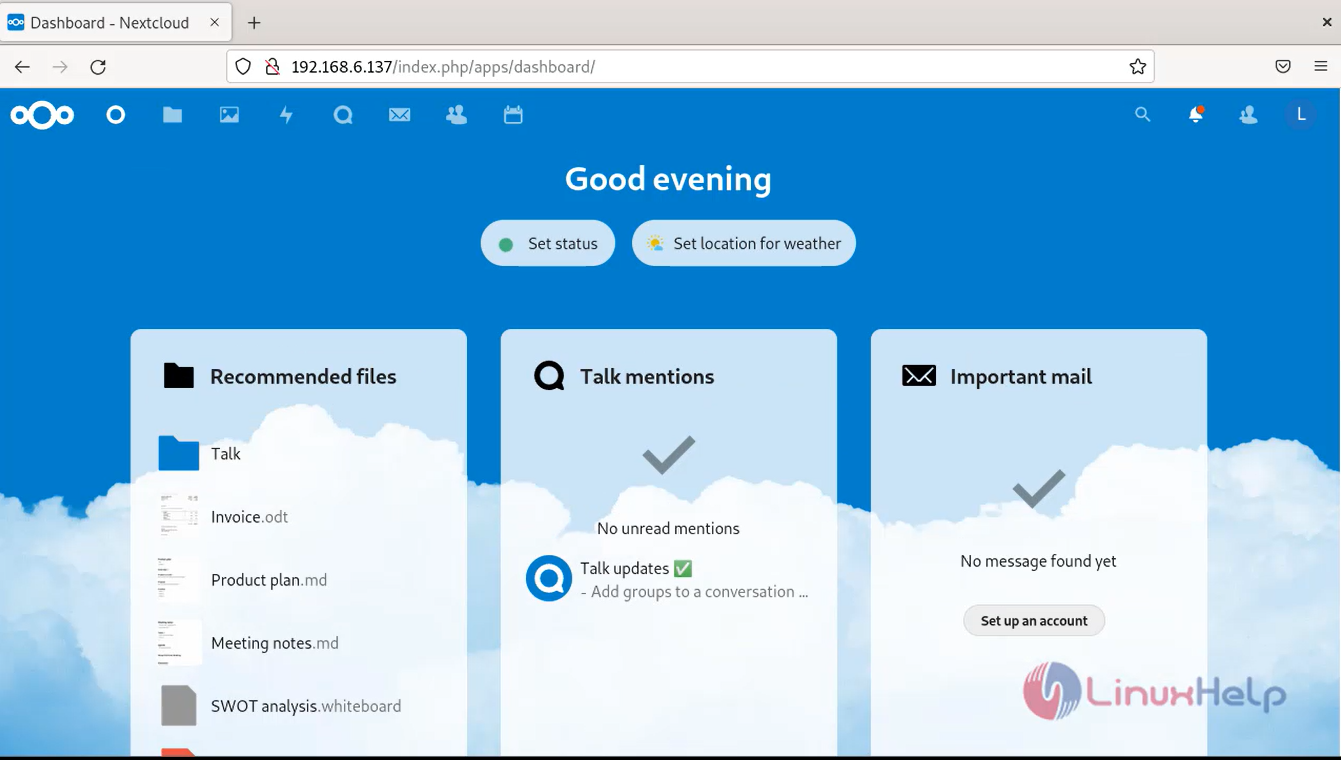
Step 26: This is the dashboard page for Next cloud. After that, the Next Cloud Dashboard will be there to access and store your data.
Conclusion:
We have reached the end of this article. In this guide, we have walked you through the steps required to install Nextcloud on Debian 11.3. Your feedback is much welcome.
Comments ( 0 )
No comments available