How To Setup Password Authentication with Apache in Debian 11.3
- 00:31 lsb_release -a
- 00:42 apt-get update
- 01:00 apt-get install apache2 apache2-utils -y
- 01:06 systemctl status apache2
- 01:35 sudo htpasswd -c /etc/apache2/.htpasswd user1
- 02:19 sudo htpasswd /etc/apache2/.htpasswd another_user2
- 02:57 cat /etc/apache2/.htpasswd
- 03:21 vim /etc/apache2/sites-enabled/000-default.conf
- 05:35 systemctl restart apache2
- 05:47 systemctl status apache2
- 06:10 nano /etc/apache2/apache2.conf
- 06:47 nano /var/www/html/.htaccess
- 07:13 systemctl restart apache2
To setup Password Authentication with Apache in Debian 11.3
Introduction:
Apache is a popular web server that hides the websites private information from unauthorized users. It provides easiest way to secure your site with free trusted certificates. This article shows how to setup password authentication with Apache in Debian.
Installation of Apache
Step 1: Check the OS Version by using the below command
[root@linuxhelp:~#] lsb_release -a
No LSB modules are available.
Distributor ID:	Debian
Description:	Debian GNU/Linux 11 (bullseye)
Release:	11
Codename:	bullseye
Step 2: Next, update the system package by using the below commands.
[root@linuxhelp:~#] apt-get update
Get:1 http://security.debian.org/debian-security bullseye-security InRelease [48.4 kB]
Hit:2 http://deb.debian.org/debian bullseye InRelease
Hit:3 http://repo.mysql.com/apt/debian bullseye InRelease
Get:4 http://deb.debian.org/debian bullseye-updates InRelease [44.1 kB]
Get:5 https://packages.sury.org/php bullseye InRelease [6,841 B]
Get:6 http://security.debian.org/debian-security bullseye-security/main Sources [158 kB]
Get:7 http://security.debian.org/debian-security bullseye-security/main amd64 Packages [186 kB]
Get:8 https://packages.sury.org/php bullseye/main amd64 Packages [337 kB]
Fetched 781 kB in 1s (630 kB/s)
Reading package lists... Done
Step 3: Utilize the following command to install Apache package.
[root@linuxhelp:~#] apt-get install apache2 apache2-utils -y
Step 4: Check the status from Apache webserver by using following commands.
[root@linuxhelp:~#] systemctl status apache2
● apache2.service - The Apache HTTP Server
     Loaded: loaded (/lib/systemd/system/apache2.service; enabled; vendor preset: enabled)
     Active: active (running) since Mon 2022-10-03 01:33:06 IST; 6min ago
       Docs: https://httpd.apache.org/docs/2.4/
    Process: 17980 ExecStart=/usr/sbin/apachectl start (code=exited, status=0/SUCCESS)
   Main PID: 17984 (apache2)
      Tasks: 6 (limit: 3450)
     Memory: 12.7M
        CPU: 56ms
     CGroup: /system.slice/apache2.service
             ├─17984 /usr/sbin/apache2 -k start
             ├─17985 /usr/sbin/apache2 -k start
             ├─17986 /usr/sbin/apache2 -k start
             ├─17987 /usr/sbin/apache2 -k start
             ├─17988 /usr/sbin/apache2 -k start
             └─17989 /usr/sbin/apache2 -k start
Oct 03 01:33:06 linuxhelp systemd[1]: Starting The Apache HTTP Server...
Oct 03 01:33:06 linuxhelp systemd[1]: Started The Apache HTTP Server.
Step 5: Create password file by using the below command The ' htpasswd' command allows you to create a password file. Here we will creating a hidden file .htpasswd within our /etc/apache2 configuration directory.
[root@linuxhelp:~#] sudo htpasswd -c /etc/apache2/.htpasswd user1
New password:
Re-type new password:
Adding password for user user1
root@linuxhelp:~# sudo htpasswd /etc/apache2/.htpasswd another_user2
New password:
Re-type new password:
Adding password for user another_user2
Step 6: Here we can view the username and the encrypted password for each user by the following command.
[root@linuxhelp:~#] cat /etc/apache2/.htpasswd
user1:$apr1$bseVxfWN$jfTJGgj/uqJWjzko/u1hK1
another_user2:$apr1$ZwznJhsp$hHKnlHLiI5oiGX6OjV1kO.
Step 7: Configure Apache password authentication by using the below command.
[root@linuxhelp:~#] nano /etc/apache2/sites-enabled/000-default.conf
<Directory "/var/www/html">
      AuthType Basic
      AuthName " Restricted Content"
      AuthUserFile /etc/apache2/.htpasswd
      Require valid-user
Step 8: Restart the Apache and check the status by using the below commands.
[root@linuxhelp:~#] systemctl restart apache2
[root@linuxhelp:~#] systemctl status apache2
 ● apache2.service - The Apache HTTP Server
     Loaded: loaded (/lib/systemd/system/apache2.service; enabled; vendor preset: enabled)
     Active: active (running) since Mon 2022-10-03 01:33:06 IST; 6min ago
       Docs: https://httpd.apache.org/docs/2.4/
    Process: 17980 ExecStart=/usr/sbin/apachectl start (code=exited, status=0/SUCCESS)
   Main PID: 17984 (apache2)
      Tasks: 6 (limit: 3450)
     Memory: 12.7M
        CPU: 56ms
     CGroup: /system.slice/apache2.service
             ├─17984 /usr/sbin/apache2 -k start
             ├─17985 /usr/sbin/apache2 -k start
             ├─17986 /usr/sbin/apache2 -k start
             ├─17987 /usr/sbin/apache2 -k start
             ├─17988 /usr/sbin/apache2 -k start
             └─17989 /usr/sbin/apache2 -k start

Oct 03 01:33:06 linuxhelp systemd[1]: Starting The Apache HTTP Server...
Oct 03 01:33:06 linuxhelp systemd[1]: Started The Apache HTTP Server.
Step 9: Next configure the Access control .htaccess Files by using the below command.
[root@linuxhelp:~#] nano /etc/apache2/apache2.conf
Options Indexes FollowSymLinks
  AllowOverride All
  Require all granted
Step 10: Here you need to add .htaccess file to the directory to restrict the entire document root.
[root@linuxhelp:~#]nano /var/www/html/.htaccess
AuthType Basic
AuthName " Restricted Content"
AuthUserFile /etc/apache2/.htpasswd
Require valid-user
Step 11: Restart the web server by using the below command
[root@linuxhelp:~#] systemctl restart apache2
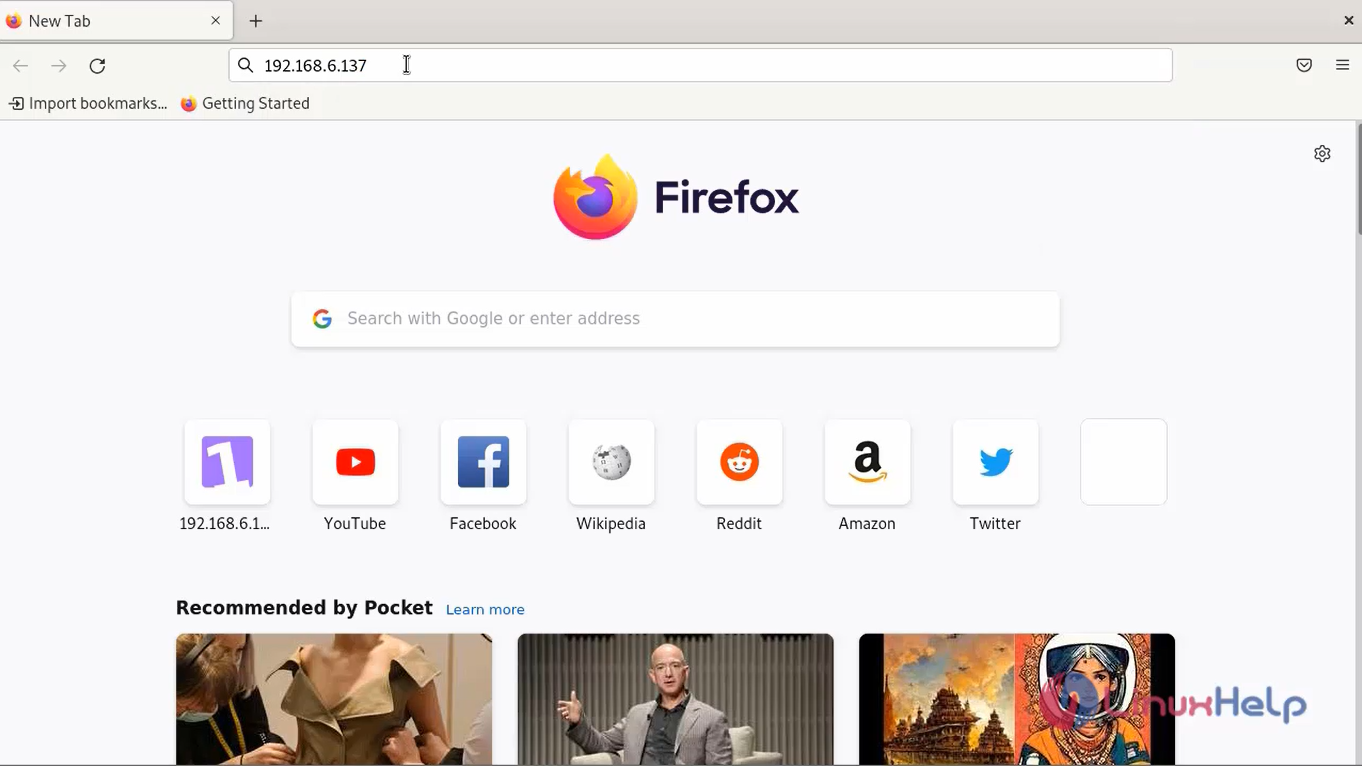
Step 12: Go to browser and browse the IP address as shown in the below image
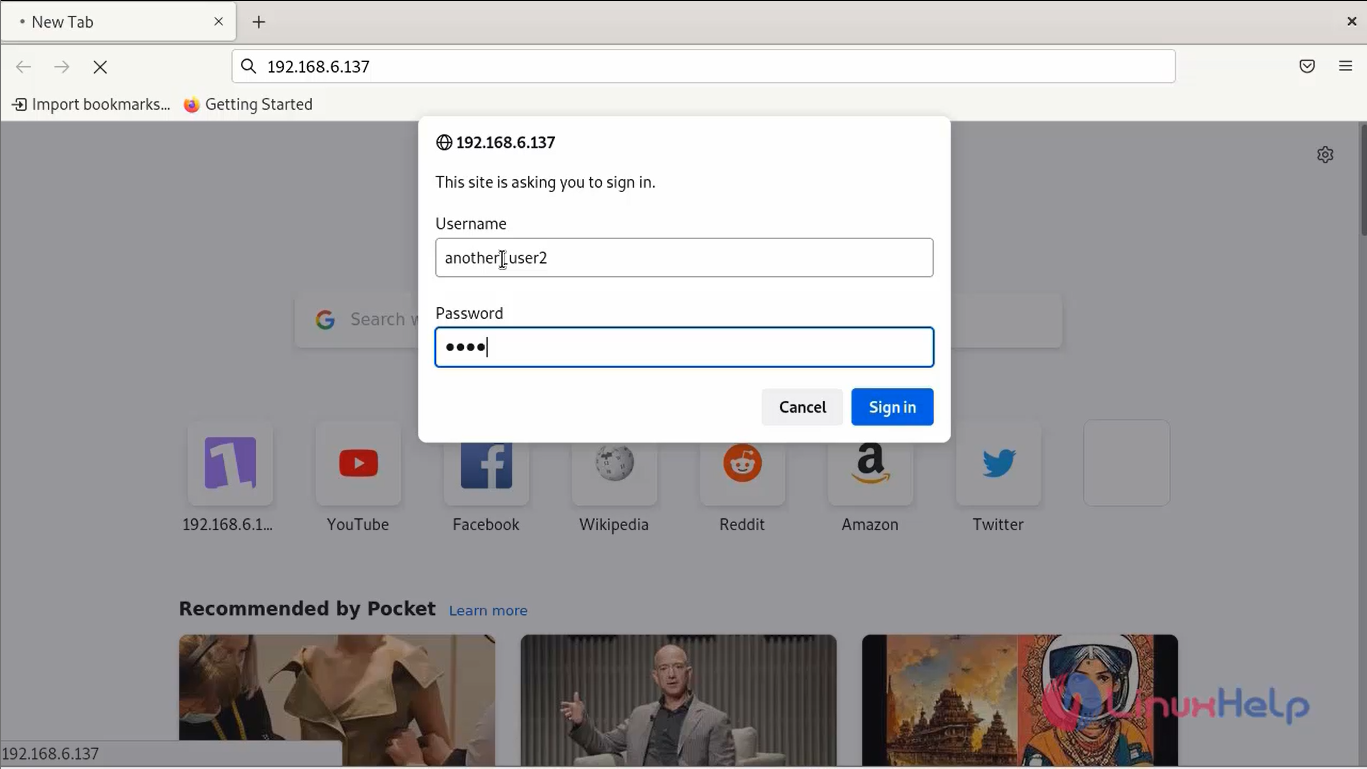
Step 13: Enter the following credentials as shown in the below image
If you enter the correct credentials, you will be allowed to access the content. If you enter the wrong credentials, you will see the “Unauthorized” error page.
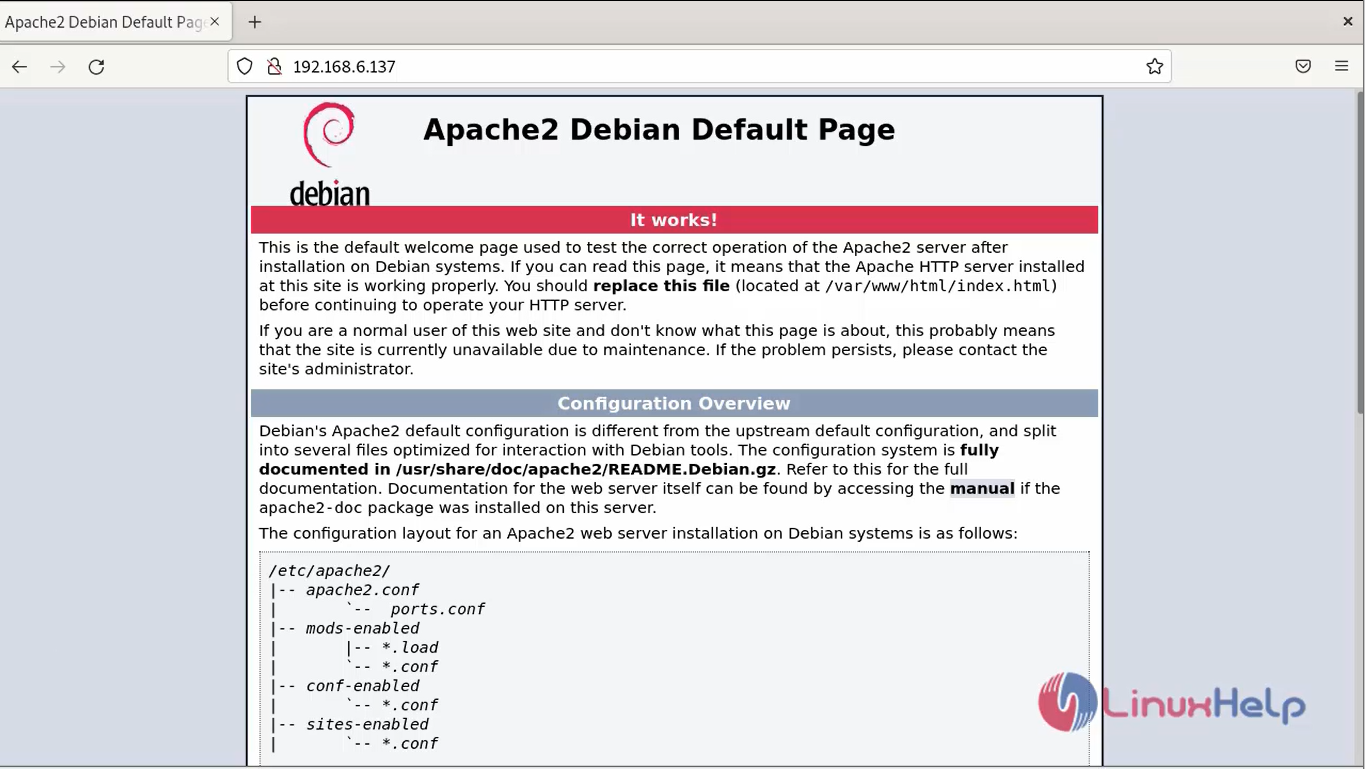
Snap 14: This is the Apache default page.
Conclusion:
We have reached the end of this article. In this guide, we have walked you through the steps required to Setup Password Authentication with Apache in Debian 11.3. Your feedback is much welcome.


Comments ( 0 )
No comments available