How To Install Quick CMS on Debian 11.3
- 00:27 lsb_release –a
- 00:47 systemctl start apache2
- 00:57 systemctl status apache2
- 01:14 apt install php php-xml php-mysql php-mbstring php-zip php-soap php-sqlite3 php-curl php-gd php-ldap php-imap php-common
- 01:36 mysql -u root -p
- 01:50 create database quick;
- 02:00 use quick;
- 02:10 create user user1@localhost identified by 'linuxc';
- 02:38 grant all on quick.* to user1@localhost;
- 03:05 flush privileges;
- 03:17 exit
- 03:25 cd /var/www
- 03:38 mkdir quick
- 03:45 cd quick
- 03:56 wget https://opensolution.org/download/home.html?sFile=Quick.Cms_v6.7-en.zip
- 04:14 unzip home.html\?sFile\=Quick.Cms_v6.7-en.zip
- 04:26 chown -R www-data. ./
- 04:37 chmod -R 775 ./
- 04:54 ls
- 05:02 chmod -R 777 database files
- 05:19 ls
- 05:28 cd database
- 05:37 nano config.php
- 06:32 nano /etc/apache2/sites-available/quick.conf
- 06:49 a2dissite 000-default.conf
- 07:04 a2ensite quick.conf
- 07:16 a2enmod rewrite
- 07:28 systemctl restart apache2
To Install Quick CMS on Debian 11.3
Introduction:
Quick CMS is an ideal choice for beginners and for people who are looking to make simple websites. It is one of the easiest solutions available on the Internet. A basic understanding of HTML and CSS is needed to design the site.
Installation process:
Step 1: Run lsb_release command to check the installed version of OS.
root@linuxhelp:~# lsb_release –a
No LSB modules are available.
Distributor ID: Debian
Description:    Debian GNU/Linux 11 (bullseye)
Release:        11
Codename:       bullseye
Step 2: Start the Apache by using the below command
root@linuxhelp:~# systemctl start apache2
Step 3: Check the status of Apache by using the below command
root@linuxhelp:~# systemctl status apache2
● apache2.service - The Apache HTTP Server
     Loaded: loaded (/lib/systemd/system/apache2.service; enabled; vendor preset: enabled)
     Active: active (running) since Fri 2022-07-08 14:22:21 IST; 17min ago
       Docs: https://httpd.apache.org/docs/2.4/
    Process: 10654 ExecStart=/usr/sbin/apachectl start (code=exited, status=0/SUCCESS)
   Main PID: 10658 (apache2)
      Tasks: 11 (limit: 4620)
     Memory: 23.5M
        CPU: 312ms
     CGroup: /system slice/apache2.service
            Jul 08 14:22:21 linuxhelp systemd[1]: Starting The Apache HTTP Server...
Jul 08 14:22:21 linuxhelp apachectl[10657]: AH00558: apache2: Could not reliably determine the server's fully qualified domain name, using 127.0.1.1. Set the 'ServerName' directive globally to suppress>
Jul 08 14:22:21 linuxhelp systemd[1]: Started The Apache HTTP Server.
Step 4: Install PHP modules by using below command
root@linuxhelp:~# apt install php php-xml php-mysql php-mbstring php-zip php-soap php-sqlite3 php-curl php-gd php-ldap php-imap php-common
Reading package lists... Done
Building dependency tree
Reading state information... Done
The following additional packages will be installed:
  libapache2-mod-php7.4 libc-client2007e libonig5 libzip5 mlock php7.4 php7.4-cli php7.4-common php7.4-curl php7.4-gd
  php7.4-imap php7.4-json php7.4-ldap php7.4-mbstring php7.4-mysql php7.4-opcache php7.4-readline php7.4-soap php7.4-sqlite3
  php7.4-xml php7.4-zip
Step 5: Create database for quick CMS by using the below command
root@linuxhelp:~# mysql -u root -p
Enter password:
Welcome to the MySQL monitor.  Commands end with ; or \g.
Your MySQL connection id is 8
Server version: 8.0.22-0ubuntu0.20.04.2 (Ubuntu)
Copyright (c) 2000, 2020, Oracle and/or its affiliates. All rights reserved.
Oracle is a registered trademark of Oracle Corporation and/or its
affiliates. Other names may be trademarks of their respective
owners.
Type 'help;' or '\h' for help. Type '\c' to clear the current input statement.
mysql> create database quick;
Query OK, 1 row affected (0.02 sec)
mysql> use quick;
Database changed
mysql> create user user1@localhost identified by 'linuxc';
Query OK, 0 rows affected (0.02 sec)
mysql>  grant all on quick.* to user1@localhost;
Query OK, 0 rows affected (0.01 sec)
mysql> flush privileges;
Query OK, 0 rows affected (0.01 sec)
mysql> exit
Bye
Step 6: Change to Apache directory by using the below command
root@linuxhelp:~# cd /var/www
Step 7: Create a directory for Quick by using the below command
root@linuxhelp:/var/www# mkdir quick
Step 8: Change the path to quick directory by using the below command
root@linuxhelp:/var/www# cd quick
Step 9: Download the Quick file by using wget command
root@linuxhelp:/var/www/quick# wget https://opensolution.org/download/home.html?sFile=Quick.Cms_v6.7-en.zip
--2022-07-08 14:13:51--  https://opensolution.org/download/home.html?sFile=Quick.Cms_v6.7-en.zip
Resolving opensolution.org (opensolution.org)... 94.152.51.156
Connecting to opensolution.org (opensolution.org)|94.152.51.156|:443... connected.
HTTP request sent, awaiting response... 200 OK
Length: unspecified [application/zip]
Saving to: ‘home.html?sFile=Quick.Cms_v6.7-en.zip’

home.html?sFile=Quick.Cms_v6.7-en.zip                  [    <=>                                                                                                        ] 895.62K   783KB/s    in 1.1s

2022-07-08 14:13:56 (783 KB/s) - ‘home.html?sFile=Quick.Cms_v6.7-en.zip’ saved [917111]
Step 10: List the directory by using the below command
root@linuxhelp:/var/www/quick# ls
-rw-r--r-- 1 root root 806242 Jul 25 11:45 'home.html?sFile=Quick.Cms_v6.7-en.zip'
Step 11: Extract the zip file by using below command
root@linuxhelp:/var/www/quick# unzip home.html\?sFile\=Quick.Cms_v6.7-en.zip
Archive:  home.html?sFile=Quick.Cms_v6.7-en.zip
   creating: core/
  inflating: core/common-admin.js
  inflating: core/common-admin.php
  inflating: core/common.js
  inflating: core/common.php
  inflating: core/files-admin.php
  inflating: core/files.php
  inflating: core/lang-admin.php
   creating: core/libraries/
  inflating: core/libraries/file-jobs.php
Step 12: Give the Ownership and permissions to quick directory by using the below commands
root@linuxhelp:/var/www/quick# chown -R www-data. ./
root@linuxhelp:/var/www/quick# chmod -R 775 ./
Step 13: List the directory by using the below command
root@linuxhelp:/var/www/quick# ls
total 828
drwxrwxr-x 7 www-data www-data   4096 Nov 25 11:46  ./
drwxr-xr-x 4 root     root       4096 Nov 25 11:45  ../
-rwxrwxr-x 1 www-data www-data   3573 Dec 28  2016  admin.php*
drwxrwxr-x 3 www-data www-data   4096 Jan 17  2019  core/
drwxrwxr-x 3 www-data www-data   4096 Jan 18  2019  database/
drwxrwxr-x 4 www-data www-data   4096 Jan 17  2019  files/
-rwxrwxr-x 1 www-data www-data 806242 Nov 25 11:45 'home.html?sFile=Quick.Cms_v6.7-en.zip'*
-rwxrwxr-x 1 www-data www-data     63 Jan 18  2019  HOW_TO_INSTALL.txt*
-rwxrwxr-x 1 www-data www-data   2628 Dec 31  2018  index.php*
drwxrwxr-x 5 www-data www-data   4096 Jan  3  2019  plugins/
drwxrwxr-x 4 www-data www-data   4096 Jan 17  2019  templates/
Step 14: Give the permissions for database directory by using the below command
root@linuxhelp:/var/www/quick# chmod -R 777 database files
Step 15: Change to database directory by using the below command
root@linuxhelp:/var/www/quick# cd database
Step 16: List the directory by using the below command
root@linuxhelp:/var/www/quick/database# ls
admin.php   core   database   favicon.ico   files  'home.html?sFile=Quick.Cms_v6.6-en.zip'  'home.html?sFile=Quick.Cms_v6.7-en.zip'   HOW_TO_INSTALL.txt   index.php   plugins   templates
**Step 17: Open the configuration file by using the below command **
root@linuxhelp:/var/www/quick/database# nano config.php
Step 18: Create a virtualhost for quick CMs by using the below command
root@linuxhelp:/var/www/quick/database# nano /etc/apache2/sites-available/quick.conf
<virtualhost *:80>
Servername www.linuxhelp1.com
Documentroot /var/www/clipper
</virtualhost>
Step 19: Disable default access by using the below command
root@linuxhelp:/var/www/quick/database# a2dissite 000-default.conf
Site 000-default disabled.
To activate the new configuration, you need to run:
  systemctl reload apache2
Step 20: Enable site access by using the below command
root@linuxhelp:/var/www/quick/database#  a2ensite quick.conf
Enabling site quick.
To activate the new configuration, you need to run:
  systemctl reload apache2
Step 21: Enable rewrite module by using the below command
root@linuxhelp:/var/www/quick/database# a2enmod rewrite

Enabling module rewrite.
To activate the new configuration, you need to run:
  systemctl restart apache2
Step 22: Once it is completed, Restart the Apache Web Server by running the below command
root@linuxhelp:/var/www/quick/database# systemctl restart apache2
Step 23: Once completed, go to browser and type the URL as shown in the below image
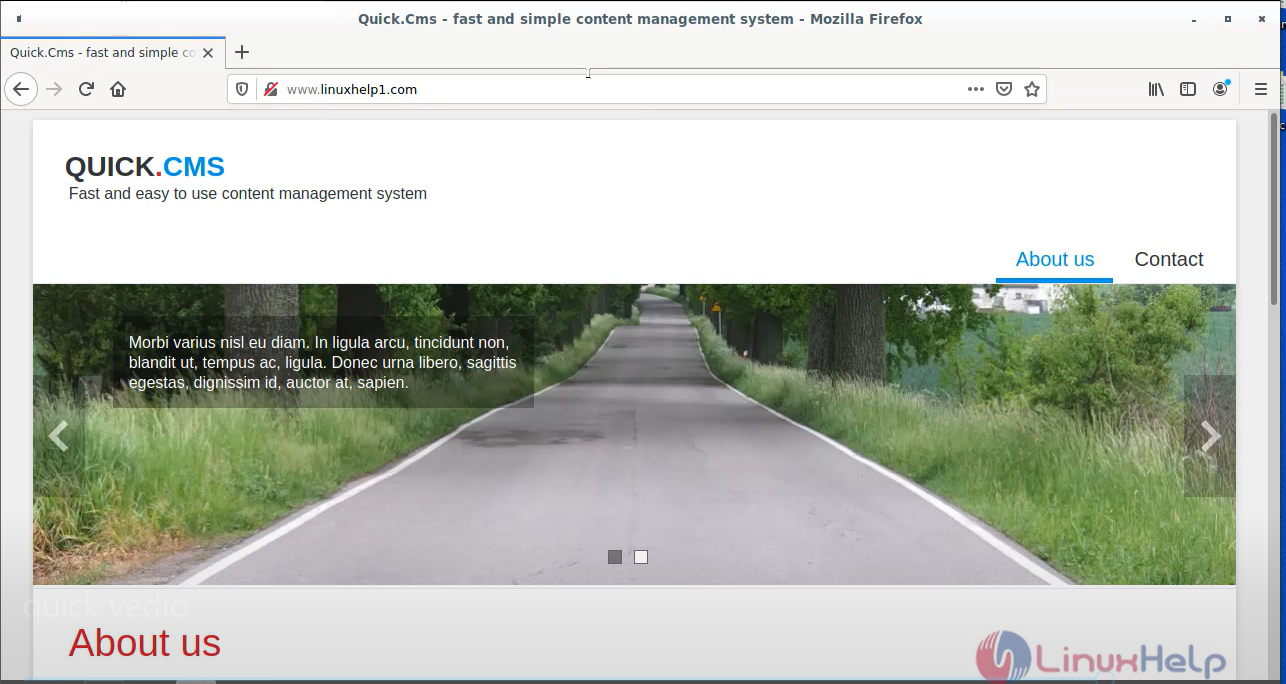
Step 24: This is the home page for quick CMS
Open new tab and type URL for admin page as shown in the below image
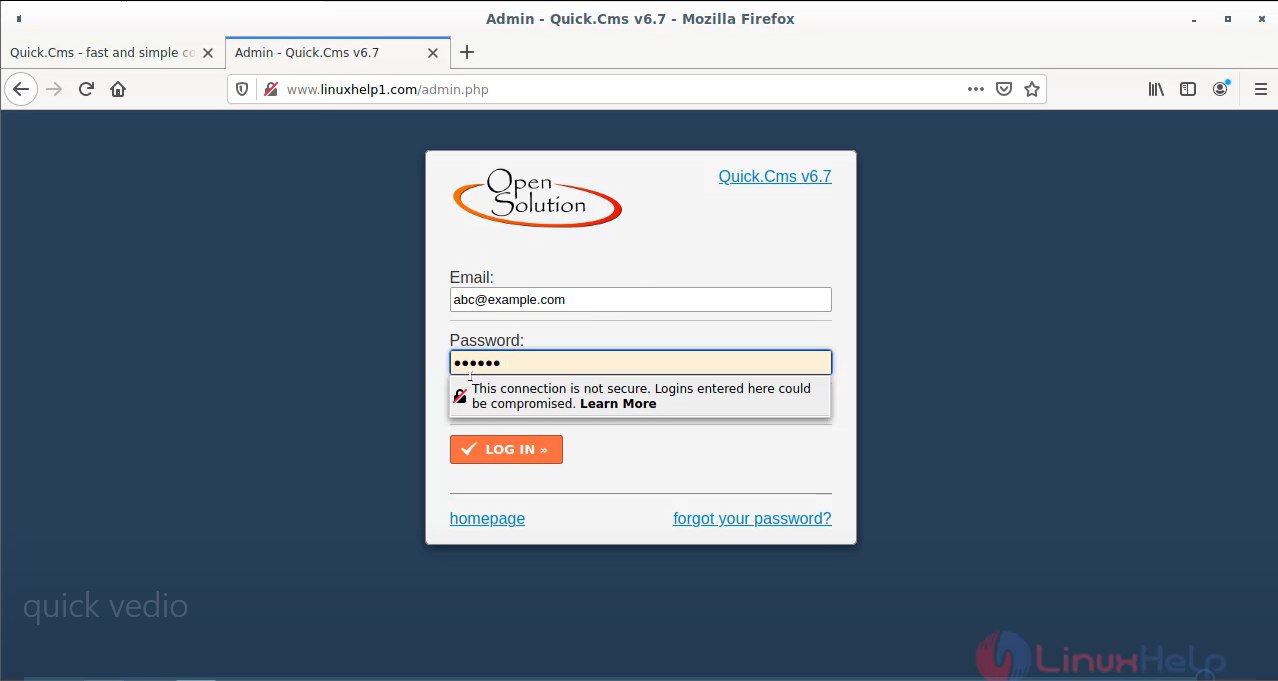
Step 25: Give the login credentials as shown in the below image
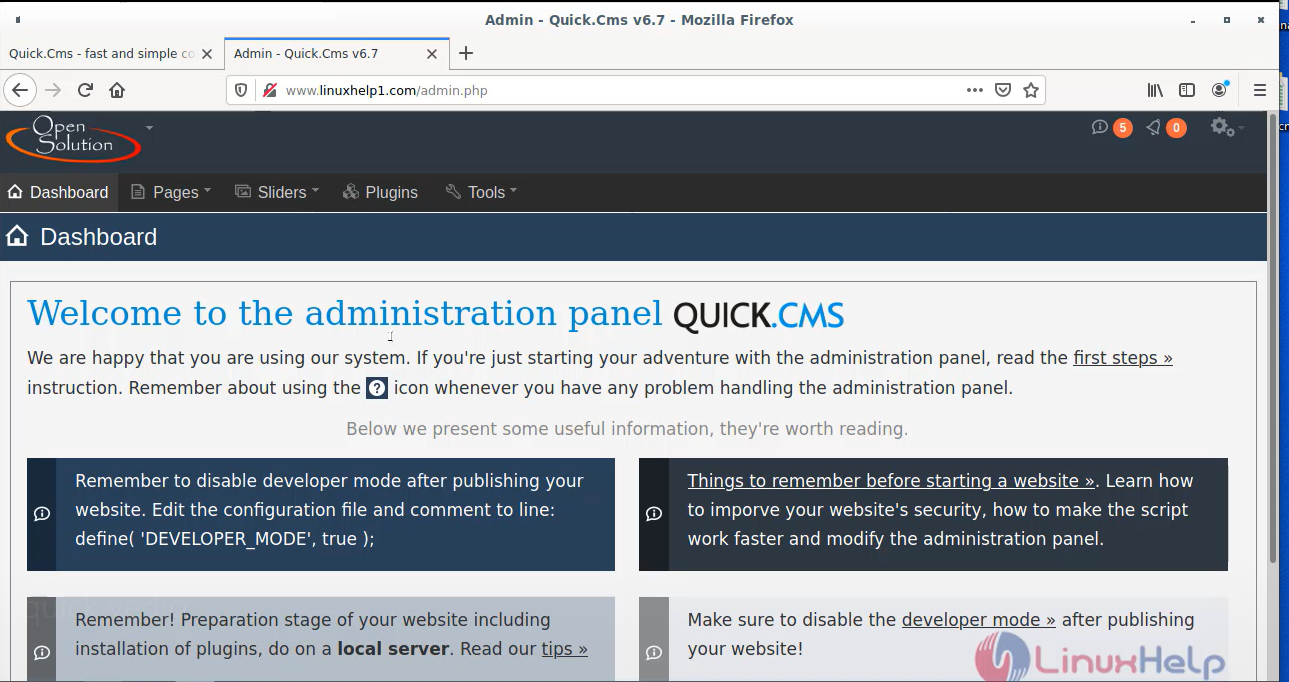
Step 26: This is the administration panel for quick CMS
Conclusion:
We have reached the end of this article. In this guide, we have walked you through the steps required to Install Quick CMS on Debian 11.3. Your feedback is much welcome.
Comments ( 0 )
No comments available