How to Install phpMyAdmin on Oracle Linux 8.6
- 00:33 cat /etc/os-release
- 01:11 wget https://www.phpmyadmin.net/downloads/phpMyAdmin-latest-all-languages.tar.gz
- 01:20 ls
- 01:27 tar xvf phpMyAdmin-latest-all-languages.tar.gz
- 01:44 mv phpMyAdmin-5.2.0-all-languages phpmyadmin
- 02:11 mv phpmyadmin /var/www/
- 02:26 cd /var/www
- 02:43 chmod -R 775 phpmyadmin
- 02:56 chown -R apache:apache phpmyadmin
- 03:20 vim /etc/httpd/conf.d/phpmyadmin.conf
- 05:24 mysql -u root -p
- 05:35 create database phpmyadmin;
- 05:56 use phpmyadmin;
- 06:05 create user 'user1'@'localhost'identified by '123456';
- 06:30 grant all privileges on phpmyadmin.* TO'user1'@localhost;
- 06:58 flush privileges;
- 07:17 systemctl restart httpd
To install phpMyAdmin on Oracle Linux 8.6
Introduction:
phpMyAdmin is a free software tool written in PHP, intended to handle the administration of MySQL over the Web. Through this software, you can create, alter, drop, delete, import and export MySQL database tables.
Requirements:
LAMP Stack
Installation Procedures:
Step 1: Check the OS Version by using the below command
[root@linuxhelp linuxhelp]# cat /etc/os-release
NAME="Oracle Linux Server"
VERSION="8.6"
ID="ol"
ID_LIKE="fedora"
VARIANT="Server"
Step 2: Download phpmyadmin using wget
[root@linuxhelp linuxhelp]# wget https://www.phpmyadmin.net/downloads/phpMyAdmin-latest-all-languages.tar.gz
--2022-05-27 03:22:25--  https://www.phpmyadmin.net/downloads/phpMyAdmin-latest-all-languages.tar.gz
Resolving www.phpmyadmin.net (www.phpmyadmin.net)... 89.187.162.134, 89.187.162.136, 89.187.162.143, ...
Connecting to www.phpmyadmin.net (www.phpmyadmin.net)|89.187.162.134|:443... connected.
HTTP request sent, awaiting response... 302 Found
Location: https://files.phpmyadmin.net/phpMyAdmin/5.2.0/phpMyAdmin-5.2.0-all-languages.tar.gz [following]
--2022-05-27 03:22:27--  https://files.phpmyadmin.net/phpMyAdmin/5.2.0/phpMyAdmin-5.2.0-all-

Saving to: ‘phpMyAdmin-latest-all-languages.tar.gz’

phpMyAdmin-latest-all- 100%[===========================>]  11.90M  30.6MB/s    in 0.4s

2022-05-27 03:22:28 (30.6 MB/s) - ‘phpMyAdmin-latest-all-languages.tar.gz’ saved [12474799/12474799]
Step 3: List the files by using the below command
[root@linuxhelp linuxhelp]# ls
Desktop    Downloads  phpMyAdmin-latest-all-languages.tar.gz  Public     Videos
Documents  Music      Pictures                                Templates
Step 4: Unzip using the below tar command
[root@linuxhelp linuxhelp]# tar xvf phpMyAdmin-latest-all-languages.tar.gz

phpMyAdmin-5.2.0-all-languages/
phpMyAdmin-5.2.0-all-languages/vendor/williamdes/mariadb-mysql-kbs/src/
phpMyAdmin-5.2.0-all-languages/vendor/williamdes/mariadb-mysql-kbs/src/KBDocumentation.php
phpMyAdmin-5.2.0-all-languages/vendor/williamdes/mariadb-mysql-kbs/src/KBEntry.php
phpMyAdmin-5.2.0-all-languages/vendor/williamdes/mariadb-mysql-kbs/src/KBException.php
phpMyAdmin-5.2.0-all-languages/vendor/williamdes/mariadb-mysql-kbs/src/Search.php
phpMyAdmin-5.2.0-all-languages/vendor/williamdes/mariadb-mysql-kbs/src/SlimData.php
phpMyAdmin-5.2.0-all-languages/yarn.lock
Step 5: List Files by using the below command
[root@linuxhelp linuxhelp]# ls
Desktop    Downloads  phpMyAdmin-5.2.0-all-languages          Pictures  Templates
Documents  Music      phpMyAdmin-latest-all-languages.tar.gz  Public    Videos
Step 6: Rename the directory by using the below command
[root@linuxhelp linuxhelp]# mv phpMyAdmin-5.2.0-all-languages phpmyadmin
Step 7: Move the directory to this location by using the below command
[root@linuxhelp linuxhelp]# mv phpmyadmin /var/www/
Step 8: Go to the location where phpmyadmin directory is moved by using the below command
[root@linuxhelp linuxhelp]# cd /var/www
Step 9: Grant Permission using chmod
[root@linuxhelp www]# chmod -R 775 phpmyadmin
Step 10: Set Ownership using chown
[root@linuxhelp www]# chown -R apache:apache phpmyadmin
Step 11: Create a Configuration file and insert virtual host by using the below command
[root@linuxhelp linuxhelp]# vim /etc/httpd/conf.d/phpmyadmin.conf
<virtualhost *:80>
servername phpmyadmin
serveralias www.phpmyadmin
Documentroot /var/www/phpmyadmin/
</virtualhost>
Step 12: Insert Host Entry to access phpmyadmin by using the below command
[root@linuxhelp linuxhelp]# vim /etc/hosts
127.0.0.1   localhost localhost.localdomain localhost4 localhost4.localdomain4
::1         localhost localhost.localdomain localhost6 localhost6.localdomain6
192.168.6.127  phpmyadmin
Step 13: Create Database and User in MySQL by using the below command
[root@linuxhelp www]# mysql -u root -p
Enter password:
Welcome to the MariaDB monitor.  Commands end with ; or \g.
Your MariaDB connection id is 17

Server version: 10.3.32-MariaDB MariaDB Server
Copyright (c) 2000, 2018, Oracle, MariaDB Corporation Ab and others.
Type 'help;' or '\h' for help. Type '\c' to clear the current input statement.

MariaDB [(none)]> create database phpmyadmin;
Query OK, 1 row affected (0.019 sec)

MariaDB [(none)]> use phpmyadmin;
Database changed
MariaDB [phpmyadmin]> create user 'user1'@'localhost'identified by '123456';
Query OK, 0 rows affected (0.033 sec)

MariaDB [phpmyadmin]> grant all privileges on phpmyadmin.* TO'user1'@localhost;
Query OK, 0 rows affected (0.008 sec)

MariaDB [phpmyadmin]> flush privileges;
Query OK, 0 rows affected (0.013 sec)

MariaDB
[phpmyadmin]> exit
Bye
Step 14: Restart the apache service by using the below command
[root@linuxhelp www]# systemctl restart httpd
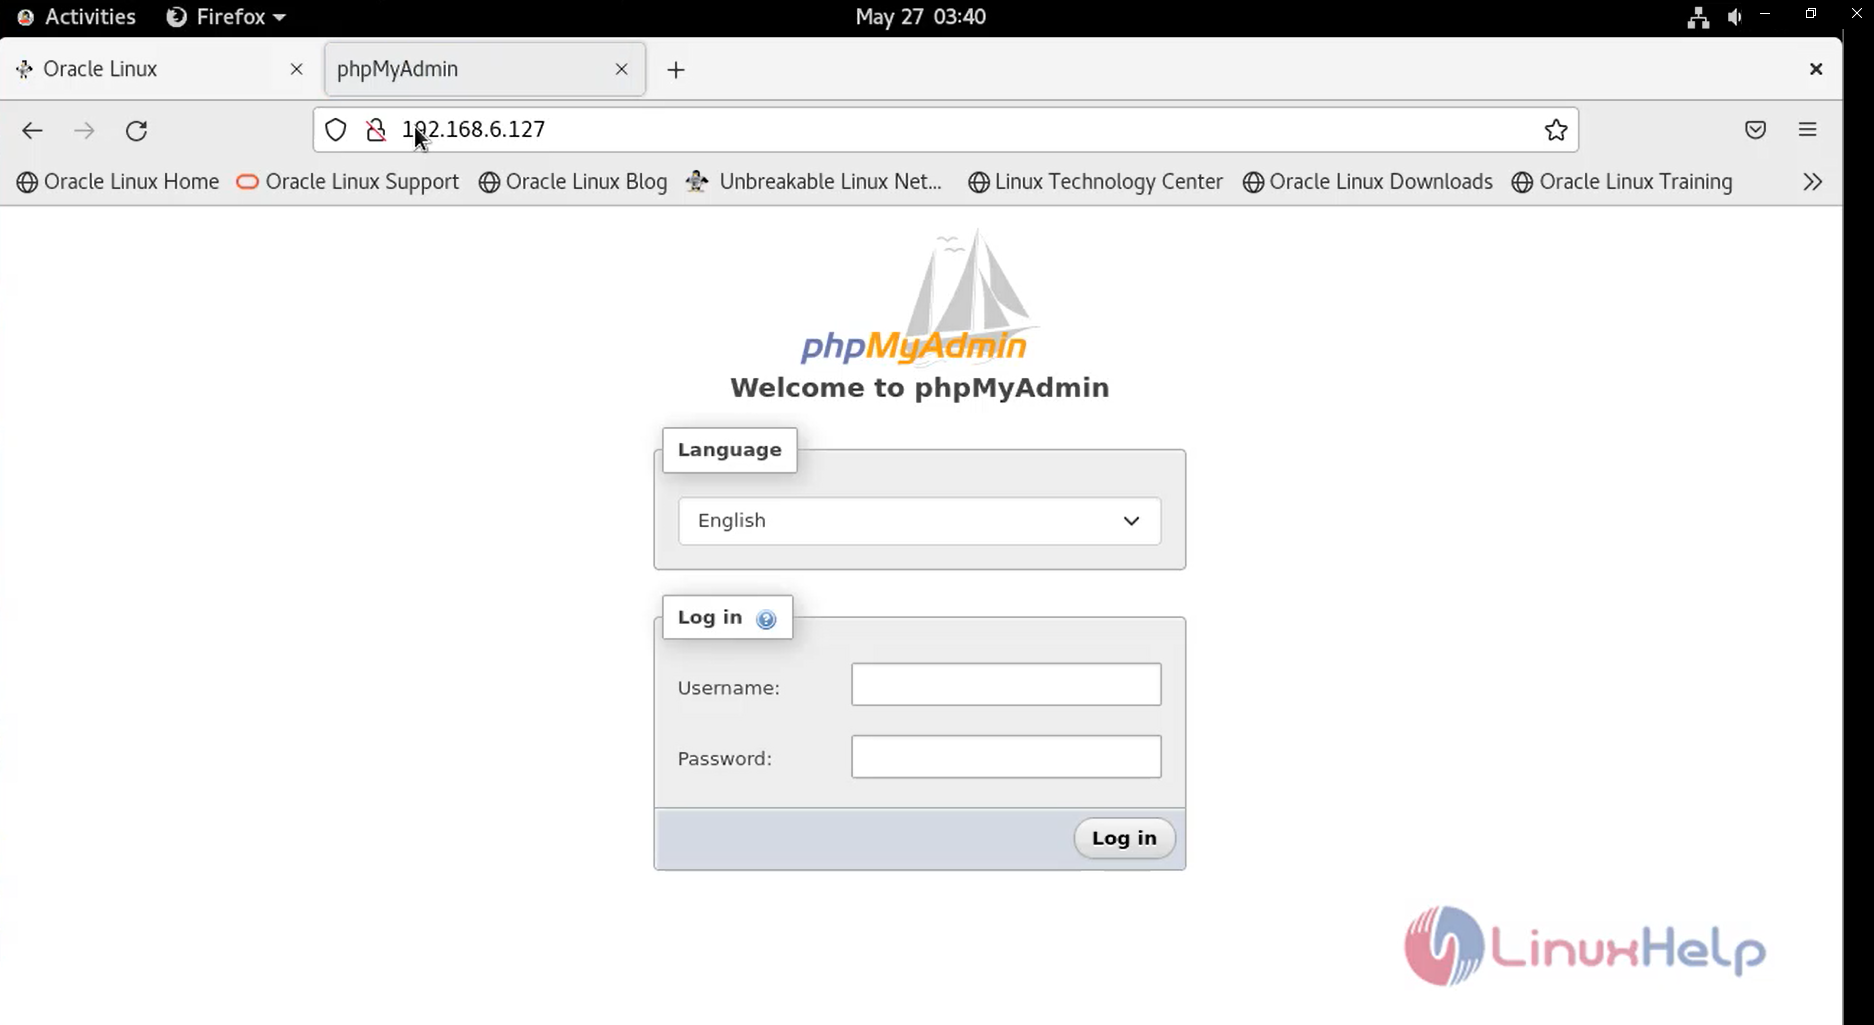
Step 15: Enter the User name and Password as shown in the below image
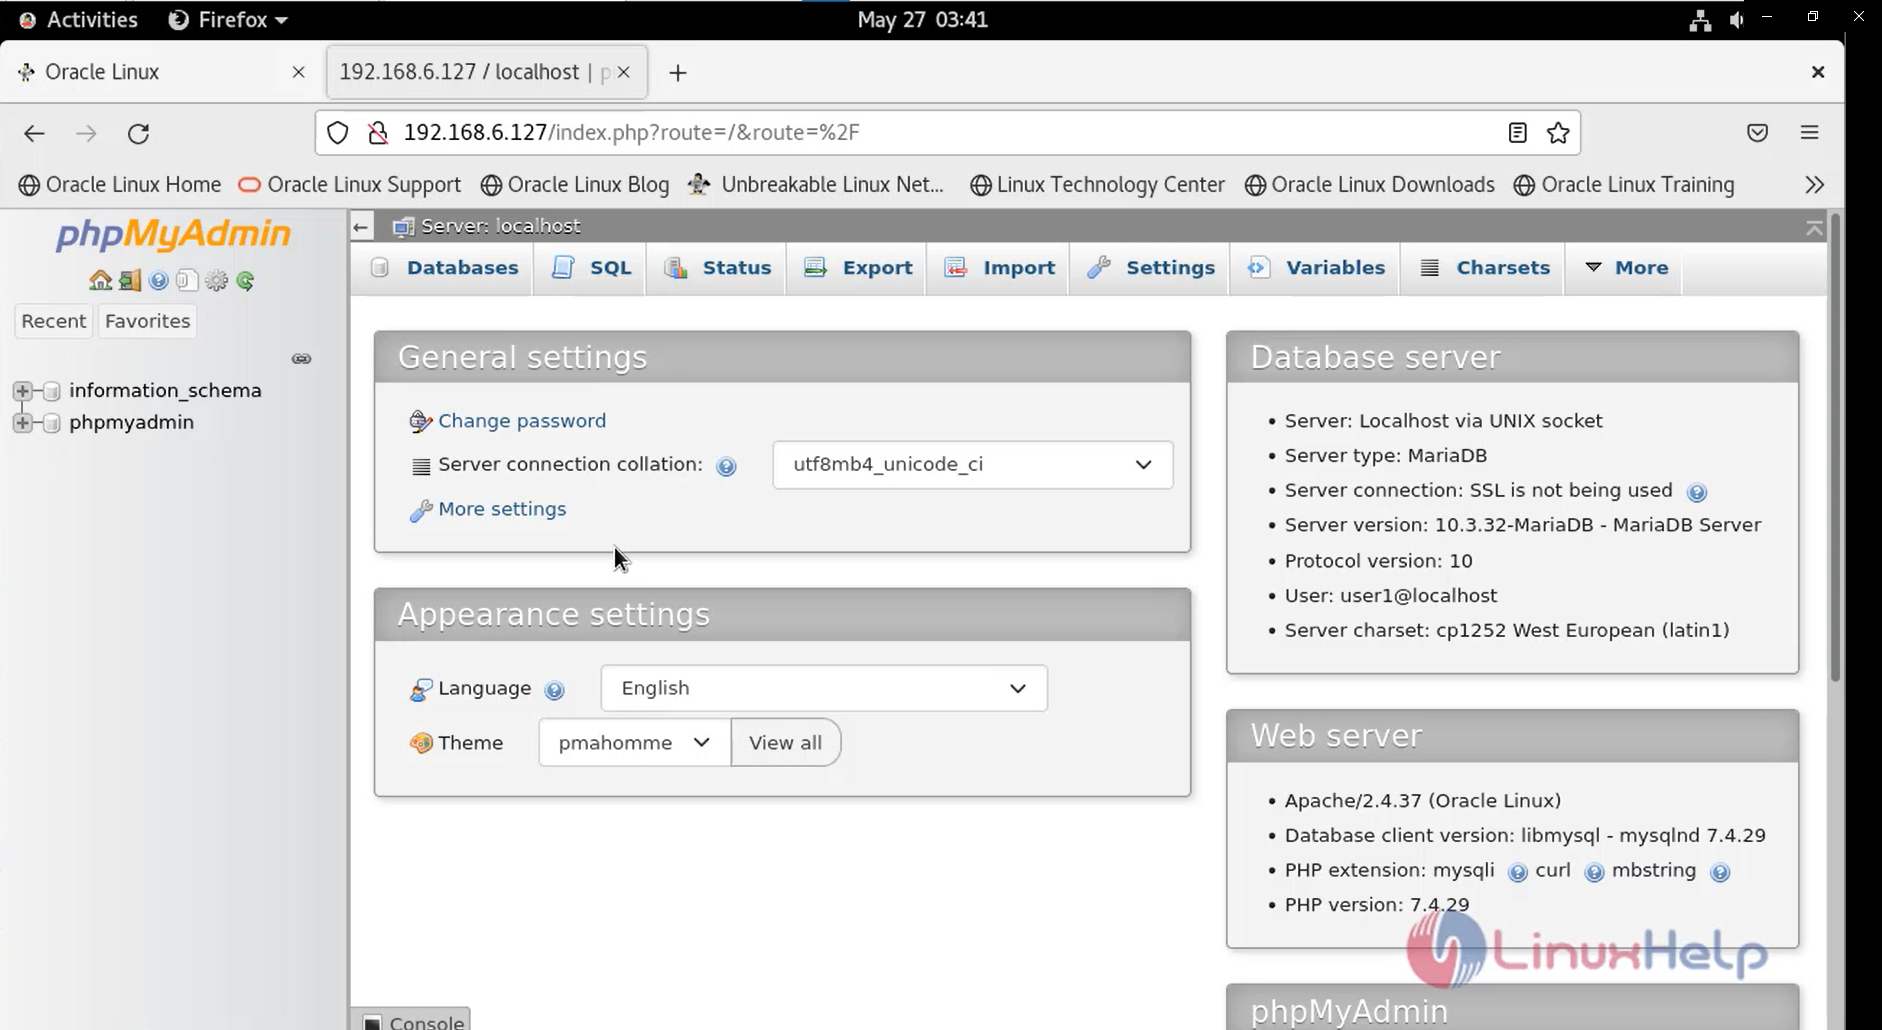
Step 16: This is the Dashboard of phpmyadmin
With this the Installation of phpmyadmin on Oracle Linux 8.6 has come to an end.
Comments ( 0 )
No comments available