How to install Nagios on Debian 11.3
- 00:29 lsb_release -a
- 00:48 apt install apache2 libapache2-mod-php php
- 01:22 apt install wget unzip zip autoconf gcc libc6 make apache2-utils libgd-dev
- 02:09 useradd nagios
- 02:17 usermod -a -G nagios www-data
- 02:35 wget https://assets.nagios.com/downloads/nagioscore/releases/nagios-4.4.6.tar.gz
- 03:08 tar xzf nagios-4.4.6.tar.gz
- 03:26 cd nagios-4.4.6/
- 03:38 ls -la
- 03:49 ./configure --with-httpd-conf=/etc/apache2/sites-enabled
- 04:39 make all
- 05:04 make install
- 05:19 make install-init
- 05:32 make install-commandmode
- 05:53 systemctl enable nagios.service
- 06:15 make install-config
- 06:38 make install-webconf
- 06:56 htpasswd -c /usr/local/nagios/etc/htpasswd.users nagiosadmin
- 07:55 a2enmod cgi
- 08:05 systemctl restart apache2
- 08:25 systemctl start nagios
- 08:33 systemctl enable nagios
To install Nagios on Debian 11.3.
Introduction:
Nagios is an open-source monitoring system for computers. It runs on Linux and can monitor devices that are running Linux, Windows, and UNIX operating systems. The Nagios software checks critical parameters of application, network, and server resources periodically.
Installation Procedure:
Step 1: Check the OS version by using the below command
root@linuxhelp: ~# lsb_release -a
No LSB modules are available.
Distributor ID:	Debian
Description:	Debian GNU/Linux 11 (bullseye)
Release:	11
Codename:	bullseye
Step 2: Install Pre-requirements for Nagios by using the below command
root@linuxhelp: ~# apt install apache2 libapache2-mod-php php
Reading package lists... Done
Building dependency tree... Done
Reading state information... Done
libapache2-mod-php is already the newest version (2:7.4+76).
php is already the newest version (2:7.4+76).
The following additional packages will be installed:
  apache2-bin apache2-data apache2-utils
Suggested packages:
  apache2-doc apache2-suexec-pristine | apache2-suexec-custom
The following packages will be upgraded:
  apache2 apache2-bin apache2-data apache2-utils
4 upgraded, 0 newly installed, 0 to remove and 161 not upgraded.
Need to get 0 B/2,121 kB of archives.
After this operation, 23.6 kB of additional disk space will be used.
Do you want to continue? [Y/n] y

(Reading database ... 283354 files and directories currently installed.)
Preparing to unpack .../apache2_2.4.54-1~deb11u1_amd64.deb ...
Unpacking apache2 (2.4.54-1~deb11u1) over (2.4.53-1~deb11u1) ...
Processing triggers for man-db (2.9.4-2) ...
Step 3: Next step, install the following system dependencies by using the below command
root@linuxhelp:~# apt install wget unzip zip autoconf gcc libc6 make apache2-utils libgd-dev
Reading package lists... Done
Building dependency tree... Done
Reading state information... Done
apache2-utils is already the newest version (2.4.54-1~deb11u1).
apache2-utils set to manually installed.
gcc is already the newest version (4:10.2.1-1).
gcc set to manually installed.
libc6 is already the newest version (2.31-13+deb11u3).
make is already the newest version (4.3-4.1).
make set to manually installed.
zip is already the newest version (3.0-12).
Step 4: Create Nagios system user and group and add Nagios account to the Apache www-data user, by using following commands.
root@linuxhelp:~# useradd nagios
root@linuxhelp:~# usermod -a -G nagios www-data
Step 5: Go to Nagios webpage and grab the latest version of Nagios Core stable source archive by issuing the following wget command.
root@linuxhelp:~# wget https://assets.nagios.com/downloads/nagioscore/releases/nagios-4.4.6.tar.gz
--2022-08-26 05:46:15--  https://assets.nagios.com/downloads/nagioscore/releases/nagios-4.4.6.tar.gz
Resolving assets.nagios.com (assets.nagios.com)... 45.79.49.120, 2600:3c00::f03c:92ff:fef7:45ce
Connecting to assets.nagios.com (assets.nagios.com)|45.79.49.120|:443... connected.
HTTP request sent, awaiting response... 200 OK
Length: 11333414 (11M) [application/x-gzip]
Saving to: ‘nagios-4.4.6.tar.gz’
nagios-4.4.6.tar.gz                                  100%[====================================================================================================================>]  10.81M  2.50MB/s    in 4.3s
2022-08-26 05:46:20 (2.50 MB/s) - ‘nagios-4.4.6.tar.gz’ saved [11333414/11333414]
Step 6: Next, extract Nagios by using the below command
root@linuxhelp:~# tar xzf nagios-4.4.6.tar.gz
Step 7: change the Nagios directory and long list the directory by using the below commands
root@linuxhelp:~# cd nagios-4.4.6/
root@linuxhelp:~/nagios-4.4.6# ls –la
aclocal.m4       cgi        config.guess  configure.ac     docs       html           indent.sh   LEGAL    Makefile.in   module            pkginfo.in     startup   tap     t-tap           worker
autoconf-macros Changelog  config.sub    contrib          doxy.conf  include        INSTALLING  lib      make-tarball  nagios.spec       README.md      subst.in  test    update-version  xdata
base             common     configure     CONTRIBUTING.md  functions  indent-all.sh  install-sh  LICENSE  mkpackage     nagios.sysconfig  sample-config  t         THANKS  UPGRADING
Step 8: Now, start to compile Nagios from sources by issuing the below command
root@linuxhelp:~/nagios-4.4.6# ./configure --with-httpd-conf=/etc/apache2/sites-enabled
checking for a BSD-compatible install... /usr/bin/install -c
checking build system type... x86_64-pc-linux-gnu
checking host system type... x86_64-pc-linux-gnu
Creating sample config files in sample-config/ ...
*** Configuration summary for nagios 4.4.6 2020-04-28 ***:
 General Options:
 -------------------------
        Nagios executable:  nagios
        Nagios user/group:  nagios,nagios
       Command user/group:  nagios,nagios
             Event Broker:  yes
        Install ${prefix}:  /usr/local/nagios
    Install ${includedir}:  /usr/local/nagios/include/nagios
                Lock file:  /run/nagios.lock

   Check result directory:  /usr/local/nagios/var/spool/checkresults
           Init directory:  /lib/systemd/system
  Apache conf.d directory:  /etc/apache2/sites-enabled
             Mail program:  /usr/bin/mail
                  Host OS:  linux-gnu
          IOBroker Method:  epoll
 Web Interface Options:
 ------------------------
                 HTML URL:  http://localhost/nagios/
                  CGI URL:  http://localhost/nagios/cgi-bin/
 Traceroute (used by WAP):

Review the options above for accuracy.  If they look okay,
type 'make all' to compile the main program and CGIs.
Step 9: In this step, build Nagios files by issuing the below command.
root@linuxhelp:~/nagios-4.4.6# make all
cd ./base && make
make[1]: Entering directory '/root/nagios-4.4.6/base'

*** Main program, CGIs and HTML files installed ***
You can continue with installing Nagios as follows (type 'make'
without any arguments for a list of all possible options):
make install-init
     - This installs the init script in /lib/systemd/system

  make install-commandmode
     - This installs and configures permissions on the
       directory for holding the external command file

  make install-config
     - This installs sample config files in /usr/local/nagios/etc
make[1]: Leaving directory '/root/nagios-4.4.6'
Step 10: Now, install Nagios binary files, CGI scripts and HTML files by issuing the below command.
root@linuxhelp:~/nagios-4.4.6# make install
Step 11: Next, install Nagios daemon init and external command mode configuration files and make sure you enable Nagios daemon system-wide by using the below command.
root@linuxhelp:~/nagios-4.4.6# make install-init
/usr/bin/install -c -m 755 -d -o root -g root /lib/systemd/system
/usr/bin/install -c -m 755 -o root -g root startup/default-service /lib/systemd/system/nagios.service

root@linuxhelp:~/nagios-4.4.6# make install-commandmode
/usr/bin/install -c -m 775 -o nagios -g nagios -d /usr/local/nagios/var/rw
chmod g+s /usr/local/nagios/var/rw

*** External command directory configured ***


root@linuxhelp:~/nagios-4.4.6# systemctl enable nagios.service
Created symlink /etc/systemd/system/multi-user.target.wants/nagios.service → /lib/systemd/system/nagios.service.
Step 12: Next run the Nagios configuration files by using the below command.
root@linuxhelp:~/nagios-4.4.6# make install-config
/usr/bin/install -c -m 775 -o nagios -g nagios -d /usr/local/nagios/etc
/usr/bin/install -c -m 775 -o nagios -g nagios -d /usr/local/nagios/etc/objects
/usr/bin/install -c -b -m 664 -o nagios -g nagios sample-config/nagios.cfg /usr/local/nagios/etc/nagios.cfg
/usr/bin/install -c -b -m 664 -o nagios -g nagios sample-config/cgi.cfg /usr/local/nagios/etc/cgi.cfg
/usr/bin/install -c -b -m 660 -o nagios -g nagios sample-config/resource.cfg /usr/local/nagios/etc/resource.cfg

*** Config files installed ***

Remember, these are *SAMPLE* config files.  You'll need to read
the documentation for more information on how to actually define
services, hosts, etc. to fit your particular needs.
Step 13: Also, install Nagios configuration file for Apacahe web server, which can be found in /etc/apacahe2/sites-enabled/ directory, by executing the below command.
root@linuxhelp: ~/nagios-4.4.6# make install-webconf
/usr/bin/install -c -m 644 sample-config/httpd.conf /etc/apache2/sites-enabled/nagios.conf

if [ 0 -eq 1]; then \
        ln -s /etc/apache2/sites-enabled/nagios.conf /etc/apache2/sites-enabled/nagios.conf; \
fi
*** Nagios/Apache conf file installed ***
Step 14: Next, create nagiosadmin account and a password by using the below command
root@linuxhelp: ~/nagios-4.4.6# htpasswd -c /usr/local/nagios/etc/htpasswd.users nagiosadmin
New password:
Re-type new password:
Adding password for user nagiosadmin
Step 15: Enable the nagios cgi services by using the below command.
root@linuxhelp: ~/nagios-4.4.6# a2enmod cgi
Enabling module cgi.
To activate the new configuration, you need to run:
  systemctl restart apache2
Step 16: Next restart, start enable the Nagios service by using the below commands.
root@linuxhelp: ~/nagios-4.4.6# systemctl restart apache2
root@linuxhelp: ~/nagios-4.4.6# systemctl start nagios
root@linuxhelp: ~/nagios-4.4.6# systemctl enable Nagios
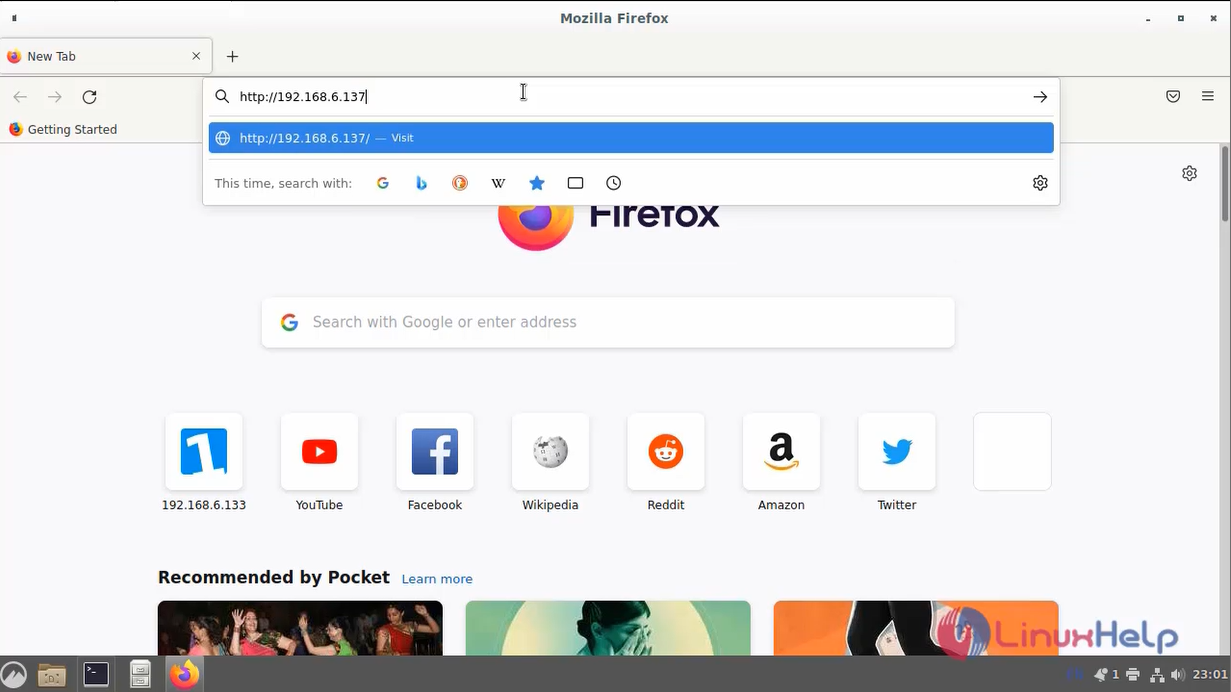
Step 17: Finally go to the browser and enter the IP address as shown in the below image. http://IP-Address/nagios OR http://DOMAIN/nagios
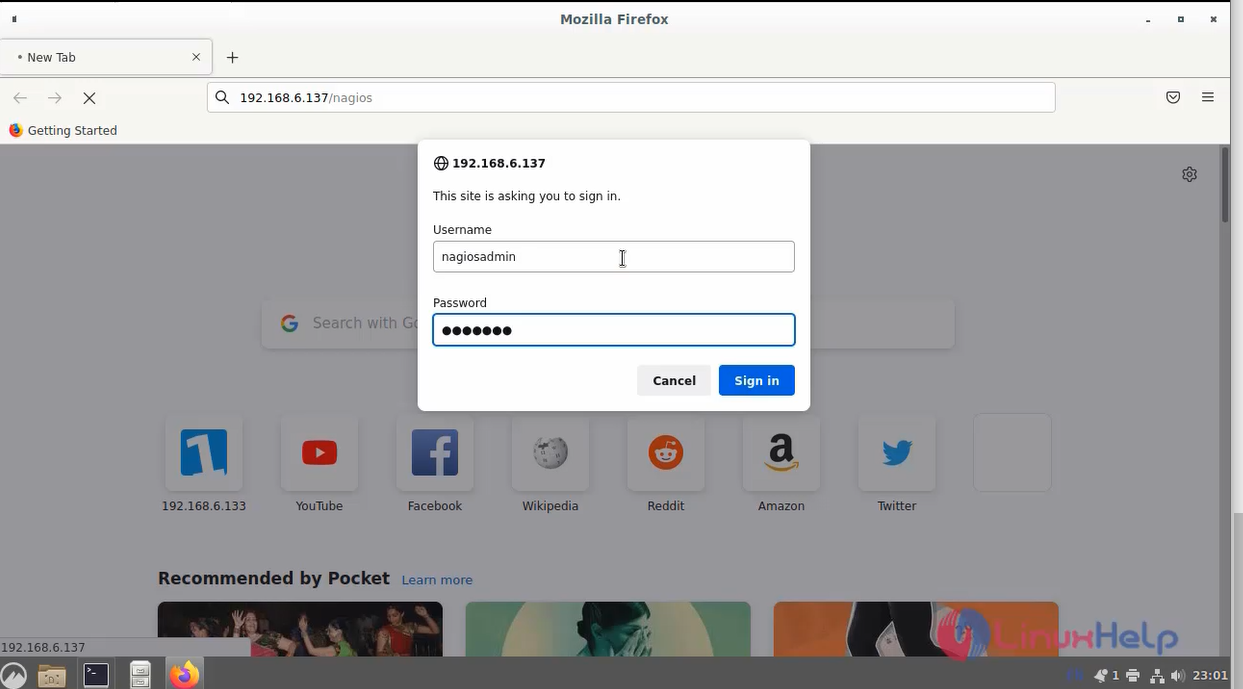
Step 18: Login the username and password as shown in the below image.
Step 19: This is the dashboard page for Nagios.

Conclusion:
We have reached the end of this article. In this guide, we have walked you through the steps required to install Nagios on Debian 11.3. Your feedback is much welcome.


Comments ( 0 )
No comments available