How to install LAMP Stack on Manjaro 17.0.5
To install LAMP Stack on Manjaro 17.0.5
LAMP Stands for Linux, Apache, MySQL, MariaDB, MongoDB, PHP, PERL, PYTHON, PhpMyAdmin. LAMP is a server configuration for various web applications. It helps in running servers and dynamic web sites. It is a web development platform that uses Linux operating system, Apache web server, MySQL relational database management system and PHP scripting language. This tutorial explains the installation of LAMP Stack on Manjaro 17.0.5.
LAMP Setup
- Apache
- MariaDB
- PHP
Installation procedure
To proceed with the installation procedure, update the system by executing the following command.
[user1-pc user1]#  pacman  &ndash Syu

:: Synchronizing package databases...
 core                     139.4 KiB  94.0K/s 00:01 [######################] 100%
 extra                   1780.2 KiB   184K/s 00:10 [######################] 100%
 community                  4.3 MiB   348K/s 00:13 [######################] 100%
 multilib                 178.9 KiB  68.7K/s 00:03 [######################] 100%
:: Some packages should be upgraded first...
resolving dependencies...
looking for conflicting packages...
Packages (1) manjaro-system-20170915-1

Total Download Size:   0.02 MiB
Total Installed Size:  0.01 MiB
Net Upgrade Size:      0.01 MiB
:: Proceed with installation? [Y/n] y

.
.
.
.
( 9/14) Updating udev hardware database...
(10/14) Creating temporary files...
(11/14) Arming ConditionNeedsUpdate...
(12/14) Updating the info directory file...
(13/14) Updating the desktop file MIME type cache...
(14/14) Updating the MIME type database...
Apache service
Now install the Apache service by executing the following command.
[user1-pc user1]# pacman -S apache
resolving dependencies...
looking for conflicting packages...

Packages (1) apache-2.4.27-1
Total Download Size:   1.18 MiB
Total Installed Size:  5.54 MiB

:: Proceed with installation? [Y/n] y
:: Retrieving packages...
 apache-2.4.27-1-x86_64  1208.2 KiB   270K/s 00:04 [######################] 100%
(1/1) checking keys in keyring                     [######################] 100%
(1/1) checking package integrity                   [######################] 100%
(1/1) loading package files                        [######################] 100%
(1/1) checking for file conflicts                  [######################] 100%
.
.
: Running post-transaction hooks...
(1/2) Creating temporary files...
(2/2) Arming ConditionNeedsUpdate...
Next set the firewall settings by running the following command.
[user1-pc user1]# ufw enable
Firewall is active and enabled on system startup

[user1-pc user1]# ufw allow http
Rule added
Rule added (v6)
Start and enable the firewall settings.
[user1-pc user1]# systemctl enable ufw
Created symlink /etc/systemd/system/multi-user.target.wants/ufw.service &rarr  /usr/lib/systemd/system/ufw.service.
[user1-pc user1]# systemctl start ufw
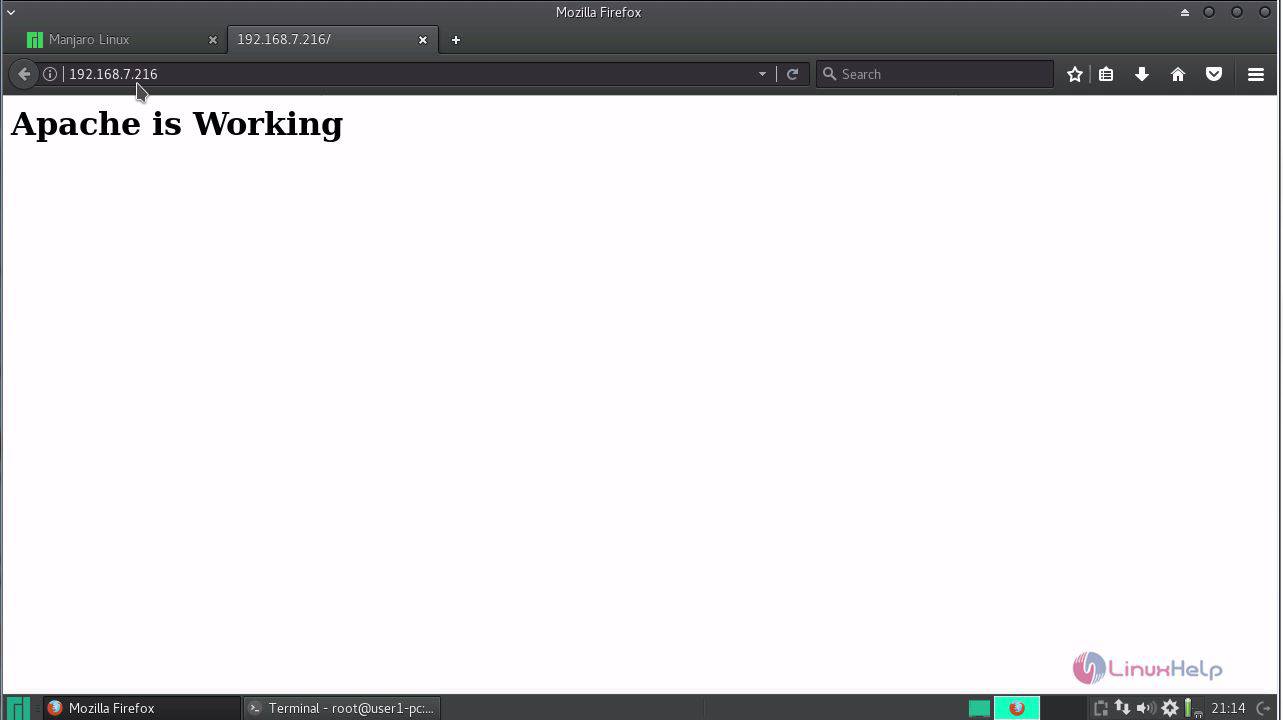
Move to the Apache document root by executing the set of following commands.
[user1-pc user1]# cd /srv/http/
[user1-pc http]# vi index.html
< h1>
Apache testing
< /h1>
[user1-pc http]# systemctl restart httpd
Switch over to the browser and type http://your IP. The Apache service will be running in the system without any glitches.
 .
.
MariaDB service
Next start installing the MariaDB service in the system by running the following command.
[user1-pc http]# pacman -S mariadb
resolving dependencies...
looking for conflicting packages...

Packages (4) jemalloc-1:5.0.1-3  libmariadbclient-10.1.26-1
             mariadb-clients-10.1.26-1  mariadb-10.1.26-1
Total Download Size:    31.94 MiB
Total Installed Size:  228.70 MiB

:: Proceed with installation? [Y/n] y
:: Retrieving packages...
 libmariadbclient-10...     4.5 MiB   713K/s 00:06 [######################] 100%
 jemalloc-1:5.0.1-3-...   274.5 KiB  98.5K/s 00:03 [######################] 100%
 mariadb-clients-10....  1400.3 KiB   341K/s 00:04 [######################] 100%
 mariadb-10.1.26-1-x...    25.8 MiB   578K/s 00:46 [######################] 100%
(4/4) checking keys in keyring                     [######################] 100%
(4/4) checking package integrity                   [######################] 100%
.
.
.
:: Running post-transaction hooks...
(1/3) Updating system user accounts...
(2/3) Creating temporary files...
(3/3) Arming ConditionNeedsUpdate...
Initialize the MariaDB data directory prior to starting the service. To do so, run the following command as follows.
[user1-pc http]# mysql_install_db --user=mysql --basedir=/usr --datadir=/var/lib/mysql

Installing MariaDB/MySQL system tables in ' /var/lib/mysql'  ...
2017-10-09 19:17:00 140578018107328 [Note] /usr/sbin/mysqld (mysqld 10.1.26-MariaDB) starting as process 12067 ...
2017-10-09 19:17:00 140578018107328 [Note] InnoDB: innodb_empty_free_list_algorithm has been changed to legacy because of small buffer pool size. In order to use backoff, increase buffer pool at least up to 20MB.
2017-10-09 19:17:00 140578018107328 [Note] InnoDB: Using mutexes to ref count buffer pool pages
2017-10-09 19:17:00 140578018107328 [Note] InnoDB: The InnoDB memory heap is disabled
2017-10-09 19:17:00 140578018107328 [Note] InnoDB: Mutexes and rw_locks use GCC atomic builtins
2017-10-09 19:17:00 140578018107328 [Note] InnoDB: GCC builtin __atomic_thread_fence() is used for memory barrier
2017-10-09 19:17:00 140578018107328 [Note] InnoDB: Compressed tables use zlib 1.2.11
2017-10-09 19:17:00 140578018107328 [Note] InnoDB: Using Linux native AIO
.
.
.
Please report any problems at http://mariadb.org/jira

The latest information about MariaDB is available at http://mariadb.org/.
You can find additional information about the MySQL part at:
http://dev.mysql.com
Consider joining MariaDB' s strong and vibrant community:
https://mariadb.org/get-involved/
Start and enable the mysqld service.
[user1-pc http]# systemctl enable mysqld
Created symlink /etc/systemd/system/multi-user.target.wants/mariadb.service &rarr  /usr/lib/systemd/system/mariadb.service.
[user1-pc http]# systemctl start mysqld
Then run the MySQL installation process by running the following command.
[user1-pc http]# mysql_secure_installation

NOTE: RUNNING ALL PARTS OF THIS SCRIPT IS RECOMMENDED FOR ALL MariaDB
      SERVERS IN PRODUCTION USE!  PLEASE READ EACH STEP CAREFULLY!

In order to log into MariaDB to secure it, we' ll need the current
password for the root user.  If you' ve just installed MariaDB, and
you haven' t set the root password yet, the password will be blank,
so you should just press enter here.
Enter current password for root (enter for none):
OK, successfully used password, moving on...

Setting the root password ensures that nobody can log into the MariaDB
root user without the proper authorisation.
Set root password? [Y/n]
New password:
Re-enter new password:
Password updated successfully!
Reloading privilege tables..
 ... Success!

By default, a MariaDB installation has an anonymous user, allowing anyone
to log into MariaDB without having to have a user account created for
them.  This is intended only for testing, and to make the installation
go a bit smoother.  You should remove them before moving into a
production environment.

Remove anonymous users? [Y/n]
 ... Success!
Normally, root should only be allowed to connect from ' localhost' .  This
ensures that someone cannot guess at the root password from the network.

Disallow root login remotely? [Y/n]
 ... Success!

By default, MariaDB comes with a database named ' test'  that anyone can
access.  This is also intended only for testing, and should be removed
before moving into a production environment.
Remove test database and access to it? [Y/n]
 - Dropping test database...
 ... Success!
 - Removing privileges on test database...
 ... Success!

Reloading the privilege tables will ensure that all changes made so far
will take effect immediately.
Reload privilege tables now? [Y/n]
 ... Success!

Cleaning up...
All done!  If you' ve completed all of the above steps, your MariaDB
installation should now be secure.

Thanks for using MariaDB!
PHP service
To start the PHP service, add these lines to the bottom of the httpd.conf file using vim editor. Save and exit the file.
[user1-pc ~]#  vi /etc/httpd/conf/httpd.conf
LoadModule mpm_prefork_module modules/mod_mpm_prefork.so
LoadModule php7_module modules/libphp7.so
AddHandler php7-script php
Include conf/extra/php7_module.conf
Next install PHP service by executing the following command.
[user1-pc ~]# pacman -S php php-apache

resolving dependencies...
looking for conflicting packages...

Packages (3) libzip-1.2.0-1  php-7.1.9-1  php-apache-7.1.9-1
Total Download Size:    5.40 MiB
Total Installed Size:  27.09 MiB

:: Proceed with installation? [Y/n] y
:: Retrieving packages...
 libzip-1.2.0-1-x86_64    140.4 KiB   148K/s 00:01 [######################] 100%
 php-7.1.9-1-x86_64         3.1 MiB   523K/s 00:06 [######################] 100%
 php-apache-7.1.9-1-...     2.1 MiB   469K/s 00:05 [######################] 100%
(3/3) checking keys in keyring                     [######################] 100%
(3/3) checking package integrity                   [######################] 100%
(3/3) loading package files                        [######################] 100%
(3/3) checking for file conflicts                  [######################] 100%
(3/3) checking available disk space                [######################] 100%
:: Processing package changes...
(1/3) installing libzip                            [######################] 100%
(2/3) installing php                               [######################] 100%
(3/3) installing php-apache                        [######################] 100%
:: Running post-transaction hooks...
(1/1) Arming ConditionNeedsUpdate...
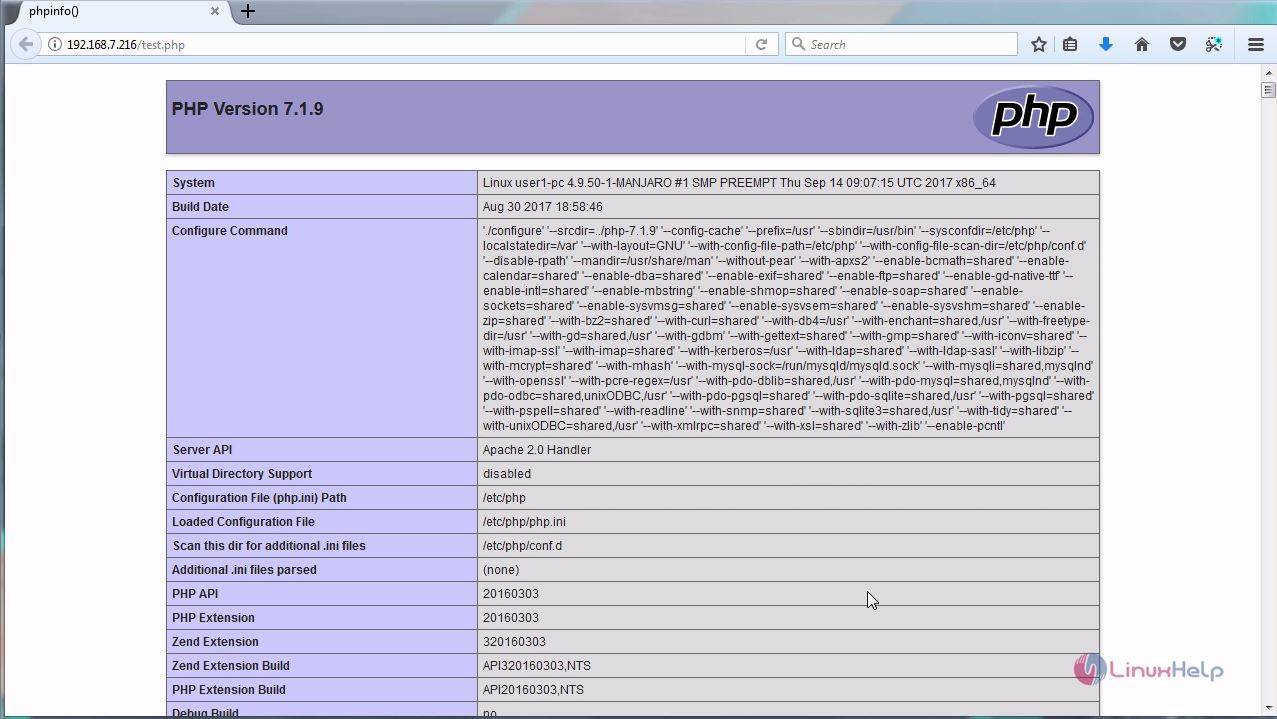
To test the PHP service, open a file named test.php and enter the following lines in the file. Save and exit the file.
[user1-pc ~]# cd /srv/http/
[user1-pc http]# vi test.php
< ?php
 hpinfo()
?>
[user1-pc http]# systemctl restart httpd
Switch over to the browser and type http://your IP/test.php . The home page of PHP will appear on the screen.
This concludes the installation procedure of LAMP stack via source code on Manjaro 17.0.5.
Comments ( 4 )