How to install Bitbucket on Rocky Linux 8.6
- 00:28 cat /etc/os-release
- 00:45 yum -y install wget java-1.8.0-openjdk-devel
- 01:10 yum install git
- 01:35 wget https://www.atlassian.com/software/stash/downloads/binary/atlassian-bitbucket-6.10.0-x64.bin?_ga=2.132685326.1651200632.1580009508-119668002.1580009508
- 02:05 mv 'atlassian-bitbucket-6.10.0-x64.bin?_ga=2.132685326.1651200632.1580009508-119668002.1580009508' atlassian-bitbucket-6.10.0-x64.bin
- 02:22 chmod +X atlassian-bitbucket-6.10.0-x64.bin
- 02:39 firewall-cmd --add-port=7990/tcp --permanent
- 02:59 firewall-cmd --reload
- 03:12 cat << 'EOF' >> response.varfile
- 03:19 ./atlassian-bitbucket-6.10.0-x64.bin -q -varfile response.varfile
To Install Bitbucket On Rocky Linux 8.6
Introduction
Bitbucket Cloud is a Git-based code hosting and collaborate tool, designed for teams. Bitbucket's best-in-class Jira and Trello integrations are developed to bring the whole software team together to execute a project.
Installation procedure:
Step1: First Check the installed versions of OS by using the below command
[root@linuxhelp Downloads]# cat /etc/os-release
NAME="Rocky Linux"
VERSION="8.6 (Green Obsidian)"
ID="rocky"
ID_LIKE="rhel centos fedora"
VERSION_ID="8.6"
PLATFORM_ID="platform:el8"
PRETTY_NAME="Rocky Linux 8.6 (Green Obsidian)"
ANSI_COLOR="0;32"
CPE_NAME="cpe:/o:rocky:rocky:8:GA"
HOME_URL="https://rockylinux.org/"
BUG_REPORT_URL="https://bugs.rockylinux.org/"
ROCKY_SUPPORT_PRODUCT="Rocky Linux"
ROCKY_SUPPORT_PRODUCT_VERSION="8"
REDHAT_SUPPORT_PRODUCT="Rocky Linux"
REDHAT_SUPPORT_PRODUCT_VERSION="8"
Step 2: Download the java package by using the below command
[root@linuxhelp Downloads]# yum -y install wget java-1.8.0-openjdk-devel
Last metadata expiration check: 20:25:25 ago on Fri 08 Jul 2022 06:52:44 AM EDT.
Dependencies resolved.
=========================================================================================================

 Package                         Arch       Version                                  Repository     Size
=========================================================================================================
Installing:
 java-1.8.0-openjdk-devel        x86_64     1:1.8.0.332.b09-2.el8_6                  appstream     9.8 M
 wget                            x86_64     1.19.5-10.el8                            appstream     733 k
Installing dependencies:
 copy-jdk-configs                noarch     4.0-2.el8                                appstream      29 k
 java-1.8.0-openjdk              x86_64     1:1.8.0.332.b09-2.el8_6                  appstream     346 k
 java-1.8.0-openjdk-headless     x86_64     1:1.8.0.332.b09-2.el8_6                  appstream      34 M
 javapackages-filesystem         noarch     5.3.0-2.module+el8.3.0+125+5da1ae29      appstream      29 k
 libmetalink                     x86_64     0.1.3-7.el8                              baseos         31 k
 lksctp-tools                    x86_64     1.0.18-3.el8                             baseos         98 k
 ttmkfdir                        x86_64     3.0.9-54.el8                             appstream      61 k
 tzdata-java                     noarch     2022a-1.el8                              appstream     190 k
 xorg-x11-fonts-Type1            noarch     7.5-19.el8                               appstream     521 k
Transaction Summary
=========================================================================================================
Install  11 Packages
Installed:
  copy-jdk-configs-4.0-2.el8.noarch

  java-1.8.0-openjdk-1:1.8.0.332.b09-2.el8_6.x86_64
  java-1.8.0-openjdk-devel-1:1.8.0.332.b09-2.el8_6.x86_64
  java-1.8.0-openjdk-headless-1:1.8.0.332.b09-2.el8_6.x86_64
  javapackages-filesystem-5.3.0-2.module+el8.3.0+125+5da1ae29.noarch
  libmetalink-0.1.3-7.el8.x86_64
  lksctp-tools-1.0.18-3.el8.x86_64
  ttmkfdir-3.0.9-54.el8.x86_64
  tzdata-java-2022a-1.el8.noarch
  wget-1.19.5-10.el8.x86_64
  xorg-x11-fonts-Type1-7.5-19.el8.noarch
Step 3: Install the Git by using the below command
[root@linuxhelp Downloads]# yum install git
Last metadata expiration check: 20:25:54 ago on Fri 08 Jul 2022 06:52:44 AM EDT.
Dependencies resolved.
=========================================================================================================
 Package                      Architecture       Version                     Repository             Size
=========================================================================================================
Installing:
 git                          x86_64             2.31.1-2.el8                appstream             160 k
Installing dependencies:
 git-core                     x86_64             2.31.1-2.el8                appstream             4.7 M
 git-core-doc                 noarch             2.31.1-2.el8                appstream             2.6 M

 perl-Error                   noarch             1:0.17025-2.el8             appstream              45 k
 perl-Git                     noarch             2.31.1-2.el8                appstream              77 k
 perl-TermReadKey             x86_64             2.37-7.el8                  appstream              39 k

Transaction Summary
=========================================================================================================
Install  6 Packages

Total download size: 7.7 M
Installed size: 38 M
Is this ok [y/N]: y
Downloading Packages:
(1/6): git-2.31.1-2.el8.x86_64.rpm                                       269 kB/s | 160 kB     00:00
(2/6): perl-Error-0.17025-2.el8.noarch.rpm                               364 kB/s |  45 kB     00:00
(3/6): perl-Git-2.31.1-2.el8.noarch.rpm                                  513 kB/s |  77 kB     00:00
(4/6): perl-TermReadKey-2.37-7.el8.x86_64.rpm                            294 kB/s |  39 kB     00:00
(5/6): git-core-doc-2.31.1-2.el8.noarch.rpm                              2.1 MB/s | 2.6 MB     00:01
(6/6): git-core-2.31.1-2.el8.x86_64.rpm                                  3.7 MB/s | 4.7 MB     00:01
---------------------------------------------------------------------------------------------------------


Total                                                                    3.8 MB/s | 7.7 MB     00:02
Running transaction check
Transaction check succeeded.
Running transaction test
Transaction test succeeded.
Running transaction
  Preparing        :                                                                                 1/1
  Installing       : git-core-2.31.1-2.el8.x86_64                                                    1/6
  Installing       : git-core-doc-2.31.1-2.el8.noarch                                                2/6
Step 4: Download Bitbucket Package by using the below command
[root@linuxhelp Downloads]# wget https://www.atlassian.com/software/stash/downloads/binary/atlassian-bitbucket-6.10.0-x64.bin?_ga=2.132685326.1651200632.1580009508-119668002.1580009508
--2022-07-09 03:19:01--  https://www.atlassian.com/software/stash/downloads/binary/atlassian-bitbucket-6.10.0-x64.bin?_ga=2.132685326.1651200632.1580009508-119668002.1580009508
Resolving www.atlassian.com (www.atlassian.com)... 104.192.137.12, 104.192.137.14, 104.192.137.13
Connecting to www.atlassian.com (www.atlassian.com)|104.192.137.12|:443... connected.
HTTP request sent, awaiting response... 301 Moved Permanently
Location: https://product-downloads.atlassian.com/software/stash/downloads/atlassian-bitbucket-6.10.0-x64.bin?_ga=2.132685326.1651200632.1580009508-119668002.1580009508 [following]

--2022-07-09 03:19:02--  https://product-downloads.atlassian.com/software/stash/downloads/atlassian-bitbucket-6.10.0-x64.bin?_ga=2.132685326.1651200632.1580009508-119668002.1580009508
Resolving product-downloads.atlassian.com (product-downloads.atlassian.com)... 18.67.156.165, 2600:9000:2241:da00:1f:ab86:b4a:17e1, 2600:9000:2241:5400:1f:ab86:b4a:17e1, ...
Connecting to product-downloads.atlassian.com (product-downloads.atlassian.com)|18.67.156.165|:443... connected.
HTTP request sent, awaiting response... 200 OK
Length: 313308664 (299M) [application/octet-stream]
Saving to: ‘atlassian-bitbucket-6.10.0-x64.bin?_ga=2.132685326.1651200632.1580009508-119668002.1580009508’

atlassian-bitbucket-6.10.0 100%[=====================================>] 298.79M  17.4MB/s    in 16s
Step 5: Rename the downloaded file by using the below command
[root@linuxhelp Downloads]# mv 'atlassian-bitbucket-6.10.0-x64.bin?_ga=2.132685326.1651200632.1580009508-119668002.1580009508' atlassian-bitbucket-6.10.0-x64.bin
Step 6: Give the execute permission to the file by using the below command
[root@linuxhelp Downloads]# chmod +X atlassian-bitbucket-6.10.0-x64.bin
Step 7: Add firewall by using the below command
[root@linuxhelp Downloads]# firewall-cmd --add-port=7990/tcp --permanent
Warning: ALREADY_ENABLED: 7990:tcp
Success
Step 8 : Reload firewall by using the below command
[root@linuxhelp Downloads]# firewall-cmd --reload
Success
Step 9: Configure Bitbucket by using the below command
[root@linuxhelp Downloads]# cat << 'EOF' >> response.varfile
> app.bitbucketHome=/opt/atlassian/application-data/bitbucket
> app.defaultInstallDir=/opt/atlassian/bitbucket/6.10.0
> app.install.service$Boolean=true
> executeLauncherAction$Boolean=true
> httpPort=7990
> installation.type=INSTALL
> launch.application$Boolean=true
> sys.adminRights$Boolean=true
> sys.languageId=en
> EOF
Step 10: Run bitbucket by using the below command
[root@linuxhelp Downloads]# ./atlassian-bitbucket-6.10.0-x64.bin -q -varfile response.varfile
Starting Installer ...
The installation directory has been set to /opt/atlassian/bitbucket/6.10.0.
Extracting files ...
Launching Bitbucket ...
Finishing installation ...
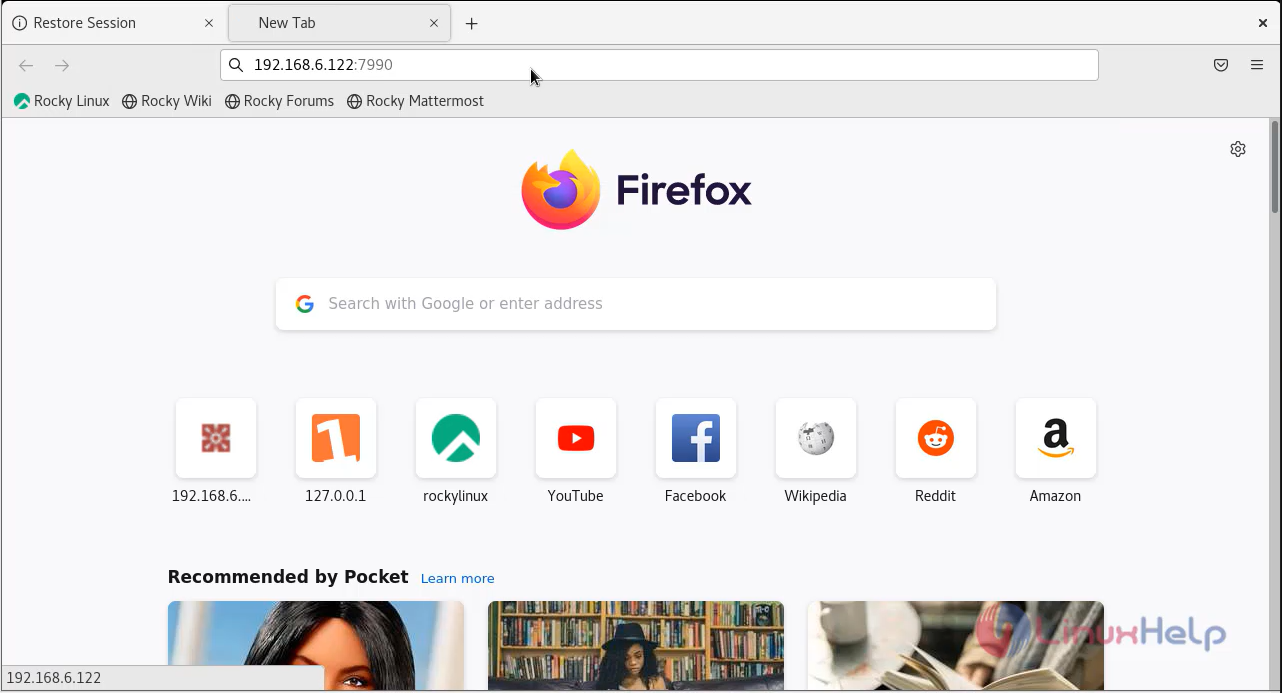
Step 11: Go to the browser to access bit bucket web interface as shown in the below image
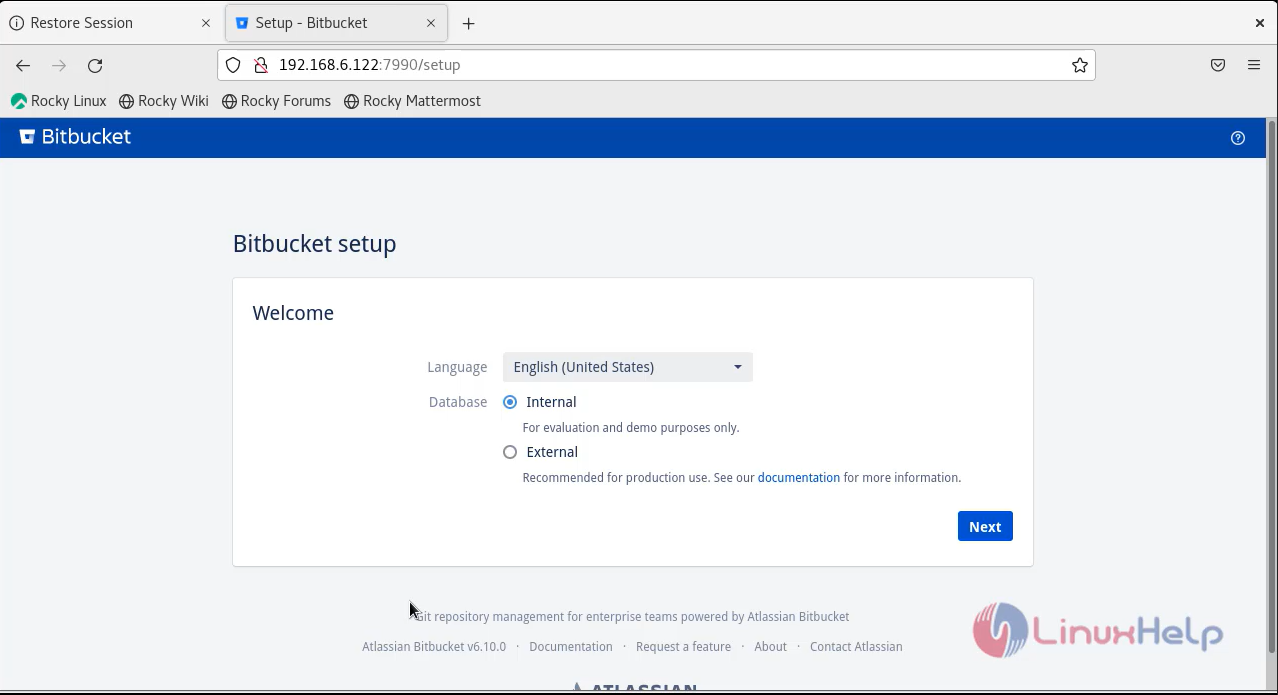
Step 12: Install Bitbucket starting plugins and dependencies as shown in the below image

Step 13: This is the welcome page of bitbucket
Conclusion:
We have reached the end of this article. In this guide, we have walked you through the steps required to Install Bitbucket on Rocky Linux 8.6. Your feedback is much welcome.
Comments ( 0 )
No comments available