• Categories
    Category
  • Categories
    Category
  • News
  • Tutorials
  • Forums
  • Tags
  • Users
Tutorial Comments FAQ Related Articles

How to install and configure Pluck CMS on Rocky Linux 8.5

  • 00:25 cat /etc/os-release
  • 00:49 mysql -u root -p
  • 01:05 create database pluckdb;
  • 01:21 create user pluckuser@localhost identified by 'Linuxc#4';
  • 01:55 grant all privileges on pluckdb.* to pluckuser@localhost;
  • 02:35 flush privileges;
  • 02:43 \q
  • 02:56 wget https://github.com/pluck-cms/pluck/archive/master.zip
  • 03:05 unzip master.zip
  • 03:14 mv pluck-master/ /var/www/html
  • 03:25 cd /var/www/html/
  • 03:33 chown -R apache:apache pluck-master/
  • 03:51 chmod -R 777 pluck-master/
  • 04:05 vim /etc/httpd/conf.d/pluck.conf
  • 06:32 systemctl restart httpd
7213

To Install And Configure Pluck CMS On Rocky Linux 8.5

Introduction:

Pluck is a PHP-based open-source content management system that is used for creating web pages by people without advanced programming skills.

Installation Procedure:

Step 1: Check the installed version of OS by using the below command

[root@linuxhelp ~]# cat /etc/os-release 
NAME="Rocky Linux"
VERSION="8.6 (Green Obsidian)"
ID="rocky"
ID_LIKE="rhel centos fedora"
VERSION_ID="8.6"

Step 2: Login to the MySQL by using the below command

mysql -u root -p

Step 3: Create the database by using the below command

mysql> create database pluckdb;
Query OK, 1 row affected (0.03 sec)

Step 4: Create the user by using the below command

mysql> create user pluckuser@localhost identified by 'Linuxc#4';
Query OK, 0 rows affected (0.01 sec)

Step 5: Give the grant privileges to the user for the database by using the below command

mysql> grant all privileges on pluckdb.* to pluckuser@localhost;
Query OK, 0 rows affected (0.01 sec)

Step 6: Flush the privileges by using the below command

mysql> flush privileges;
Query OK, 0 rows affected (0.01 sec)

Step 7: Quit the MySQL

mysql> \q
Bye

Step 8: Download the pluck CMS by using the below link

[root@linuxhelp mnt]# wget https://github.com/pluck-cms/pluck/archive/master.zip
--2022-06-27 06:13:15--  https://github.com/pluck-cms/pluck/archive/master.zip
Resolving github.com (github.com)... 13.234.210.38
Connecting to github.com (github.com)|13.234.210.38|:443... connected.

Step 9: Then unzip the downloaded file by using the below command

[root@linuxhelp mnt]# unzip master.zip 
Archive:  master.zip
1d345ae8575835031fc09f237716b48521df06fa
   creating: pluck-master/
  inflating: pluck-master/README.md  
  inflating: pluck-master/SECURITY.md  
  inflating: pluck-master/admin.php  
   creating: pluck-master/data/

Step 10: Now move to the following directory by using the below command

[root@linuxhelp mnt]# mv pluck-master/ /var/www/html

Step 11: Now change directory to html by using the below command

[root@linuxhelp mnt]# cd /var/www/html/

Step 12: Configure ownership and permission for directory by using the below command

[root@linuxhelp html]# chown -R apache:apache pluck-master/
[root@linuxhelp html]# chmod -R 777 pluck-master/

Step 13: Configure the virtual host for Pluck CMS by using the below command

[root@linuxhelp html]# vim /etc/httpd/conf.d/pluck.conf
<Virtualhost *:80>
Servername www.linuxhelp1.com
documentroot /var/www/html/pluck-master
<directory /var/www/html/pluck-master>
allowoverride all
allow from all
</directory>
</Virtualhost>

Step 14: put the host entry

127.0.0.1 www.linuxhelp1.com

Step 15: Once all configuration done, restart the Apache by using the below command

[root@linuxhelp html]# systemctl restart httpd

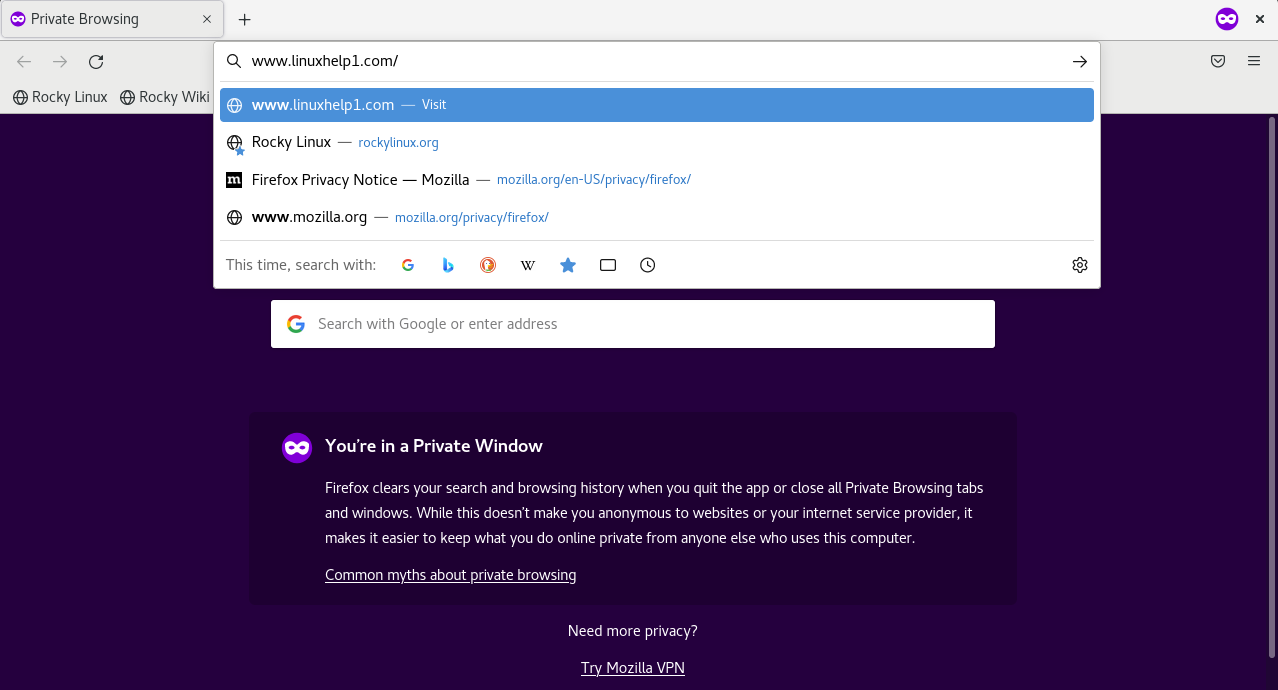
Step 16: Go to browser then provide your ip address as shown in the below image Screenshot 2022-10-19 144531

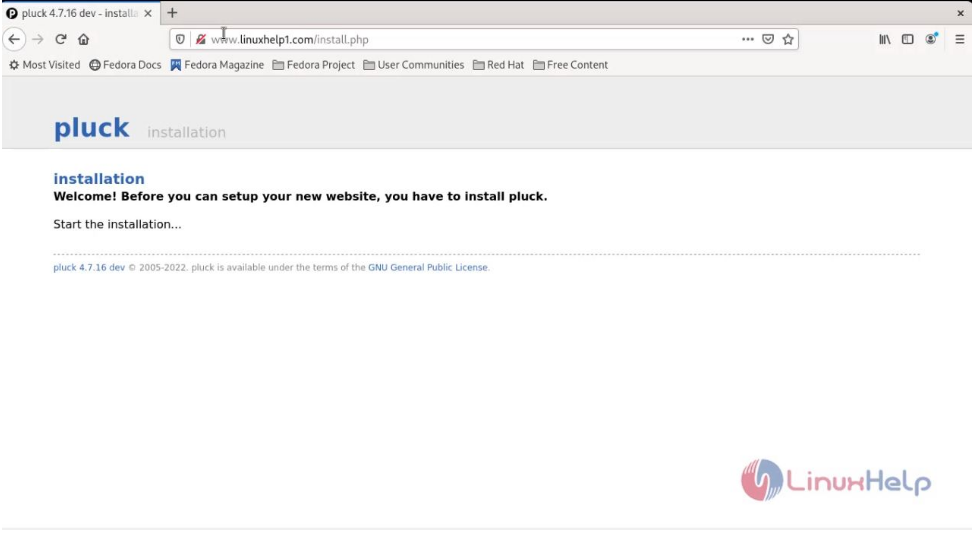
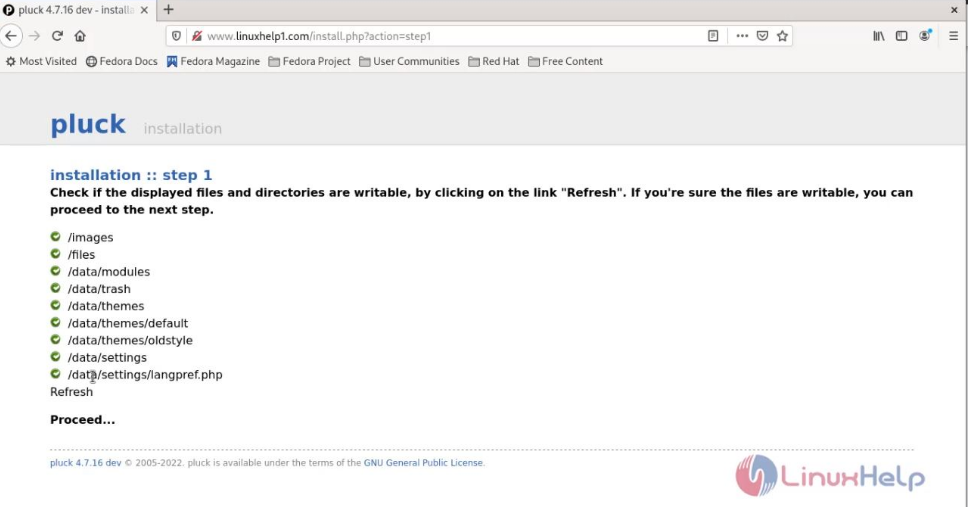
Step 17: Click on the option to start installation as shown in the below image snap 2

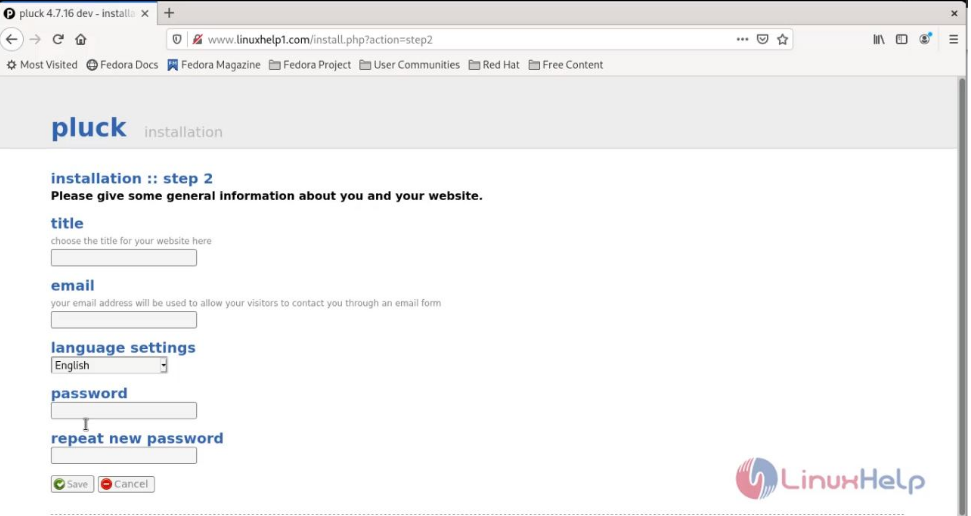
Step 18 Configure general information for your website then click on save as shown in the below image snap 3

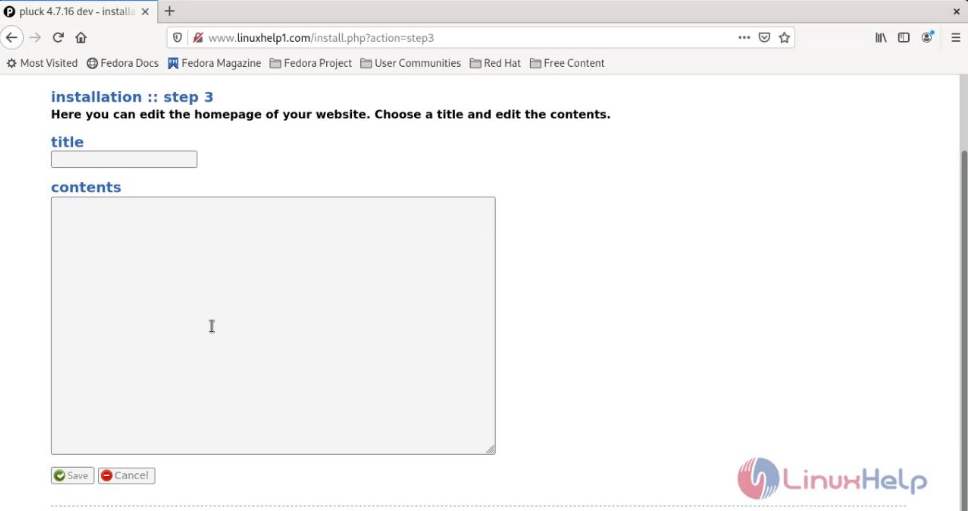
Step 19: Create homepage content then click on save as shown in the below image snap 4

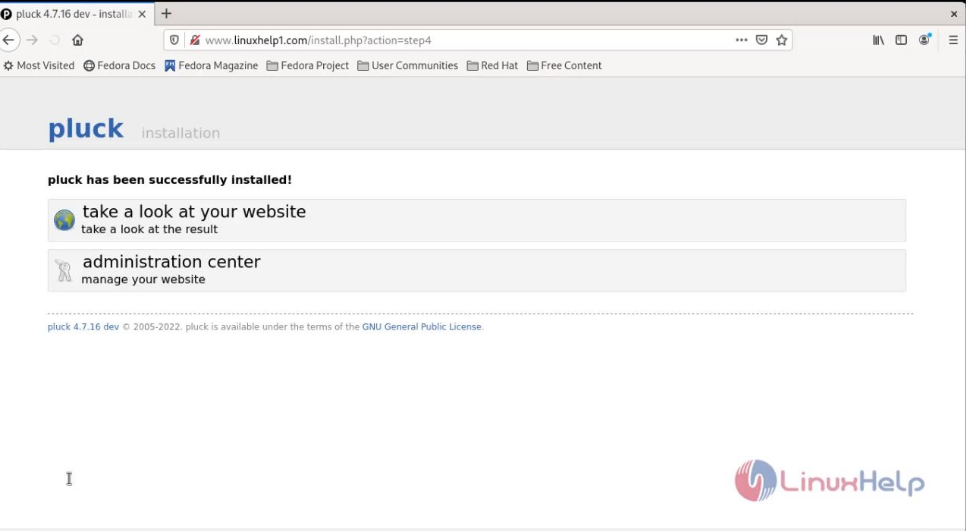
Step 20: Click here to visit login page as shown in the below image snap 5

Step 21: Enter admin password as shown in the below image snap 6

Conclusion:

We have reached the end of this article. In this guide, we have walked you through the steps required to install and configure Pluck CMS on Rocky Linux 8.5. Your feedback is much welcome.

Tags:
owen
Author: 

Comments ( 0 )

No comments available

Add a comment

Frequently asked questions ( 5 )

Q

What is Pluck CMS?

A

Pluck is an open-source content management system, written in the PHP scripting language that allows users for creating web pages without programming experience and does not use a database to store its data.

Q

What is the Prerequisite to installing Pluck CMS?

A

The Prerequisite to install Pluck CMS is APACHE, PHP and Modules(php-gd php-pdo php-mbstring php-mcrypt php-mysql php-simplexml php-pecl-zip php-imap)

Q

Is there any feature to showcase my images in pluck CMS 4.7.9?

A

Yes, we can create a gallery and album to showcase your images.

Q

Is it possible to create a contact form in Pluck CMS?

A

yes, we can create a contact form in Pluck CMS.

Q

How can I check for updates?

A

Pluck uses the CURL-library from PHP to check for updates from the pluck server. This CURL-library, therefore, needs to be present on the server you are running pluck on. Unfortunately, not all.

Related Tutorials in How to install and configure Pluck CMS on Rocky Linux 8.5

Related Tutorials in How to install and configure Pluck CMS on Rocky Linux 8.5

How to install Xrdp Server (Remote Desktop) on Oracle Linux 8.5
Oct 17, 2022
How to install and update OpenSSL on Debian 11.3
Oct 21, 2022
How to Install and Configure Mega in Linux
Jul 19, 2016
How to use Aureport command on Linux
Nov 28, 2017
How to install Development tools on Linux
Jun 12, 2018
How to Install mod_ssl and SSL certificate on Oracle Linux
Dec 30, 2021
How to install Nextcloud on Ubuntu 22.04 version
Jun 23, 2023
How to install ClipGrab in Linux
Jul 16, 2016

Related Forums in How to install and configure Pluck CMS on Rocky Linux 8.5

Related Forums in How to install and configure Pluck CMS on Rocky Linux 8.5

Linux
jayce class=
shasum command not found
May 5, 2017
Linux
stephan class=
How to list all samba users
Jan 12, 2018
pv command
muhammad class=
pvcreate command not found error
May 9, 2017
Linux
henry class=
Starting NFS daemon: rpc.nfsd: writing fd to kernel failed: errno 111 (Connection refused)
Apr 25, 2017
ifconfig command
jackbrookes class=
what is the location of the ifconfig program on your machine?
Jan 4, 2018
Linux
baseer class=
single command to apply setfacl for multiple user at a time
Jan 23, 2018
Linux
beulah class=
What does mean by 0 0 value in fstab file
Jan 2, 2018
CentOS
mason class=
Error getting authority: Error initializing authority: Could not connect: No such file or directory (g-io-error-quark, 1)
Nov 20, 2018

Related News in How to install and configure Pluck CMS on Rocky Linux 8.5

Related News in How to install and configure Pluck CMS on Rocky Linux 8.5

Anbox, the Android-to-Linux tool the developers have been waiting for
Apr 17, 2017
Linus Torvalds stops signing Linux kernel RC tarballs
May 17, 2017
Capsule8 Launches Linux-Based Container Security Platform
Feb 14, 2017
Symantec updates Management console product
Nov 22, 2017
Latest Linux driver release feature seven AMD Vega
Mar 23, 2017
A Newer and a Faster Window Manager for Tina (Linux Mint 19.2)
Apr 9, 2019
Microsoft makes its Azure App service now available on Linux Systems
Sep 7, 2017
Docker friendly Alpine Linux gets hardened Node.js
Apr 19, 2017
Back To Top!
Rank
User
Points

Top Contributers

userNamenaveelansari
135850

Top Contributers

userNameayanbhatti
92510

Top Contributers

userNamehamzaahmed
32150

Top Contributers

1
userNamelinuxhelp
31040

Top Contributers

userNamemuhammadali
24500
Can you help Ryan ?
how to use visual traceroute tool

Am using traceroute command to check for the route. i got this tool while surfing. So pls help me out installation and usage of Visual traceroute tool.

Networking
  • Routing
  • trunk
  • Netmask
  • Packet Capture
  • domain
  • HTTP Proxy
Server Setup
  • NFS
  • KVM
  • Memory
  • Sendmail
  • WebDAV
  • LXC
Shell Commands
  • Cloud commander
  • Command line archive tools
  • last command
  • Shell
  • terminal
  • Throttle
Desktop Application
  • Linux app
  • Pithos
  • Retrospect
  • Scribe
  • TortoiseHg
  • 4Images
Monitoring Tool
  • Monit
  • Apache Server Monitoring
  • EtherApe 
  • Arpwatch Tool
  • Auditd
  • Barman
Web Application
  • Nutch
  • Amazon VPC
  • FarmWarDeployer
  • Rukovoditel
  • Mirror site
  • Chef
Contact Us | Terms of Use| Privacy Policy| Disclaimer
© 2025 LinuxHelp.com All rights reserved. Linux™ is the registered trademark of Linus Torvalds. This site is not affiliated with linus torvalds in any way.