How to configure Nginx Virtual Host in Debian 11.3
- 00:40 lsb_release -a
- 00:56 systemctl status nginx
- 01:10 cd /var/www/html/
- 01:20 mkdir site1 site2
- 01:34 cd site1
- 01:45 vim index.html
- 02:20 cd site2
- 02:26 vim index.html
- 02:52 cp /etc/nginx/sites-available/default /etc/nginx/sites-available/site1.conf
- 03:25 cp /etc/nginx/sites-available/default /etc/nginx/sites-available/site2.conf
- 03:57 vim /etc/nginx/sites-available/site1.conf
- 04:58 vim /etc/nginx/sites-available/site2.conf
- 06:10 rm /etc/nginx/sites-enabled/default
- 06:32 ln -s /etc/nginx/sites-available/site1.conf /etc/nginx/sites-enabled/
- 06:57 ln -s /etc/nginx/sites-available/site2.conf /etc/nginx/sites-enabled/
- 07:28 sudo nginx -t
- 07:44 systemctl restart nginx
- 07:58 vim /etc/hosts
To Configure Nginx Virtual Host On Debian 11.3
Introduction:
Virtual Hosting is a method that facilitates hosting multiple domains on a web server. Virtual Hosting is of two types Name based and IP based. While multiple sites can be run on the same IP address with Name-based Virtual Hosting, IP-based virtual hosting can have various IP addresses for each site. This article simplifies the configuration procedure of a name-based Nginx Virtual Host in Debian.
Installation Procedure:
Step 1: Check the OS version by using the below command
[root@linuxhelp: ~#] lsb_release –a
No LSB modules are available.
Distributor ID:	Debian
Description:	Debian GNU/Linux 11 (bullseye)
Release:	11
Codename:	bullseye
Step 2: Check the status from Nginx service by using the below command
[root@linuxhelp: ~#] systemctl status nginx
● nginx.service - A high performance web server and a reverse proxy server
     Loaded: loaded (/lib/systemd/system/nginx.service; enabled; vendor preset: enabled)
     Active: active (running) since Mon 2022-10-31 00:22:41 IST; 36s ago
       Docs: man:nginx(8)
   Main PID: 4254 (nginx)
      Tasks: 2 (limit: 3450)
     Memory: 3.0M
        CPU: 17ms
     CGroup: /system.slice/nginx.service
             ├─4254 nginx: master process /usr/sbin/nginx -g daemon on; master_process on;
             └─4257 nginx: worker process
Oct 31 00:22:41 linuxhelp systemd[1]: Starting A high performance web server and a reverse proxy server...
Step 3: Next go to the html directory and create two directories by using the following commands.
[root@linuxhelp: ~#] cd /var/www/html/
[root@linuxhelp: ~#] mkdir site1 site2
Step 4: Once the directories are created, use the below command to create a file with text in the site1 directory.
[root@linuxhelp:/var/www/html: ~#] cd site1
[root@linuxhelp:/var/www/html/site1: ~#] vim index.html

Step 5: Repeat the same for site2 directory by using the below command.
[root@linuxhelp:/var/www/html: ~#] cd site 2
[root@linuxhelp:/var/www/html/site2: ~#] vim index.html

Step 6: Now, use the below commands to create server block files.
[root@linuxhelp: ~#] cp /etc/nginx/sites-available/default /etc/nginx/sites-available/site1.conf
[root@linuxhelp: ~#] cp /etc/nginx/sites-available/default /etc/nginx/sites-available/site2.conf
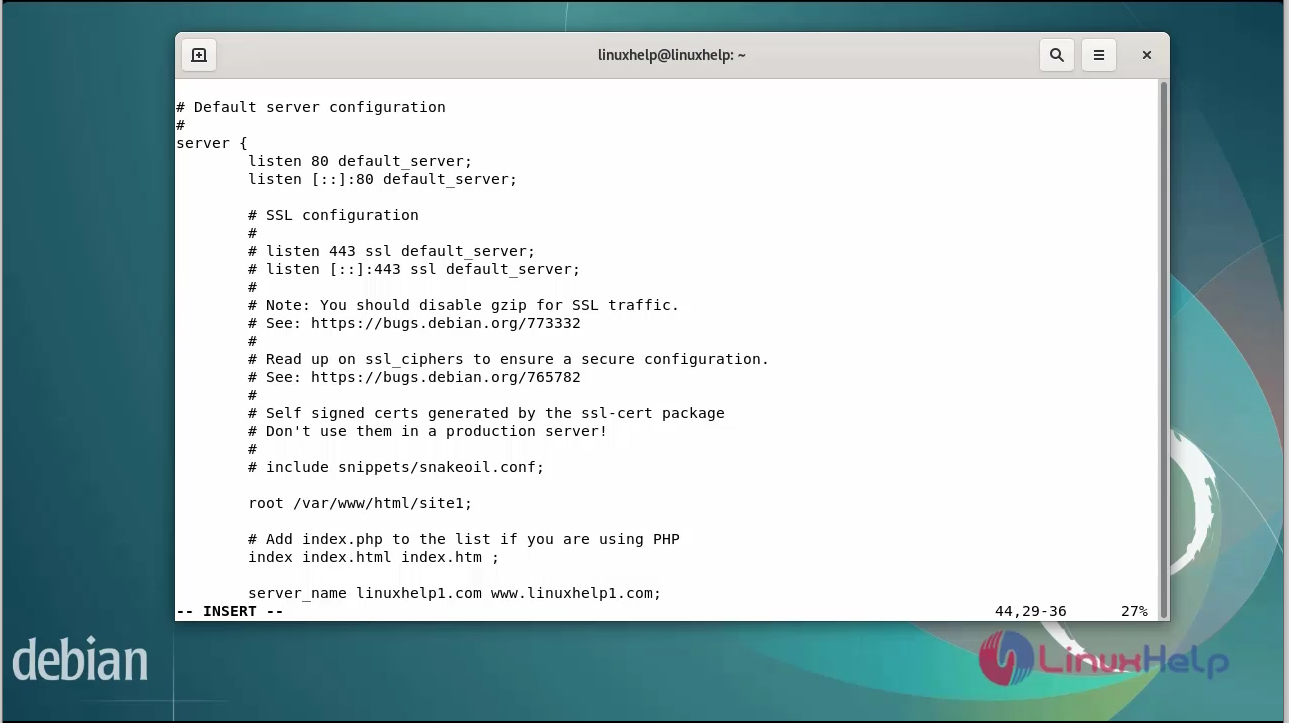
Step 7: Next Configure the site1.conf file by using the below command.
[root@linuxhelp: ~#] vim /etc/nginx/sites-available/site1.conf
Step 8: Now configure the site2.conf file by using the below command, Make sure you remove default server behind listen 80 and listen [::]80.
[root@linuxhelp: ~#] vim /etc/nginx/sites-available/site2.conf

Step 9: Now remove the default server block by using the below command.
[root@linuxhelp: ~#] rm /etc/nginx/sites-enabled/default
Step 10: Now enable the new server block by running the below command.
[root@linuxhelp: ~#] ln -s /etc/nginx/sites-available/site1.conf /etc/nginx/sites-enabled/
[root@linuxhelp: ~#] ln -s /etc/nginx/sites-available/site2.conf /etc/nginx/sites-enabled/
Step 11: Now check the Nginx configuration with the help of below command.
[root@linuxhelp: ~#] sudo nginx -t
nginx: the configuration file /etc/nginx/nginx.conf syntax is ok
nginx: configuration file /etc/nginx/nginx.conf test is successful
Step 12: After checking the Nginx configuration, restart the Nginx service by running the below command.
[root@linuxhelp: ~#] systemctl restart nginx
Step 13: Now edit your hosts file by entering your IP address and domain name using below command.
[root@linuxhelp: ~#] vim /etc/hosts
192.168.6.137   www.linuxhelp1.com
192.168.6.137   www.linuxhelp2.com
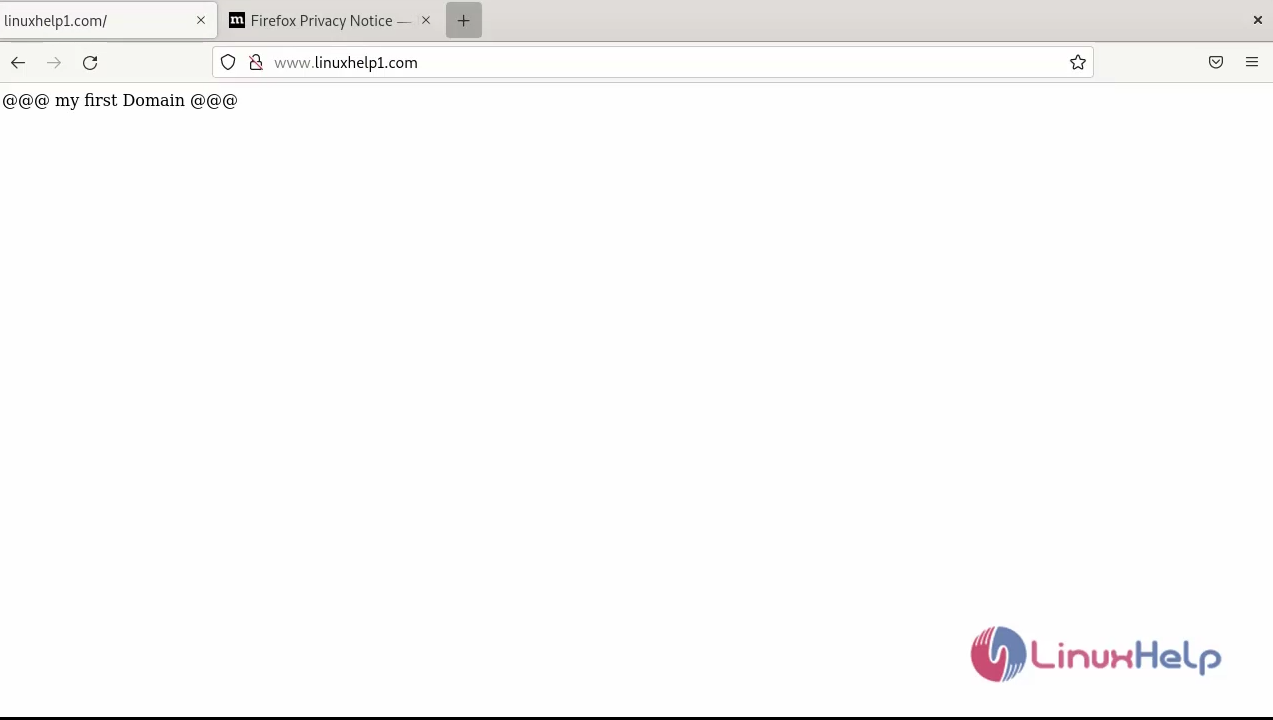
Step 14: Next go to the browser, browse the first virtual domain and type www.linuxhelp1.com as shown in the below image.
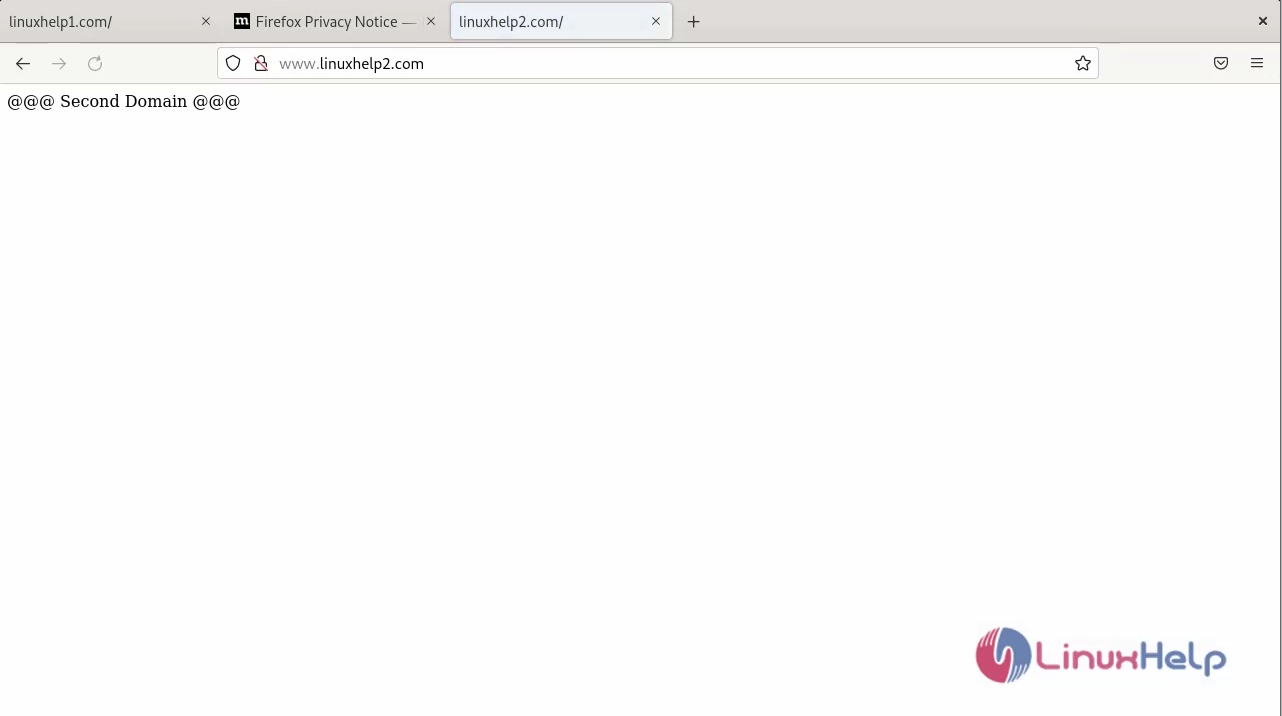
Step 15: Next go to the browser, browse the first virtual domain and type www.linuxhelp2.com as shown in the below image
Conclusion:
We have reached the end of this article. In this guide, we have walked you through the steps required to configure Nginx virtual host in Debian 11.3. Your feedback is much welcome.


Comments ( 0 )
No comments available