How to install Multiple Nginx instances in same Server on CentOS 6
To install Multiple Nginx instances in same Server on CentOS 6
Nginx is a high-performance and light-weight server, which delivers static contents by using the system resources. It also hosts several highest traffic Internet sites. The Nginx server can be run in more than one instances in a single server. There are two methods to achieve this. First is using yum install command and second method is using source code compilation. For running multiple instances in a same server, we need to change port number of individual instance and create a seperate service daemon for every running instance of Nginx. This tutorial will explain the installation procedure of running multiple instances of Nginx in same Server on CentOS 6.
Installation procedure
Nginx First Instance
To proceed with the first instance installation, execute the yum command to install epel release and press y to continue with the installation procedure.
[root@linuxhelp ~]# yum install epel-release -y
Loaded plugins: fastestmirror, refresh-packagekit, security
Setting up Install Process
Loading mirror speeds from cached hostfile
 * base: mirror.dhakacom.com
 * extras: mirror.dhakacom.com
 * updates: centos-hcm.viettelidc.com.vn
Resolving Dependencies
-->  Running transaction check
--->  Package epel-release.noarch 0:6-8 will be installed
-->  Finished Dependency Resolution
.
.
.
Running Transaction
  Installing : epel-release-6-8.noarch                                                                                                                                                                          1/1
  Verifying  : epel-release-6-8.noarch                                                                                                                                                                          1/1

Installed:
  epel-release.noarch 0:6-8

Complete!
Now install Nginx by executing the following command.
[root@linuxhelp ~]# yum install nginx -y
Loaded plugins: fastestmirror, refresh-packagekit, security
Setting up Install Process
Loading mirror speeds from cached hostfile
 * base: mirror.dhakacom.com
 * epel: repo.ugm.ac.id
 * extras: mirror.dhakacom.com
 * updates: centos-hcm.viettelidc.com.vn
Resolving Dependencies
-->  Running transaction check
--->  Package nginx.x86_64 0:1.10.2-1.el6 will be installed
-->  Processing Dependency: nginx-filesystem = 1.10.2-1.el6 for package: nginx-1.10.2-1.el6.x86_64
-->  Processing Dependency: nginx-all-modules = 1.10.2-1.el6 for package: nginx-1.10.2-1.el6.x86_64
-->  Processing Dependency: nginx-filesystem for package: nginx-1.10.2-1.el6.x86_64
-->  Running transaction check
--->  Package nginx-all-modules.noarch 0:1.10.2-1.el6 will be installed
-->  Processing Dependency: nginx-mod-stream = 1.10.2-1.el6 for package: nginx-all-modules-1.10.2-1.el6.noarch
-->  Processing Dependency: nginx-mod-mail = 1.10.2-1.el6 for package: nginx-all-modules-1.10.2-1.el6.noarch
.
.
.
Dependency Installed:
  GeoIP.x86_64 0:1.6.5-1.el6                      GeoIP-GeoLite-data.noarch 0:2017.07-1.el6              GeoIP-GeoLite-data-extra.noarch 0:2017.07-1.el6      gd.x86_64 0:2.0.35-11.el6
  geoipupdate.x86_64 0:2.2.1-2.el6                libXpm.x86_64 0:3.5.10-2.el6                           nginx-all-modules.noarch 0:1.10.2-1.el6              nginx-filesystem.noarch 0:1.10.2-1.el6
  nginx-mod-http-geoip.x86_64 0:1.10.2-1.el6      nginx-mod-http-image-filter.x86_64 0:1.10.2-1.el6      nginx-mod-http-perl.x86_64 0:1.10.2-1.el6            nginx-mod-http-xslt-filter.x86_64 0:1.10.2-1.el6
  nginx-mod-mail.x86_64 0:1.10.2-1.el6            nginx-mod-stream.x86_64 0:1.10.2-1.el6

Complete!
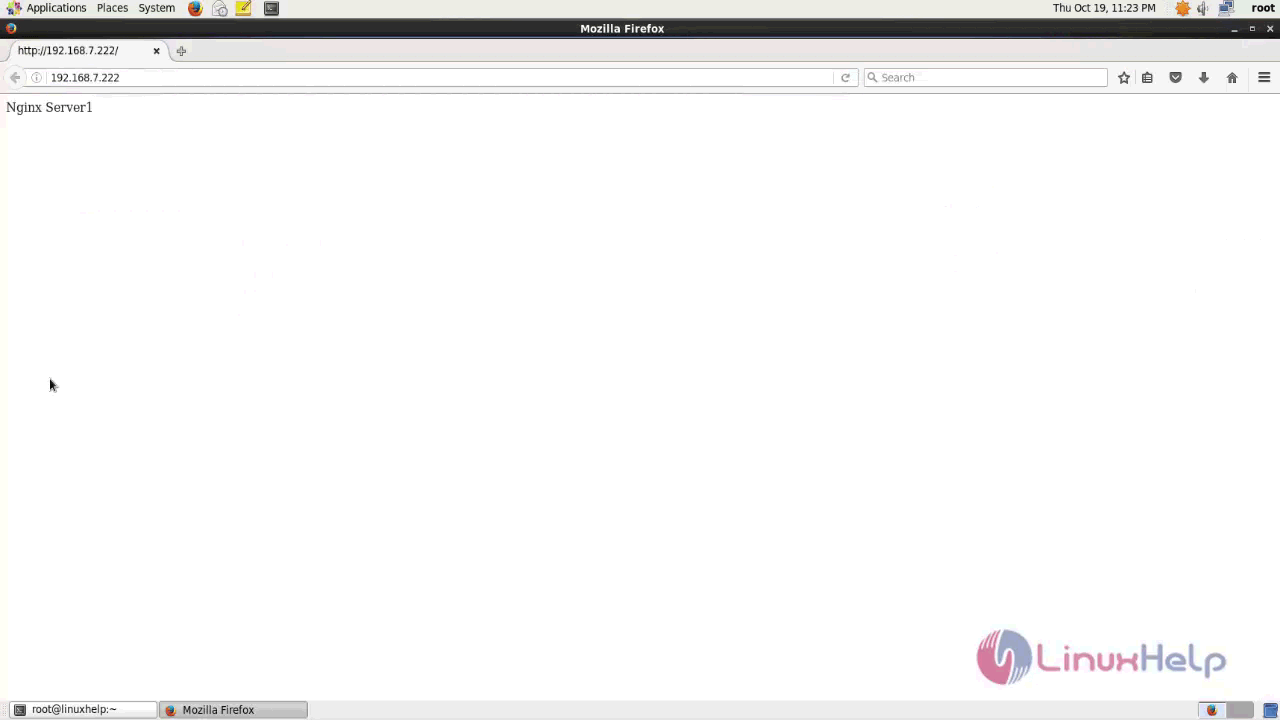
Create the index file for first Nginx webserver instance and enter the following content in the file. Save and exit the file.
[root@linuxhelp ~]# vim /usr/share/nginx/html/index.html
Nginx Server1
Start the Nginx service by executing the following command.
[root@linuxhelp ~]# service nginx start
Starting nginx:                                            [  OK  ]
[root@linuxhelp ~]# chkconfig nginx on
Switch over to the browser and call the Machine IP address. The first instance of Nginx is running successfully in the system.
Nginx second instance
Now install the dependencies to compile Nginx from source code by executing the following command and press y to continue with the installation procedure.
[root@linuxhelp ~]# yum groupinstall " Development Tools"  -y
Loaded plugins: fastestmirror, refresh-packagekit, security
Setting up Group Process
Loading mirror speeds from cached hostfile
 * base: mirror.dhakacom.com
 * epel: www.ftp.ne.jp
 * extras: mirror.dhakacom.com
 * updates: centos-hcm.viettelidc.com.vn
epel/group_gz                                                                                                                                                                                | 150 kB     00:00
Package 1:make-3.81-23.el6.x86_64 already installed and latest version
Package patch-2.6-6.el6.x86_64 already installed and latest version
Package 1:pkgconfig-0.23-9.1.el6.x86_64 already installed and latest version
Package gettext-0.17-18.el6.x86_64 already installed and latest version
Package elfutils-0.164-2.el6.x86_64 already installed and latest version
Package cvs-1.11.23-16.el6.x86_64 already installed and latest version
Resolving Dependencies
-->  Running transaction check
--->  Package autoconf.noarch 0:2.63-5.1.el6 will be installed
--->  Package automake.noarch 0:1.11.1-4.el6 will be installed
.
.
.
  cloog-ppl.x86_64 0:0.15.7-1.2.el6                    cpp.x86_64 0:4.4.7-18.el6                             gettext-devel.x86_64 0:0.17-18.el6                gettext-libs.x86_64 0:0.17-18.el6
  kernel-devel.x86_64 0:2.6.32-696.13.2.el6            libgcj.x86_64 0:4.4.7-18.el6                          libgfortran.x86_64 0:4.4.7-18.el6                 libstdc++-devel.x86_64 0:4.4.7-18.el6
  mpfr.x86_64 0:2.4.1-6.el6                            perl-Compress-Raw-Zlib.x86_64 1:2.021-144.el6         perl-Compress-Zlib.x86_64 0:2.021-144.el6         perl-Error.noarch 1:0.17015-4.el6
  perl-Git.noarch 0:1.7.1-9.el6_9                      perl-HTML-Parser.x86_64 0:3.64-2.el6                  perl-HTML-Tagset.noarch 0:3.20-4.el6              perl-IO-Compress-Base.x86_64 0:2.021-144.el6
  perl-IO-Compress-Zlib.x86_64 0:2.021-144.el6         perl-URI.noarch 0:1.40-2.el6                          perl-XML-Parser.x86_64 0:2.36-7.el6               perl-libwww-perl.noarch 0:5.833-5.el6
  ppl.x86_64 0:0.10.2-11.el6                           systemtap-client.x86_64 0:2.9-7.el6                   systemtap-devel.x86_64 0:2.9-7.el6

Updated:
  binutils.x86_64 0:2.20.51.0.2-5.47.el6_9.1

Complete!
Install the pcre-devel packages that is required for the Nginx to run in the target system and press y to continue.
[root@linuxhelp ~]# yum install zlib-devel pcre-devel openssl-devel -y
Loaded plugins: fastestmirror, refresh-packagekit, security
Setting up Install Process
Loading mirror speeds from cached hostfile
 * base: mirror.dhakacom.com
 * epel: mirror.ehost.vn
 * extras: mirror.dhakacom.com
 * updates: centos-hcm.viettelidc.com.vn
Resolving Dependencies
-->  Running transaction check
--->  Package openssl-devel.x86_64 0:1.0.1e-57.el6 will be installed
-->  Processing Dependency: krb5-devel for package: openssl-devel-1.0.1e-57.el6.x86_64
--->  Package pcre-devel.x86_64 0:7.8-7.el6 will be installed
--->  Package zlib-devel.x86_64 0:1.2.3-29.el6 will be installed
-->  Running transaction check
--->  Package krb5-devel.x86_64 0:1.10.3-65.el6 will be installed
.
.
.
Installed:
  openssl-devel.x86_64 0:1.0.1e-57.el6                                      pcre-devel.x86_64 0:7.8-7.el6                                      zlib-devel.x86_64 0:1.2.3-29.el6

Dependency Installed:
  keyutils-libs-devel.x86_64 0:1.4-5.el6     krb5-devel.x86_64 0:1.10.3-65.el6     libcom_err-devel.x86_64 0:1.41.12-23.el6     libselinux-devel.x86_64 0:2.0.94-7.el6     libsepol-devel.x86_64 0:2.0.41-4.el6

Complete!
Download the Nginx source code by executing the wget command.
[root@linuxhelp ~]# wget http://nginx.org/download/nginx-1.9.9.tar.gz
--2017-10-19 23:35:57--  http://nginx.org/download/nginx-1.9.9.tar.gz
Resolving nginx.org... 206.251.255.63, 95.211.80.227, 2001:1af8:4060:a004:21::e3, ...
Connecting to nginx.org|206.251.255.63|:80... connected.
HTTP request sent, awaiting response... 200 OK
Length: 887908 (867K) [application/octet-stream]
Saving to: “ nginx-1.9.9.tar.gz”

100%[==========================================================================================================================================================================> ] 887,908     --.-K/s   in 0.02s

2017-10-19 23:36:18 (44.4 MB/s) - “ nginx-1.9.9.tar.gz”  saved [887908/887908]
Extract the downloaded package by running the tar command.
[root@linuxhelp ~]# tar -xzf nginx-1.9.9.tar.gz
Move to Nginx directory and compile the source code
[root@linuxhelp ~]# cd nginx-1.9.9
[root@linuxhelp nginx-1.9.9]# ls
auto  CHANGES  CHANGES.ru  conf  configure  contrib  html  LICENSE  man  README  src
Before installing the Nginx, configure the installation by executing the script file without using any option for it’ s default installation, Here we just configure the installation location itself with option " --prefix=directory_path" .
[root@linuxhelp nginx-1.9.9]# ./configure --prefix=/usr/local/nginx
checking for OS
 + Linux 2.6.32-696.el6.x86_64 x86_64
checking for C compiler ... found
 + using GNU C compiler
 + gcc version: 4.4.7 20120313 (Red Hat 4.4.7-18) (GCC)
checking for gcc -pipe switch ... found
checking for gcc builtin atomic operations ... found
checking for C99 variadic macros ... found
checking for gcc variadic macros ... found
checking for unistd.h ... found
checking for inttypes.h ... found
checking for limits.h ... found
checking for sys/filio.h ... not found
checking for sys/param.h ... found
checking for sys/mount.h ... found
checking for sys/statvfs.h ... found
checking for crypt.h ... found
checking for Linux specific features
checking for epoll ... found
.
.
.
Configuration summary
  + using system PCRE library
  + OpenSSL library is not used
  + md5: using system crypto library
  + sha1: using system crypto library
  + using system zlib library

  nginx path prefix: " /usr/local/nginx"
  nginx binary file: " /usr/local/nginx/sbin/nginx"
  nginx configuration prefix: " /usr/local/nginx/conf"
  nginx configuration file: " /usr/local/nginx/conf/nginx.conf"
  nginx pid file: " /usr/local/nginx/logs/nginx.pid"
  nginx error log file: " /usr/local/nginx/logs/error.log"
  nginx http access log file: " /usr/local/nginx/logs/access.log"
  nginx http client request body temporary files: " client_body_temp"
  nginx http proxy temporary files: " proxy_temp"
  nginx http fastcgi temporary files: " fastcgi_temp"
  nginx http uwsgi temporary files: " uwsgi_temp"
  nginx http scgi temporary files: " scgi_temp"
Run the make command to install Nginx in the current directory.
[root@linuxhelp nginx-1.9.9]# make
make -f objs/Makefile
make[1]: Entering directory `/root/nginx-1.9.9'
cc -c -pipe  -O -W -Wall -Wpointer-arith -Wno-unused-parameter -Werror -g  -I src/core -I src/event -I src/event/modules -I src/os/unix -I objs
        -o objs/src/core/nginx.o
        src/core/nginx.c
cc -c -pipe  -O -W -Wall -Wpointer-arith -Wno-unused-parameter -Werror -g  -I src/core -I src/event -I src/event/modules -I src/os/unix -I objs
        -o objs/src/core/ngx_log.o
        src/core/ngx_log.c
cc -c -pipe  -O -W -Wall -Wpointer-arith -Wno-unused-parameter -Werror -g  -I src/core -I src/event -I src/event/modules -I src/os/unix -I objs
        -o objs/src/core/ngx_palloc.o
        src/core/ngx_palloc.c
cc -c -pipe  -O -W -Wall -Wpointer-arith -Wno-unused-parameter -Werror -g  -I src/core -I src/event -I src/event/modules -I src/os/unix -I objs
        -o objs/src/core/ngx_array.o
        src/core/ngx_array.c
.
.
.
make[1]: Leaving directory `/root/nginx-1.9.9'
make -f objs/Makefile manpage
make[1]: Entering directory `/root/nginx-1.9.9'
sed -e " s|%%PREFIX%%|/usr/local/nginx|"
        -e " s|%%PID_PATH%%|/usr/local/nginx/logs/nginx.pid|"
        -e " s|%%CONF_PATH%%|/usr/local/nginx/conf/nginx.conf|"
        -e " s|%%ERROR_LOG_PATH%%|/usr/local/nginx/logs/error.log|"
        <  man/nginx.8 >  objs/nginx.8
make[1]: Leaving directory `/root/nginx-1.9.9'
As of now Nginx is installed in present working directory, to move Nginx files into its appropriate directory mentioned above, run the make install command to finish the installation process.
[root@linuxhelp nginx-1.9.9]# make install
make -f objs/Makefile install
make[1]: Entering directory `/root/nginx-1.9.9'
test -d ' /usr/local/nginx'  || mkdir -p ' /usr/local/nginx'
test -d ' /usr/local/nginx/sbin'          || mkdir -p ' /usr/local/nginx/sbin'
test ! -f ' /usr/local/nginx/sbin/nginx'          || mv ' /usr/local/nginx/sbin/nginx'              ' /usr/local/nginx/sbin/nginx.old'
cp objs/nginx ' /usr/local/nginx/sbin/nginx'
test -d ' /usr/local/nginx/conf'          || mkdir -p ' /usr/local/nginx/conf'
cp conf/koi-win ' /usr/local/nginx/conf'
cp conf/koi-utf ' /usr/local/nginx/conf'
cp conf/win-utf ' /usr/local/nginx/conf'
test -f ' /usr/local/nginx/conf/mime.types'          || cp conf/mime.types ' /usr/local/nginx/conf'
cp conf/mime.types ' /usr/local/nginx/conf/mime.types.default'
test -f ' /usr/local/nginx/conf/fastcgi_params'          || cp conf/fastcgi_params ' /usr/local/nginx/conf'
cp conf/fastcgi_params         ' /usr/local/nginx/conf/fastcgi_params.default'
test -f ' /usr/local/nginx/conf/fastcgi.conf'          || cp conf/fastcgi.conf ' /usr/local/nginx/conf'
cp conf/fastcgi.conf ' /usr/local/nginx/conf/fastcgi.conf.default'
test -f ' /usr/local/nginx/conf/uwsgi_params'          || cp conf/uwsgi_params ' /usr/local/nginx/conf'
cp conf/uwsgi_params         ' /usr/local/nginx/conf/uwsgi_params.default'
test -f ' /usr/local/nginx/conf/scgi_params'          || cp conf/scgi_params ' /usr/local/nginx/conf'
cp conf/scgi_params         ' /usr/local/nginx/conf/scgi_params.default'
test -f ' /usr/local/nginx/conf/nginx.conf'          || cp conf/nginx.conf ' /usr/local/nginx/conf/nginx.conf'
cp conf/nginx.conf ' /usr/local/nginx/conf/nginx.conf.default'
test -d ' /usr/local/nginx/logs'          || mkdir -p ' /usr/local/nginx/logs'
test -d ' /usr/local/nginx/logs'  ||         mkdir -p ' /usr/local/nginx/logs'
test -d ' /usr/local/nginx/html'          || cp -R html ' /usr/local/nginx'
test -d ' /usr/local/nginx/logs'  ||         mkdir -p ' /usr/local/nginx/logs'
make[1]: Leaving directory `/root/nginx-1.9.9'
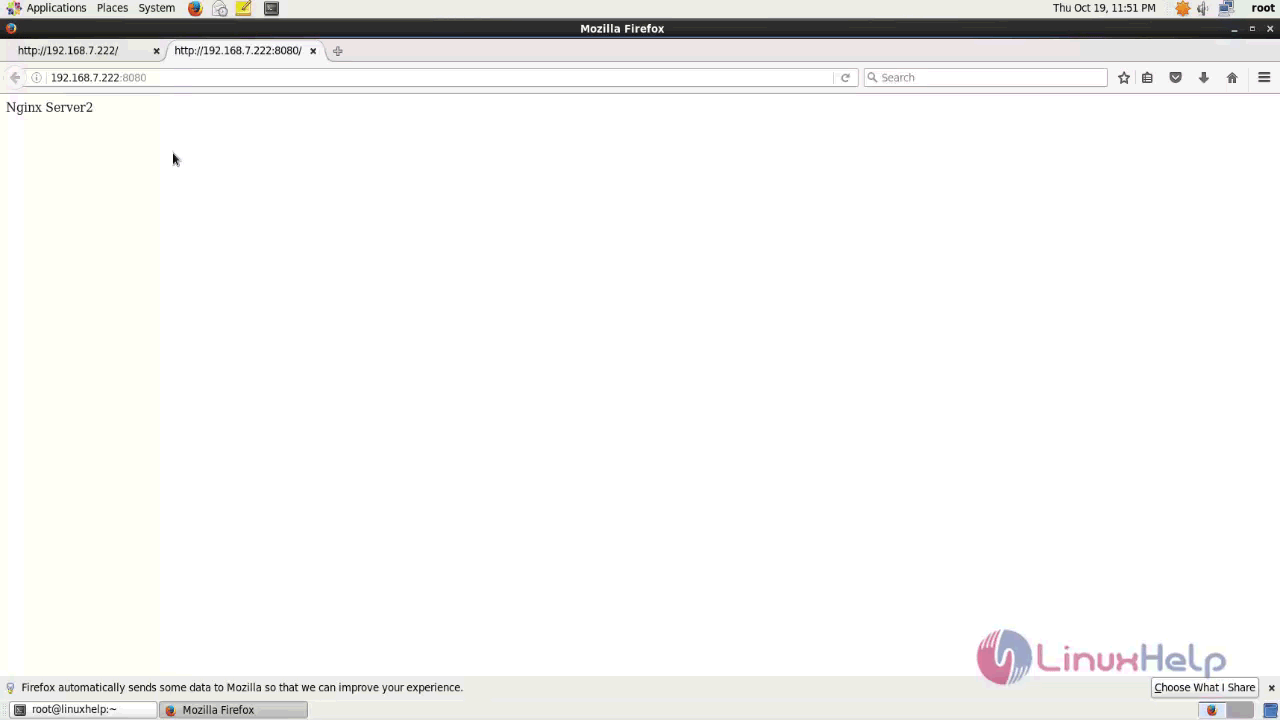
Move to Nginx configuration directory and edit the configuration to change the port number for the second instance to 8080 as the first instance is running on Port number 80.
[root@linuxhelp nginx-1.9.9]# vim /usr/local/nginx/conf/nginx.conf
listen 8080
Now enter the following content to the default index.html file and save the file.
[root@linuxhelp nginx-1.9.9]# vim /usr/local/nginx/html/index.html
Nginx Server2
Next create a separate service daemon for second instance of Nginx, since first instance is already running with service daemon name nginx, rename the second instance of Nginx into any other name. Now rename Nginx service daemon file as web.
[root@linuxhelp nginx-1.9.9]# mv /usr/local/nginx/sbin/nginx /usr/local/nginx/sbin/web
Create user for second instance of Nginx by executing the following command.
[root@linuxhelp ~]# useradd -r web
Finally configure the service init script for managing Nginx daemon with name called “ web” . Create a new init script in the same name as web by executing the following command and enter the content in the file. Save and exit the file.
[root@linuxhelp ~]# vim /etc/init.d/web

#!/bin/sh
#
# nginx - this script starts and stops the nginx daemin
#
# chkconfig:   - 85 15
# description:  Nginx is an HTTP(S) server, HTTP(S) reverse
#               proxy and IMAP/POP3 proxy server
# processname: nginx
# config:      /etc/nginx/nginx.conf
# pidfile:     /var/run/nginx.pid
# user:        nginx

# Source function library.
. /etc/rc.d/init.d/functions

# Source networking configuration.
. /etc/sysconfig/network

# Check that networking is up.
[ " $NETWORKING"  = " no"  ] & &  exit 0

web=" /usr/local/nginx/sbin/web"
prog=$(basename $web)

WEB_CONF_FILE=" /usr/local/nginx/conf/nginx.conf"

lockfile=/var/run/web.lock

start() {
    [ -x $web ] || exit 5
    [ -f $WEB_CONF_FILE ] || exit 6
    echo -n $" Starting $prog: "
    daemon $web -c $WEB_CONF_FILE
    retval=$?
    echo
    [ $retval -eq 0 ] & &  touch $lockfile
    return $retval
}

stop() {
    echo -n $" Stopping $prog: "
    killproc $prog -QUIT
    retval=$?
    echo
    [ $retval -eq 0 ] & &  rm -f $lockfile
    return $retval
}

restart() {
    configtest || return $?
    stop
    start
}

reload() {
    configtest || return $?
    echo -n $" Reloading $prog: "
    killproc $web -HUP
    RETVAL=$?
    echo
}

force_reload() {
    restart
}

configtest() {
  $web -t -c $WEB_CONF_FILE
}

rh_status() {
    status $prog
}

rh_status_q() {
    rh_status > /dev/null 2> & 1
}

case " $1"  in
    start)
        rh_status_q & &  exit 0
        $1

    stop)
        rh_status_q || exit 0
        $1

    restart|configtest)
        $1

    reload)
        rh_status_q || exit 7
        $1

    force-reload)
        force_reload

    status)
        rh_status

    condrestart|try-restart)
        rh_status_q || exit 0

    *)
        echo $" Usage: $0 {start|stop|status|restart|condrestart|try-restart|reload|force-reload|configtest}"
        exit 2
esac
After creating a bash script as shown above and then set execution permission for that script file.
[root@linuxhelp ~]# chmod +x /etc/init.d/web
Now start the service daemon for second instance of Nginx
[root@linuxhelp ~]# service web start
Starting web:                                              [  OK  ]
Switch over to the browser and call the IP address along with the port number specified for second instance. The second instance of Nginx is running successfully.
Thus we conclude the installation and configuration procedure of running multiple instances of Nginx in same server on CentOS 6
Comments ( 1 )