How to setup OMD (Open Monitoring Distribution) on Ubuntu 14.04
How to Setup OMD(Open Monitoring Distribution) on Ubuntu 14.04
System Administrators should know the current state of the services being online. There is nothing worse than noticing late the failure of disks or the downtime being too long. This is where the OMD comes in. OMD or Open Monitoring Distribution is used for network and systems monitoring that comes with bundle of different network monitoring tools like Nagios, Icinga and Shinken and also their required addons. It has a single installation package to install the OMD. This article will explain the installation procedure of OMD on Ubuntu 14.04.
Installation procedure
To begin with the installation procedure, download the installation package by executing the wget command along with the debian package.
root@linuxhelp:/home/user1# wget http://files.omdistro.org/releases/debian_ubuntu/omd-1.20.trusty.amd64.deb
--2017-07-18 18:30:02--  http://files.omdistro.org/releases/debian_ubuntu/omd-1.20.trusty.amd64.deb
Resolving files.omdistro.org (files.omdistro.org)... 178.248.246.154
&hellip
&hellip
&hellip
100%[=========================================================================================================================================> ] 7,89,69,558  661KB/s   in 3m 17s
2017-07-18 18:33:20 (391 KB/s) - ‘ omd-1.20.trusty.amd64.deb’  saved [78969558/78969558]
After downloading the package, install the required package using the dpkg command and execute it.
root@linuxhelp:/home/user1# dpkg &ndash i omd-1.20.trusty.amd64.deb
Reading package lists... Done
Building dependency tree
Reading state information... Done
dependency problems - leaving unconfigured
Processing triggers for ureadahead (0.100.0-16) ...
ureadahead will be reprofiled on next reboot
Processing triggers for man-db (2.6.7.1-1ubuntu1) ...
Errors were encountered while processing:
 omd-1.20
While installing, you may receive some dependency issues. To solve the dependency problem, run the following command.
root@linuxhelp:/home/user1# apt-get -f install
Reading package lists... Done
Building dependency tree
Reading state information... Done
&hellip
&hellip
&hellip
Processing triggers for libc-bin (2.19-0ubuntu6.9) ...
Processing triggers for python-support (1.0.15) ...
Processing triggers for ureadahead (0.100.0-16) ...
Now the OMD installation is completed, to check the installation execute the OMD command.
root@linuxhelp:/home/user1# omd
Usage (called as root):
 omd help                        Show general help
 omd setup                       Prepare operating system for OMD (installs packages)
 omd uninstall                   Remove OMD and all sites!
&hellip
&hellip
&hellip
General Options:
 -V < version>                     set specific version, useful in combination with update/create
 omd COMMAND -h, --help          show available options of COMMAND
Next create the OMD instance by running the OMD create monitoring command. A monitoring instance is created in the OMD.
root@linuxhelp:/home/user1# omd create monitoring
Adding /omd/sites/monitoring/tmp to /etc/fstab.
Restarting Apache...AH00558: apache2: Could not reliably determine the server' s fully qualified domain name, using 127.0.1.1. Set the ' ServerName'  directive globally to suppress this message
OK
Creating temporary filesystem /omd/sites/monitoring/tmp...OK
Created new site monitoring with version 1.20.

  The site can be started with omd start monitoring.
  The default web UI is available at http://linuxhelp/monitoring/
  The admin user for the web applications is omdadmin with password omd.
  Please do a su - monitoring for administration of this site.
Initialize your instance by running the following command and your instance is running successfully.
root@linuxhelp:/home/user1# omd start monitoring
Starting rrdcached...OK
Starting npcd...OK
Starting nagios...OK
Starting dedicated Apache for site monitoring...OK
Initializing Crontab...OK
Now open the web browser and navigate to http://192.168.7.248/monitoring and enter it. An authentication page is displayed, enter the default login credentials for OMD.
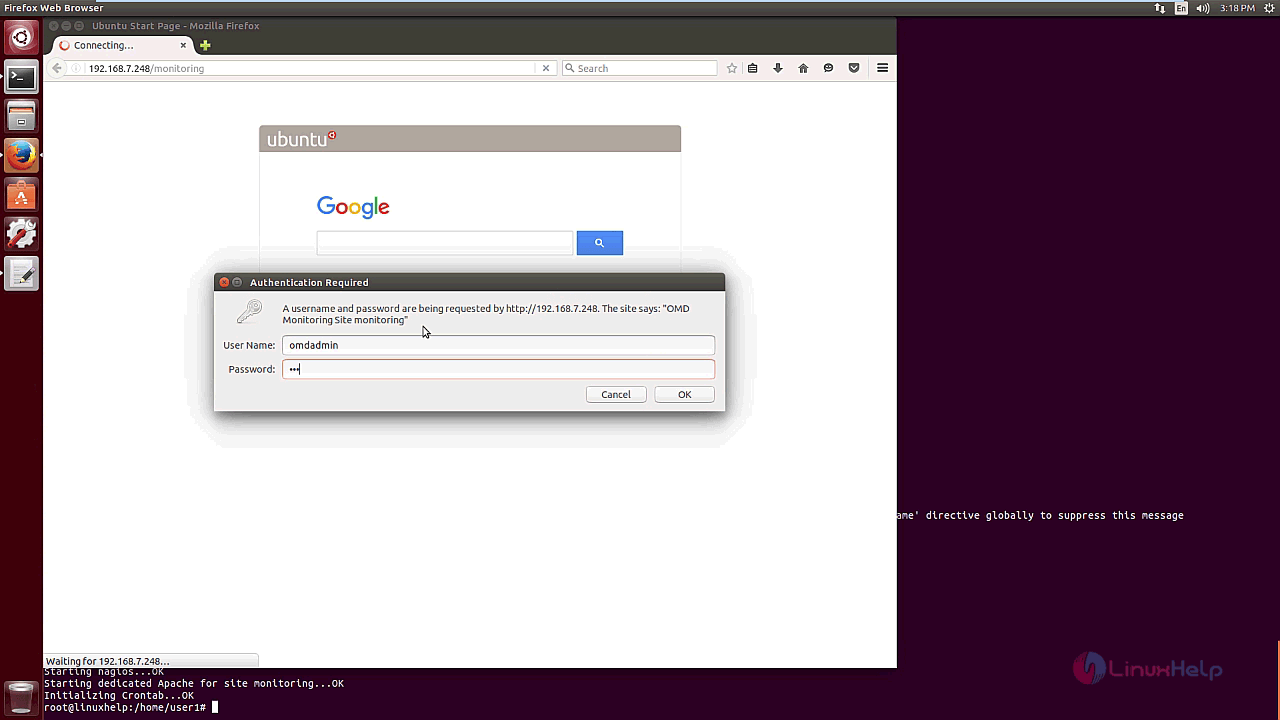
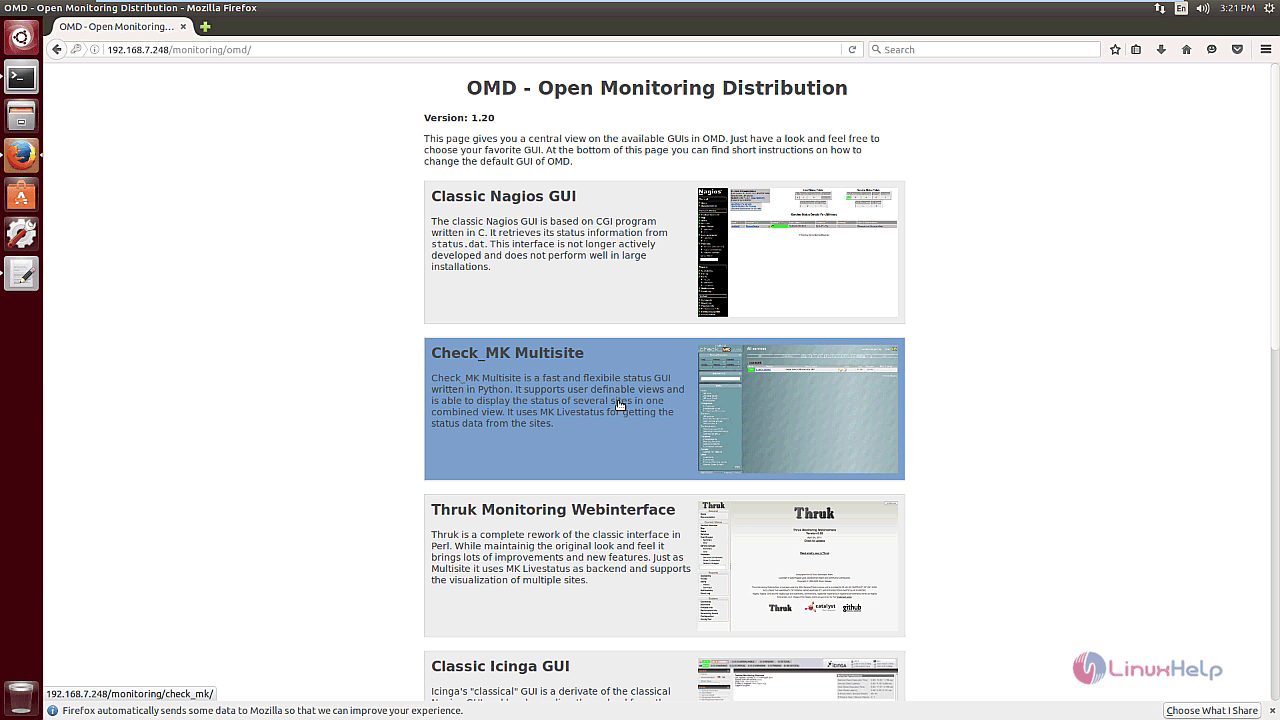
A list of GUI is shown. Select your favourite GUI and continue with the next pages.
To monitor the host agent, download and install the check_mk agent package by executing the wget command.
root@linuxhelp:/home/user1# wget http://mathias-kettner.de/download/check-mk-agent_1.2.4p5-2_all.deb
--2017-07-18 15:22:22--  http://mathias-kettner.de/download/check-mk-agent_1.2.4p5-2_all.deb
Resolving mathias-kettner.de (mathias-kettner.de)... 178.248.246.154
Connecting to mathias-kettner.de (mathias-kettner.de)|178.248.246.154|:80... connected.
HTTP request sent, awaiting response... 200 OK
Length: 118126 (115K) [application/x-debian-package]
Saving to: ‘ check-mk-agent_1.2.4p5-2_all.deb’
100%[===================================================================================================================================================================> ] 1,18,126    --.-K/s   in 0.005s
2017-07-18 15:22:23 (23.1 MB/s) - ‘ check-mk-agent_1.2.4p5-2_all.deb’  saved [118126/118126]
After downloadind the check_mk package, Use dpkg command to install the package.
root@linuxhelp:/home/user1# dpkg -i check-mk-agent_1.2.4p5-2_all.deb
Selecting previously unselected package check-mk-agent.
(Reading database ... 194542 files and directories currently installed.)
Preparing to unpack check-mk-agent_1.2.4p5-2_all.deb ...
Unpacking check-mk-agent (1.2.4p5-2) ...
Setting up check-mk-agent (1.2.4p5-2) ...
Reloading xinetd...
Restricting Access to Monitoring Data from other machines
Edit the check_mk file by using the nano editor and run the following line.
root@linuxhelp:/home/user1# nano /etc/xinetd.d/check_mk
Move the following lines in the file. Save and exit from the file.
# configure the IP address(es) of your Nagios server here:
#only_from      = 127.0.0.1 10.0.20.1 10.0.20.2
Enable the only_from option and add only the loopback address
# configure the IP address(es) of your Nagios server here:
only_from      = 127.0.0.1
Now restart the xinetd service by executing the following command.
root@linuxhelp:/home/user1# service xinetd restart
xinetd stop/waiting
xinetd start/running, process 12702
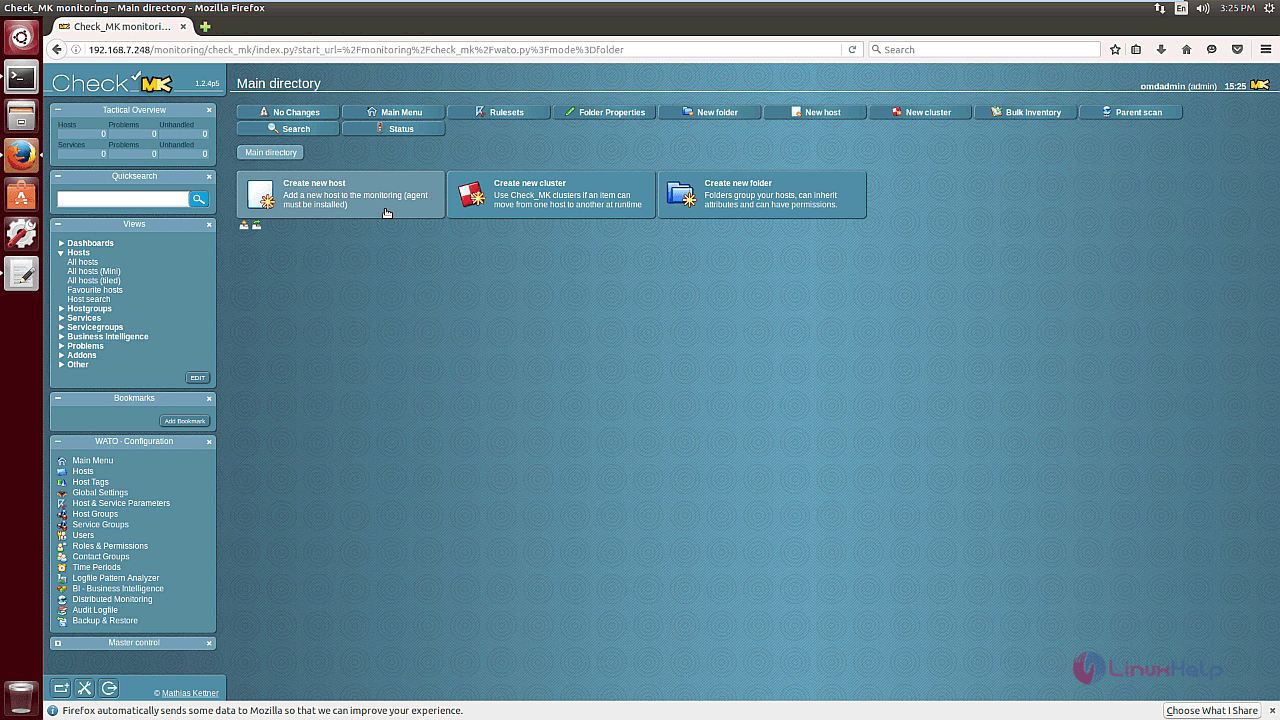
Create a new host in the check_mk monitoring service by selecting the option.
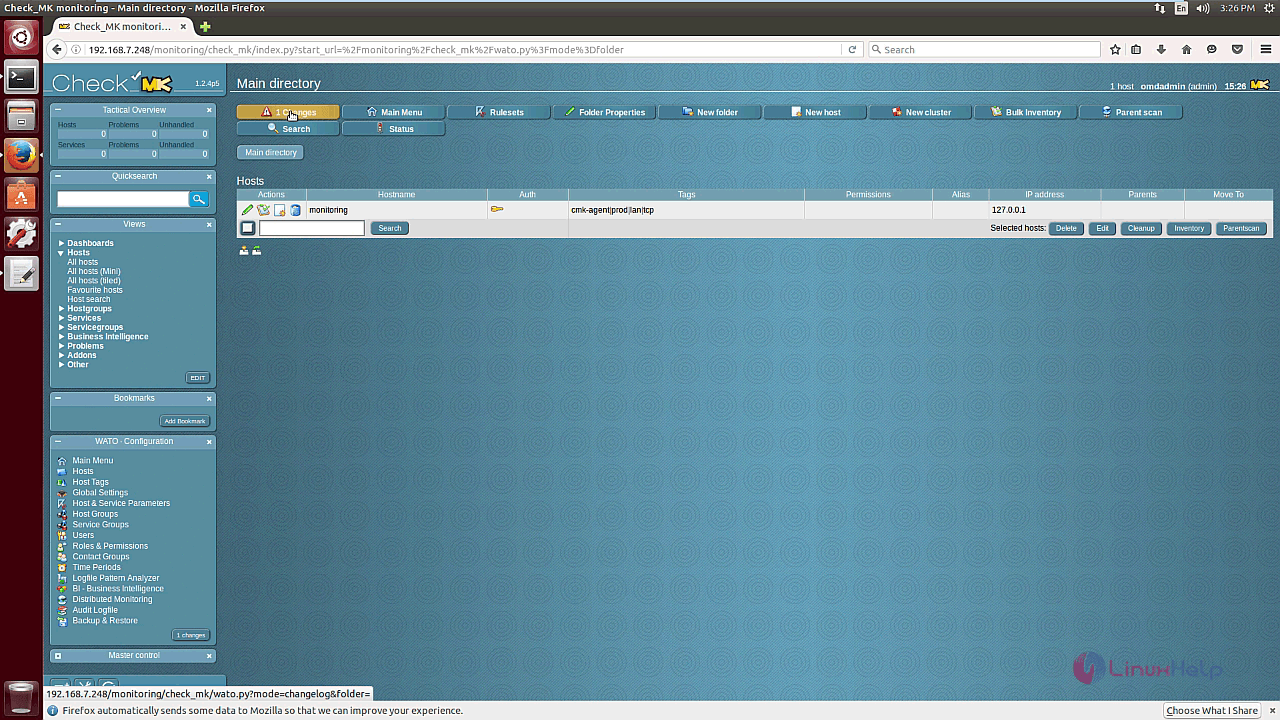
Enter the hostname and IP address of the new host.

A list of available services of host monitoring is shown below.

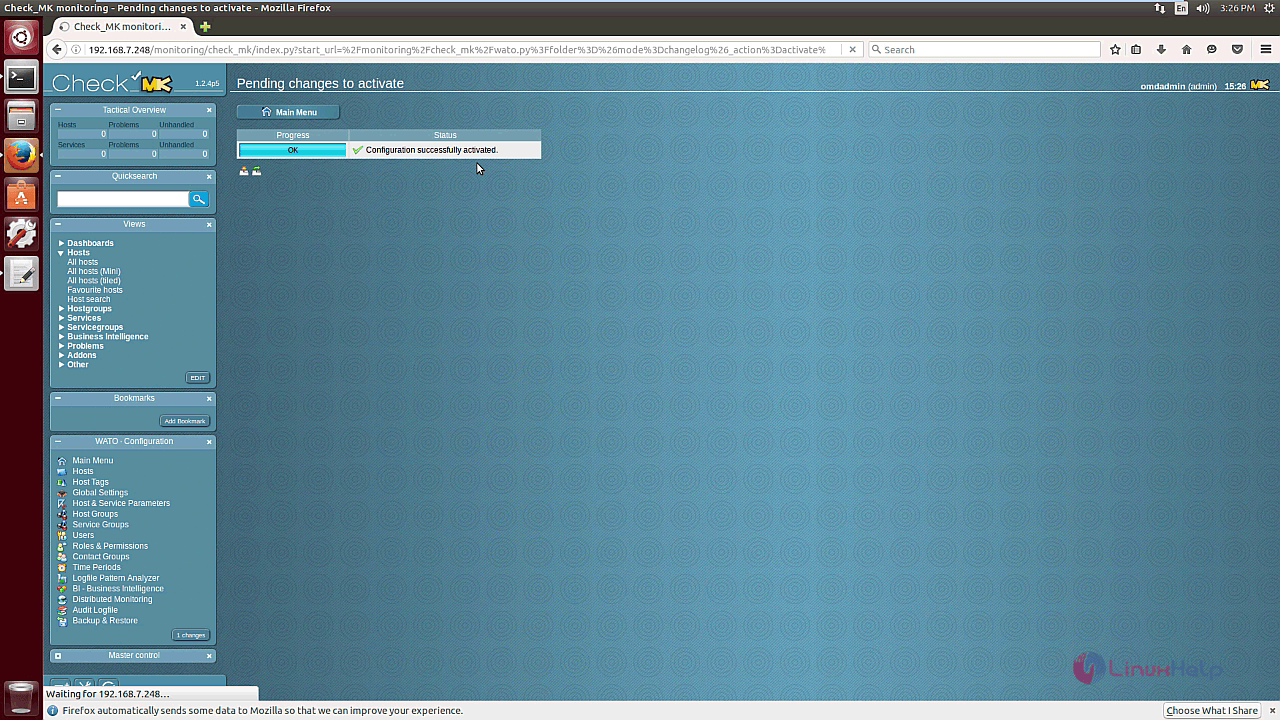
Click the changes to apply and the running service is shown.
The changes are activated and the configuration is also successfully activated.
Now add a CentOS client. Also add SSH of the CentOS machine. Download and install the check_mk-agent package using the wget command.
[root@client1 ~]# wget http://mathias-kettner.de/download/check_mk-agent-1.2.4p5-1.noarch.rpm
--2017-06-14 22:28:30--  http://mathias-kettner.de/download/check_mk-agent-1.2.4p5-1.noarch.rpm
Resolving mathias-kettner.de... 178.248.246.154
Connecting to mathias-kettner.de|178.248.246.154|:80... connected.
HTTP request sent, awaiting response... 200 OK
Length: 118968 (116K) [application/x-redhat-package-manager]
Saving to: `check_mk-agent-1.2.4p5-1.noarch.rpm'
100%[======================================> ] 1,18,968    --.-K/s   in 0.002s
2017-06-14 22:28:34 (52.3 MB/s) - `check_mk-agent-1.2.4p5-1.noarch.rpm'  saved [118968/118968]
Use the yum command to install the required package.
[root@client1 ~]# yum install check_mk-agent-1.2.4p5-1.noarch.rpm
Loaded plugins: fastestmirror
Setting up Install Process
Examining check_mk-agent-1.2.4p5-1.noarch.rpm: check_mk-agent-1.2.4p5-1.noarch
&hellip
&hellip
&hellip
Dependency Installed:
  xinetd.x86_64 2:2.3.14-40.el6
Complete!
Edit the check_mk file using the vi editor.
[root@client1 ~]# vi /etc/xinetd.d/check_mk
Enter the following lines in the file. Save and exit from the file.
# configure the IP address(es) of your Nagios server here:
#only_from      = 127.0.0.1 10.0.20.1 10.0.20.2
Enable the only_from option and add the OMD monitoring machine IP.
# configure the IP address(es) of your Nagios server here:
only_from      = 192.168.7.248
Restart the xinetd service by running the following command.
[root@client1 ~]# service xinetd restart
Stopping xinetd:                                           [  OK  ]
Starting xinetd:                                           [  OK  ]
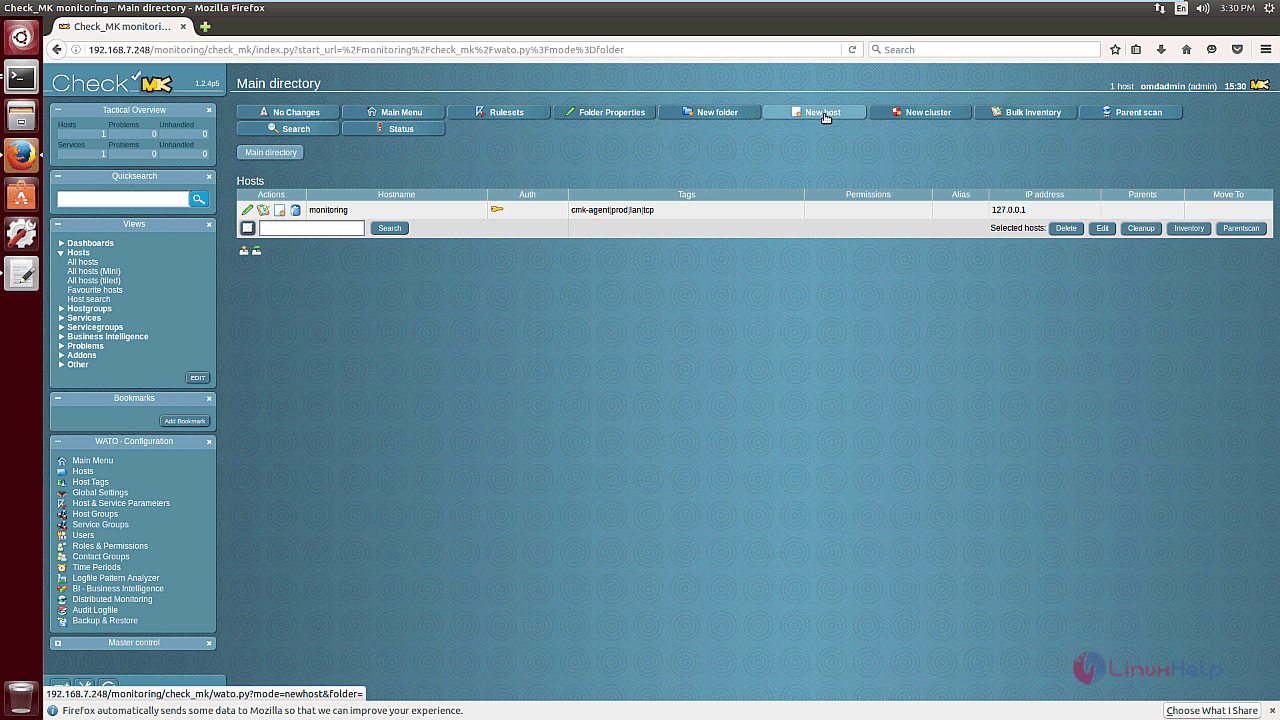
Now add a new CentOS host in the main directory of check_mk.
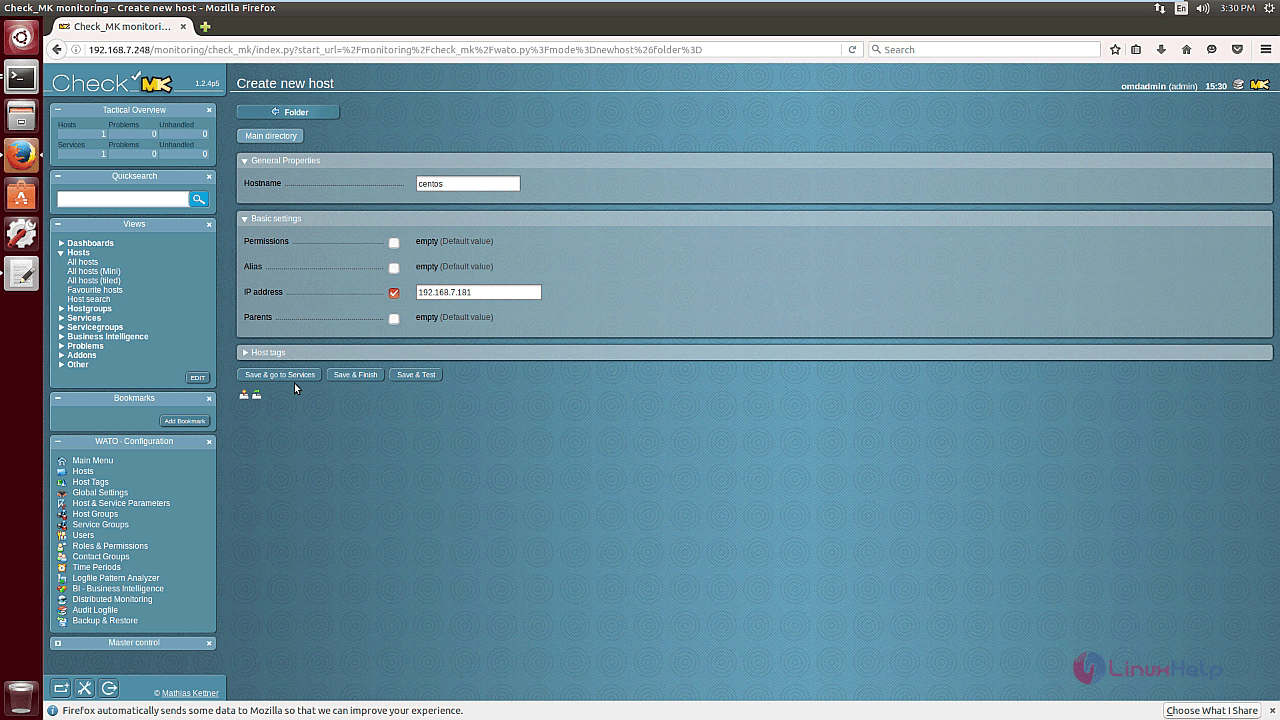
Enter the hostname and IP address of the new CentOS host.
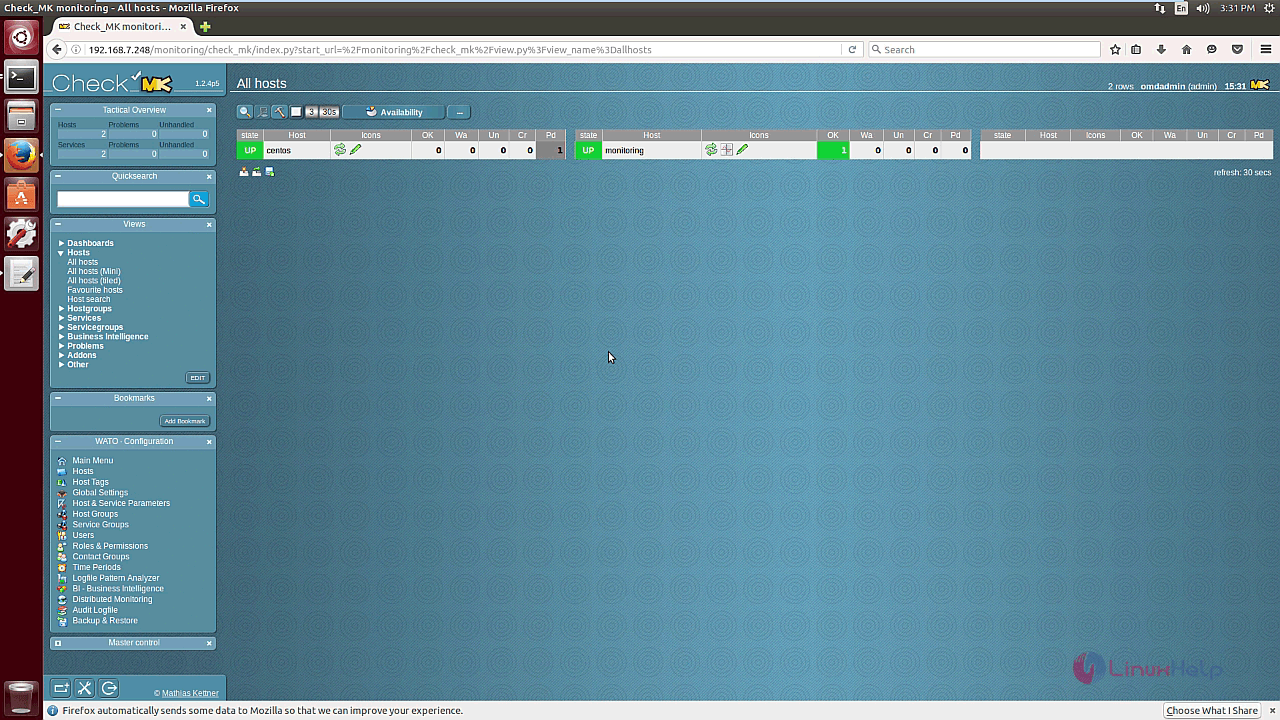
After configuration process is done, the CentOS host is added successfully to the directory.
That is all. That was an easy installation procedure, Wasn' t it? OMD supports multiple instances per host.
Comments ( 0 )
No comments available