How to install YetiForce CRM on Ubuntu 16.04
To install YetiForce CRM on Ubuntu 16.04
In our preceding tutorial, we have seen the installation procedure of Yetiforce CRM on CentOS 7. In this tutorial, we will be briefed about the installation procedure of YetiForce CRM on Ubuntu 16.04. YetiForce CRM is an open-source CRM system that helps the users to manage relations with customers, suppliers, partners and staffs. It contains a plethora of features such as 70+ user modules and configuration panels, Email automation and tracking, built-in notification by email, invoicing, cloud based hosting and time control.
Pre- Requisite
LAMP (Apache, PHP 7, MySQL)
MySQL (create database, user and provide privileges to user)
PHP modules (php70w-mysql php70w-curl php70w-json php70w-cgi php70w php70w-mcrypt php70w-xmlrpc php70w-gd)
Installation procedure
To proceed with the installation procedure, enter into HTML location by running the cd command.
root@linuxhelp11:~# cd /var/www/html/
Download the YetiForce CRM package using wget command followed by the download link.
root@linuxhelp11:/var/www/html# wget https://github.com/YetiForceCompany/YetiForceCRM/archive/3.1.0.zip
--2017-10-24 00:28:47--  https://github.com/YetiForceCompany/YetiForceCRM/archive/3.1.0.zip
Resolving github.com (github.com)... 192.30.255.112, 192.30.255.113
Connecting to github.com (github.com)|192.30.255.112|:443... connected.
HTTP request sent, awaiting response... 302 Found
Location: https://codeload.github.com/YetiForceCompany/YetiForceCRM/zip/3.1.0 [following]
--2017-10-24 00:28:48--  https://codeload.github.com/YetiForceCompany/YetiForceCRM/zip/3.1.0
Resolving codeload.github.com (codeload.github.com)... 192.30.255.120, 192.30.255.121
Connecting to codeload.github.com (codeload.github.com)|192.30.255.120|:443... connected.
HTTP request sent, awaiting response... 200 OK
Length: unspecified [application/zip]
Saving to: ‘ 3.1.0.zip’

3.1.0.zip               [            < =>      ]  50.30M   581KB/s    in 76s

2017-10-24 00:30:06 (675 KB/s) - ‘ 3.1.0.zip’  saved [52741675]
Extract the downloaded package using unzip command.
root@linuxhelp11:/var/www/html# unzip 3.1.0.zip -d /var/www/html/
Archive:  3.1.0.zip
3d3e15cfa012808808b3c8b8bafa7eacdbc3cc68
   creating: /var/www/html/YetiForceCRM-3.1.0/
  inflating: /var/www/html/YetiForceCRM-3.1.0/.gitattributes
  inflating: /var/www/html/YetiForceCRM-3.1.0/.gitignore
  inflating: /var/www/html/YetiForceCRM-3.1.0/.htaccess
  inflating: /var/www/html/YetiForceCRM-3.1.0/README.md
   creating: /var/www/html/YetiForceCRM-3.1.0/admin/
   creating: /var/www/html/YetiForceCRM-3.1.0/admin/cache/
   creating: /var/www/html/YetiForceCRM-3.1.0/admin/cache/logs/
  inflating: /var/www/html/YetiForceCRM-3.1.0/admin/cache/logs/.htaccess
   creating: /var/www/html/YetiForceCRM-3.1.0/admin/cache/session/
.
.
  creating: /var/www/html/YetiForceCRM-3.1.0/vtlib/tools/
  inflating: /var/www/html/YetiForceCRM-3.1.0/vtlib/tools/console.php
  inflating: /var/www/html/YetiForceCRM-3.1.0/vtlib/vtlib-Copyright.txt
  inflating: /var/www/html/YetiForceCRM-3.1.0/webservice.php
Rename the extracted directory to yetiforce.
root@linuxhelp11:/var/www/html# mv YetiForceCRM-3.1.0 yetiforce
Next change the ownership of file in HTML location by executing the following command.
root@linuxhelp11:/var/www/html# chown -R www-data:www-data /var/www/html/yetiforce/
Create the virtual host configuration file for YetiForce using nano editor and enter the following content in the file. Save and exit the file.
root@linuxhelp11:/var/www/html# nano /etc/apache2/sites-available/yetiforce.conf

< VirtualHost *:80>
ServerAdmin admin@yeti.abc
DocumentRoot /var/www/html/yetiforce/
ServerName yeti.abc
ServerAlias www.yeti.abc
< Directory /var/www/html/yetiforce/>
Options FollowSymLinks
AllowOverride All
Order allow,deny
allow from all
< /Directory>
ErrorLog /var/log/apache2/yeti.abc-error_log
CustomLog /var/log/apache2/yeti.abc-access_log common
< /VirtualHost>
Create the entry in hosts file and enter the following content in the file. Save and exit the file.
root@linuxhelp11:/var/www/html# nano /etc/hosts
192.168.7.240  yeti.abc
Restart the Apache service.
root@linuxhelp11:/var/www/html# systemctl restart apache2.service
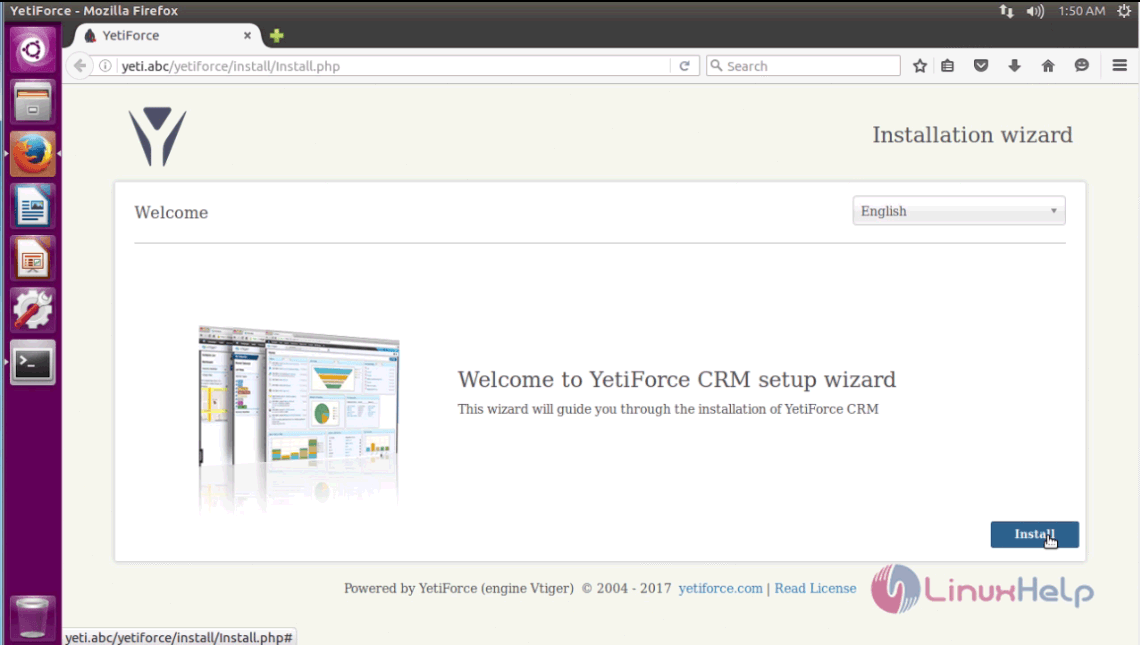
Switch over to the browser and enter the URL as yeti.abc. The installation wizard of YetiForce CRM appears on the screen. Select the required language and press Install option to start the installation wizard.
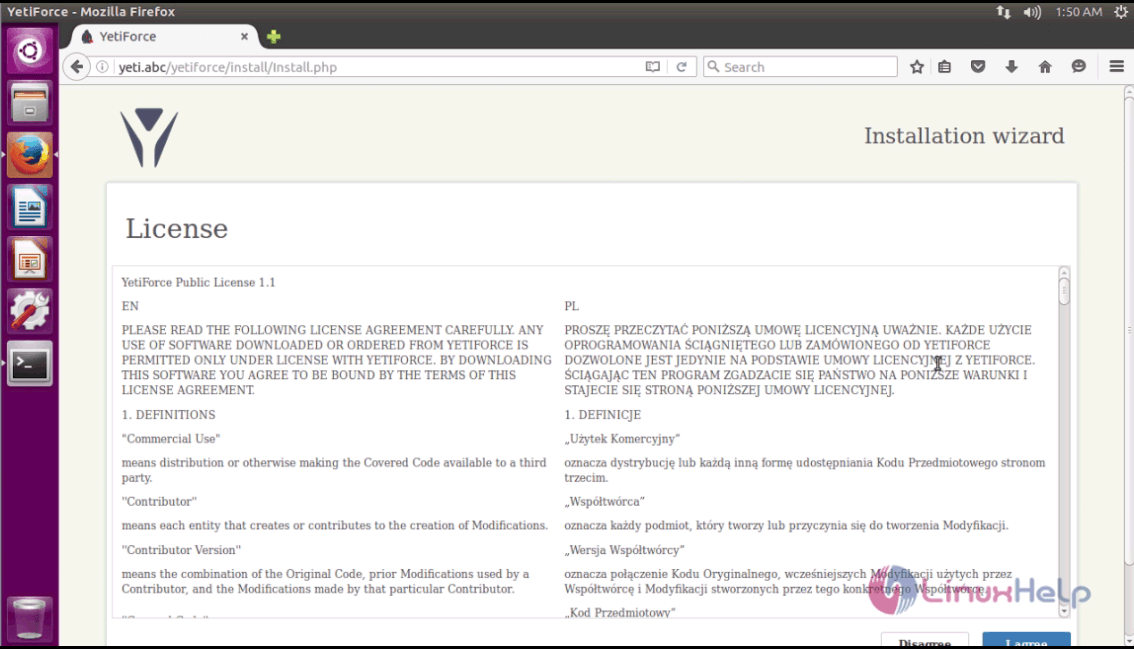
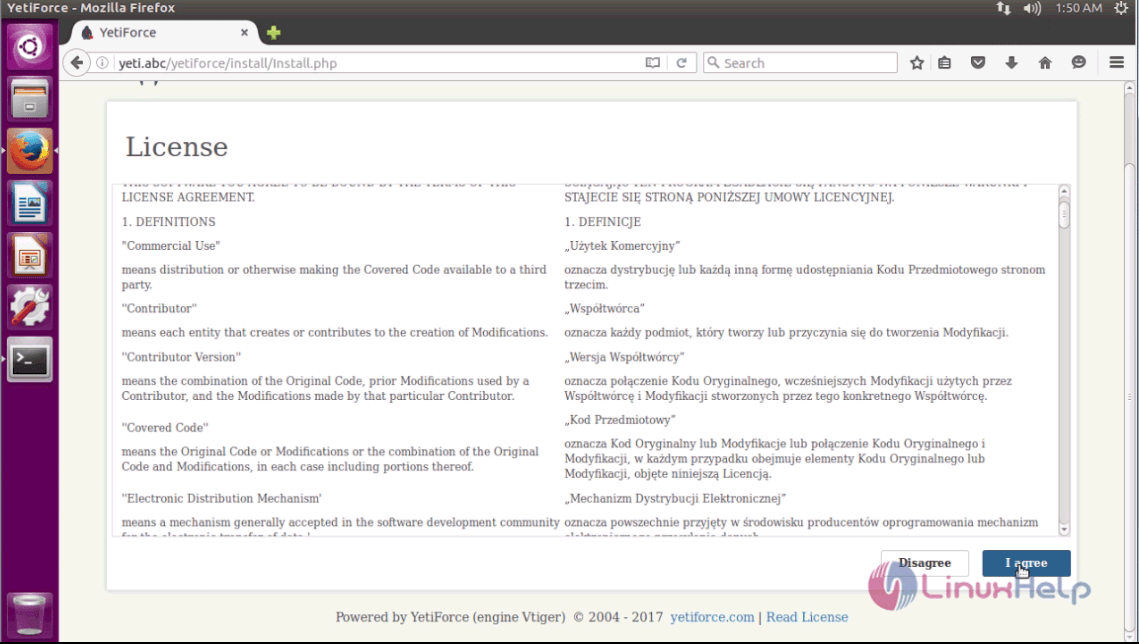
The License agreement of YetiForce is displayed on the screen. Click " I Agree" option to navigate to next step of installation.
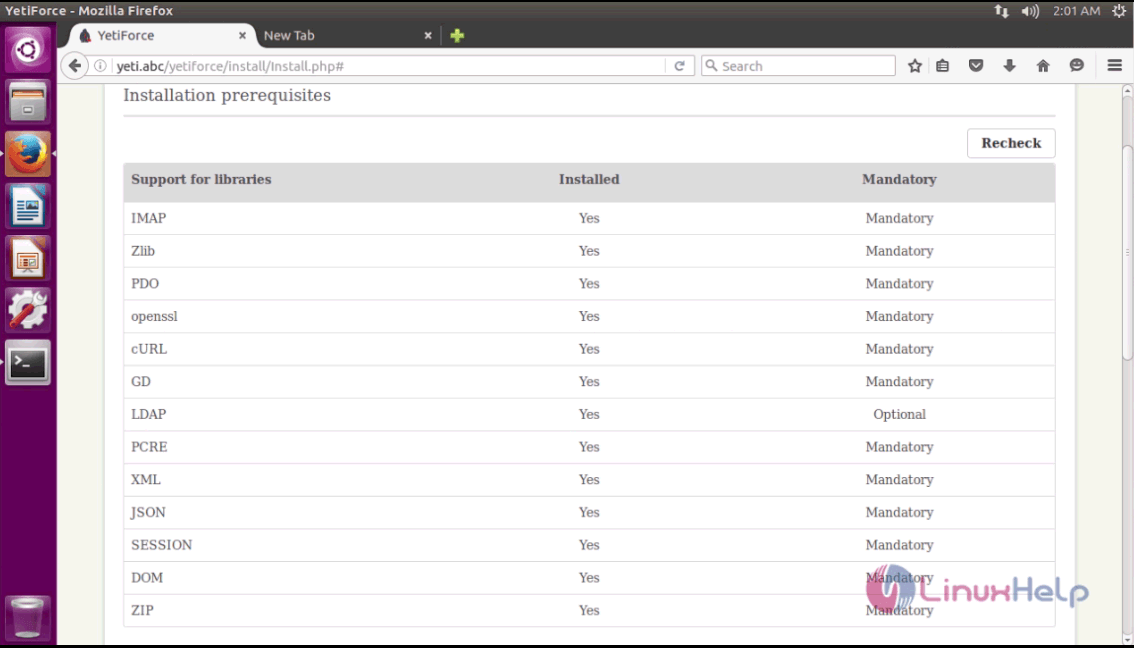
The next page show the list of system pre-requirement before installation, click Next to continue with the installation.
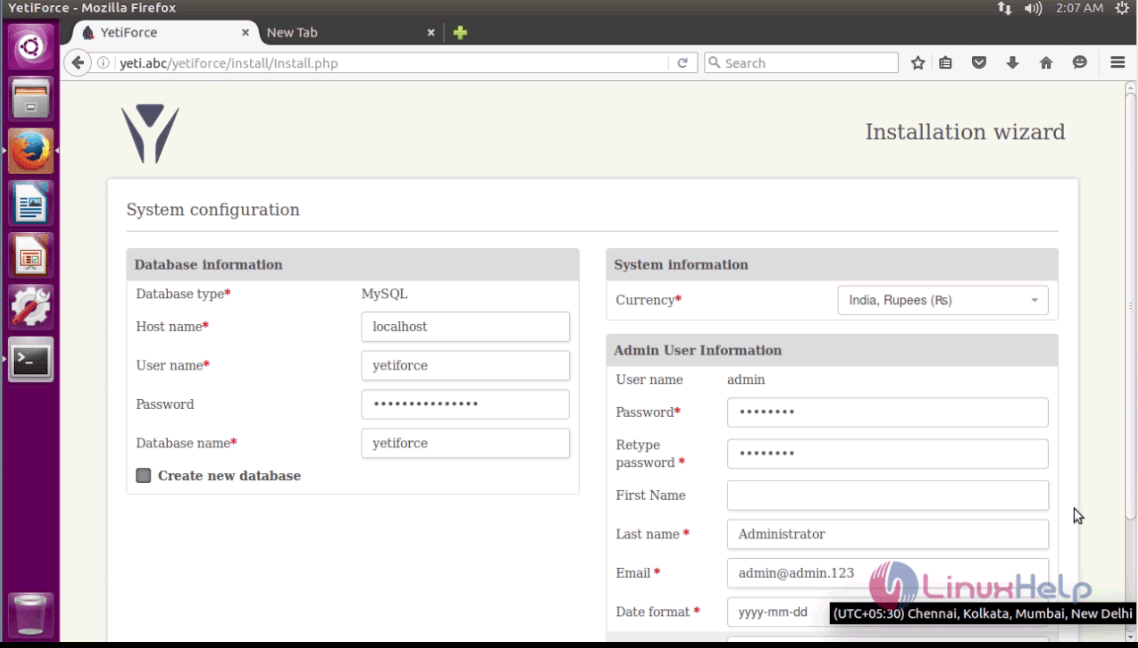
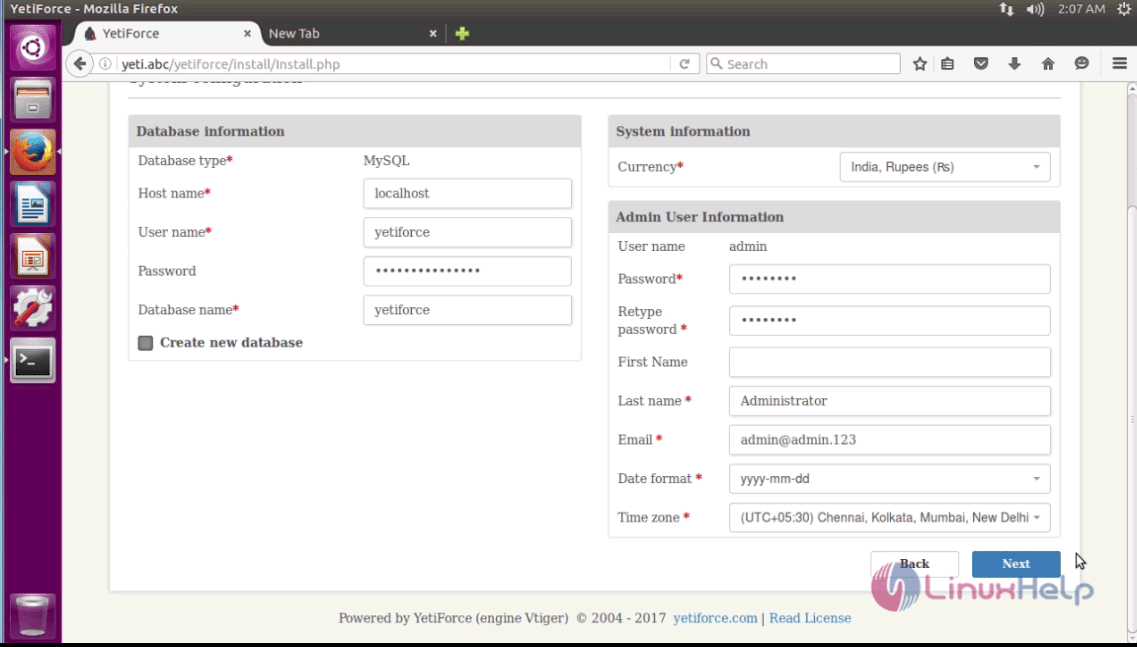
Enter the required database information and the admin user information. Click Next to save the changes and continue with the installation.
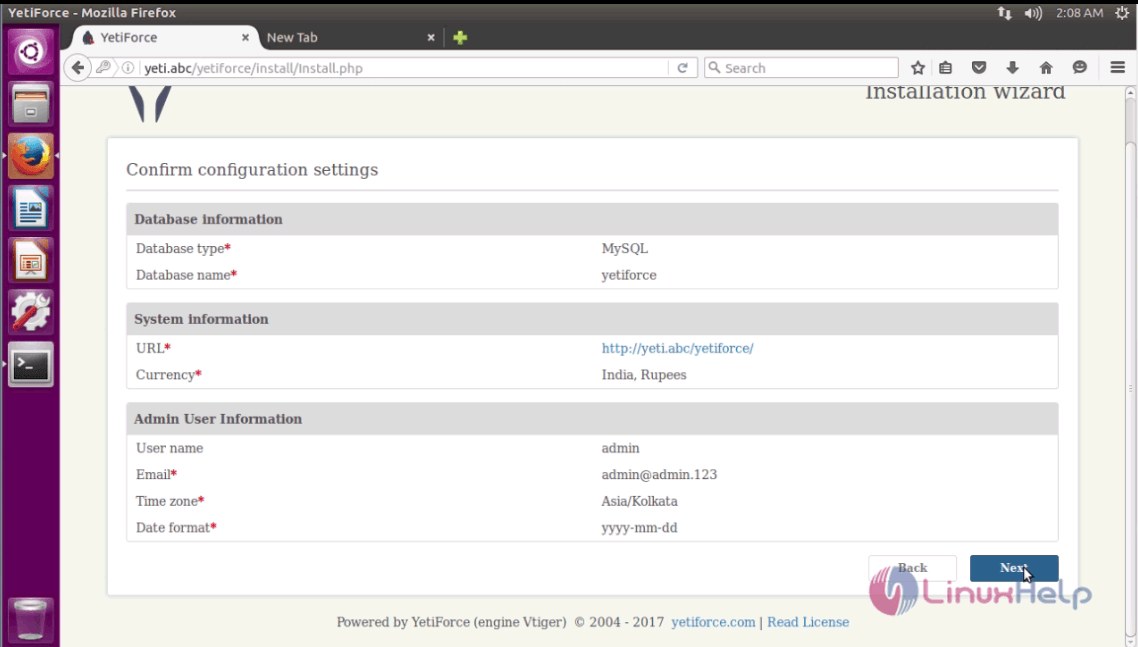
Before starting the installation, the installation wizard shows the user a summary of configuration settings to check it. If everything checks out, click Next option.
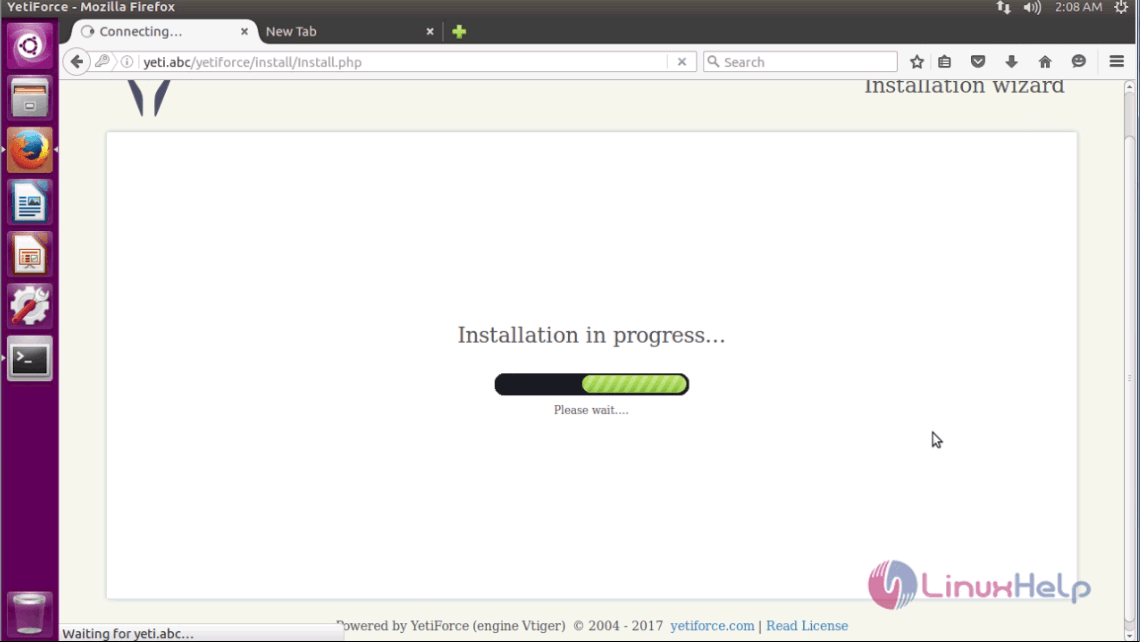
The installation is in progress and the user has to wait for some time.
The installation is complete. Now the admin page of YetiForce CRM is shown below.
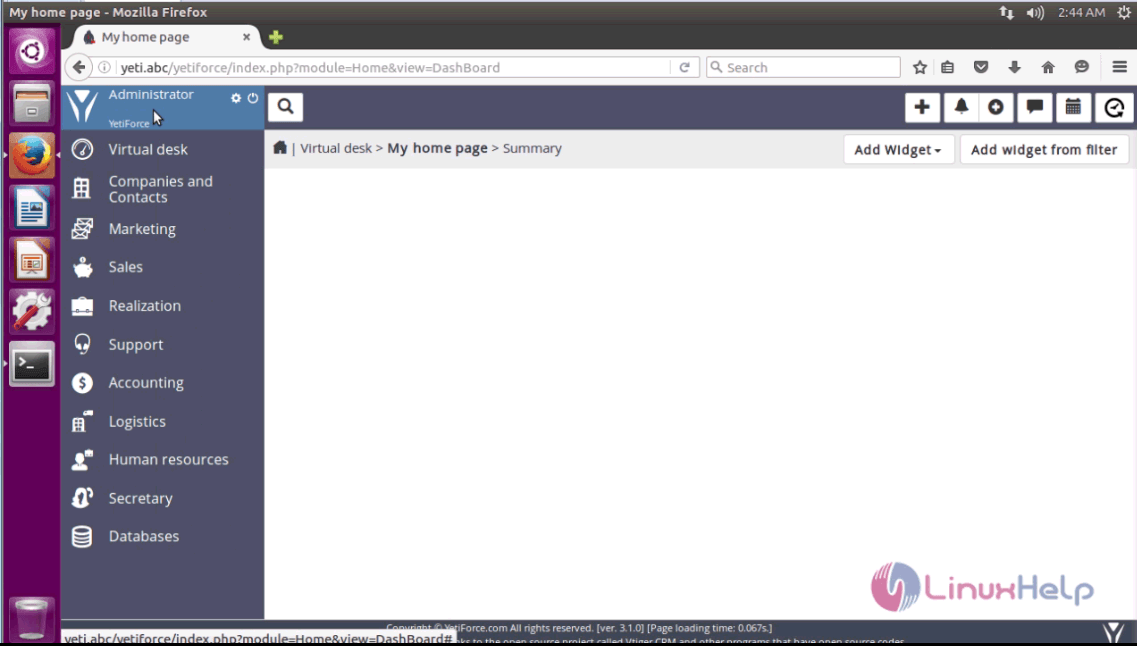
This concludes the installation procedure of YetiForce CRM on Ubuntu 16.04.
Comments ( 1 )