How to install Yetiforce CRM on linux mint 18.3
To install Yetiforce CRM on Linux Mint 18.3
YetiForce CRM is an open-source CRM system that helps the users to manage relations with customers, suppliers, partners, and staffs. It contains a wide range of features such as 70+ user modules and configuration panels, Email automation and tracking, built-in notification by email, invoicing, cloud-based hosting and time control. It is so simple to install Yetiforce CRM on Linux Mint 18.3 and this tutorial covers the ground on the same process.
Installing Yetiforce
Make sure you have LAMP stack installed on your machine before proceeding with the installation
To proceed with the installation process, install the latest stable version of YetiForce CMS by running the wget command on the HTML root directory.
linuxhelp ~ # cd /var/www/html
linuxhelp  html  # wget https://github.com/YetiForceCompany/YetiForceCRM/archive/3.1.0.zip
--2018-03-07 01:46:32--  https://github.com/YetiForceCompany/YetiForceCRM/archive/3.1.0.zip
Resolving github.com (github.com)... 192.30.253.112, 192.30.253.113
Connecting to github.com (github.com)|192.30.253.112|:443... connected.
HTTP request sent, awaiting response... 302 Found
Location: https://codeload.github.com/YetiForceCompany/YetiForceCRM/zip/3.1.0 [following]
--2018-03-07 01:46:33--  https://codeload.github.com/YetiForceCompany/YetiForceCRM/zip/3.1.0
Resolving codeload.github.com (codeload.github.com)... 192.30.255.121, 192.30.255.120
Connecting to codeload.github.com (codeload.github.com)|192.30.255.121|:443... connected.
HTTP request sent, awaiting response... 200 OK
Length: unspecified [application/zip]
Saving to: ‘ 3.1.0.zip’
After downloading extract the package.
linuxhelp  html  # unzip 3.1.0.zip
Archive:  3.1.0.zip
3d3e15cfa012808808b3c8b8bafa7eacdbc3cc68
   creating: /var/www/html/YetiForceCRM-3.1.0/
  inflating: /var/www/html/YetiForceCRM-3.1.0/.gitattributes
.
.
  inflating: /var/www/html/YetiForceCRM-3.1.0/vtlib/tools/console.php
  inflating: /var/www/html/YetiForceCRM-3.1.0/vtlib/vtlib-Copyright.txt
  inflating: /var/www/html/YetiForceCRM-3.1.0/webservice.php
linuxhelp html # ls
3.1.0.zip  index.html  YetiForceCRM-3.1.0
Rename the extracted directory to yetiforce or any other name as per your convenience.
linuxhelp html # mv YetiForceCRM-3.1.0/ yetiforce
Provide the appropriate owner permission and file execution permission by executing the following set of commands.
linuxhelp html # chown -R www-data:www-data /var/www/html/
Create an Apache Configuration file named yetiforcec.conf and enter the following content in the file.
linuxhelp html # vim /etc/apache2/sites-available/yetiforec.conf
< VirtualHost *:80>
ServerAdmin admin@yeti.abc
DocumentRoot /var/www/html/yetiforce/
ServerName yeti.abc
ServerAlias www.yeti.abc
< Directory /var/www/html/yetiforce/>
Options FollowSymLinks
AllowOverride All
Order allow,deny
allow from all
< /Directory>
ErrorLog /var/log/apache2/yeti.abc-error_log
CustomLog /var/log/apache2/yeti.abc-access_log common
< /VirtualHost>
Create the entry in the hosts file.
linuxhelp html # vim /etc/hosts
192.168.7.232   yeti.abc        yetiforce
linuxhelp html # hostnamectl set-hostname yetiforce
linuxhelp html # hostname -f
yeti.abc
And then we have to secure the MariaDB database.
linuxhelp html # mysql_secure_installation
Securing the MySQL server deployment.

Enter password for user root:

VALIDATE PASSWORD PLUGIN can be used to test passwords
and improve security. It checks the strength of password
and allows the users to set only those passwords which are
secure enough. Would you like to setup VALIDATE PASSWORD plugin?

Press y|Y for Yes, any other key for No: n
Using existing password for root.
Change the password for root ? ((Press y|Y for Yes, any other key for No) : n

 ... skipping.
By default, a MySQL installation has an anonymous user,
allowing anyone to log into MySQL without having to have
a user account created for them. This is intended only for
testing, and to make the installation go a bit smoother.
You should remove them before moving into a production
environment.

Remove anonymous users? (Press y|Y for Yes, any other key for No) : y
Success.

Normally, root should only be allowed to connect from
' localhost' . This ensures that someone cannot guess at
the root password from the network.

Disallow root login remotely? (Press y|Y for Yes, any other key for No) : y
Success.

By default, MySQL comes with a database named ' test'  that
anyone can access. This is also intended only for testing,
and should be removed before moving into a production
environment.

Remove test database and access to it? (Press y|Y for Yes, any other key for No) : y
 - Dropping test database...
Success.

 - Removing privileges on test database...
Success.

Reloading the privilege tables will ensure that all changes
made so far will take effect immediately.

Reload privilege tables now? (Press y|Y for Yes, any other key for No) : y
Success.

All done!
We have to create a database now.
linuxhelp html # mysql -u root -p
Enter password:
Welcome to the MySQL monitor.  Commands end with   or g.
Your MySQL connection id is 6
Server version: 5.7.21-0ubuntu0.16.04.1 (Ubuntu)

Copyright (c) 2000, 2018, Oracle and/or its affiliates. All rights reserved.

Oracle is a registered trademark of Oracle Corporation and/or its
affiliates. Other names may be trademarks of their respective
owners.

Type ' help '  or ' h'  for help. Type ' c'  to clear the current input statement.

mysql>  CREATE DATABASE yetiforce
Query OK, 1 row affected (0.00 sec)

mysql>  GRANT ALL PRIVILEGES ON yetiforce.* TO ' yetiforce' @' localhost'  IDENTIFIED BY ' strong_password'
Query OK, 0 rows affected, 1 warning (0.00 sec)

mysql>  FLUSH PRIVILEGES
Query OK, 0 rows affected (0.00 sec)

mysql>  q
Bye
After that, Restart the apache service to make changes effect.
linuxhelp html # systemctl restart apache2
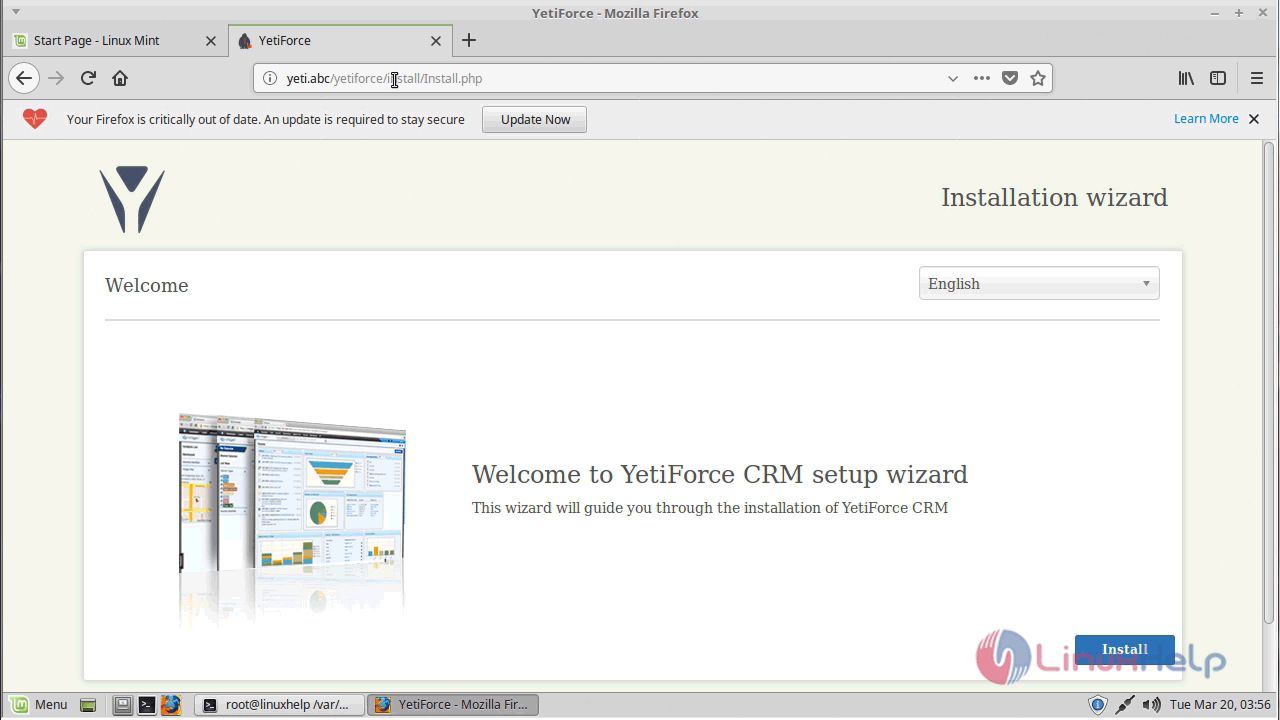
Switch over to the browser and enter the URL as http://yourdomain/yetiforce. The installer page of YetiForce CRM appears on the browser. Click Install option to start the installation.
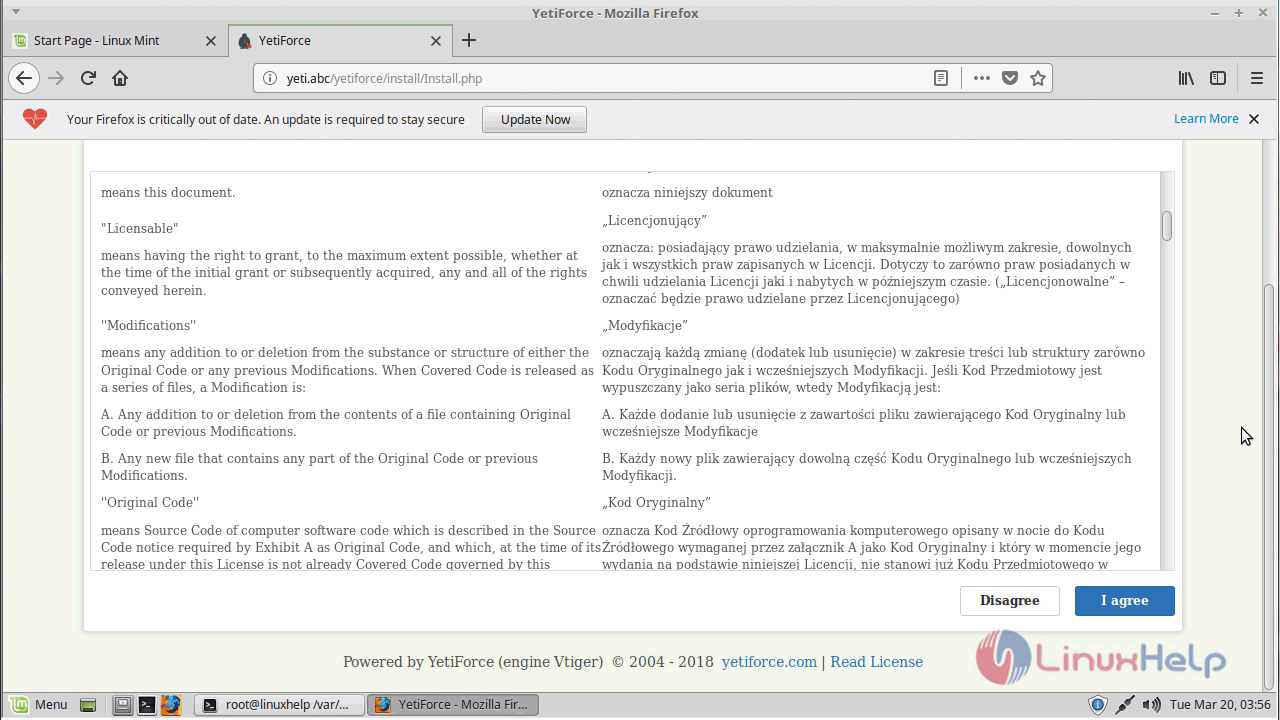
Click I agree, the option to accept the License agreement of YetiForce CRM.
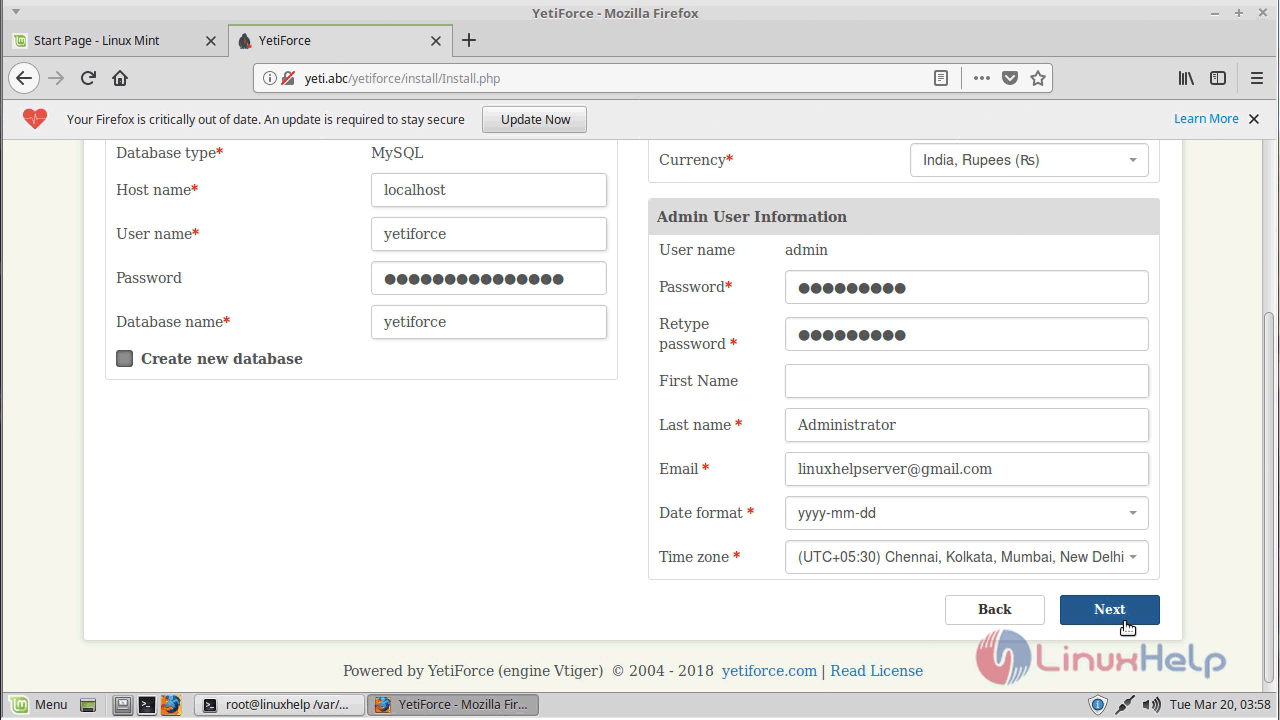
Enter the required database information and the admin user information. Click Next to save the changes and continue with the installation.
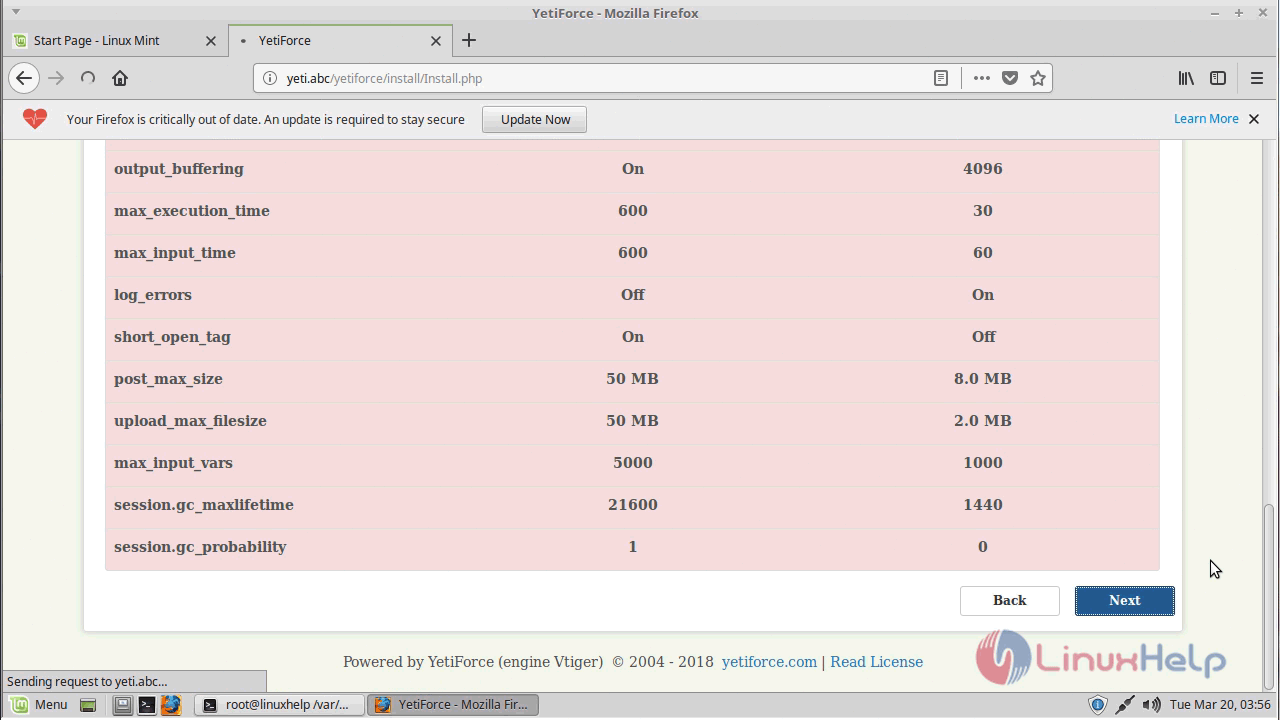
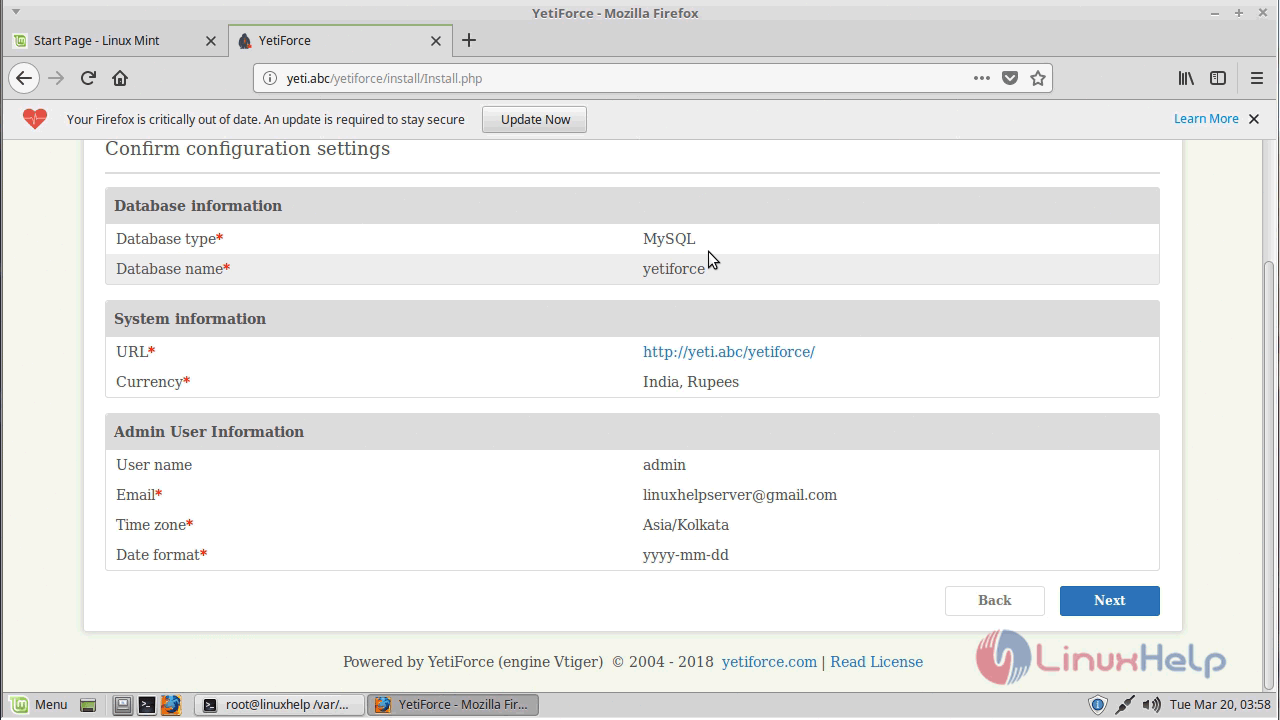
Before starting the installation, the installation wizard shows the user a summary of configuration settings to check it. If everything checks out, click Next option.
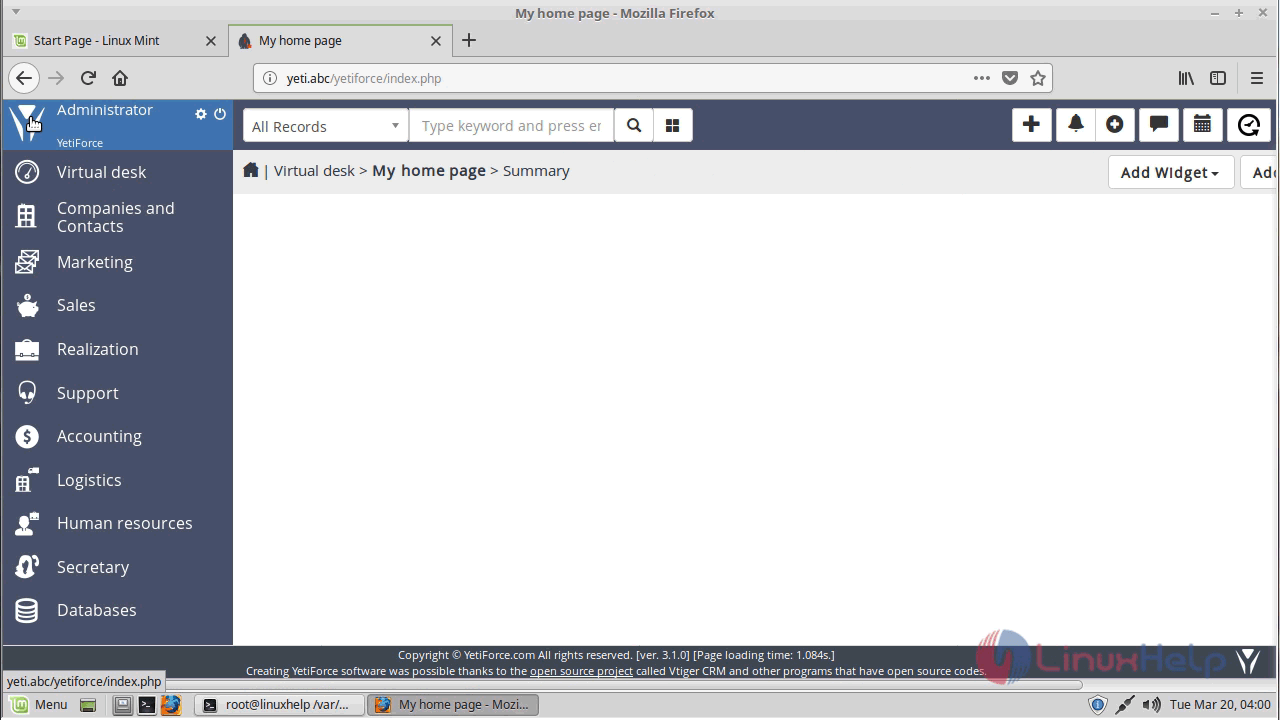
With this, the method to install Yetiforce CRM on Linux Mint 18.3 comes to an end.
Comments ( 0 )
No comments available