How to install Website Baker in Ubuntu 16.04
To install WebsiteBaker in Ubuntu 16.04
WebsiteBaker is an open source content management system (CMS) tool built based on PHP. It is designed with an easy-to-use interface and uses a database for data storage. It also has a template based front-end and multi-user administration with privilege levels. So, creating a web content with the help of Website Baker is an easy task. It is so simple to install Website Baker and this tutorial covers the ground on the method to install Website Baker on Ubuntu 16.04.
For installing Website baker, you need to have the LAMP stack installed in your system. So make sure you have it installed, and then proceed with the Website Baker installation process.
Installing WebsiteBaker
Since Website Baker requires a proper database, you should configure your MySQL database and for that, you need to get into your MySQL database, by running the following command. Once you are inside, you shall make the necessary settings as follows.
root@test:/home/user1# mysql -u root -p
Enter password:
Welcome to the MySQL monitor. Commands end with   or g.
Your MySQL connection id is 4
Server version: 5.7.20-0ubuntu0.16.04.1 (Ubuntu)
Copyright (c) 2000, 2017, Oracle and/or its affiliates. All rights reserved.
Oracle is a registered trademark of Oracle Corporation and/or its
affiliates. Other names may be trademarks of their respective
owners.
Type ' help '  or ' h'  for help. Type ' c'  to clear the current input statement.
mysql>  create database wbaker
Query OK, 1 row affected (0.00 sec)
mysql>  create user ' wbuser' @' localhost'  identified by ' password'
Query OK, 0 rows affected (0.01 sec)
mysql>  grant all privileges on wbaker.* to ' wbuser' @' localhost'
Query OK, 0 rows affected (0.00 sec)
mysql>  flush privileges
Query OK, 0 rows affected (0.00 sec)
mysql>  exit
Bye
Once the database is configured, you shall begin the download process of download Website Baker. You can download the installation package from the following link : https://wiki.websitebaker.org/doku.php/en/downloads.
After downloading the package, you should change the directory to Downloads as follows.
root@test:/home/user1# cd Downloads/
root@test:/home/user1/Downloads# unzip wb-2.10.0-67-20170304.zip
Archive: wb-2.10.0-67-20170304.zip
creating: account/
inflating: account/details.php
inflating: account/email.php
&hellip
&hellip
&hellip
inflating: /var/www/html/wbaker/upgrade-script.php
creating: /var/www/html/wbaker/var/
creating: /var/www/html/wbaker/var/logs/
extracting: /var/www/html/wbaker/var/logs/PLACEHOLDER
And after that, you should change the ownership for the wbaker directory. Run the following command for the same purpose.
root@test:/home/user1/Downloads# chown -R www-data.www-data /var/www/html/wbaker
Later, change the directory to wbaker, and rename the config.php.new to config.php. You should also remove the upgrade-script.php file, and all these actions can be executed by running the following commands.
root@test:/home/user1/Downloads# cd /var/www/html/wbaker/
root@test:/var/www/html/wbaker# mv config.php.new config.php
root@test:/var/www/html/wbaker# rm upgrade-script.php
Once it is done, you shall not forget to configure the Apache VirtualHost for wbaker. First, you shall open the .conf file for the
root@test:/var/www/html/wbaker# touch /etc/apache2/sites-available/wbaker.conf
root@test:/var/www/html/wbaker# ln -s /etc/apache2/sites-available/wbaker.conf /etc/apache2/sites-enabled/wbaker.conf
root@test:/var/www/html/wbaker# nano /etc/apache2/sites-available/wbaker.conf
And then make the following configuration to that .conf file
< VirtualHost *:80>
ServerAdmin linuxhelpserver@gmail.com
DocumentRoot /var/www/html/wbaker/
ServerName test.linuxhelp1.com
ServerAlias www.test.linuxhelp1.com
< Directory /var/www/html/wbaker/>
Options Indexes FollowSymLinks MultiViews
AllowOverride All
Order allow,deny
allow from all
< /Directory>
ErrorLog /var/log/apache2/test-error_log
CustomLog /var/log/apache2/test-access_log common
< /VirtualHost>
Once the configuration is done, you shall save the file and exit.
And also, restart the Apache WebServer by running the following command.
root@test:/var/www/html/wbaker# service apache2 restart
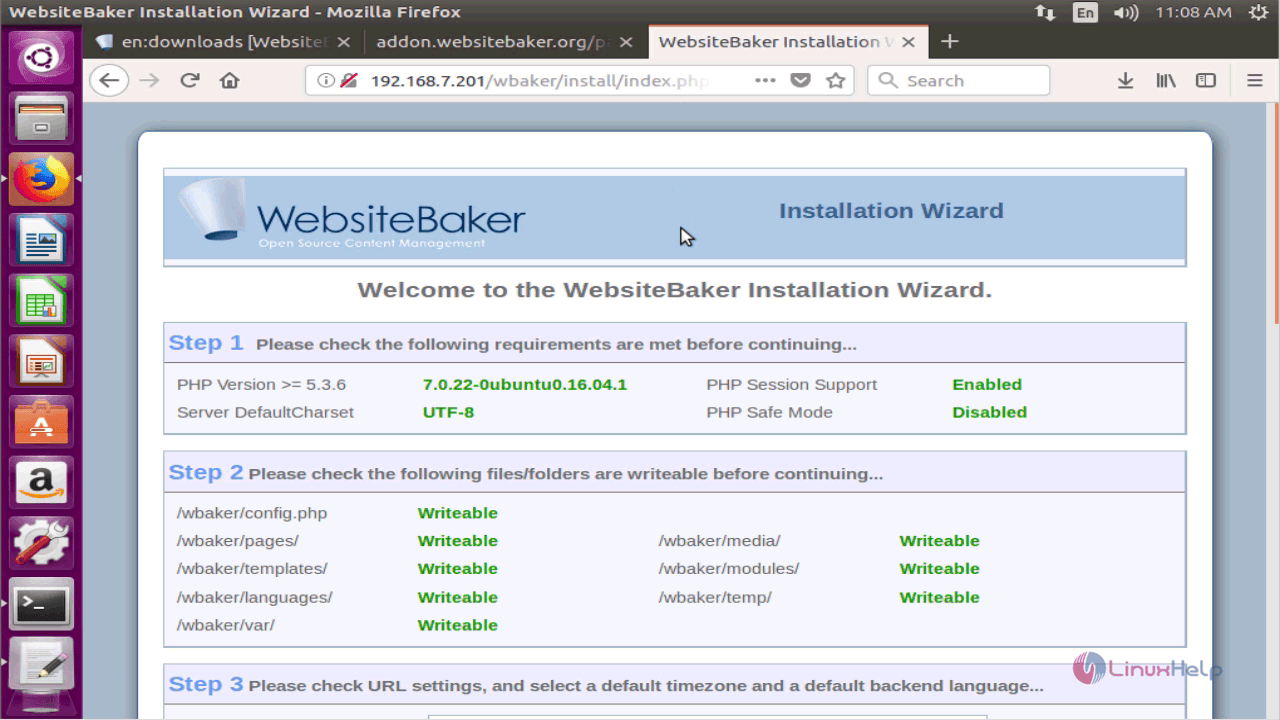
We shall now proceed with the installation via GUI. So, let us switch over to the web browser and navigate to http://192.168.7.201/wbaker. The Website baker installation wizard appears on the screen, so proceed further.
Select the default timezone and language.
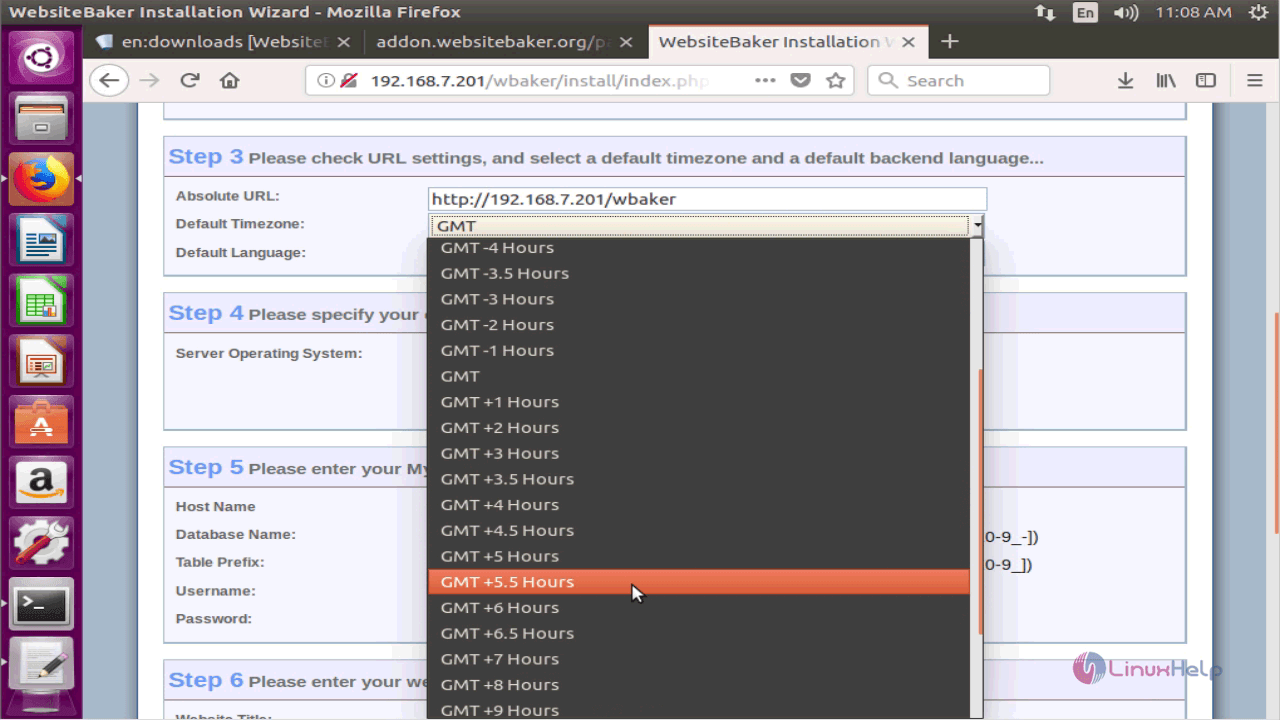
Enter the MySQL database information in their appropriate fields.

Enter the administrator account information and finally click Install WebsiteBaker.

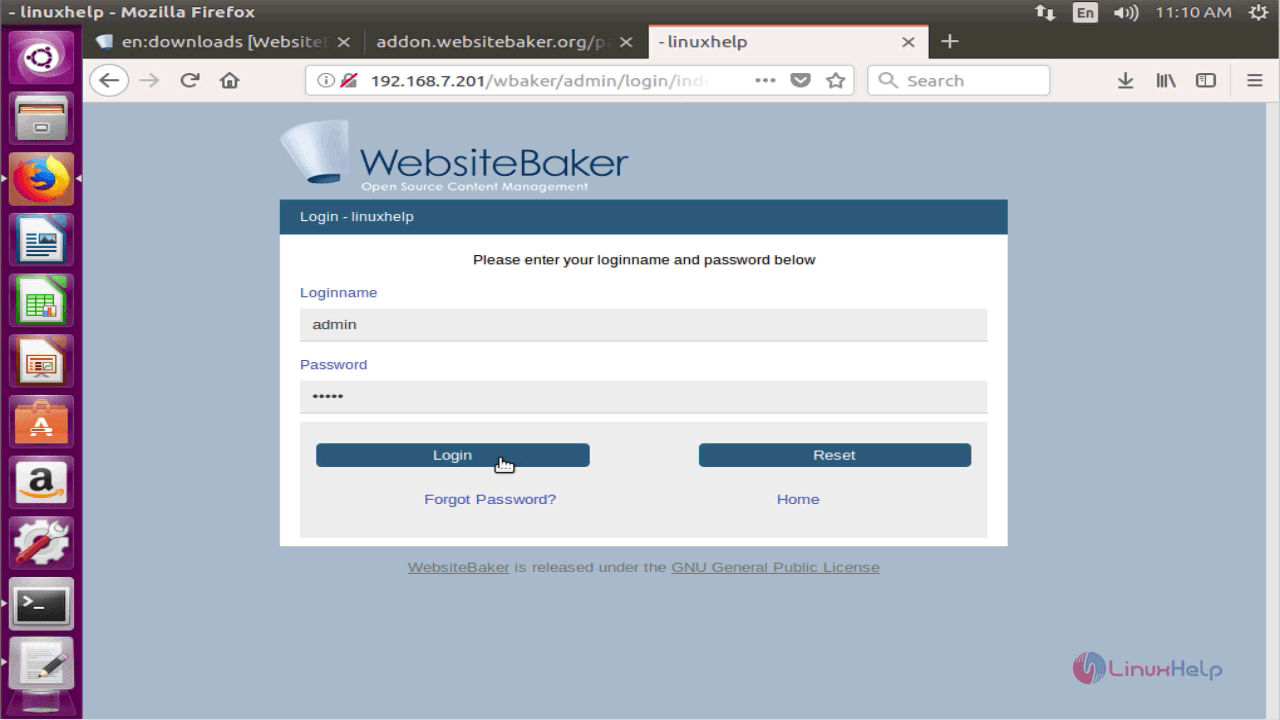
Once you are through the installation, WebsiteBaker login page appears, so enter your credentials and click Login.
You can Manage your web pages by adding new pages, modifying the old pages or even deleting undesired pages.

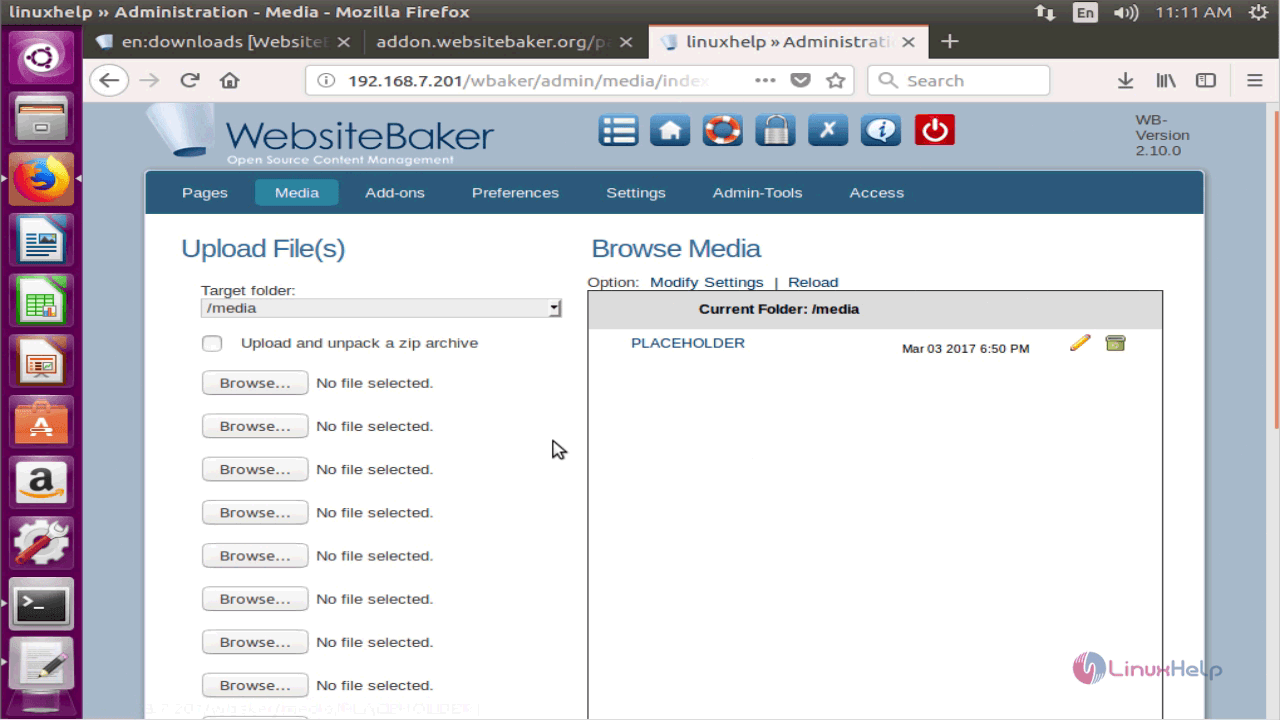
You shall add your media files in your WebsiteBaker application to use them on your web page.
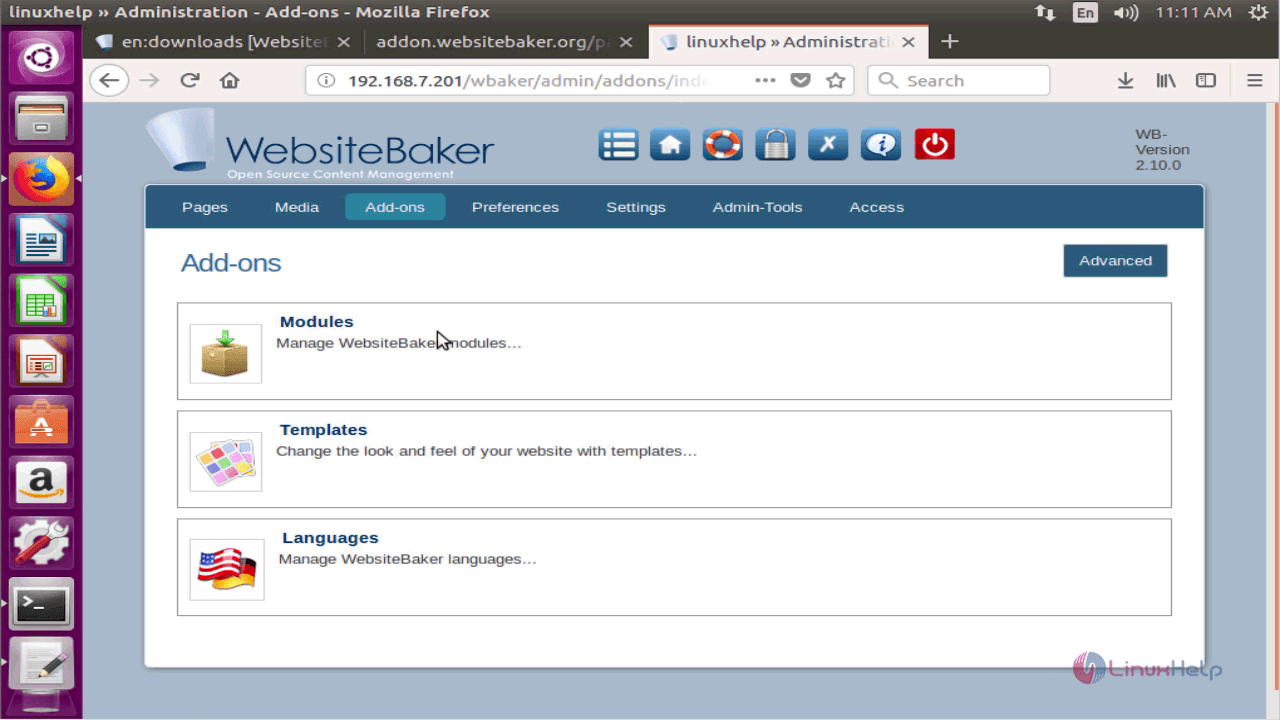
Also, you can check the Add-ons for your WebsiteBaker.
In the Settings menu, you shall give general website settings.

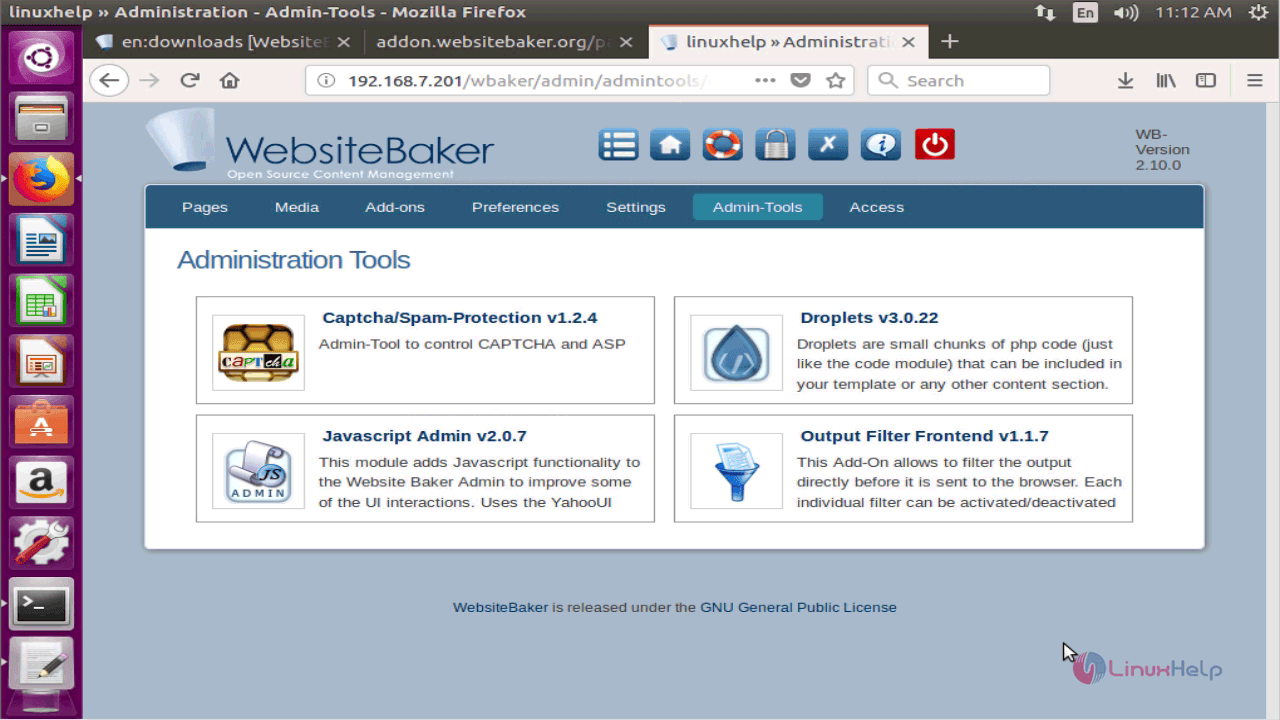
You can also check out the Administration tools.
With this, the installation of Website Baker on Ubuntu comes to an end.


Comments ( 0 )
No comments available