How To Install Pluck CMS On Ubuntu 17.04
To Install Pluck CMS on Ubuntu 17.04
Pluck is an open source content management system, written in the PHP scripting language. It allows for webpage creation for users with little or no programming experience, and, unlike most content management systems, it does not use a database to store its data. Pluck also includes a module system, which allows developers to integrate custom functionality into the system. Since Pluck is a flat-file content managment system, all the pages are stored right on your website, which makes your whole website very portable. Installing Pluck CMS on Ubuntu 17.04 is quite simple and this tutorial covers the ground on the same process.
Pre requirements
- Install Apache, PHP 5.6
- For PHP install following repo - sudo add-apt-repository ppa:ondrej/php and sudo apt-get update
- PHP modules (apt install php5.6-opcache php5.6-gd php5.6-curl php5.6-common php5.6-mysql php5.6 )
Installing Pluck CMS
Before you begin with anything, you should enter the HTML location, and for that, you need to run the following command.
root@linuxhelp:~# cd /var/www/html/
And then, you should download the Pluck CMS package by making use of the wget comamnd in the following manner.
root@linuxhelp:/var/www/html# wget https://codeload.github.com/pluck-cms/pluck/zip/master
--2017-11-08 13:23:16--  https://codeload.github.com/pluck-cms/pluck/zip/master
Resolving codeload.github.com (codeload.github.com)... 192.30.255.121, 192.30.255.120
Connecting to codeload.github.com (codeload.github.com)|192.30.255.121|:443... connected.
HTTP request sent, awaiting response... 200 OK
Length: unspecified [application/zip]
Saving to: ‘ master’

master                   [              < =>     ]   1.71M   380KB/s    in 5.0s

2017-11-08 13:23:22 (353 KB/s) - ‘ master’  saved [1789615]
And then, extract the the downloaded file in the following manner.
root@linuxhelp:/var/www/html# unzip master
Archive:  master
6fbb5a3c1a87e5c265a9f5e17198187928db5a31
   creating: pluck-master/
  inflating: pluck-master/README.md
  inflating: pluck-master/admin.php
   creating: pluck-master/data/
   creating: pluck-master/data/image/
  inflating: pluck-master/data/image/AUTHORS
 extracting: pluck-master/data/image/add.png
 extracting: pluck-master/data/image/add_small.png
  inflating: pluck-master/data/image/back.jpg
  inflating: pluck-master/data/image/back_hover.jpg
 extracting: pluck-master/data/image/button_cancel.png
.
.
inflating: pluck-master/install.php
  inflating: pluck-master/login.php
  inflating: pluck-master/requirements.php
  inflating: pluck-master/robots.txt
And then, list the directory, you will be able to see the extracted files.
root@linuxhelp:/var/www/html# ll
total 1772
drwxrwxrwx 3 root root    4096 Nov  8 13:23 ./
drwxr-xr-x 4 root root    4096 Nov  8 13:12 ../
-rwxrwxrwx 1 root root   11321 Nov  6 12:57 index.html*
-rw-r--r-- 1 root root 1789615 Nov  8 13:23 master
drwxr-xr-x 6 root root    4096 Jun  1 16:38 pluck-master/
Once it is done, you shall rename the extracted directory by making use of the following command.
root@linuxhelp:/var/www/html# mv pluck-master/ pluck
And then, change the ownership and peermision of pluck directory and for the use the following command.
root@linuxhelp:/var/www/html# chown -R www-data.www-data pluck/
root@linuxhelp:/var/www/html# chmod -R 777 pluck/
Now, you need to create conf file for VirtualHosting by making use of the following command.
root@linuxhelp:/var/www/html# nano /etc/apache2/sites-available/pluck.conf
And in that file, you need to add following
< virtualHost *:80>
ServerAdmin admin@pluck.abc
DocumentRoot /var/www/html/pluck/
ServerName pluck.abc
ServerAlias www. pluck.abc
< Directory /var/www/html/pluck/>
Options FollowSymLinks
AllowOverride All
Order allow,deny
allow from all
< /Directory>
ErrorLog /var/log/apache2/pluck.abc-error_log
CustomLog /var/log/apache2/pluck.abc-access_log common
< /VirtualHost>
You should also make an entry in hosts file. So, open the file.
root@linuxhelp:/var/www/html# nano /etc/hosts
And in that file, add the following line.
< machine ip> pluck.abc
Later, enable the newly created conf file
root@linuxhelp:/var/www/html# a2ensite pluck.conf
Enabling site pluck.
To activate the new configuration, you need to run:
  service apache2 reload
Once it is done, you shall restart the Apache service by making use of the following command.
root@linuxhelp:/var/www/html# systemctl restart apache2
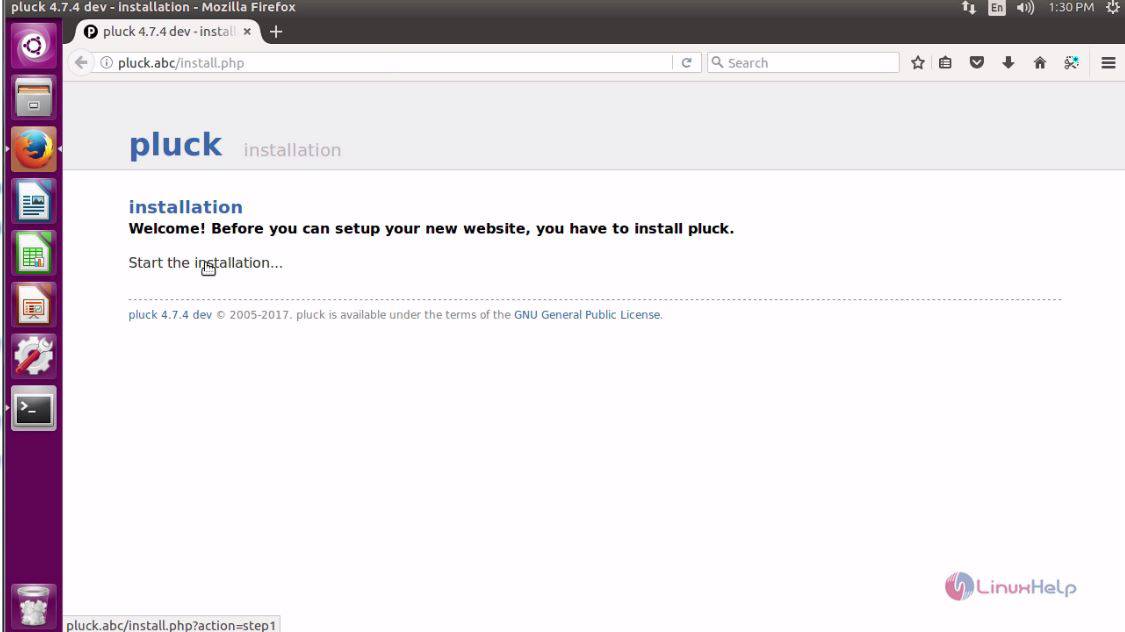
Now, open your browser and give http://domainname as the URL. The installer of Pluck CMS opens on your screen now. Click start Start the installation.
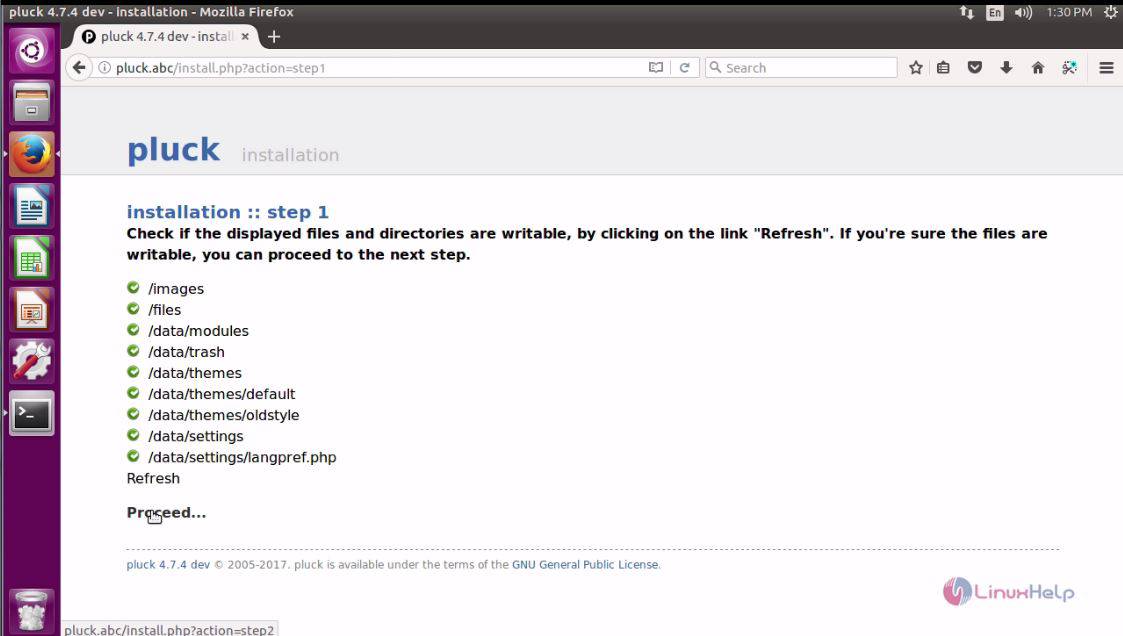
In the Step 1 of the installation, the system check takes place. Click on the proceed option to carry on with the installation.
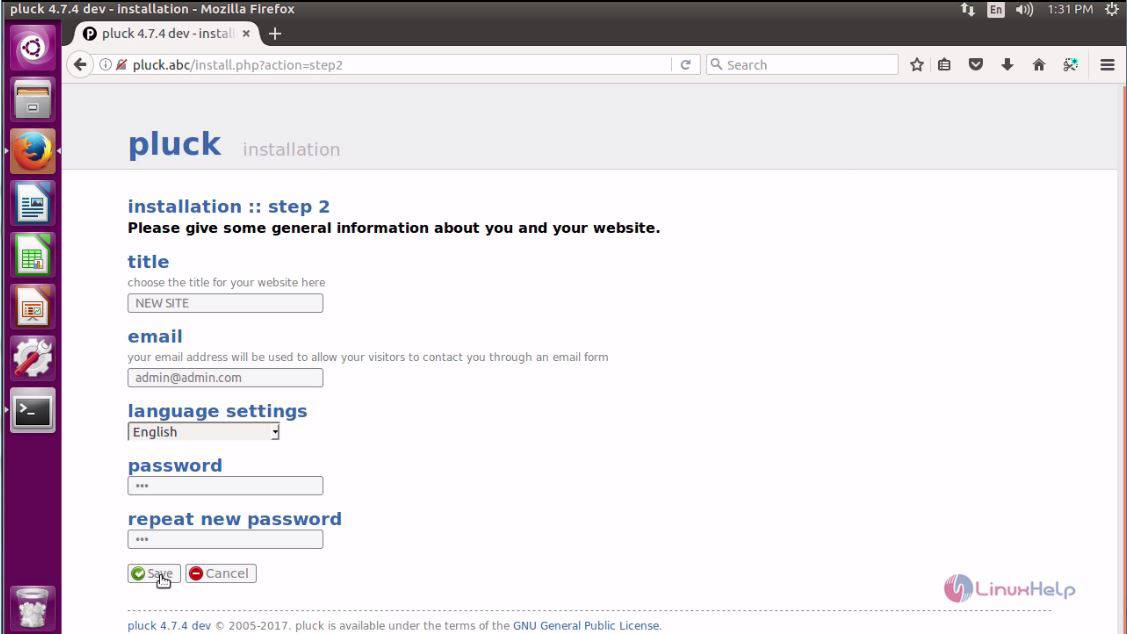
In the next step, you need to fill the site details and click save. It will lead to the next step.
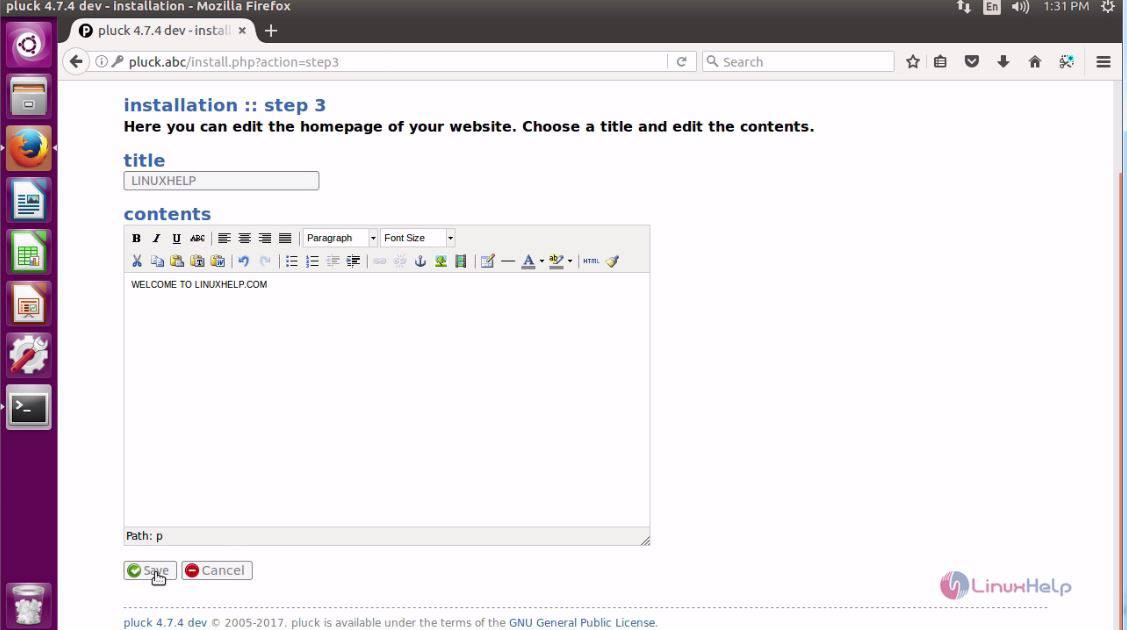
In the Step 3 of the installation you need to enter the site details.
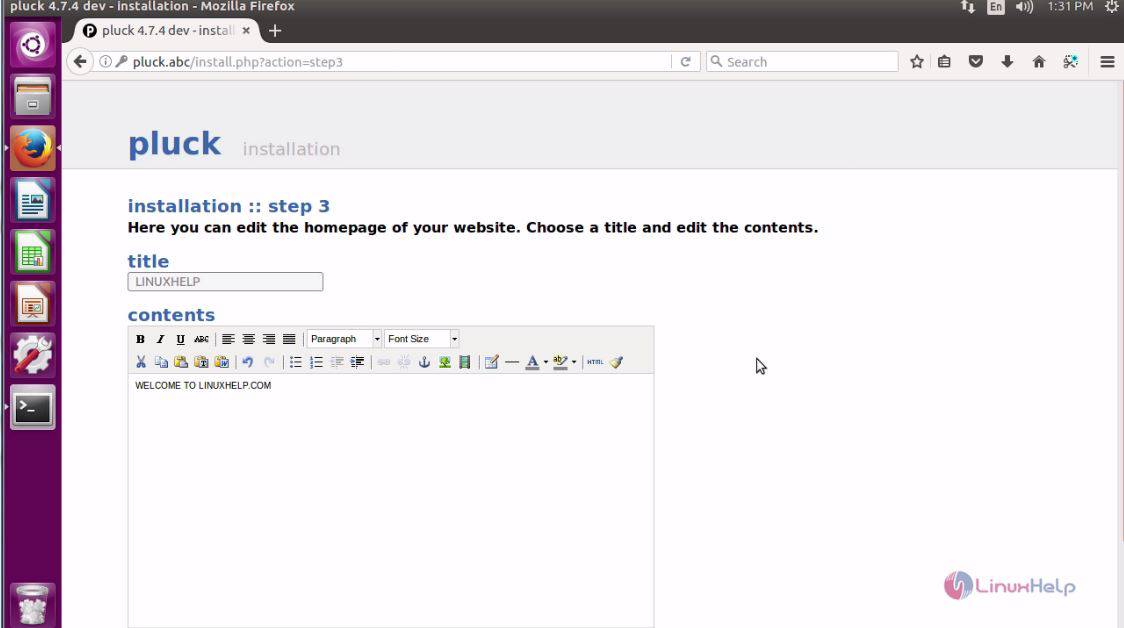
Give a proper title and content and click on the save button.
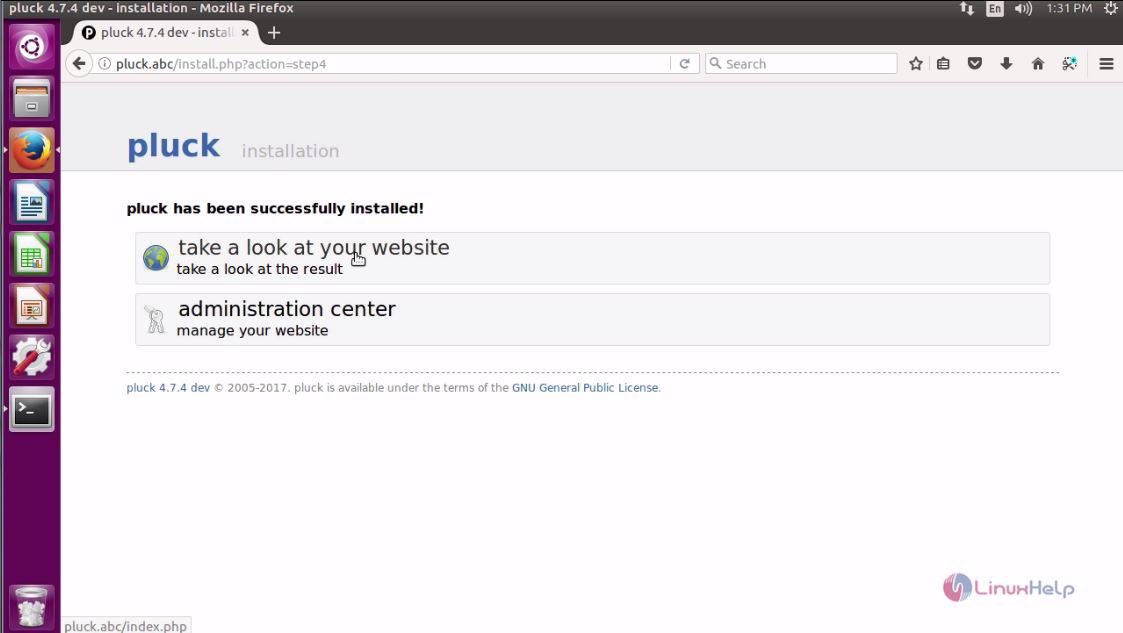
Your site has been created, you shall open the newly created site clicking on the take a look at your website option.
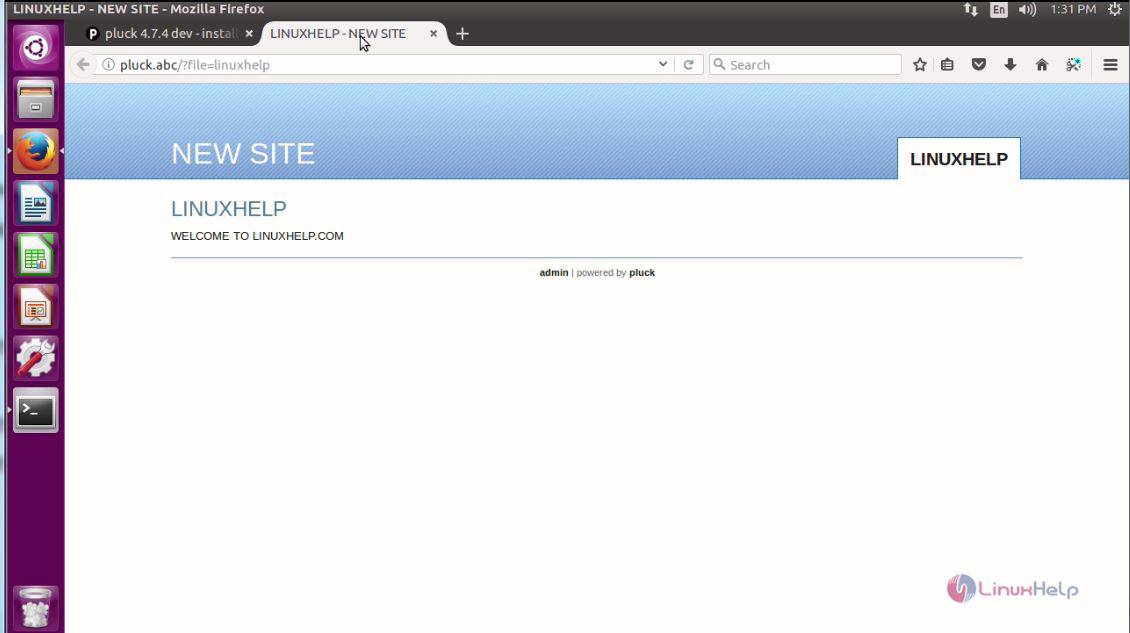
Your newly created website gets opened.
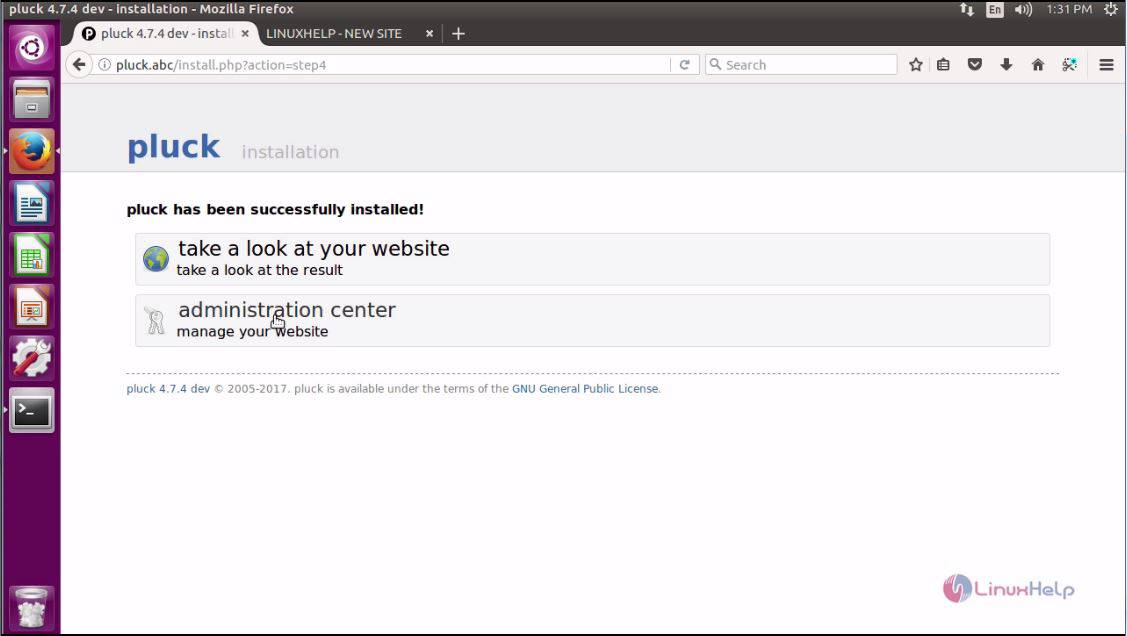
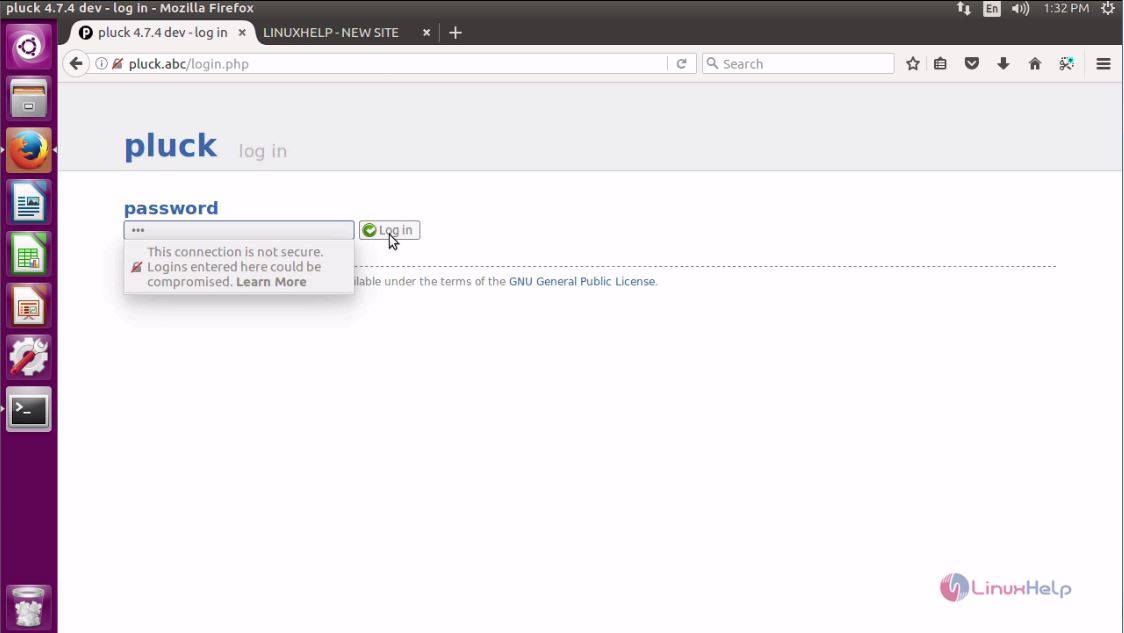
If you want to go to the admin panel of your site, you need to click administration center.
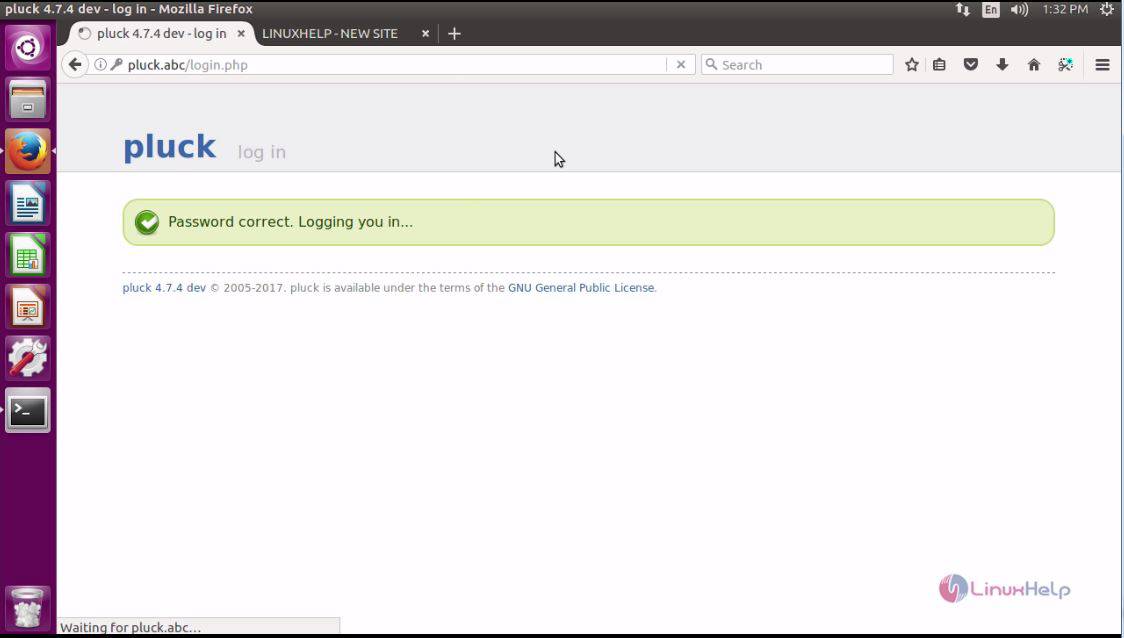
You' ll be asked to enter password, so give and click login.
You' ll be taken to the Admin page.
The administration center of Pluck CMS looks like the one displayed in the following image.
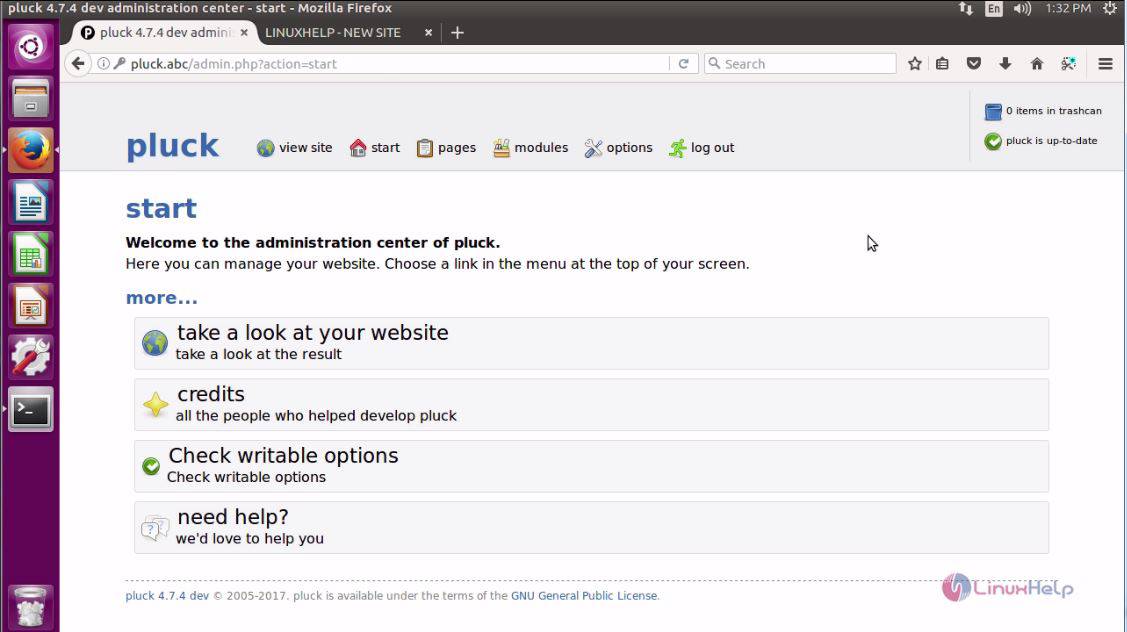
With this the installation of Pluck CMS comes to an end.


Comments ( 0 )
No comments available