How to Install OpenVAS Vulnerability Scanner in Ubuntu
To Install OpenVAS Vulnerability Scanner in Ubuntu
OpenVAS is an Open Vulnerability Assessment System, which is a framework of several services and tools. OpenVAS Manager handles SQL Database of stored configurations and scanned results. Installation of OpenVAS Vulnerability Scanner in Ubuntu is discussed in this manual.
Installation of OpenVAS Vulnerability Scanner
Before installing OpenVAS, install sqlite by using below command.
root@linuxhelp:/home/user1# apt-get install sqlite3
Reading package lists... Done
Building dependency tree
Reading state information... Done
&hellip
&hellip
Unpacking sqlite3 (3.11.0-1ubuntu1) ...
Processing triggers for man-db (2.7.5-1) ...
Setting up sqlite3 (3.11.0-1ubuntu1) ...
Run the below command to install the additional dependency packages.
root@linuxhelp:/home/user1# apt-get install python-software-properties -y
Reading package lists... Done
Building dependency tree
Reading state information... Done
&hellip
&hellip
Setting up python-apt (1.1.0~beta1build1) ...
Setting up python-pycurl (7.43.0-1ubuntu1) ...
Setting up python-software-properties (0.96.20.2) ...
Create PPA repositorty for OpenVAS with below command.
root@linuxhelp:/home/user1# add-apt-repository ppa:mrazavi/openvas
 OpenVAS is a framework of several services and tools offering a comprehensive and powerful vulnerability scanning and vulnerability management solution.
Homepage: http://www.openvas.org/
* Openvas 9 (beta 3) is now available *
..
&hellip
gpg: keyring `/tmp/tmpctr2f6d5/pubring.gpg'  created
gpg: requesting key 4AA450E0 from hkp server keyserver.ubuntu.com
gpg: /tmp/tmpctr2f6d5/trustdb.gpg: trustdb created
gpg: key 4AA450E0: public key " Launchpad PPA for Mohammad Razavi"  imported
gpg: Total number processed: 1
gpg:               imported: 1  (RSA: 1)
OK
Update with the below given command.
root@linuxhelp:/home/user1# apt-get update
Hit:1 http://in.archive.ubuntu.com/ubuntu xenial InRelease
Hit:2 http://security.ubuntu.com/ubuntu xenial-security InRelease
Get:3 http://ppa.launchpad.net/mrazavi/openvas/ubuntu xenial InRelease [17.6 kB]
Hit:4 http://in.archive.ubuntu.com/ubuntu xenial-updates InRelease
Hit:5 http://in.archive.ubuntu.com/ubuntu xenial-backports InRelease
Get:6 http://ppa.launchpad.net/mrazavi/openvas/ubuntu xenial/main amd64 Packages [2,900 B]
Get:7 http://ppa.launchpad.net/mrazavi/openvas/ubuntu xenial/main i386 Packages [2,908 B]
Get:8 http://ppa.launchpad.net/mrazavi/openvas/ubuntu xenial/main Translation-en [1,044 B]
Fetched 24.4 kB in 1s (12.7 kB/s)
Reading package lists... Done
Finally, install openVAS by using the following command.
root@linuxhelp:/home/user1# apt-get install openvas
Reading package lists... Done
Building dependency tree
Reading state information... Done
&hellip
&hellip
Setting up libruby2.3:amd64 (2.3.1-2~16.04) ...
Processing triggers for libc-bin (2.23-0ubuntu3) ...
Processing triggers for ureadahead (0.100.0-19) ...
Processing triggers for systemd (229-4ubuntu4) ...
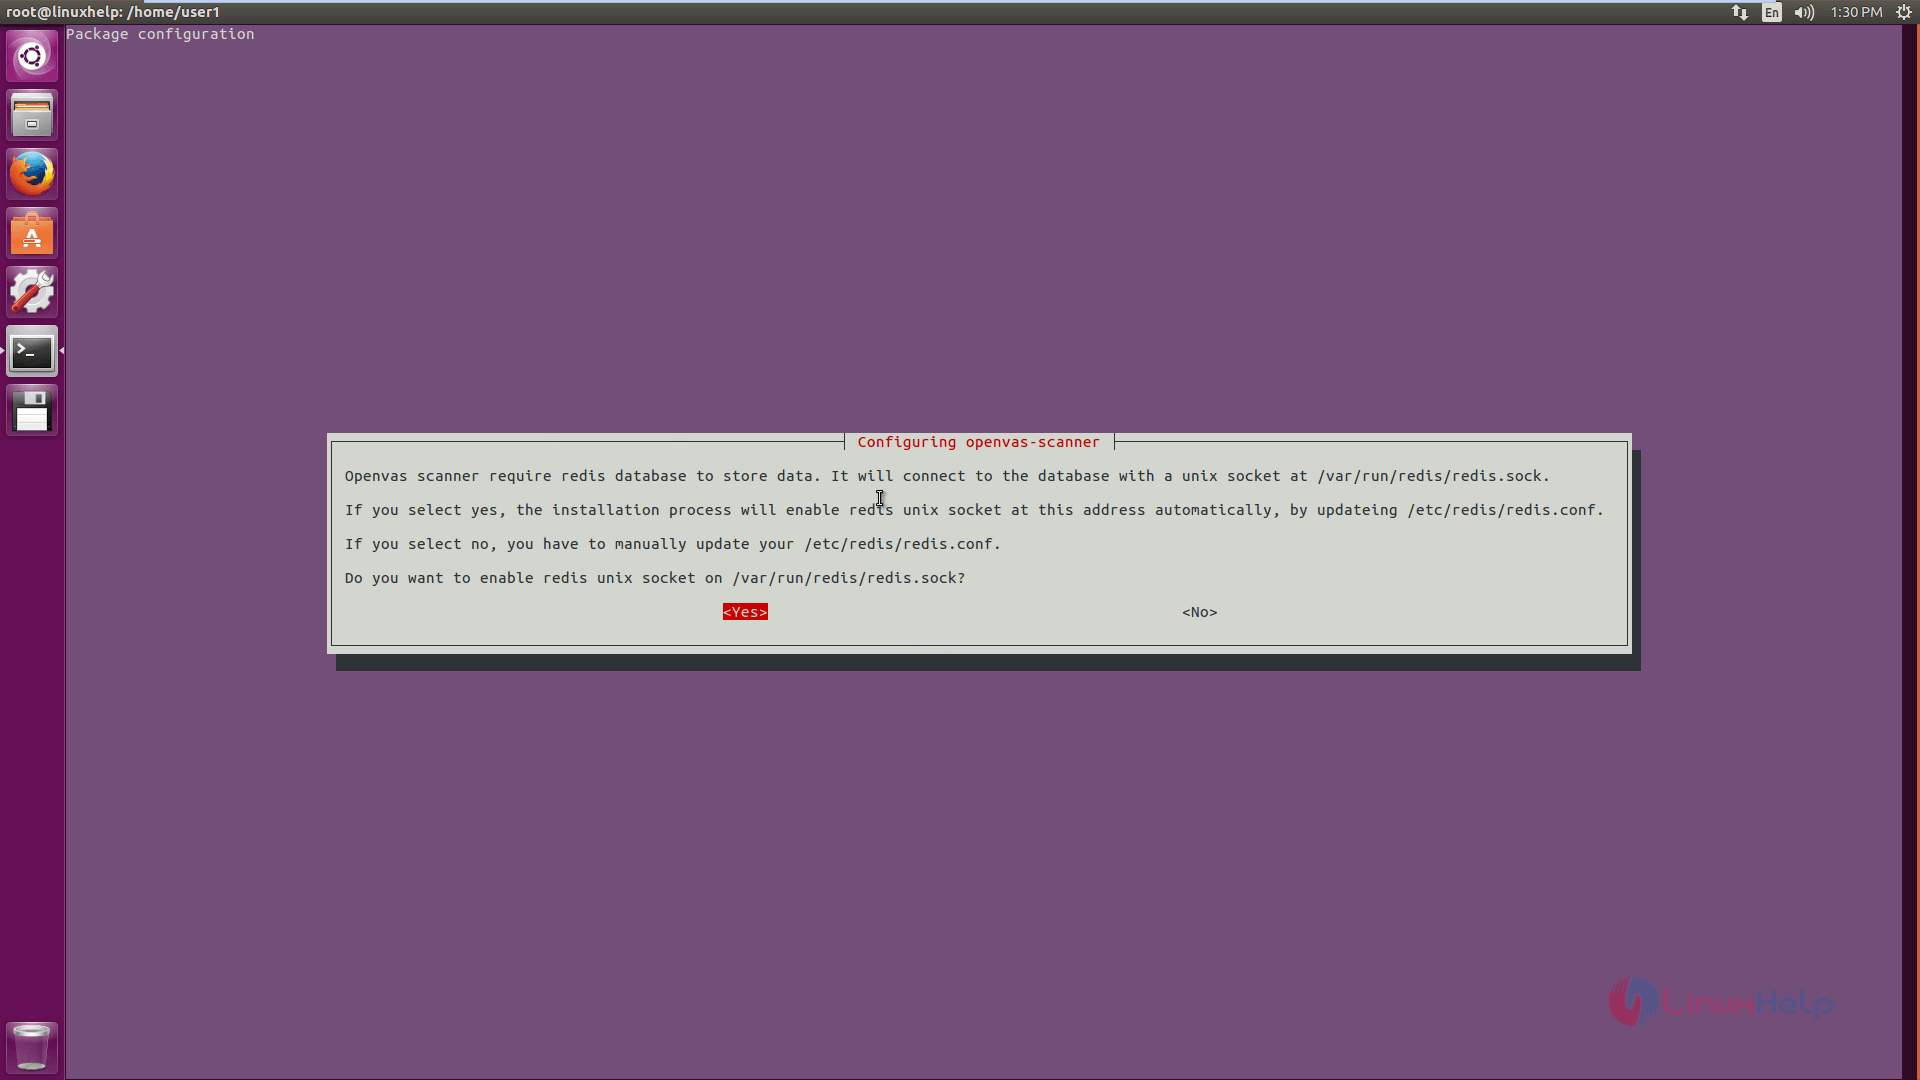
Once the package is installed, restart the services.
root@linuxhelp:/home/user1# /etc/init.d/openvas-scanner restart
[....] Restarting openvas-scanner (via systemctl): openvas-scanner.service
. ok
root@linuxhelp:/home/user1# /etc/init.d/openvas-manager restart
[ ok ] Restarting openvas-manager (via systemctl): openvas-manager.service.
root@linuxhelp:/home/user1# /etc/init.d/openvas-gsa restart
[ ok ] Restarting openvas-gsa (via systemctl): openvas-gsa.service.
Run the following command to upgrade network vulnerability tests.
root@linuxhelp:/home/user1# openvas-nvt-sync
[i] Thisscript synchronizes an NVT collection with the ' OpenVAS NVT Feed' .
[i] The ' OpenVAS NVT Feed'  is provided by ' The OpenVAS Project' .
[i] Online information about this feed: ' http://www.openvas.org/openvas-nvt-feed.html' .
[i] NVT dir: /var/lib/openvas/plugins
&hellip
&hellip
&hellip
 [i] Download complete
[i] Checking dir: ok
[i] Checking MD5 checksum:
ok
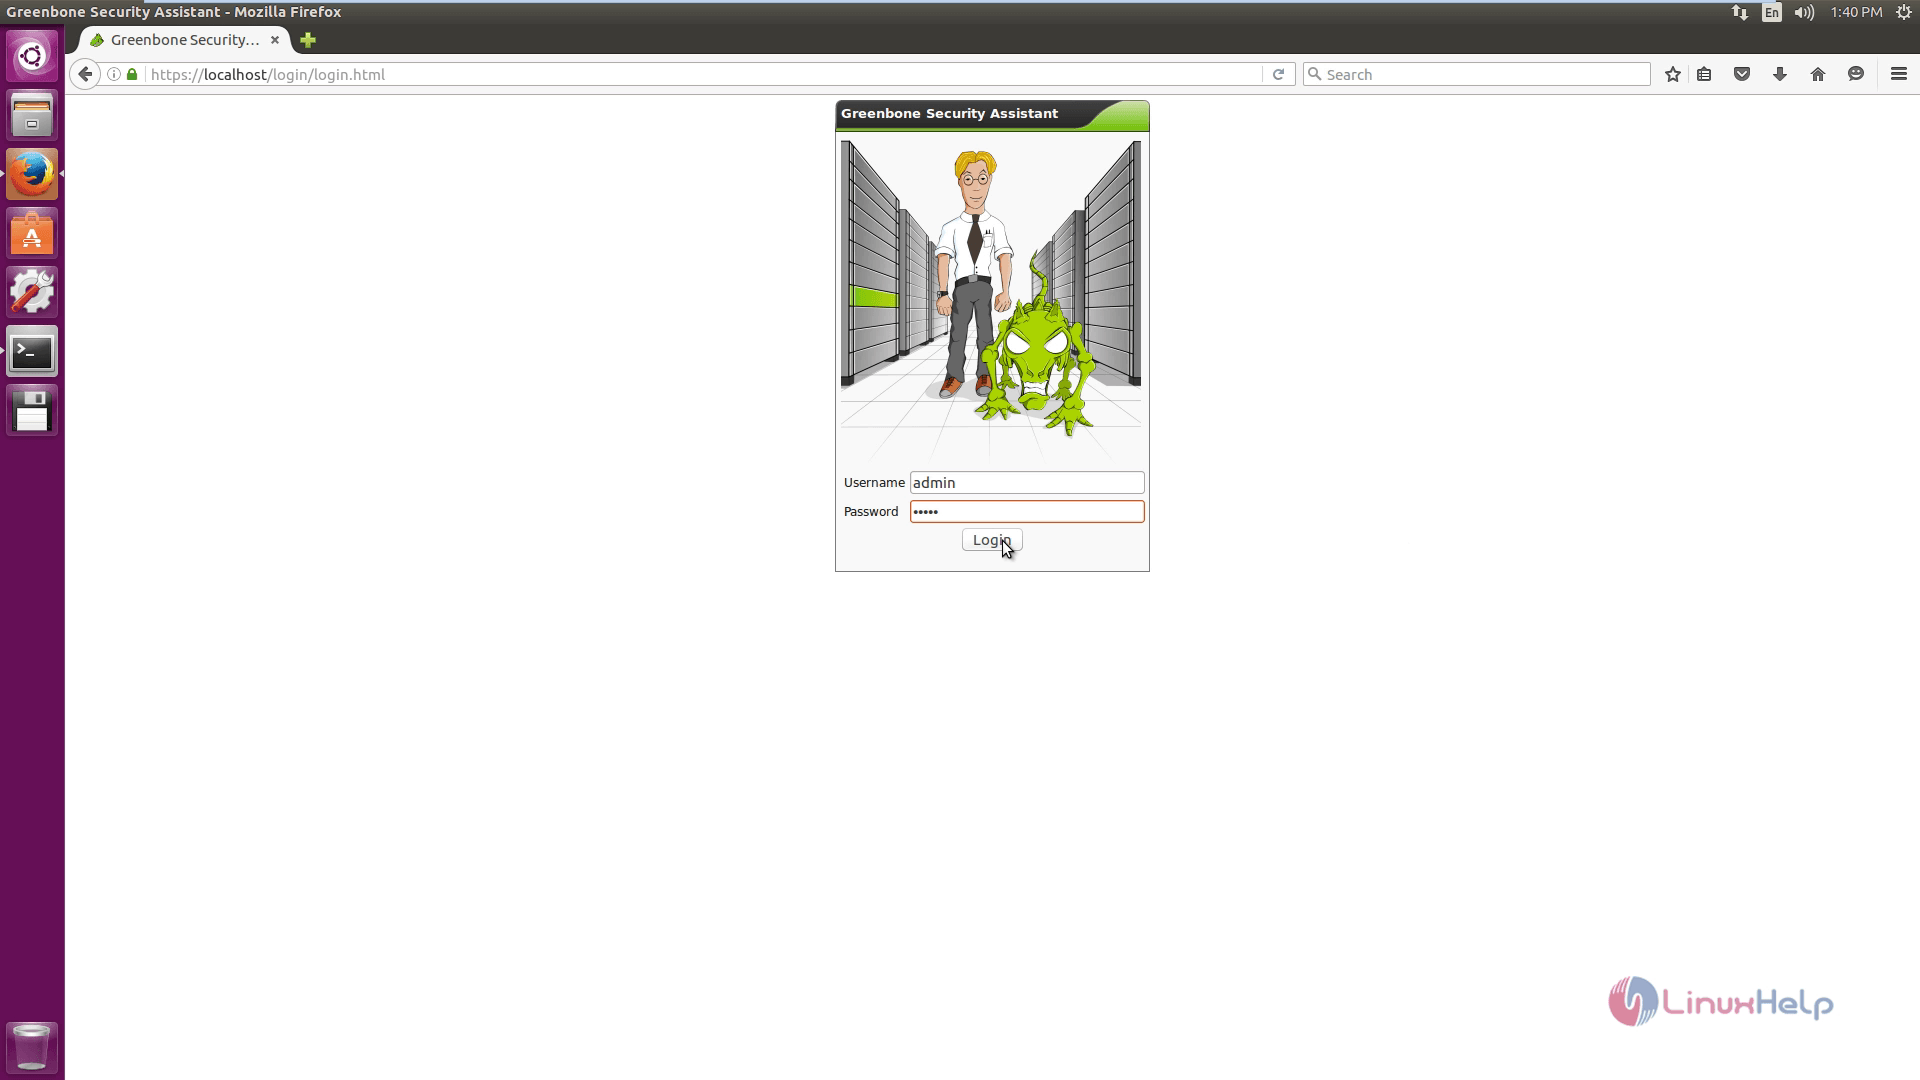
After installed OpenVAS successfully, open the Browser and enter the following URL.
https://localhost/login/login.html
In this page, select the option Advanced -> Add Exception -> Confirm Security Exception. Now login with default user name ‘ admin’ and password ‘ admin’ .
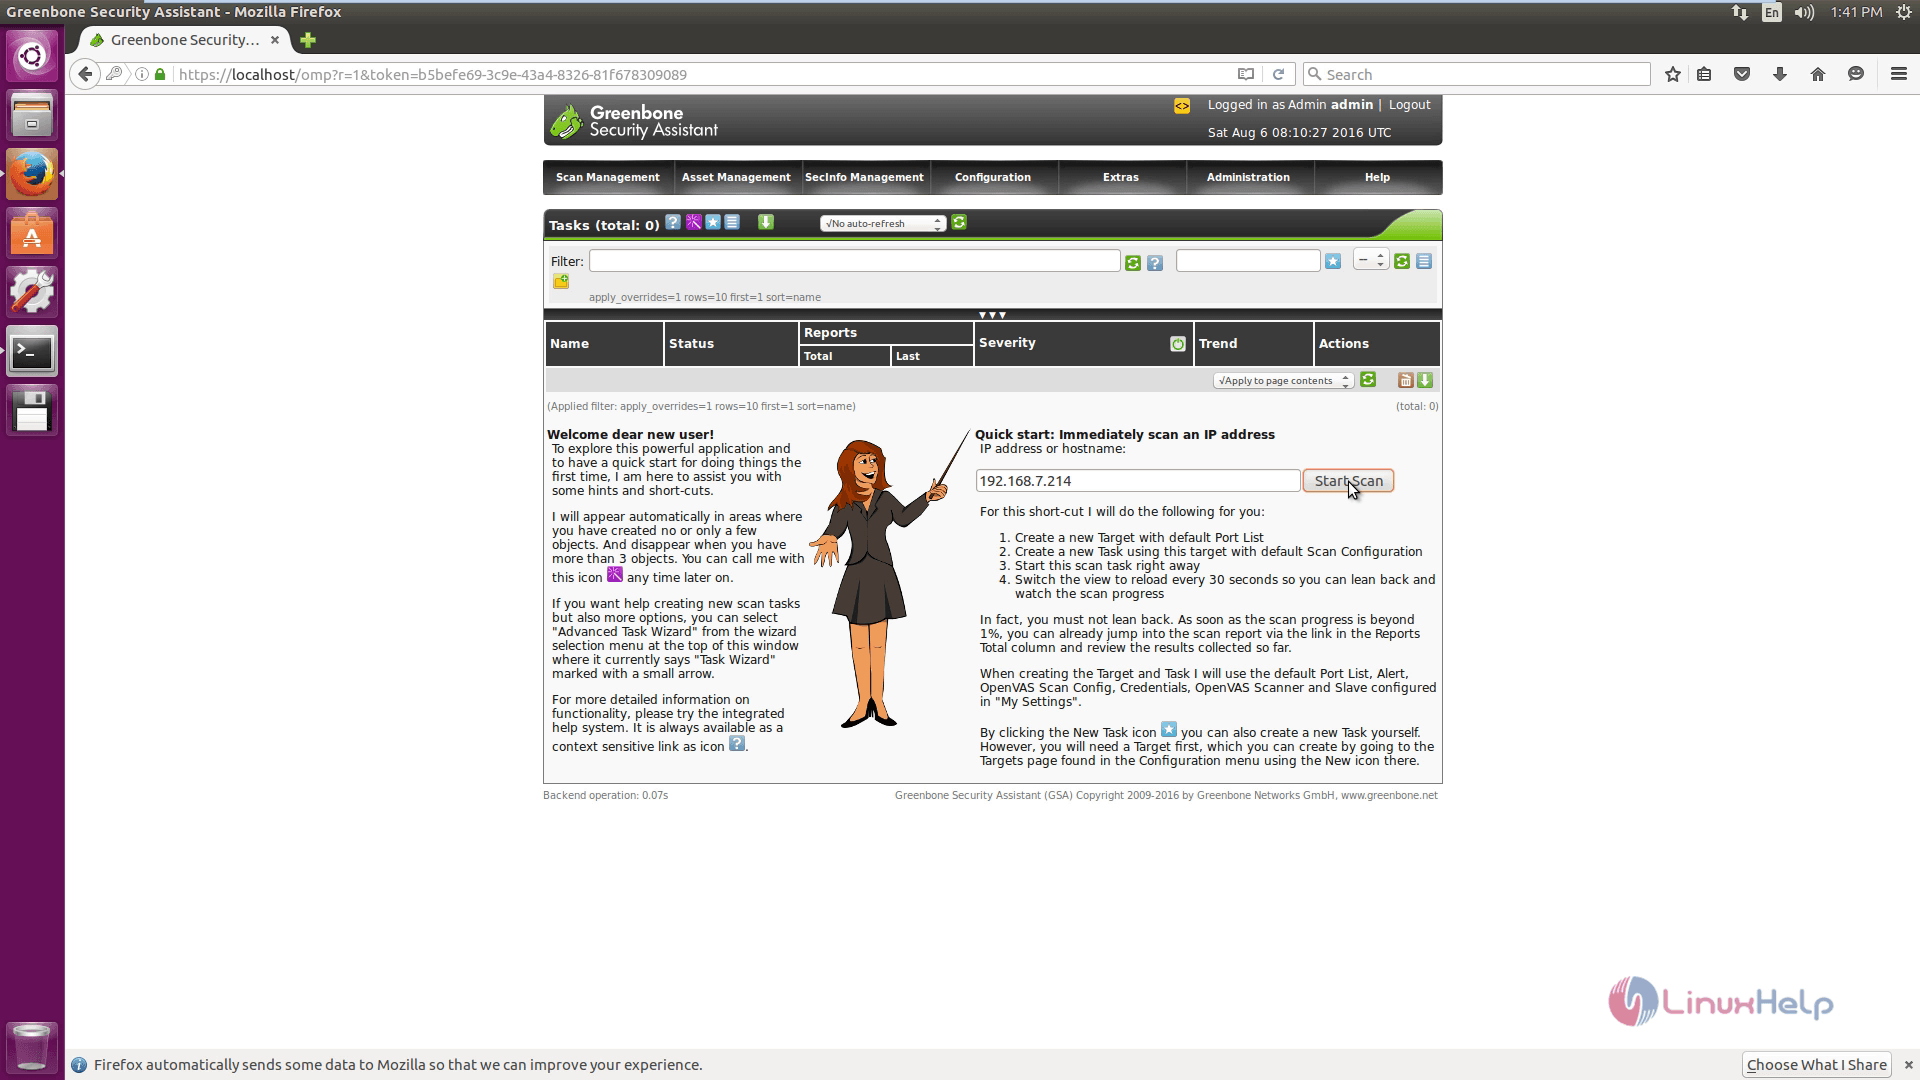
For scanning process, enter the ipaddress and click start scan.
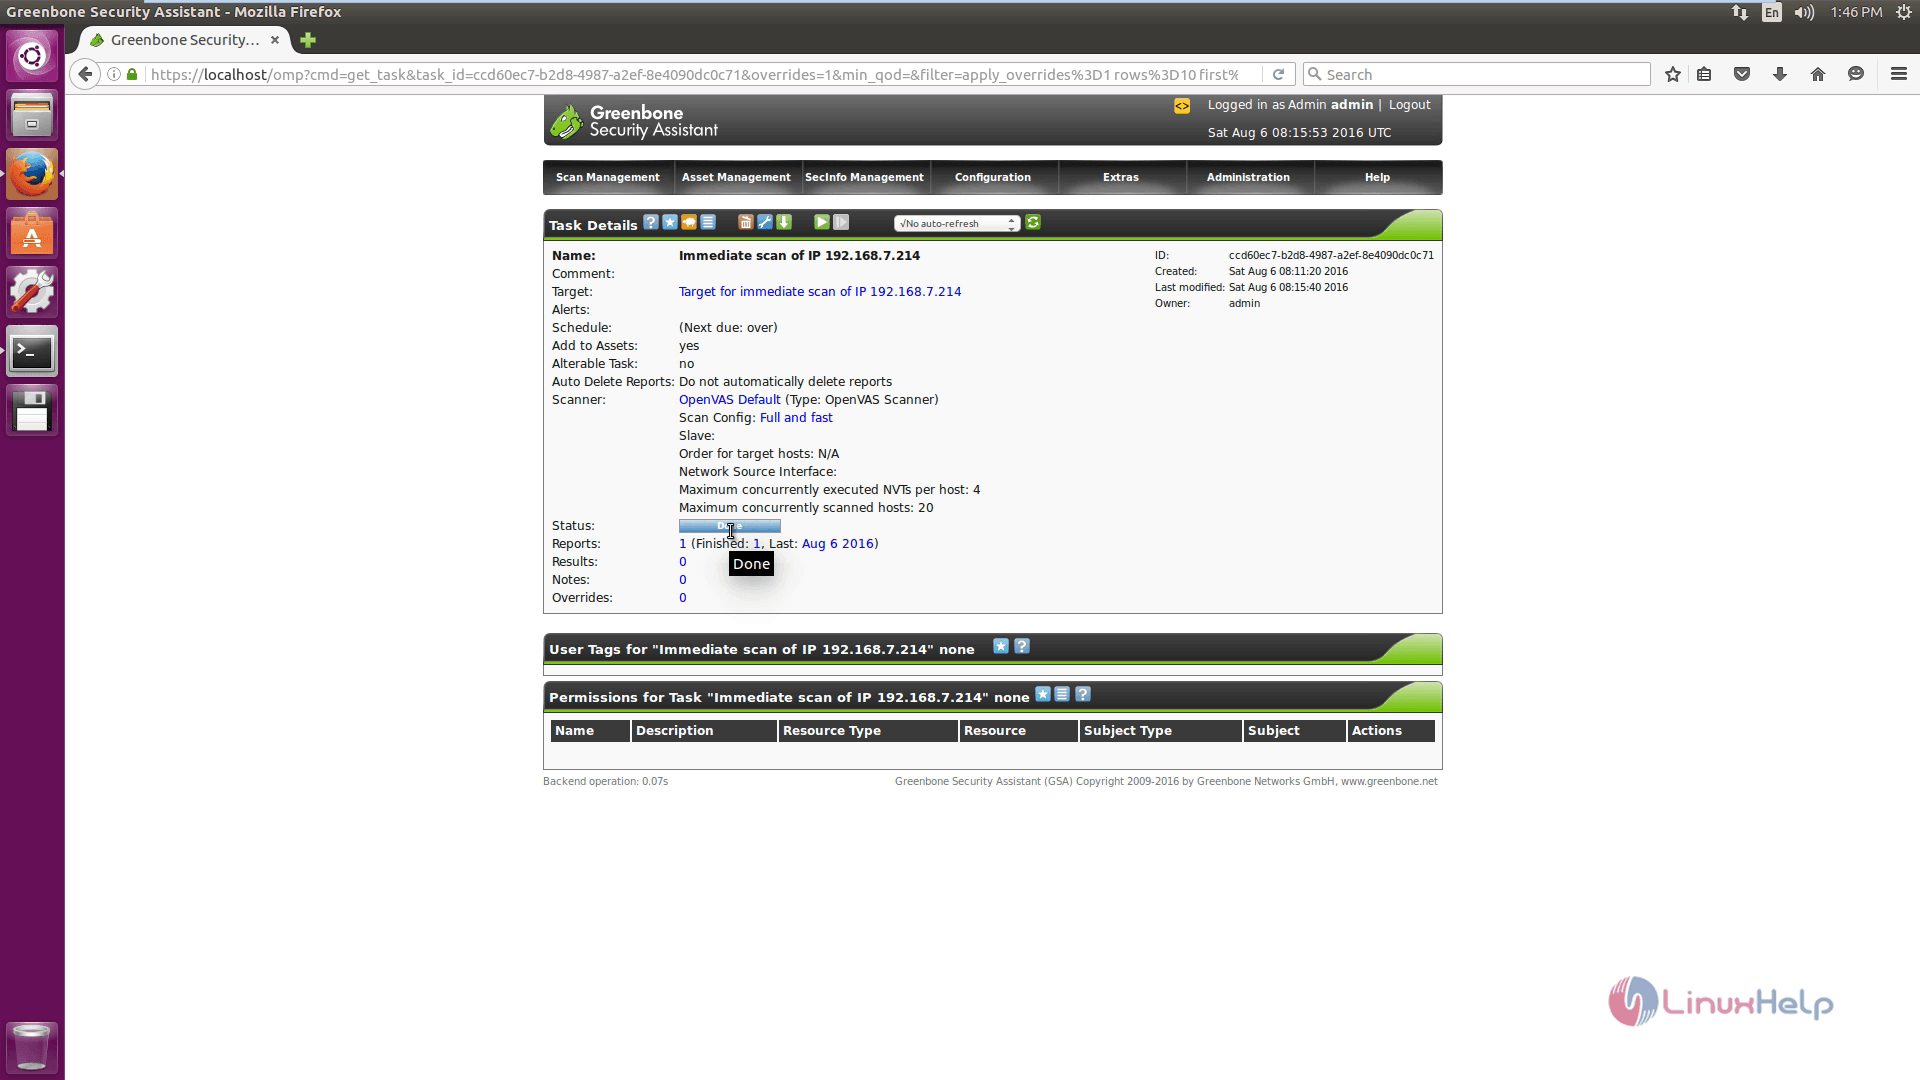
Next click Immediate scan link.

Now the scan details will display as given below.
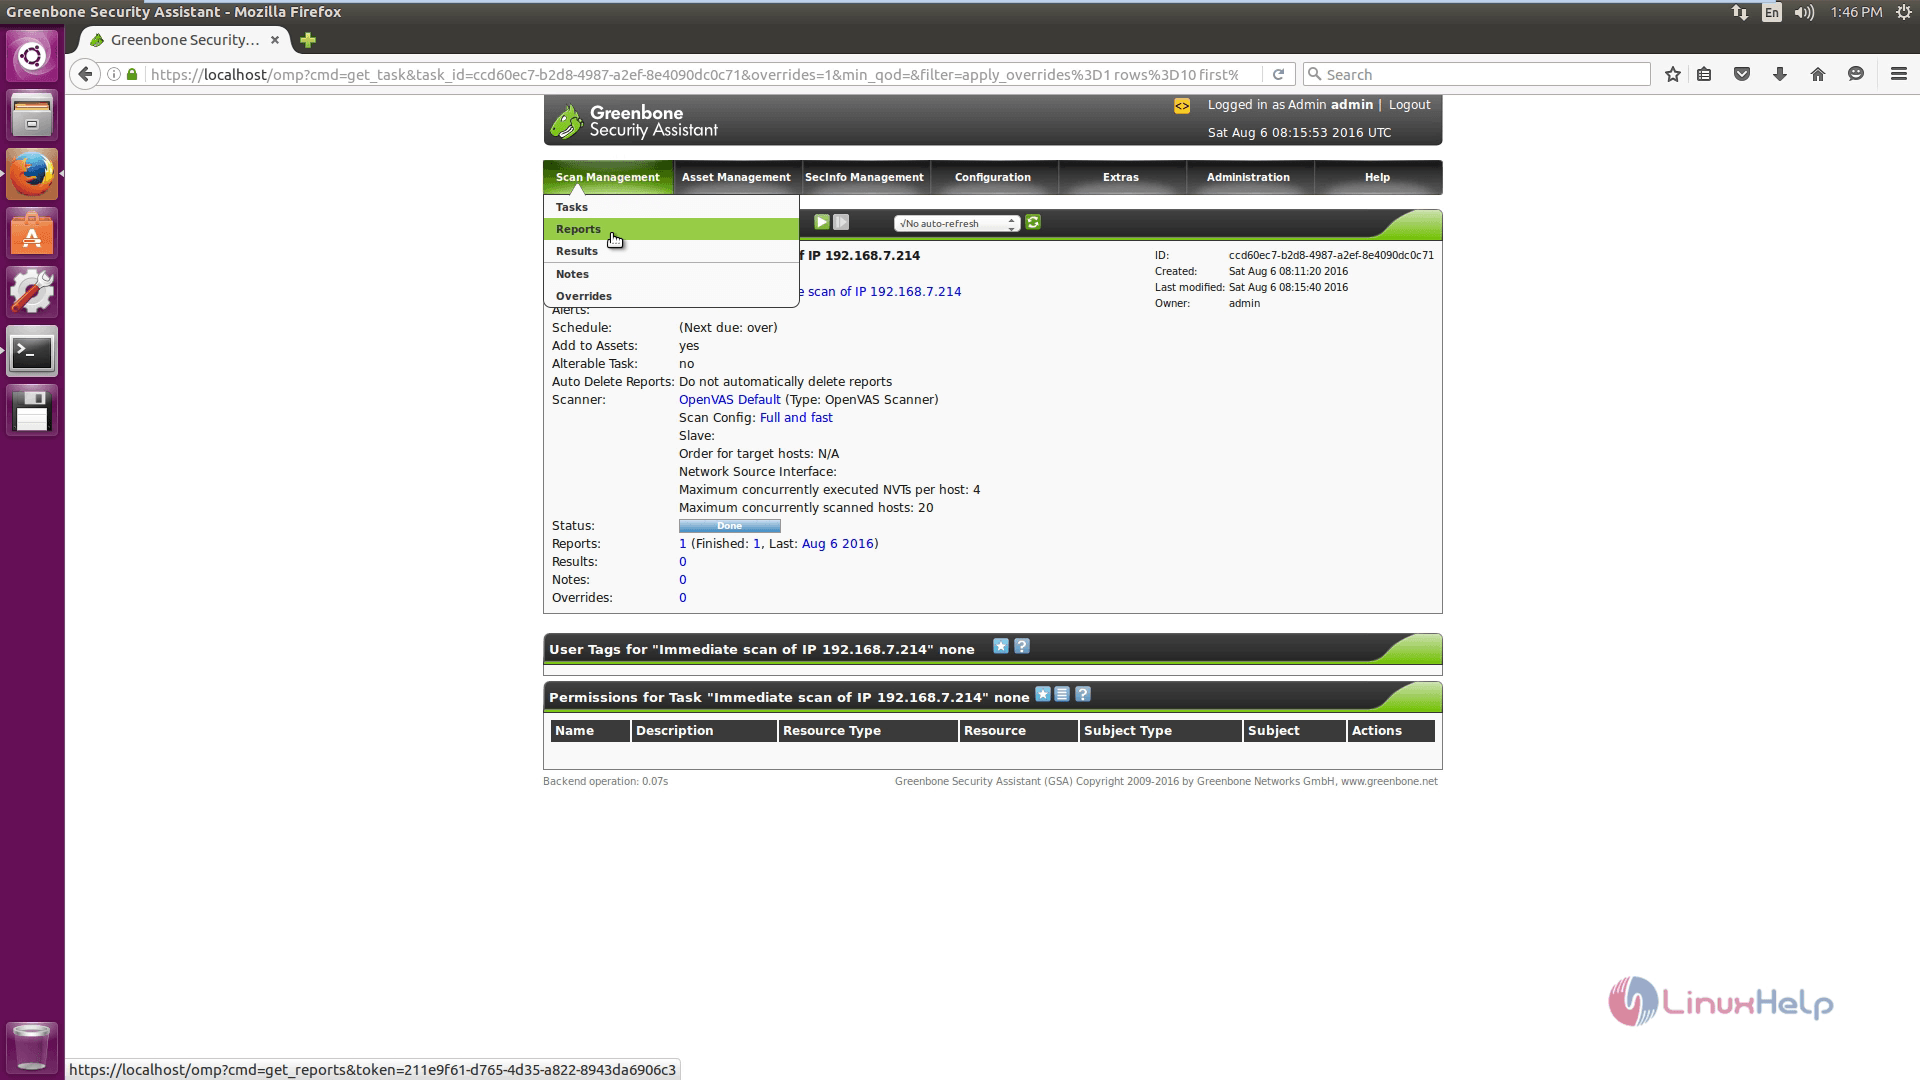
You can see the scan management reports by using the below steps.
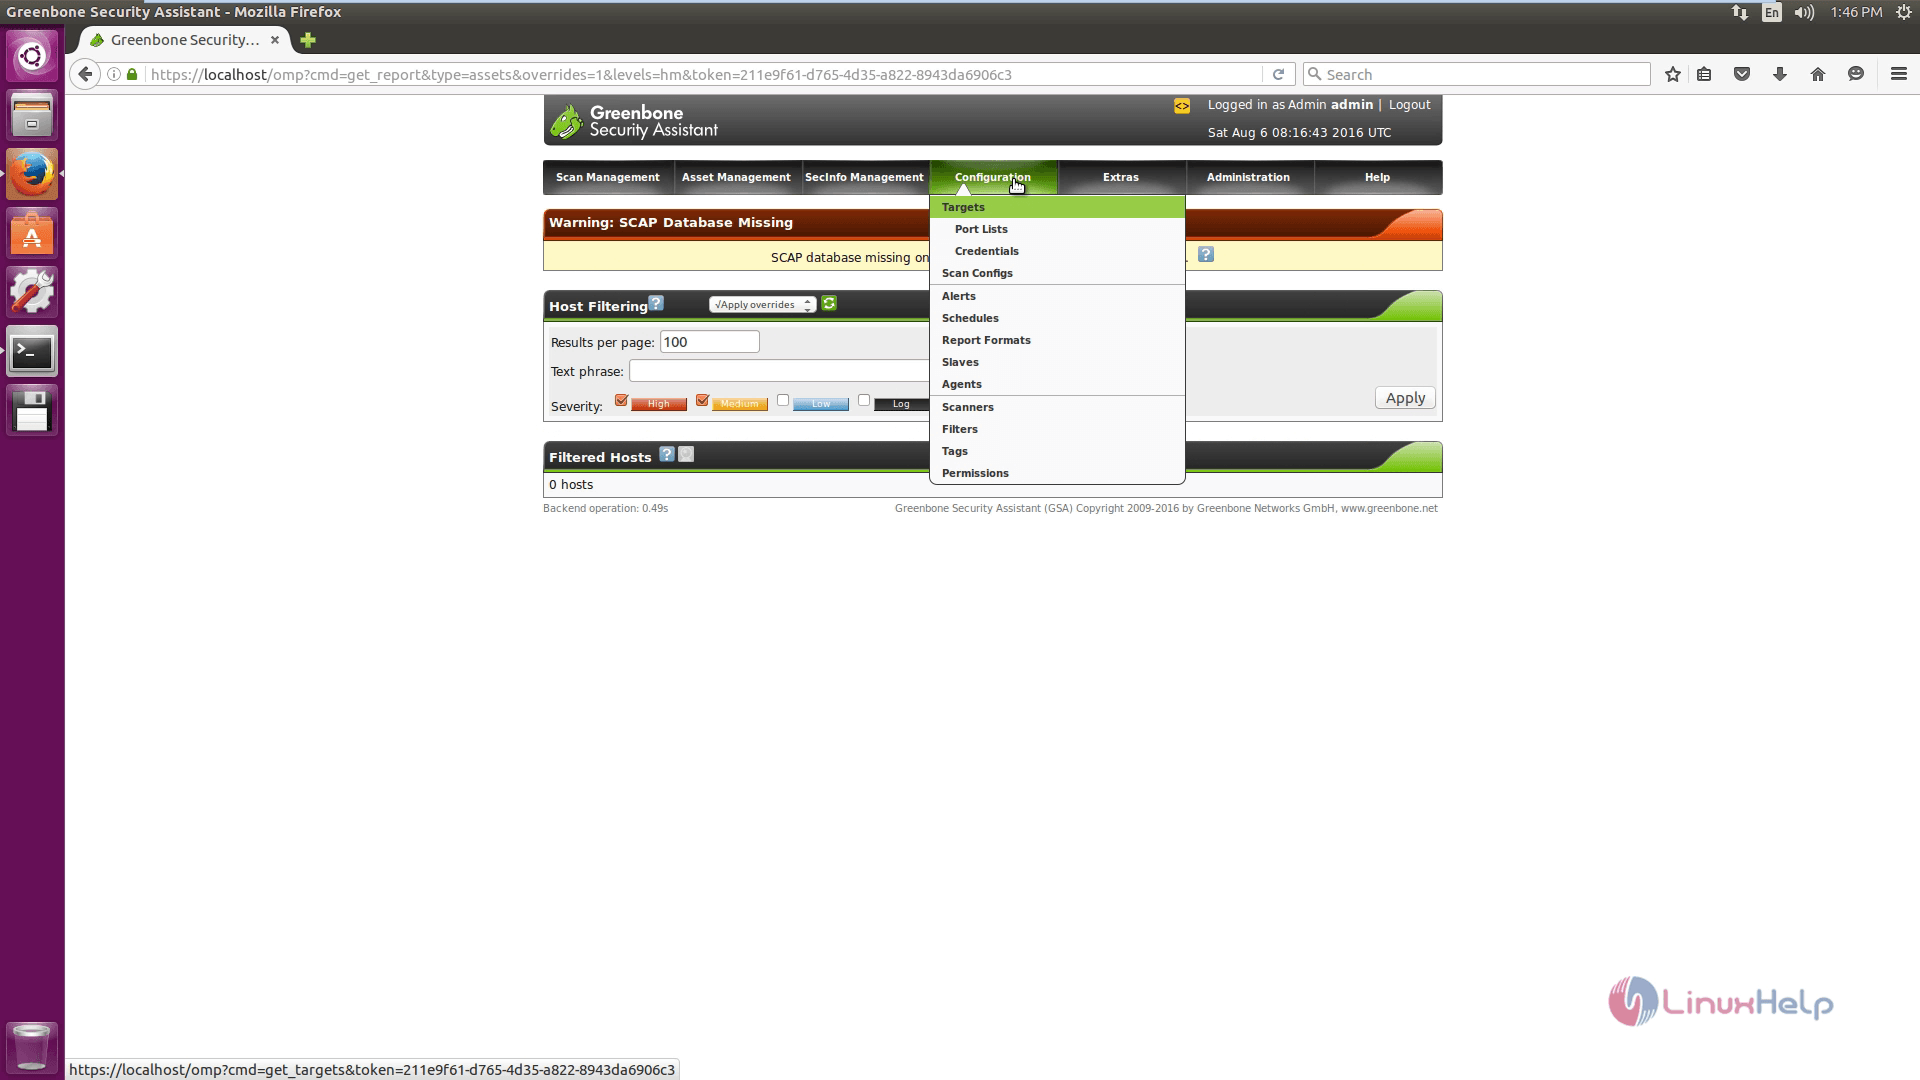
You can also see the OpenVAS configuration with the configuration option.
Comments ( 0 )
No comments available