How to install Opennms on Ubuntu 18.04
Opennms Installation on Ubuntu 18.04
OpenNMS is a highly integrated, open-source, and enterprise-grade network management system that can be used to monitor and manage numerous devices from a single instance. It checks all services available, isolating problems, collecting performance information, and performing actions that can help to resolve outages.
Installation
Download and Install OpenNMS by using following url.
root@linuxhelp1:~# wget https://github.com/opennms-forge/opennms-install/archive/master.zip
Now extract the downlaod package by using unzip command.
root@linuxhelp1:~# unzip master.zip
Archive: master.zip
33e5138d33912a5ce9faf260a411cc7a20e44ead
creating: opennms-install-master/
extracting: opennms-install-master/.gitignore
inflating: opennms-install-master/LICENSE
inflating: opennms-install-master/README.adoc
inflating: opennms-install-master/bootstrap-debian-dev.sh
inflating: opennms-install-master/bootstrap-debian.sh
inflating: opennms-install-master/bootstrap-yum.sh
After extracting the zip package move inside the extracted directory
root@linuxhelp1:~# cd opennms-install-master
root@linuxhelp1:~/opennms-install-master# bash bootstrap-debian.sh
No LSB modules are available.

This script installs OpenNMS on  your system. It will
install  all  components necessary  to  run  OpenNMS.

The following components will be installed:

 - Oracle Java 8 JDK
 - PostgreSQL Server
 - OpenNMS Repositories
 - OpenNMS with core services and Webapplication
 - Initialize and bootstrapping the database
 - Start OpenNMS

If you have OpenNMS already installed, don't use this script!

If you get any errors during the install procedure please visit the
bootstrap.log where you can find detailed error messages for
diagnose and bug reporting.

Bugs or enhancements can be reported here:

 - https://github.com/opennms-forge/opennms-install/issues -

If you want to proceed, type YES: YES
.
.
.
.
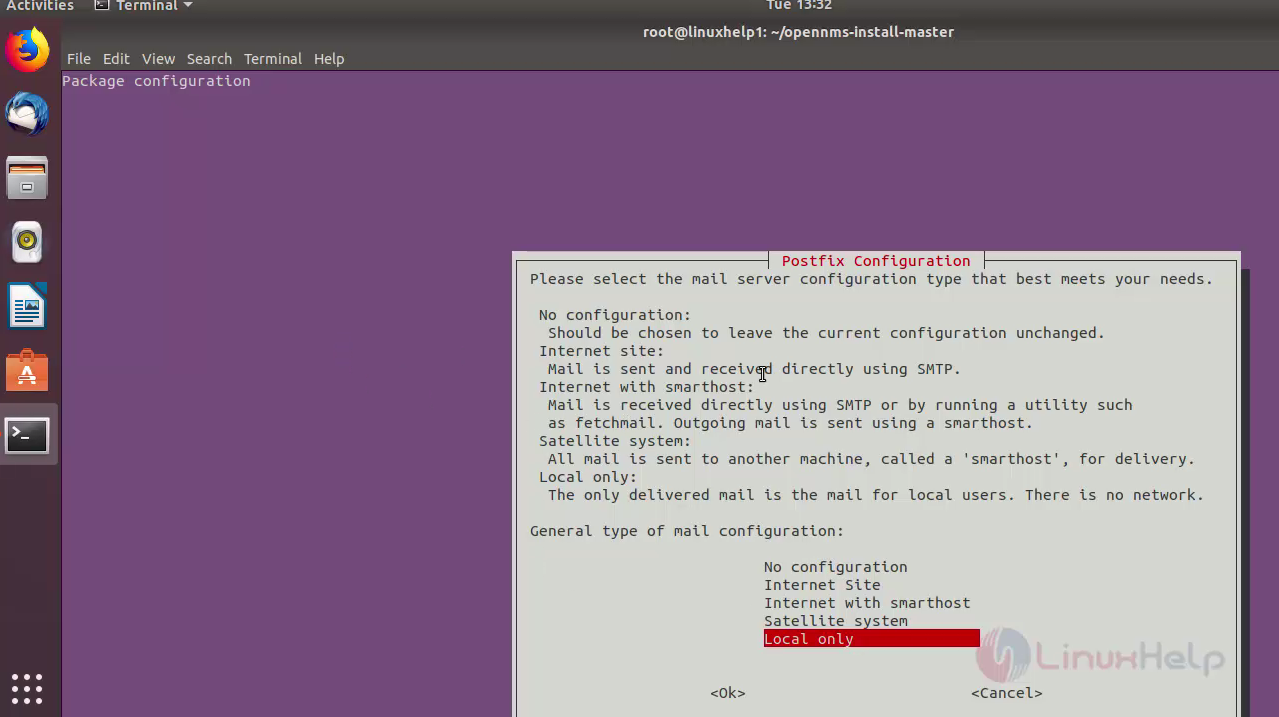
Enter your postfix configuration settings
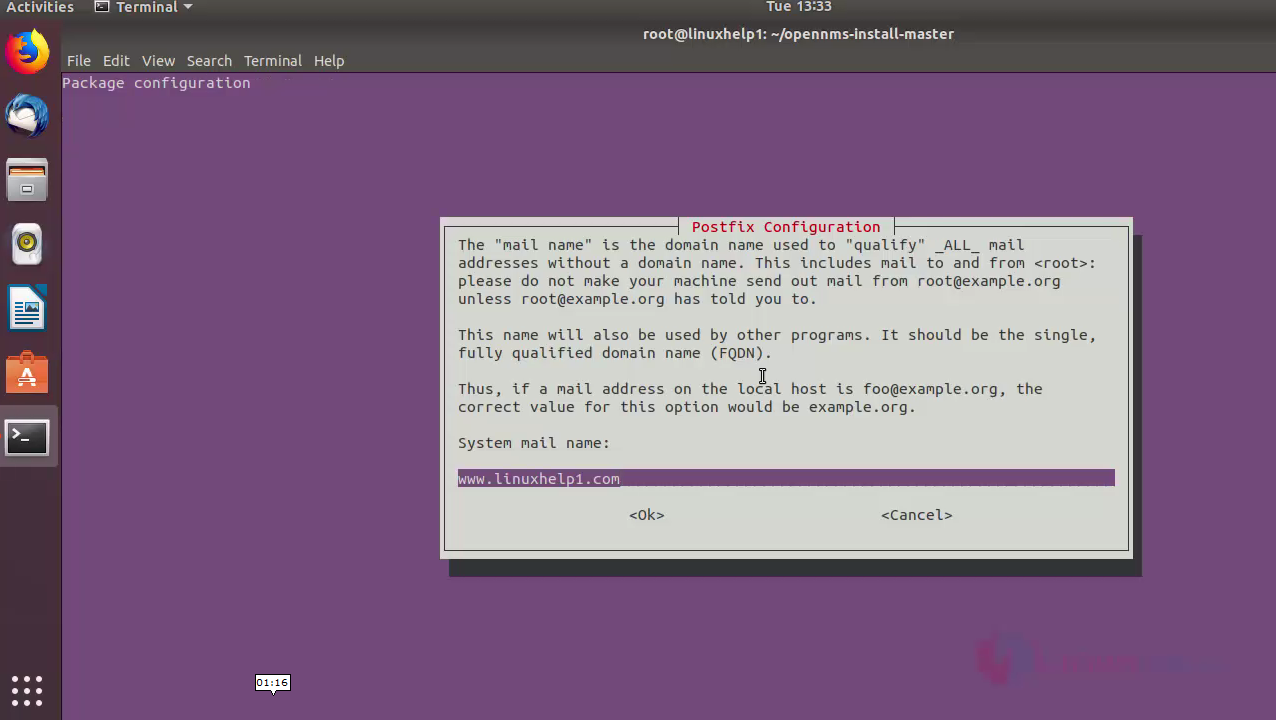
 Similarly system mail name
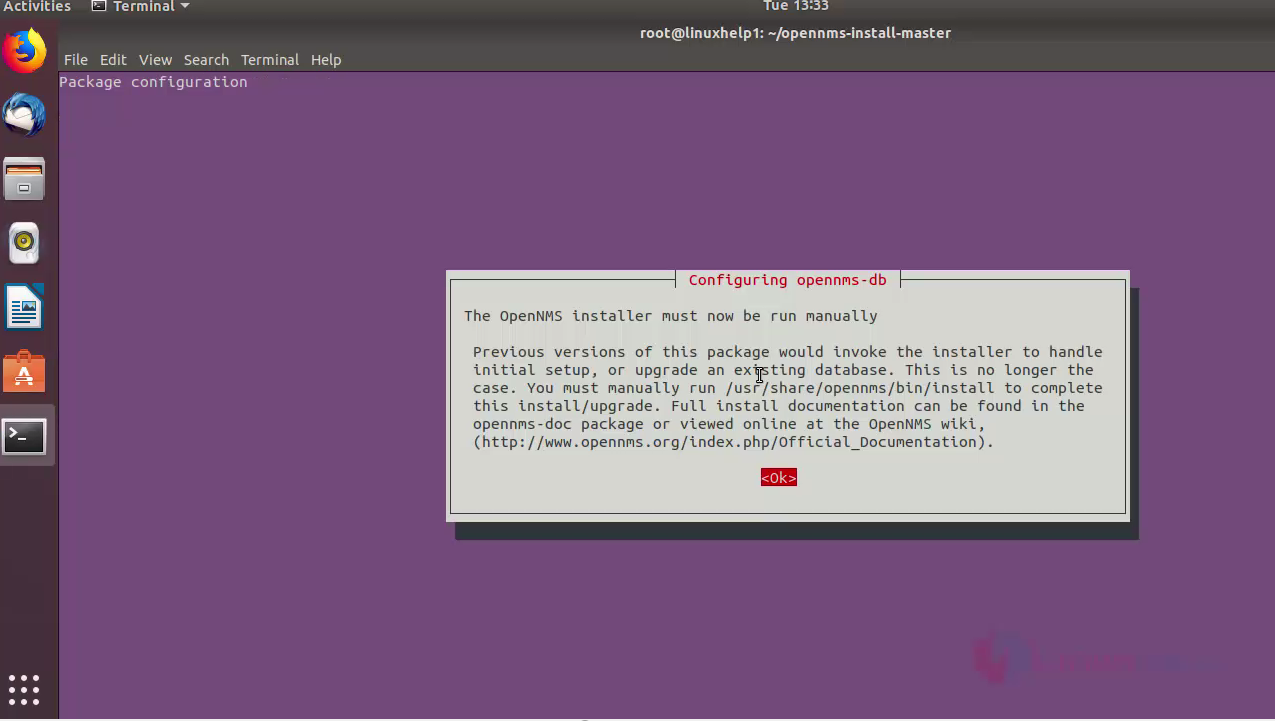
Next on configuring opennms-db press “ok” and approve it
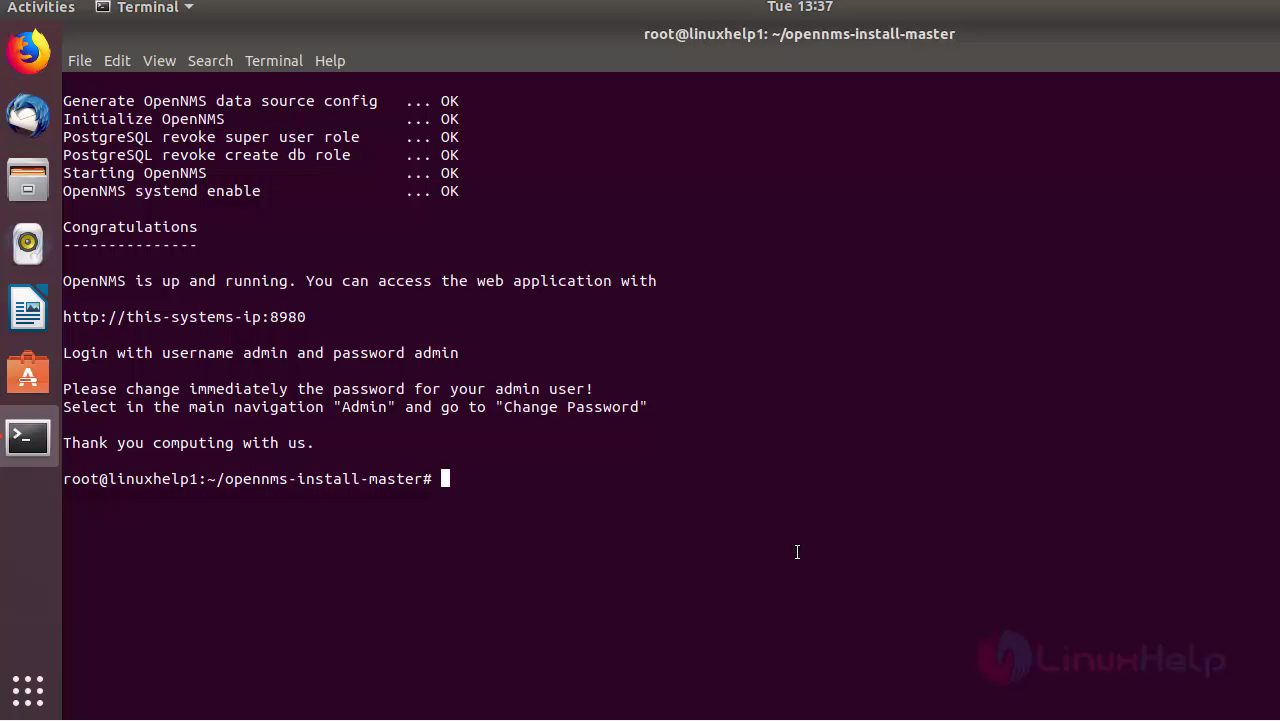
After this process goes continuously and at last you will get a “congratulations” prompt message
After executing the script finish all the remaining insallation by executing the following command
root@linuxhelp1:~/opennms-install-master# /usr/share/opennms/bin/install –dis
.
.
.
  Ignoring: The 'eventParms' column no longer exists
Processing MonitoringLocationsMigratorOffline: Moves monitoring locations from monitoring-locations.xml into the monitoringlocations tables in the database
  Task MonitoringLocationsMigratorOffline has been executed at Tue Aug 28 11:13:54 IST 2018
Processing DataCollectionConfigMigrator17Offline: Fixes the missing resource types on datacollection-config.xml. See NMS-7816.
  Task DataCollectionConfigMigrator17Offline has been executed at Tue Aug 28 11:13:57 IST 2018
Processing EOLServiceConfigMigratorOffline: Fixes service-configuration.xml if necessary when upgrading to 17.0.0: HZN-545
  Task EOLServiceConfigMigratorOffline has been executed at Tue Aug 28 11:13:57 IST 2018
Processing DiscoveryConfigurationMigratorOffline: Removes the 'threads' attribute from discovery-configuration.xml. See HZN-599.
  Task DiscoveryConfigurationMigratorOffline has been executed at Tue Aug 28 11:13:57 IST 2018
Processing MagicUsersMigratorOffline: Moves security roles from magic-users.properties into the users.xml file: HZN-871
  Task MagicUsersMigratorOffline has been executed at Tue Aug 28 11:13:57 IST 2018
Processing DiscoveryConfigurationLocationMigratorOffline: Changes the name for the default location from 'localhost' to 'Default'. See HZN-940.
  Task DiscoveryConfigurationLocationMigratorOffline has been executed at Tue Aug 28 11:13:57 IST 2018

Upgrade completed successfully!
Finally open the port in firewall
root@linuxhelp1:~/opennms-install-master# ufw allow 8980
Rules updated
Rules updated (v6)
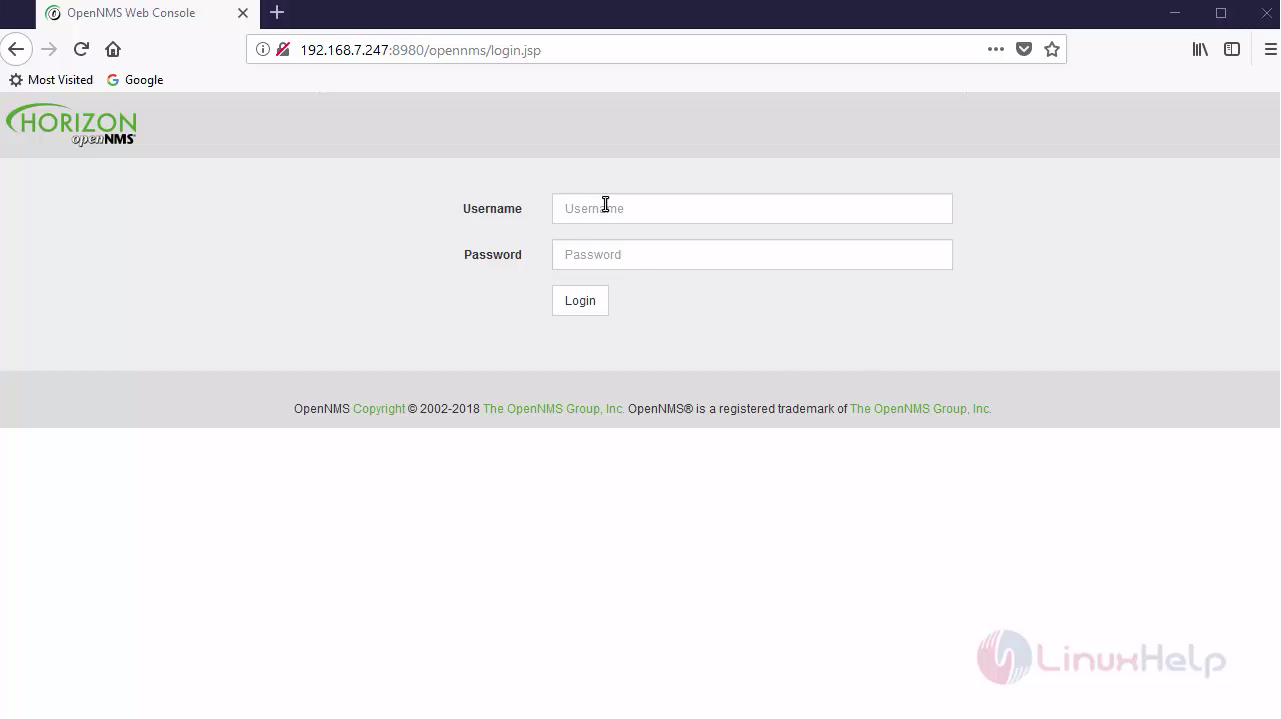
Now access the web interface via http://serverip or hostname :8980
Default username and password is admin
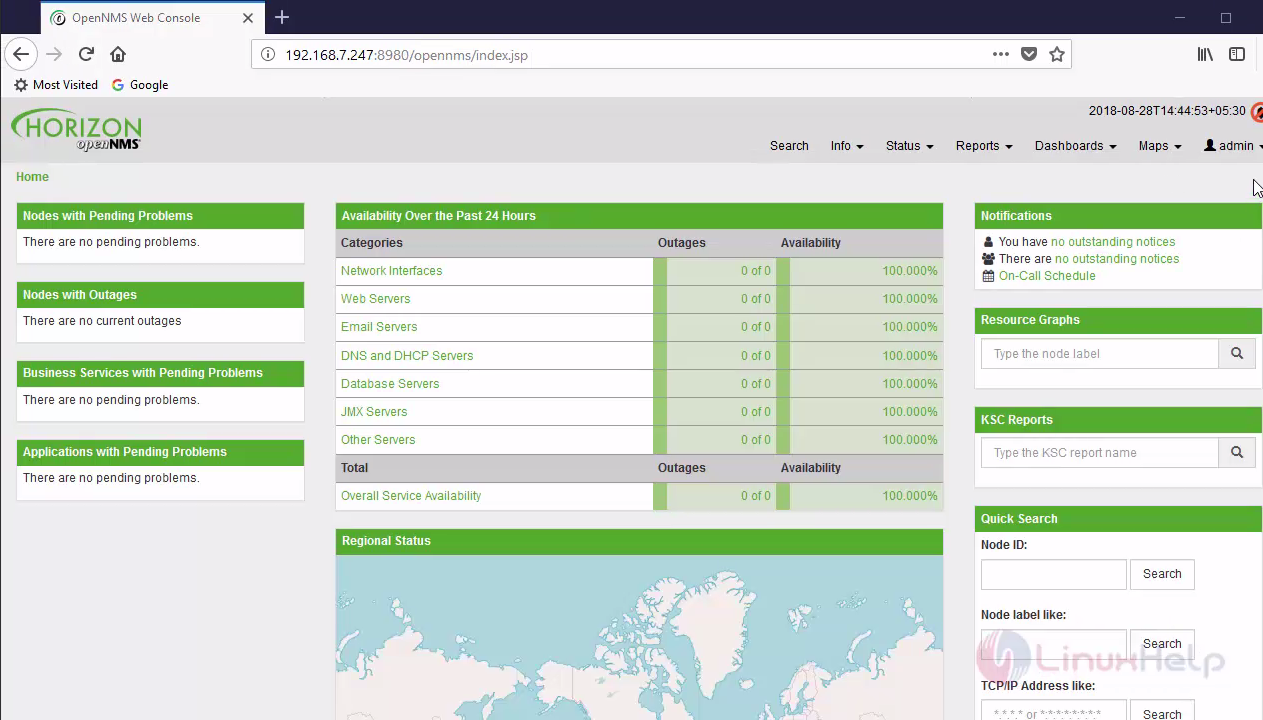
Now you home page looks like this
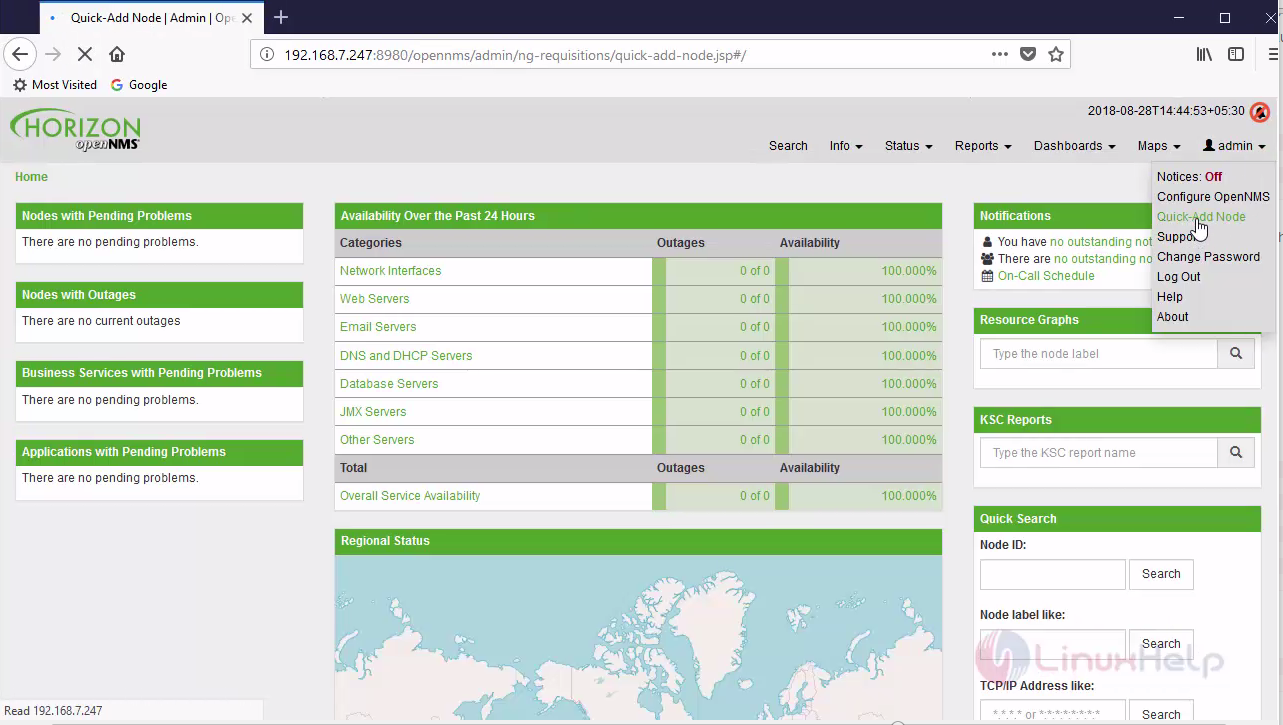
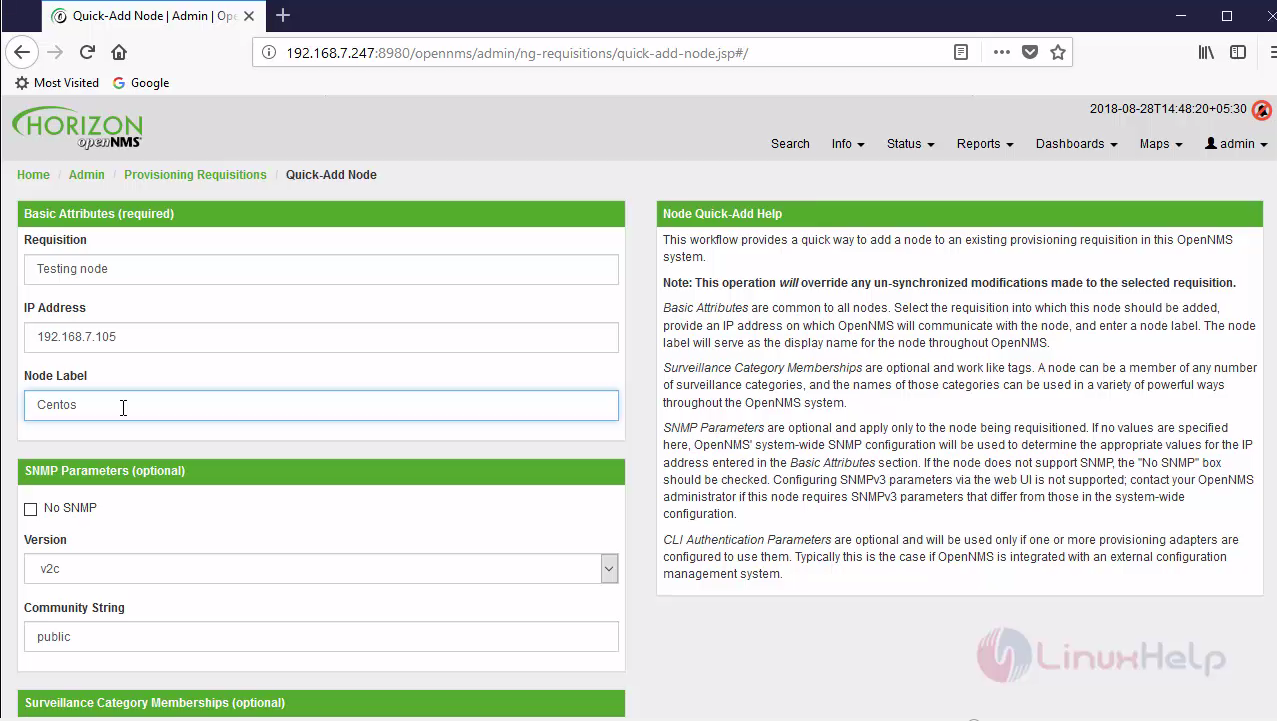
In order to add new node go to the admin menu and select “Quick-AddNode”
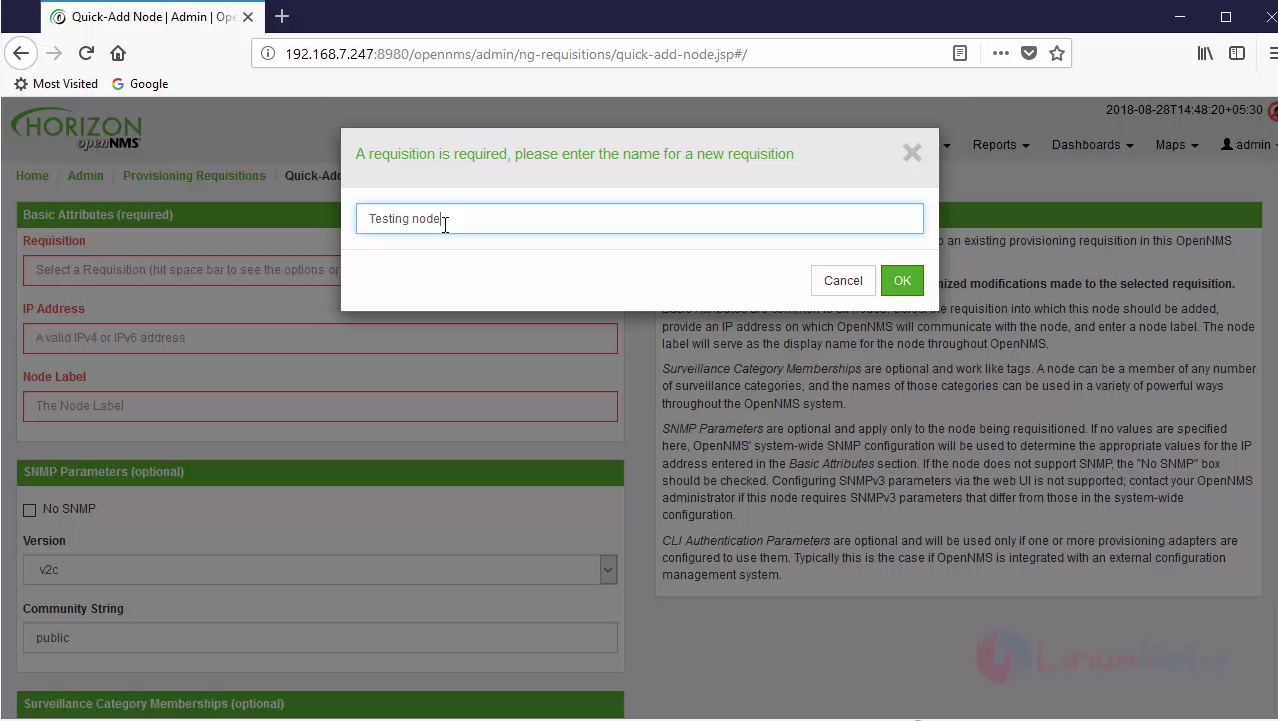
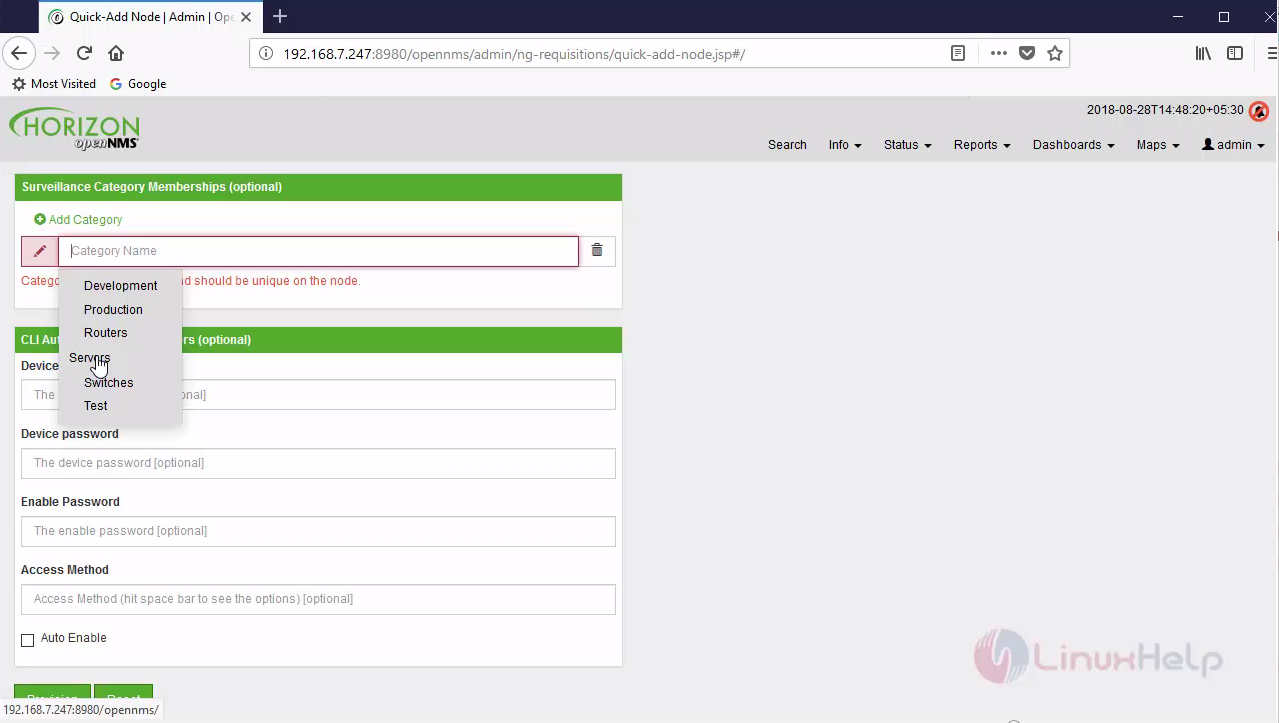
Next enter Requisition name followed by IP address snmp setting enabling and surveillance category
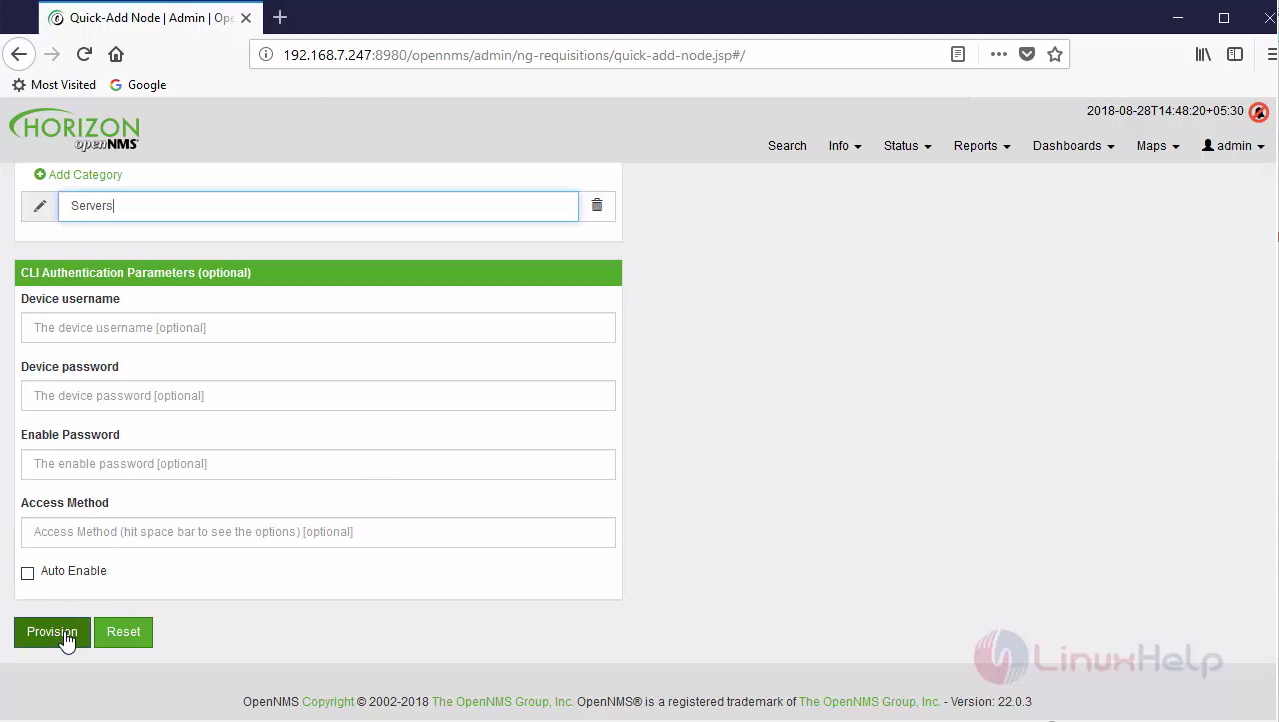
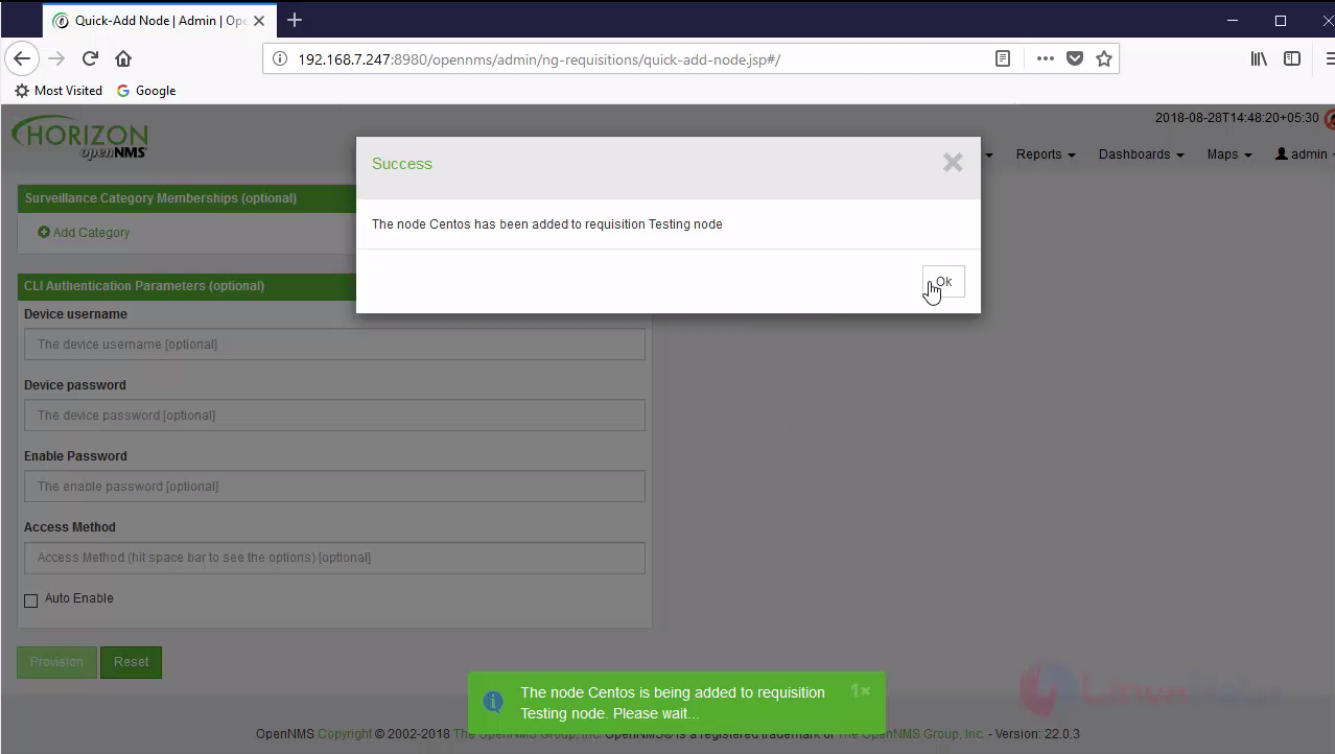
After running your provision your node gets added successfully
 View the node details and associated services at
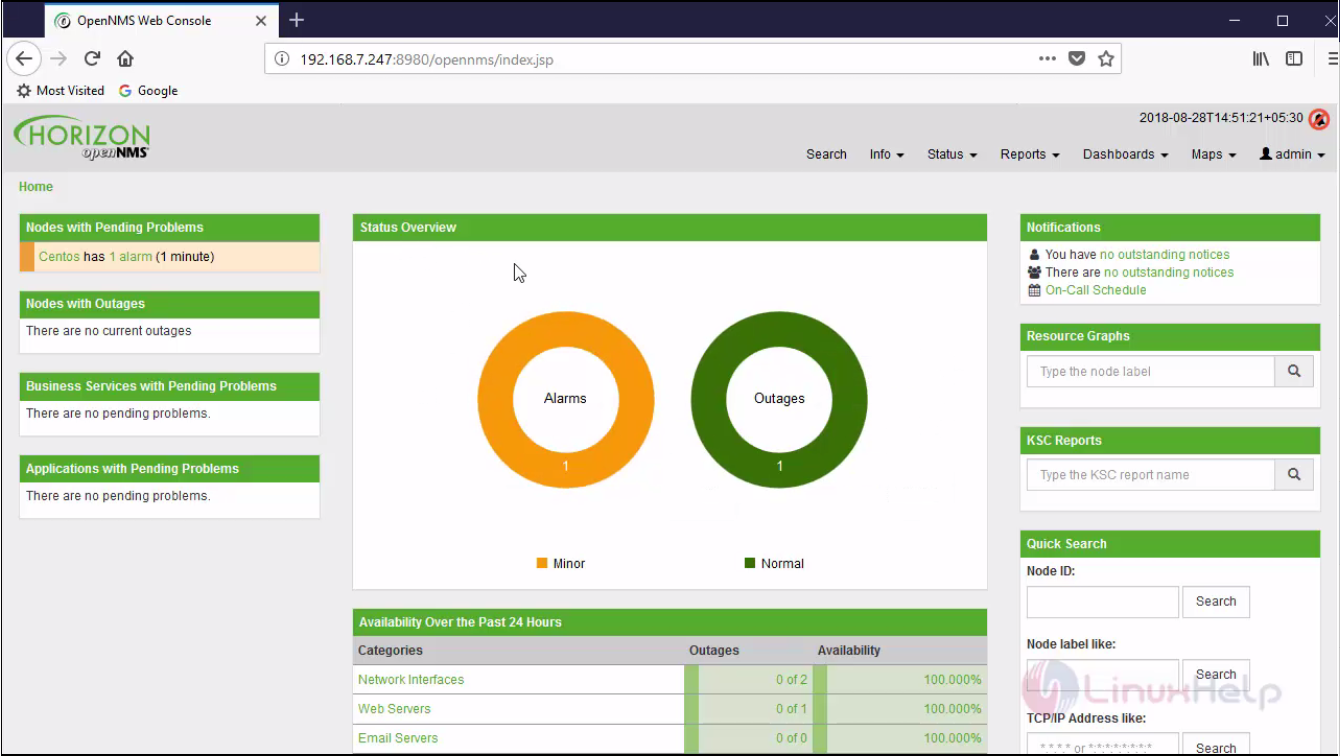
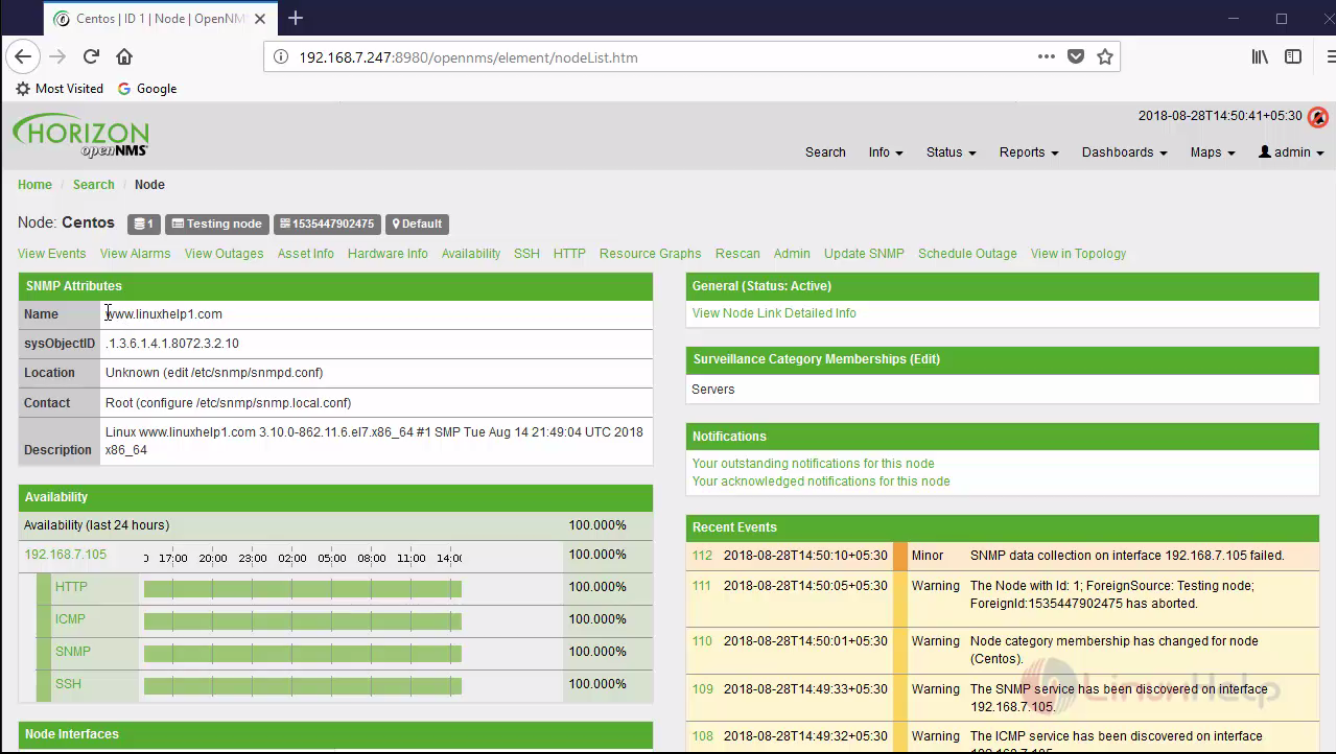 Finally overall status view will be like
 With this, the method to install Opennms on Ubuntu 18.04 comes to an end.
Comments ( 0 )
No comments available