How to install Ntopng on Ubuntu 16.04
How to install Ntopng on Ubuntu 16.04
In the preceding article, we saw the installation procedure of Ntopng on CentOS 6.9. The Ntopng is an open-source network traffic monitoring system that provides a web interface for real-time network monitoring. Ntopng provides several tools for monitoring various protocols, traffic variants and bandwidth across multiple time frames. You can install ntopng on any monitoring server connected to your network and use a web browser to access real-time traffic reports available on the server. This tutorial covers the ground on the installation procedure of Ntopng on Ubuntu 16.04.
Installation procedure
Before starting the installation procedure, Update the system by executing the apt-get update command.
root@linuxhelp1:~# apt-get update
The target system is updated with the required repositories. Next, install the Ntopng service by running the following commands.
root@linuxhelp1:~# apt-get install ntopng
Reading package lists... Done
Building dependency tree
Reading state information... Done
Suggested packages:
  geoip-database-contrib
The following NEW packages will be installed:
  ntopng
0 upgraded, 1 newly installed, 0 to remove and 522 not upgraded.
Need to get 0 B/206 kB of archives.
.
.
.
Processing triggers for man-db (2.7.5-1) ...
Setting up ntopng (2.2+dfsg1-1build1) ..
Your system is now updated with the repositories needed for installation. Now go to the default ntopng.conf configuration file using a vim editor and add the following contents in the file.
root@linuxhelp1:~# vim /etc/ntopng.conf
 This configuration file is similar to the command line, with the exception
# that an equal sign ' ='  must be used between key and value. Example: -i=p1p2
# or --interface=p1p2 For options with no value (e.g. -v) the equal is also
# necessary. Example: " -v="  must be used.
#
# DO NOT REMOVE the following option, required for daemonization.
-e=
# * Interfaces to sniff on: one interface per line, prefix with -i=
# E.g.
-i=ens33
#-i=wlan0
# If none is specified, ntopng will try to auto-detect the best interface.
#
# * Port on which ntopng will listen for the web-UI.
-w=3000
Restart the ntopng service by triggering the following command.
root@linuxhelp1:~# systemctl restart ntopng
You can also update the Firewall by executing the following allow command.
root@linuxhelp1:~#  ufw allow 3000
Skipping adding existing rule
Skipping adding existing rule (v6)
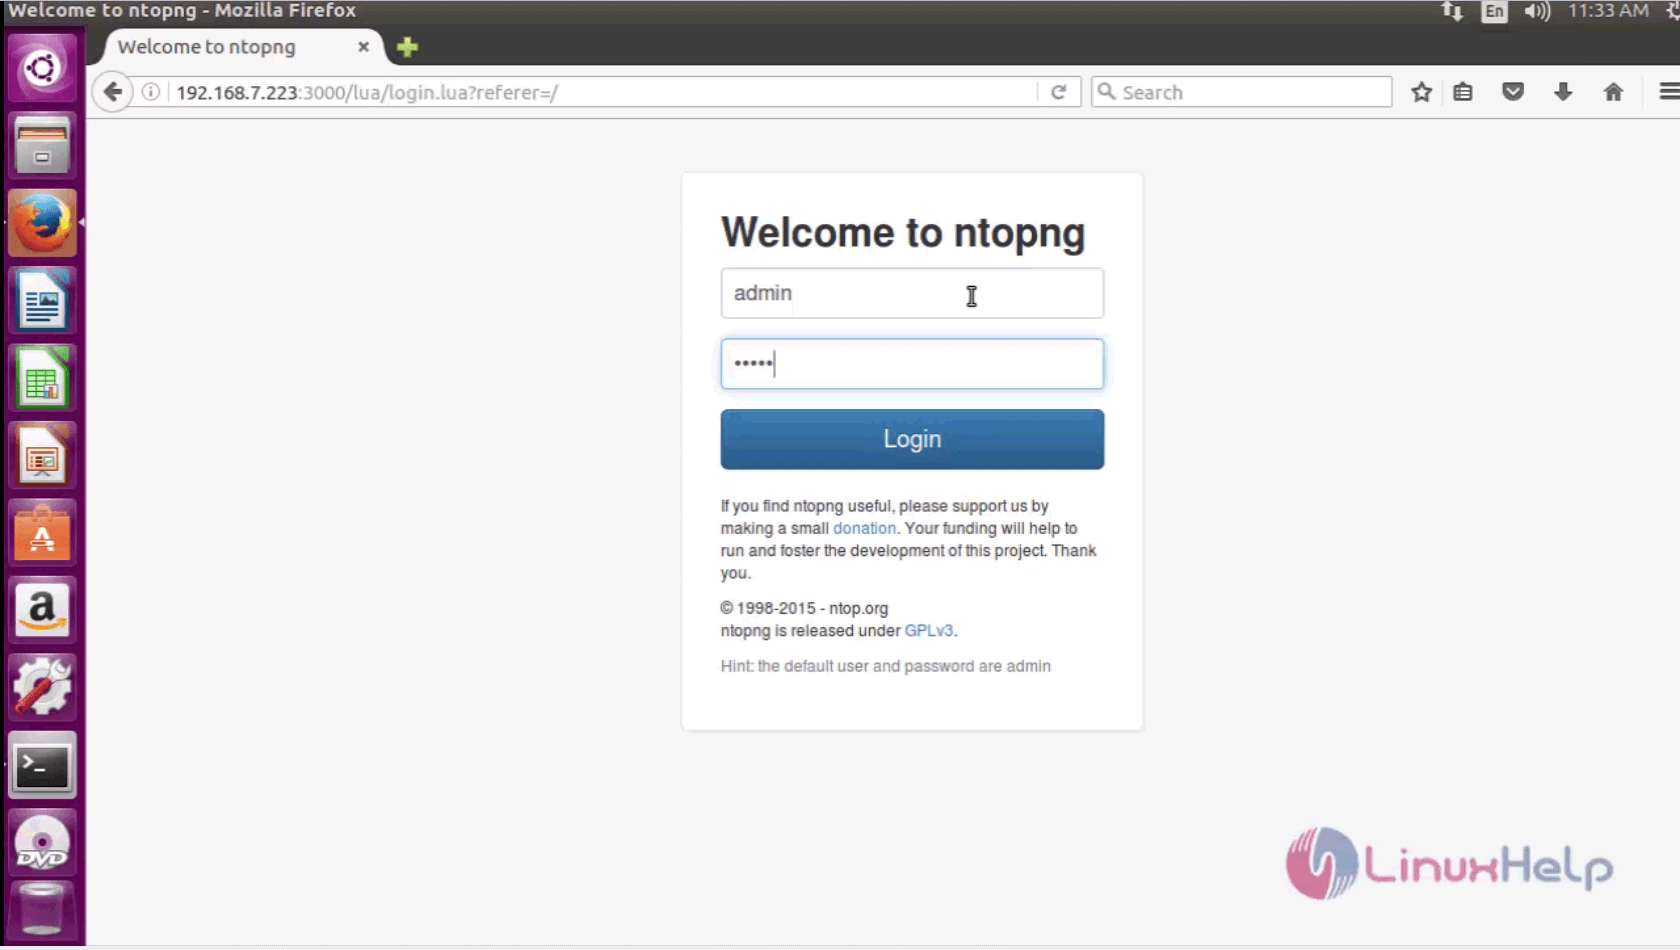
Now switch over to browser and provide http://192.168.7.223:3000 and run it. The Ntopng login page appears on the screen. Enter the required credentials, by default the username and password is “ admin” .
The Ntopng is running successfully on your system.
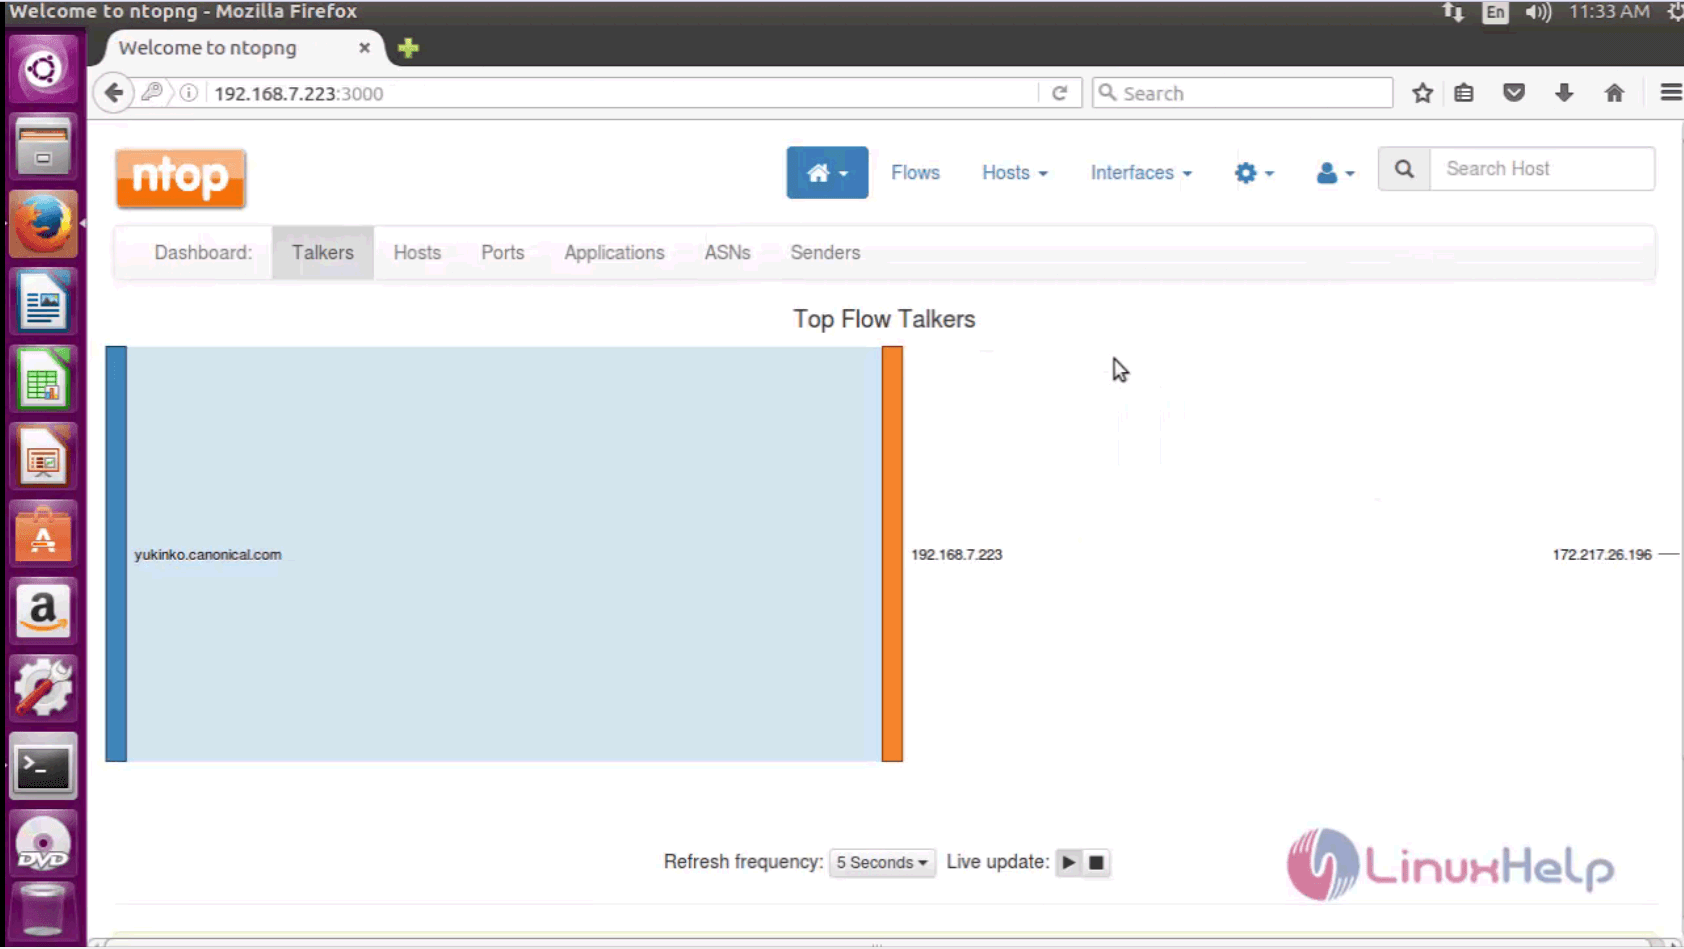
The installation procedure is complete. The Ntopng has an optional web interface that is written in Lua.


Comments ( 0 )
No comments available