How to Install Monstra CMS on Linux Mint 20
- 00:33 cat /etc/os-release
- 00:47 apt install apache2
- 01:04 systemctl start apache2
- 01:13 systemctl status apache2
- 02:30 systemctl status mysql
- 03:08 unzip dev.zip
- 03:17 mv monstra-dev /var/www/monstra
- 03:49 chmod -R 755 /var/www/monstra
- 05:41 a2dissite 000-default.conf
- 05:53 a2ensite monstra.conf
- 06:04 a2enmod rewrite
- 06:12 systemctl restart apache2
To Install Monstra CMS on Linux Mint 20
Introduction:
Monstra is an open-source, modern, and lightweight CMS application that is easy to install, upgrade within a few steps. It contains various apps for plugins, themes, and core development. It also supports several administrators, editors, and users. This tutorial covers the installation of Monstra CMS on Linuxmint 20
Installation Procedure:
Now check the version of the OS
root@linuxhelp:~# cat /etc/os-release
NAME="Linux Mint"
VERSION="20 (Ulyana)"
ID=linuxmint
ID_LIKE=ubuntu
PRETTY_NAME="Linux Mint 20"
VERSION_ID="20"
Install the Monstra CMS, Then install the LAMP server. Finally install the Apache server
root@linuxhelp:~# apt install apache2
Reading package lists... Done
Building dependency tree
Reading state information... Done
The following additional packages will be installed:
  apache2-bin apache2-data apache2-utils libapr1 libaprutil1 libaprutil1-dbd-sqlite3 libaprutil1-ldap
Suggested packages:
  apache2-doc apache2-suexec-pristine | apache2-suexec-custom
The following NEW packages will be installed:
  apache2 apache2-bin apache2-data apache2-utils libapr1 libaprutil1 libaprutil1-dbd-sqlite3 libaprutil1-ldap
0 upgraded, 8 newly installed, 0 to remove and 363 not upgraded.
Need to get 1,713 kB of archives.
After this operation, 7,494 kB of additional disk space will be used.
Do you want to continue? [Y/n] y
Get:1 http://archive.ubuntu.com/ubuntu focal/main amd64 libapr1 amd64 1.6.5-1ubuntu1 [91.4 kB]
Get:2 http://archive.ubuntu.com/ubuntu focal/main amd64 libaprutil1 amd64 1.6.1-4ubuntu2 [84.7 kB]
Get:3 http://archive.ubuntu.com/ubuntu focal/main amd64 libaprutil1-dbd-sqlite3 amd64 1.6.1-4ubuntu2 [10.5 kB]
Once the apache service is installed now I am going to start the apache2 service by using following command
root@linuxhelp:~# systemctl start apache2
Install the MariaDB server by using the following command
root@linuxhelp:~# apt install mariadb-server
Reading package lists... Done
Building dependency tree
Reading state information... Done
The following additional packages will be installed:
  galera-3 libconfig-inifiles-perl libdbd-mysql-perl libdbi-perl libhtml-template-perl libterm-readkey-perl
  mariadb-client-10.3 mariadb-client-core-10.3 mariadb-common mariadb-server-10.3 mariadb-server-core-10.3 socat
Suggested packages:
  libmldbm-perl libnet-daemon-perl libsql-statement-perl libipc-sharedcache-perl mailx mariadb-test tinyca
The following NEW packages will be installed:
  galera-3 libconfig-inifiles-perl libdbd-mysql-perl libdbi-perl libhtml-template-perl libterm-readkey-perl
  mariadb-client-10.3 mariadb-client-core-10.3 mariadb-common mariadb-server mariadb-server-10.3
Processing triggers for systemd (245.4-4ubuntu3) ...
Processing triggers for man-db (2.9.1-1) ...
Processing triggers for doc-base (0.10.9) ...
Processing 1 added doc-base file...
Once the mariadb server is installed. Now create a credentials of MySQL server
root@linuxhelp:~# mysql_secure_installation
Enter current password for root (enter for none):
OK, successfully used password, moving on...
Setting the root password ensures that nobody can log into the MariaDB
root user without the proper authorisation.
Set root password? [Y/n]
New password:
Re-enter new password:
Sorry, passwords do not match.
New password:
Re-enter new password:
Password updated successfully!
Reloading privilege tables..
 ... Success!
By default, a MariaDB installation has an anonymous user, allowing anyone
to log into MariaDB without having to have a user account created for
them.  This is intended only for testing, and to make the installation
go a bit smoother.  You should remove them before moving into a
production environment.
Remove anonymous users? [Y/n] y
 ... Success!
Normally, root should only be allowed to connect from 'localhost'.  This
ensures that someone cannot guess at the root password from the network.
Disallow root login remotely? [Y/n] y
 ... Success!
By default, MariaDB comes with a database named 'test' that anyone can
access.  This is also intended only for testing, and should be removed
before moving into a production environment.
Remove test database and access to it? [Y/n] y
 - Dropping test database...
 ... Success!
 - Removing privileges on test database...
 ... Success!
Reloading the privilege tables will ensure that all changes made so far
will take effect immediately.
Reload privilege tables now? [Y/n] y
 ... Success!
Cleaning up...
All done!  If you've completed all of the above steps, your MariaDB
installation should now be secure
Now restart maroiadb
root@linuxhelp:~# systemctl start mysql
Now I am going to install php and its modules by using following command
root@linuxhelp:~# apt install php php-xml php-mysql php-mcrypt php-mbstring php-zip php-soap php-curl php-gd php-ldap php-imap php-common
Reading package lists... Done
Building dependency tree
Reading state information... Done
The following additional packages will be installed:
  libapache2-mod-php7.4 php-common php7.4 php7.4-cli php7.4-common php7.4-json php7.4-mysql php7.4-opcache
  php7.4-readline
Suggested packages:
  php-pear
The following NEW packages will be installed:
  libapache2-mod-php libapache2-mod-php7.4 php php-common php-mysql php7.4 php7.4-cli php7.4-common php7.4-json
  php7.4-mysql php7.4-opcache php7.4-readline
0 upgraded, 12 newly installed, 0 to remove and 363 not upgraded.
Need to get 4,144 kB of archives.
After this operation, 18.5 MB of additional disk space will be used.
Do you want to continue? [Y/n] y
Get:1 http://archive.ubuntu.com/ubuntu focal/main amd64 php-common all 2:75 [11.9 kB]
.
.
Setting up libapache2-mod-php (2:7.4+75) ...
Setting up php (2:7.4+75) ...
Processing triggers for man-db (2.9.1-1) ...
Processing triggers for php7.4-cli (7.4.3-4ubuntu2.4) ...
Processing triggers for libapache2-mod-php7.4 (7.4.3-4ubuntu2.4) ...
Now restart the apache2 service by using the following command
root@linuxhelp:~# systemctl restart apache2
Now download the Monstra CMS package by using the following command
root@linuxhelp:~# wget https://github.com/monstra-cms/monstra/archive/dev.zip
--2019-07-18 01:40:45--  https://github.com/monstra-cms/monstra/archive/dev.zip
Resolving github.com (github.com)... 13.234.176.102
Connecting to github.com (github.com)|13.234.176.102|:443... connected.
HTTP request sent, awaiting response... 302 Found
Location: https://codeload.github.com/monstra-cms/monstra/zip/dev [following]
--2019-07-18 01:40:47--  https://codeload.github.com/monstra-cms/monstra/zip/dev
Resolving codeload.github.com (codeload.github.com)... 140.82.114.10
Connecting to codeload.github.com (codeload.github.com)|140.82.114.10|:443... connected.
HTTP request sent, awaiting response... 200 OK
Length: unspecified [application/zip]
Saving to: ‘dev.zip’
dev.zip                          [                              <=>              ]   1.63M  6.78KB/s    in 3m 13s
2019-07-18 01:44:01 (8.65 KB/s) - ‘dev.zip’ saved [1706085]
Now extract the dev.zip package by using the following command
root@linuxhelp:~# unzip dev.zip
Archive:  dev.zip
1ff51860eaba83e8ab91d5deb1d6b157e0847455
   creating: monstra-dev/
  inflating: monstra-dev/.gitignore
  inflating: monstra-dev/.htaccess
  inflating: monstra-dev/CHANGELOG.md
  inflating: monstra-dev/LICENSE.md
  inflating: monstra-dev/README.md
   creating: monstra-dev/admin/
.
.
   creating: monstra-dev/tmp/cache/
 extracting: monstra-dev/tmp/cache/.empty
   creating: monstra-dev/tmp/logs/
 extracting: monstra-dev/tmp/logs/.empty
   creating: monstra-dev/tmp/minify/
 extracting: monstra-dev/tmp/minify/.empty
 extracting: monstra-dev/tmp/minify/.htaccess
Now move the monster-dev directory to the Apache root directory by using the following command
root@linuxhelp:~# mv monstra-dev /var/www/monstra
Now set the ownership and permission to the Monstra CMS
root@linuxhelp:~# chown -R www-data.www-data /var/www/monstra
root@linuxhelp:~# chmod -R 755 /var/www/monstra
Now configure the virtualhost for access the Monstra CMS by using the following command
root@linuxhelp:~# vi /etc/apache2/sites-available/monstra.conf
<Virtualhost *:80>
        Servername www.linuxhelp1.com
        Documentroot /var/www/monstra
<directory /var/www/monstra>
allowoverride all
allow from all
</directory>
</virtualhost>
Now default the site access for the Apache2 by using the following command
root@linuxhelp:~# a2dissite 000-default.conf
Site 000-default disabled.
To activate the new configuration, you need to run:
  systemctl reload apache2
Now enable the site access for the monstra CMS by using the following command
root@linuxhelp:~# a2ensite monstra.conf
Enabling site monstra.
To activate the new configuration, you need to run:
  systemctl reload apache2
Now enable the rewrite module by using the following command
root@linuxhelp:~# a2enmod rewrite
Enabling module rewrite.
To activate the new configuration, you need to run:
  systemctl restart apache2
Now restart the apache2 service by using following command
Now restart the apache service
root@linuxhelp:~# systemctl restart apache2
open the browser for search host name
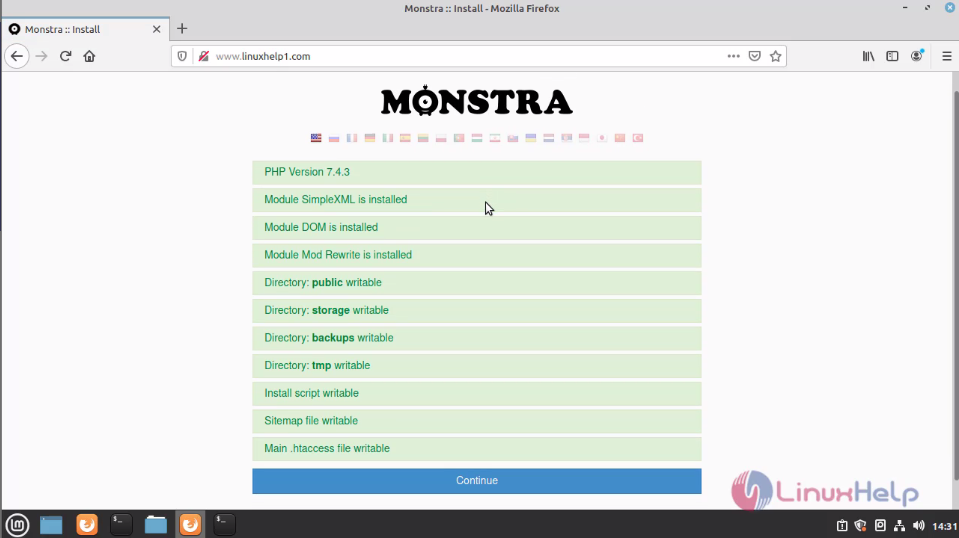
 This the installation page of the Monstra CMS
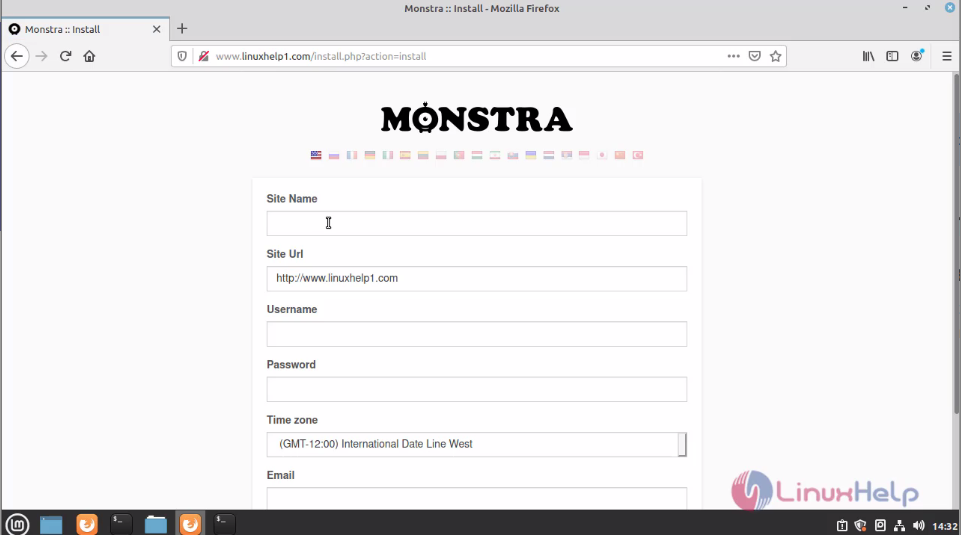
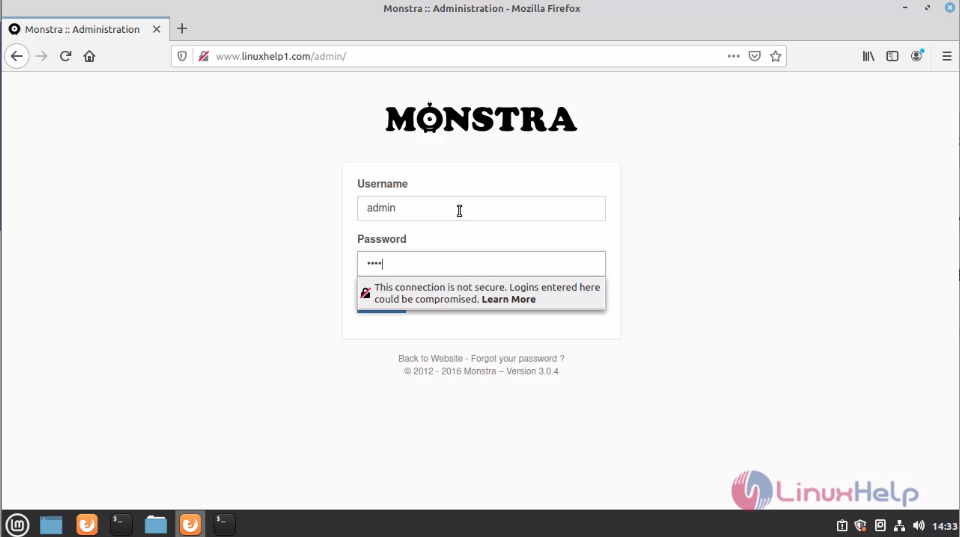
 Enter the admin credentials here
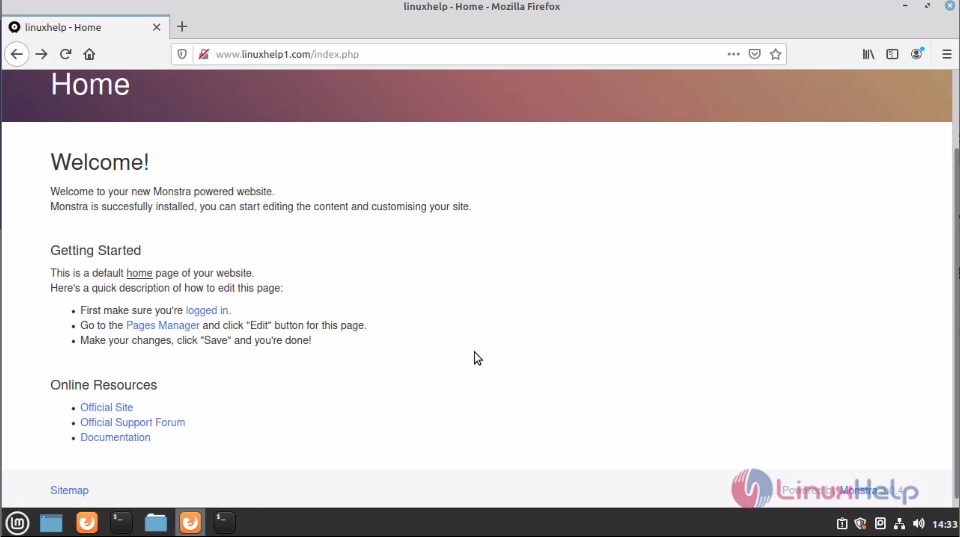
 This the Welcome page of the Monstra CMS
 Enter the admin credentials.
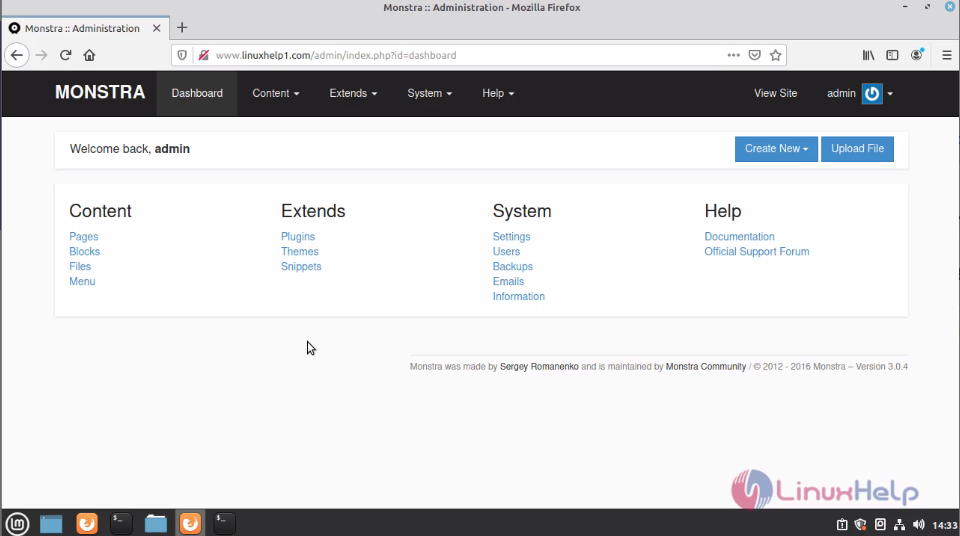
 This is the dashboard of Monstra CMS
With this, the method of installation of Monstra CMS on LinuxMint 20 comes to an end.


Comments ( 0 )
No comments available