How to install Mantis bug tracker on Ubuntu 17.04
To install Mantis bug tracker on Ubuntu 17.04
Mantis is a free and popular open source bug tracking system. It is written in PHP and supports all types of database server. It provides a professional dashboard to manage bugs assigned to the user. It supports powerful access control which provides per project base user access. It is very flexible so you can customize the issue fields, notifications, and workflow. Before installing the Mantis bug tracker, check whether the system contains a LAMP environement. This tutorial covers the ground on the installation procedure of Mantis bug tracker on Ubuntu 17.04.
Installation procedure
To proceed with the installation, open the PHP configuration file using the vim editor and execute the following changes. Save and exit the file.
root@linuxhelp:~# vim /etc/php/7.0/apache2/php.ini

date.timezone=Asia/Kolkata
upload_max_filesize = 50M
memory_limit = 128M
Download the package from it' s official website and run the wget command followed by the download link.
root@linuxhelp:~# wget wget https://excellmedia.dl.sourceforge.net/project/mantisbt/mantis-stable/2.4.0/mantisbt-2.4.0.zip
--2017-09-09 17:29:48--  http://wget/
Resolving wget (wget)... failed: Name or service not known.
wget: unable to resolve host address ‘ wget’
--2017-09-09 17:29:49--  https://excellmedia.dl.sourceforge.net/project/mantisbt/mantis-stable/2.4.0/mantisbt-2.4.0.zip
Resolving excellmedia.dl.sourceforge.net (excellmedia.dl.sourceforge.net)... 202.153.32.19
Connecting to excellmedia.dl.sourceforge.net (excellmedia.dl.sourceforge.net)|202.153.32.19|:443... connected.
HTTP request sent, awaiting response... 200 OK
Length: 17145201 (16M) [application/octet-stream]
Saving to: ‘ mantisbt-2.4.0.zip’

mantisbt-2.4.0.zip   100%[===================> ]  16.35M  1.12MB/s    in 17s
2017-09-09 17:30:07 (965 KB/s) - ‘ mantisbt-2.4.0.zip’  saved [17145201/17145201]

FINISHED --2017-09-09 17:30:07--
Total wall clock time: 19s
Downloaded: 1 files, 16M in 17s (965 KB/s)
Extract the downloaded package by running the following command.
root@linuxhelp:~# unzip mantis.zip -d /var/www/html/
root@linuxhelp:~# unzip mantisbt-2.4.0.zip
Archive:  mantisbt-2.4.0.zip
   creating: mantisbt-2.4.0/
  inflating: mantisbt-2.4.0/manage_config_workflow_page.php
  inflating: mantisbt-2.4.0/manage_user_proj_delete.php
  inflating: mantisbt-2.4.0/query_store.php
  inflating: mantisbt-2.4.0/manage_plugin_upgrade.php
   creating: mantisbt-2.4.0/scripts/
  inflating: mantisbt-2.4.0/scripts/travis_script.sh
  inflating: mantisbt-2.4.0/scripts/Web.config
.
.
.
.
inflating: mantisbt-2.4.0/doc/.htaccess
  inflating: mantisbt-2.4.0/doc/modern_view_issues.png
  inflating: mantisbt-2.4.0/doc/ace-theme-license.txt
  inflating: mantisbt-2.4.0/doc/modern_my_view.png
  inflating: mantisbt-2.4.0/doc/CREDITS
  inflating: mantisbt-2.4.0/manage_proj_create.php
Provide the owner permission and read write execution permission for Apache root Directory by executing the following command. Also move the file to the Apache directory.
root@linuxhelp:~# chown -R www-data:www-data /var/www/html/
root@linuxhelp:~# chmod -R 777 /var/www/html/
root@linuxhelp:/var/www/html# mv mantisbt-2.1.0/ /var/www/html/mantis
Open a Apache virtual configuration file named mantis.conf using vim editor. Enter the following contents into the file and save it.
root@linuxhelp:/var/www/html# vim /etc/apache2/sites-available/mantis.conf

< VirtualHost *:80>
DocumentRoot " /var/www/html/mantis"
ServerName 192.168.7.218
ErrorLog " /var/log/apache2/mantis-error_log"
CustomLog " /var/log/apache2/mantis-access_log"  combined
< Directory " /var/www/html/mantis/" >
DirectoryIndex index.php index.html
Options FollowSymLinks
AllowOverride All
Require all granted
< /Directory>
< /VirtualHost>
Now restart your Apache service.
root@linuxhelp:/var/www/html# systemctl restart apache2
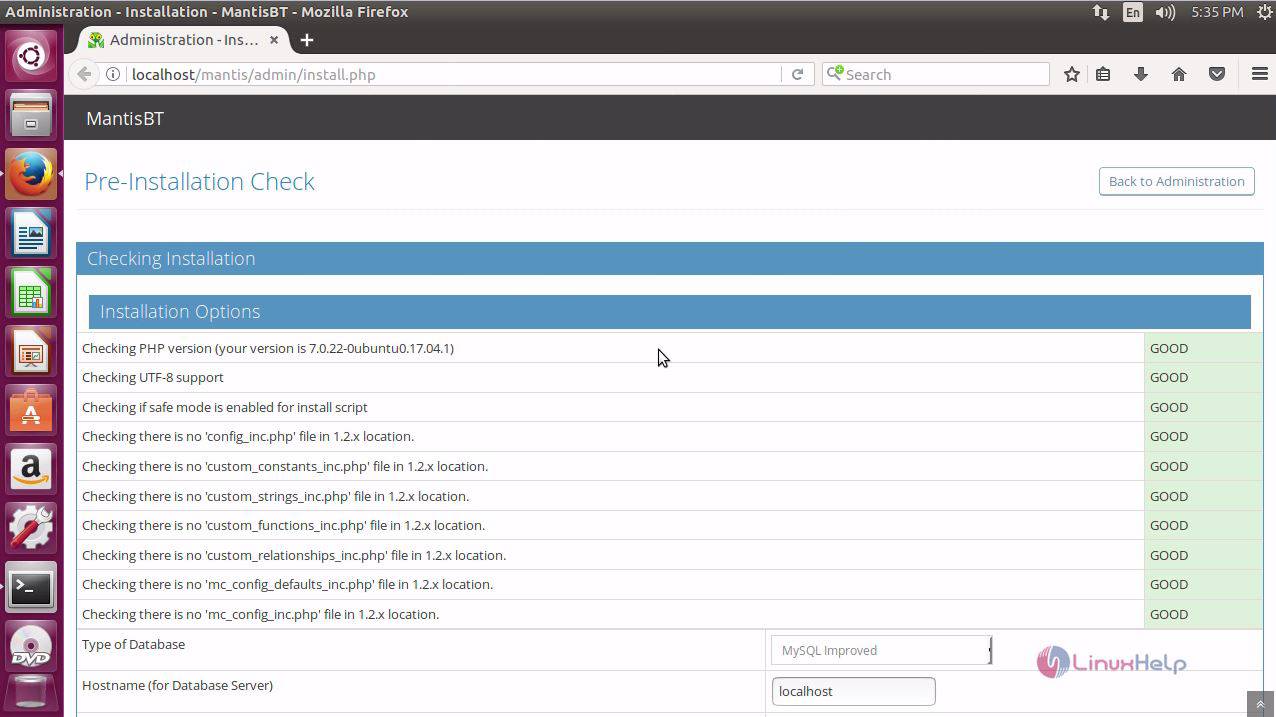
Switch over to your browser and provide the URL as localhost/mantis. It will lead to the installation page of mantis. This page contains a list of pre-installation checks and installation options to be seen before starting the installation.
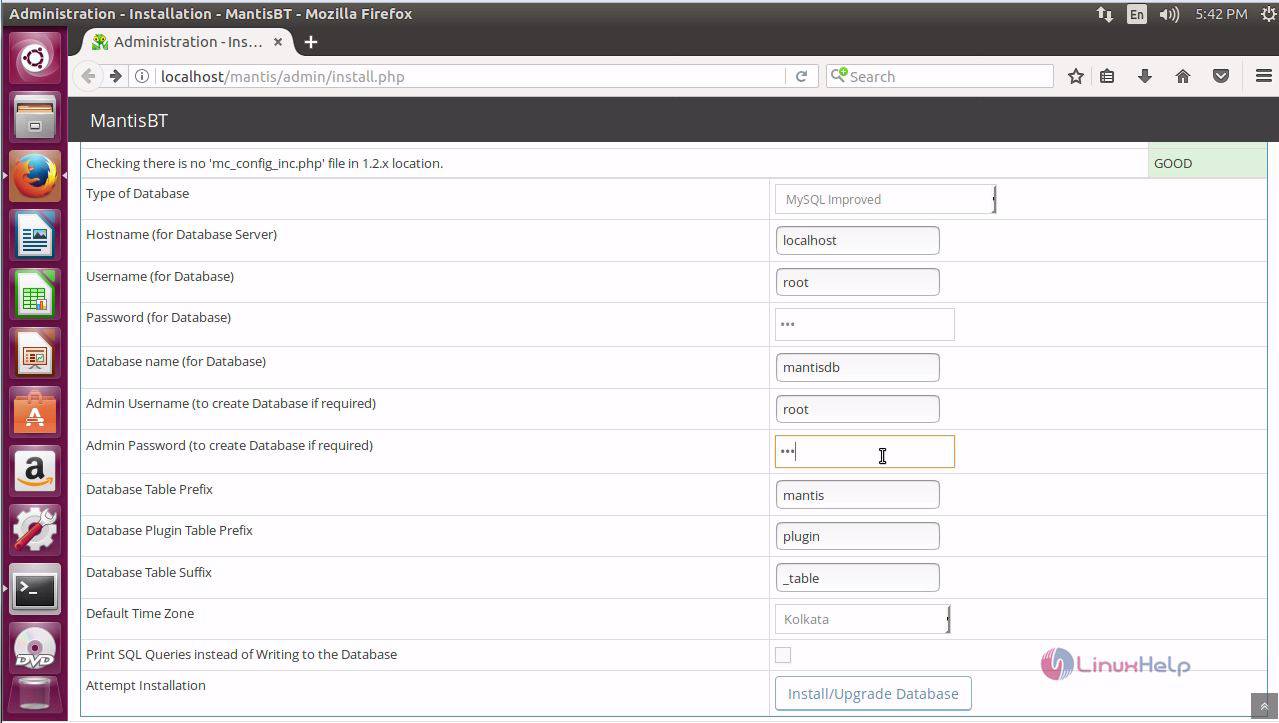
Enter the details to create a database for Mantis application.
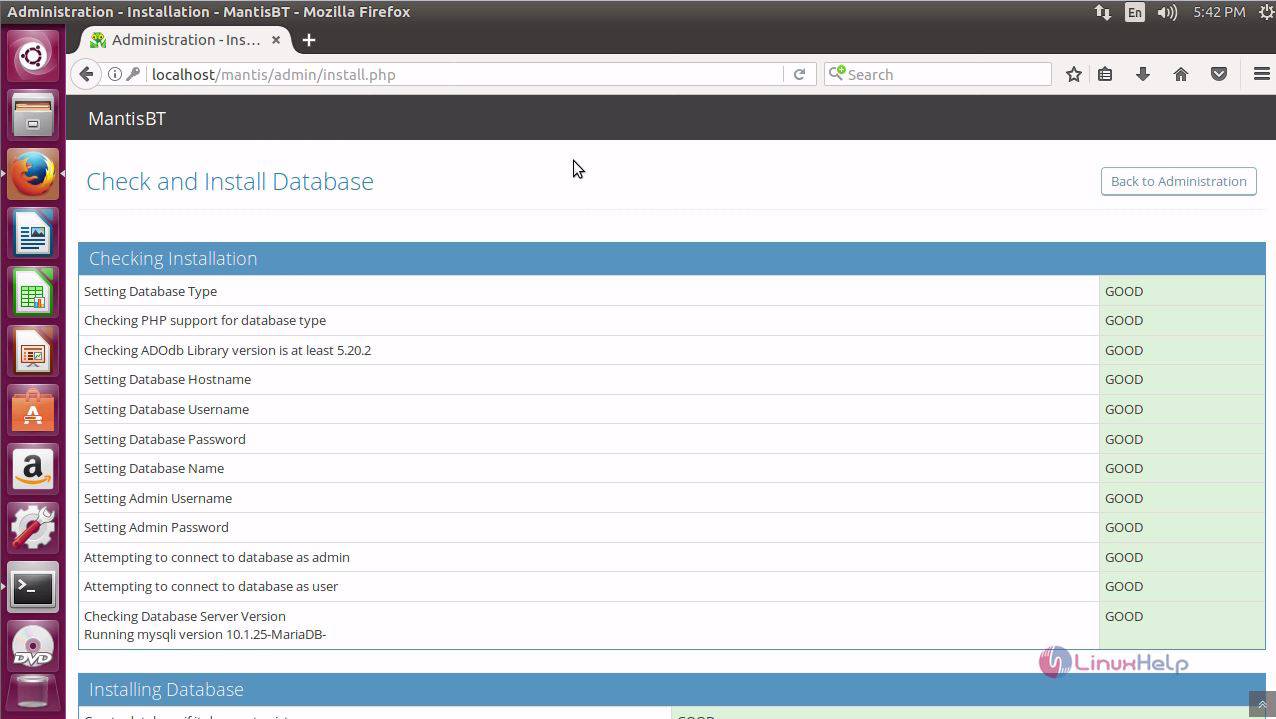
The requirements for the database is shown and the installation of Mantis is in progress.
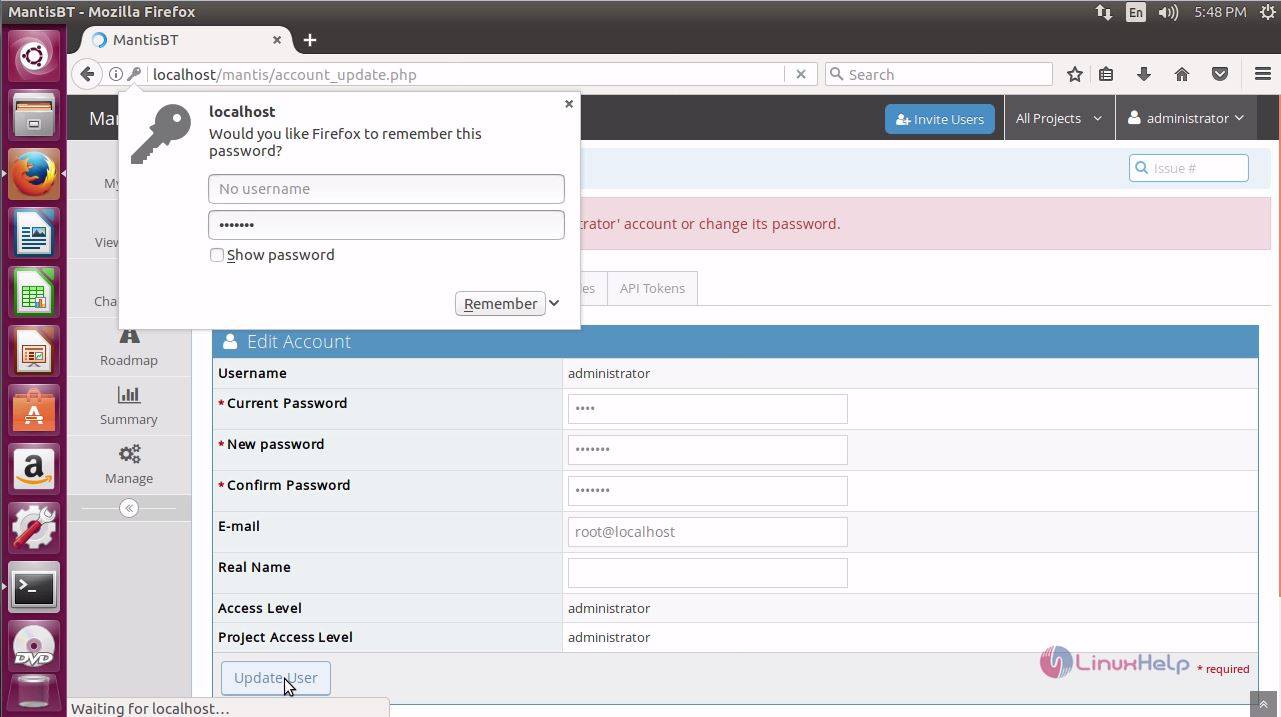
The installation is complete. The login page appears on the screen and enter the default admin credentials.
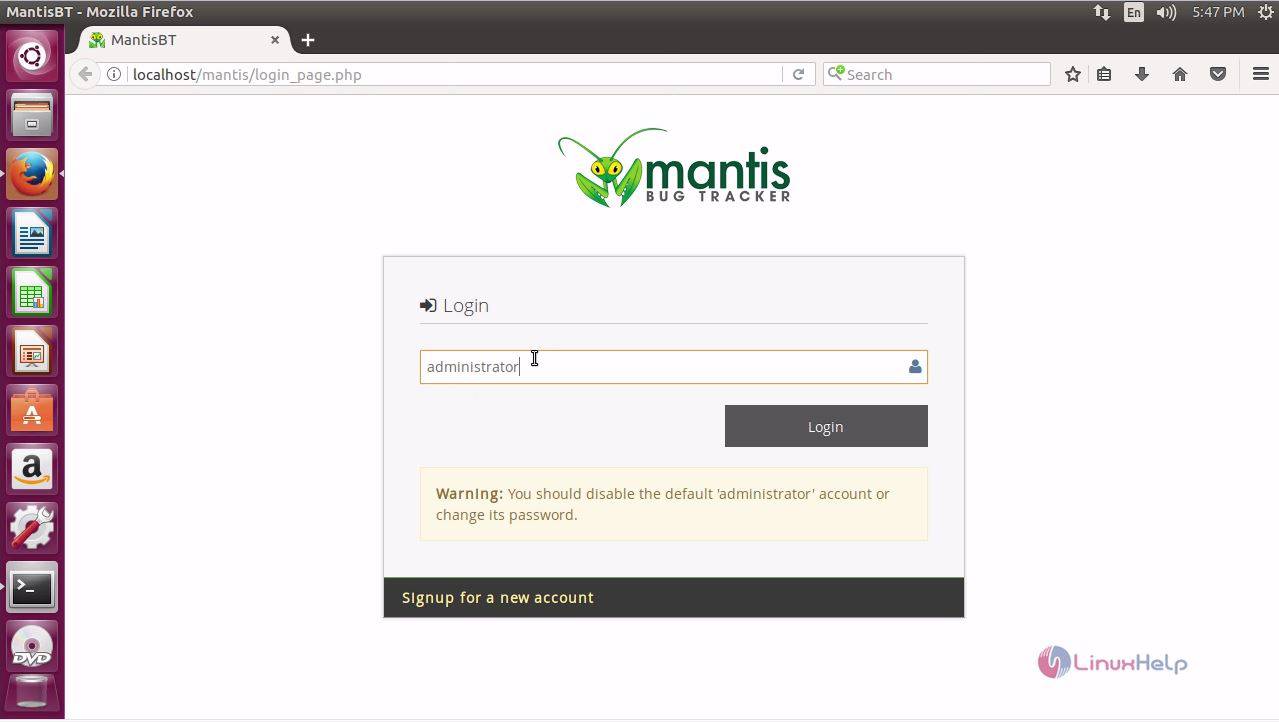

The user can now login to mantis but should change the default password for security purposes.
The dashboard of Mantis is shown below.
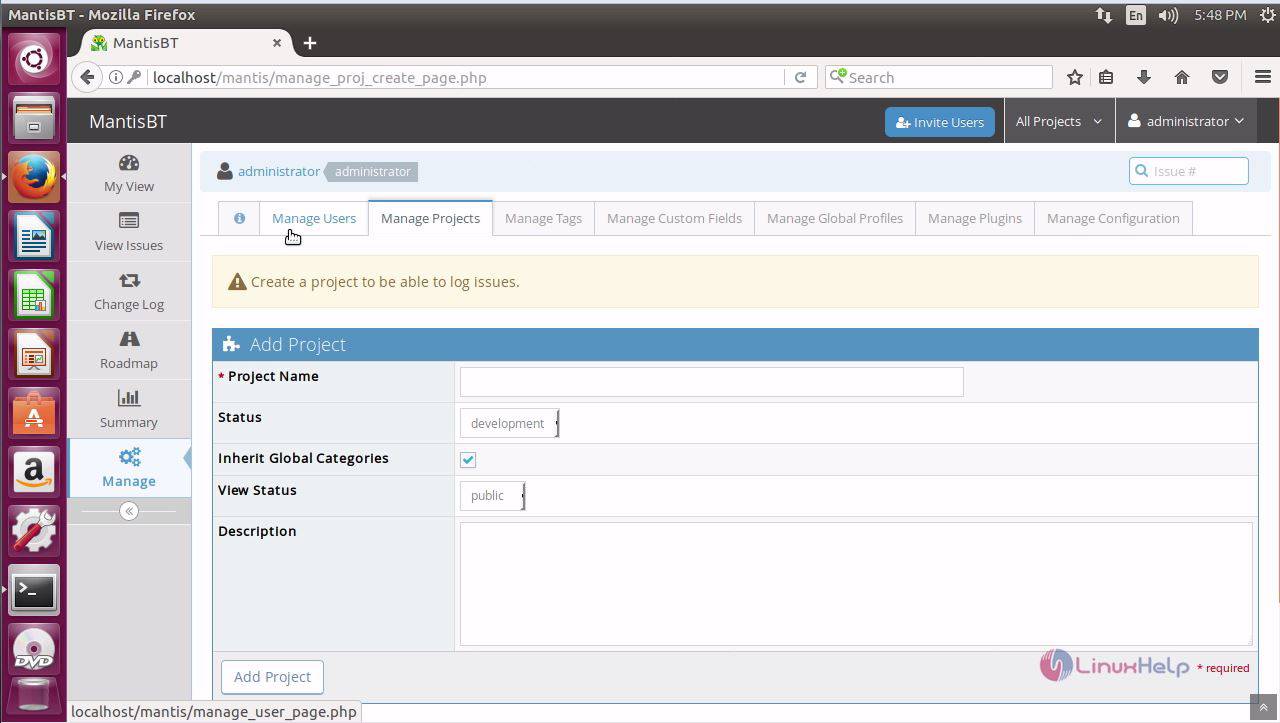
The installation procedure of Mantis application on Ubuntu 17.04 is done without any glitches.
Comments ( 0 )
No comments available