How to install LibreNMS in Centos
To install LibreNMS in CentOS
LibreNMS is a network monitoring tool that supports wide range of network hardware and operating systems. We have already covered the Installation of LibreNMS on Ubuntu, and its installation on CentOS is explained in this manual.
Features
- Automatic discovery
- Plugin system
- Customization alert
- Distributed Polling
To install LibreNMS
First install the SNMP and mysql-server by running the following command.
[root@linuxhelp1 Desktop]# yum install net-snmp mysql-server
Loaded plugins: fastestmirror, refresh-packagekit, security
Setting up Install Process
base
Dependency Updated:
  mysql-libs.x86_64 0:5.1.73-7.el6                                                                                   net-snmp-libs.x86_64 1:5.5-57.el6_8.1
Complete!
Start the services by running the following command.
[root@linuxhelp1 Desktop]# service mysqld start
Initializing MySQL database:  Installing MySQL system tables...
OK
Filling help tables...
OK
..
..
Starting mysqld:                                           [  OK  ]
Starting mysqld:
[ OK ]
[root@linuxhelp1 Desktop]# service snmpd start
Starting snmpd:                                            [  OK  ]
Run the following command to start the services.
[root@linuxhelp1 Desktop]# chkconfig mysqld on
[root@linuxhelp1 Desktop]# chkconfig snmpd on
To setup MySQL by running the following command.
[root@linuxhelp1 Desktop]# mysql_secure_installation
.
.
.
Cleaning up...
All done!  If you' ve completed all of the above steps, your MySQL
installation should now be secure.
Thanks for using MySQL!
Then login into MySQL and start creating database.
[root@linuxhelp1 Desktop]# mysql -u root -p
Enter password:
Welcome to the MySQL monitor.  Commands end with   or g.
Your MySQL connection id is 10
.
.
.
mysql>  CREATE DATABASE librenms
Query OK, 1 row affected (0.00 sec)
mysql>  GRANT ALL PRIVILEGES ON librenms.* TO ' librenms' @' localhost'  IDENTIFIED BY ' 123'
Query OK, 0 rows affected (0.00 sec)
mysql>  FLUSH PRIVILEGES
Query OK, 0 rows affected (0.00 sec)
mysql>  exit
Bye
Open my.cnf file and add the following lines into it.
[root@linuxhelp1 Desktop]# vim /etc/my.cnf
innodb_file_per_table=1
Save and exit the file.
Restart the service by running the following command.
[root@linuxhelp1 Desktop]# service mysqld restart
Stopping mysqld:                                           [  OK  ]
Starting mysqld:                                           [  OK  ]
Run the following command to install epel package.

[root@linuxhelp1 Desktop]# yum install epel-release
Loaded plugins: fastestmirror, refresh-packagekit, security
Setting up Install Process
&hellip
&hellip
Installed:
  epel-release.noarch 0:6-8
Complete!
Once it is done, install other dependency packages for LibreNMS.
[root@linuxhelp1 Desktop]# yum install php php-cli php-gd php-mysql php-snmp php-pear php-curl httpd net-snmp graphviz graphviz-php mariadb ImageMagick jwhois nmap mtr rrdtool MySQL-python net-snmp-utils cronie php-mcrypt fping git
Loaded plugins: fastestmirror, refresh-packagekit, security
Setting up Install Process
.
.
.
Dependency Updated:
  cronie-anacron.x86_64 0:1.4.4-16.el6_8.2                                                                             httpd-tools.x86_64 0:2.2.15-54.el6.centos
Complete!
[root@linuxhelp1 Desktop]# pear install Net_IPv4-1.3.4
downloading Net_IPv4-1.3.4.tgz ...
Starting to download Net_IPv4-1.3.4.tgz (6,057 bytes)
.....done: 6,057 bytes
install ok: channel://pear.php.net/Net_IPv4-1.3.4
[root@linuxhelp1 Desktop]# pear install Net_IPv6-1.2.2b2
downloading Net_IPv6-1.2.2b2.tgz ...
Starting to download Net_IPv6-1.2.2b2.tgz (10,484 bytes)
.....done: 10,484 bytes
install ok: channel://pear.php.net/Net_IPv6-1.2.2b2
Then after, edit the snmpd.conf file and add the following lines.
[root@linuxhelp1 Desktop]# vim /etc/snmp/snmpd.conf
rocommunity public 127.0.0.1
Restart the service by running the following command.
[root@linuxhelp1 Desktop]# service snmpd restart
Stopping snmpd:                                            [  OK  ]
Starting snmpd:                                            [  OK  ]
Adding the librenms-user for Apache.
[root@linuxhelp1 Desktop]# useradd librenms -d /opt/librenms -M -r
[root@linuxhelp1 Desktop]# usermod -a -G librenms apache
To start the apache web server at system boot,
[root@linuxhelp1 Desktop]# chkconfig httpd on
Edit the php.ini file, to add your time zone.
[root@linuxhelp1 Desktop]# vim /etc/php.ini
Now edit the httpd.conf file
[root@linuxhelp1 Desktop]# vim /etc/httpd/conf/httpd.conf
Enable the virtual host and configure the file as follows.
 < VirtualHost *:80>
 DocumentRoot /opt/librenms/html/
 ServerName linuxhelp1.com
 CustomLog /opt/librenms/logs/access_log combined
 ErrorLog /opt/librenms/logs/error_log
 AllowEncodedSlashes On
 < Directory " /opt/librenms/html/" >
 AllowOverride All
 Options FollowSymLinks MultiViews
 < /Directory>
< /VirtualHost>
Once it is configured, save the file and exit.
Download and extract the LibreNMS package by running the following command.
[root@linuxhelp1 Desktop]# cd /opt/
[root@linuxhelp1 opt]# git clone https://github.com/librenms/librenms.git librenms
Initialized empty Git repository in /opt/librenms/.git/
remote: Counting objects: 94101, done.
remote: Compressing objects: 100% (34/34), done.
remote: Total 94101 (delta 12), reused 0 (delta 0), pack-reused 94067
Receiving objects: 100% (94101/94101), 73.26 MiB | 465 KiB/s, done.
Resolving deltas: 100% (64245/64245), done.
[root@linuxhelp1 opt]# cd librenms/
To prepare web interface
Create a directory and change the permission for the directory.
[root@linuxhelp1 librenms]# mkdir rrd logs
[root@linuxhelp1 librenms]# chown -R librenms:librenms /opt/librenms
[root@linuxhelp1 librenms]# chmod 775 rrd
Start the Apache web server by using the following command.
[root@linuxhelp1 librenms]# service httpd start
Starting httpd: [ OK ]
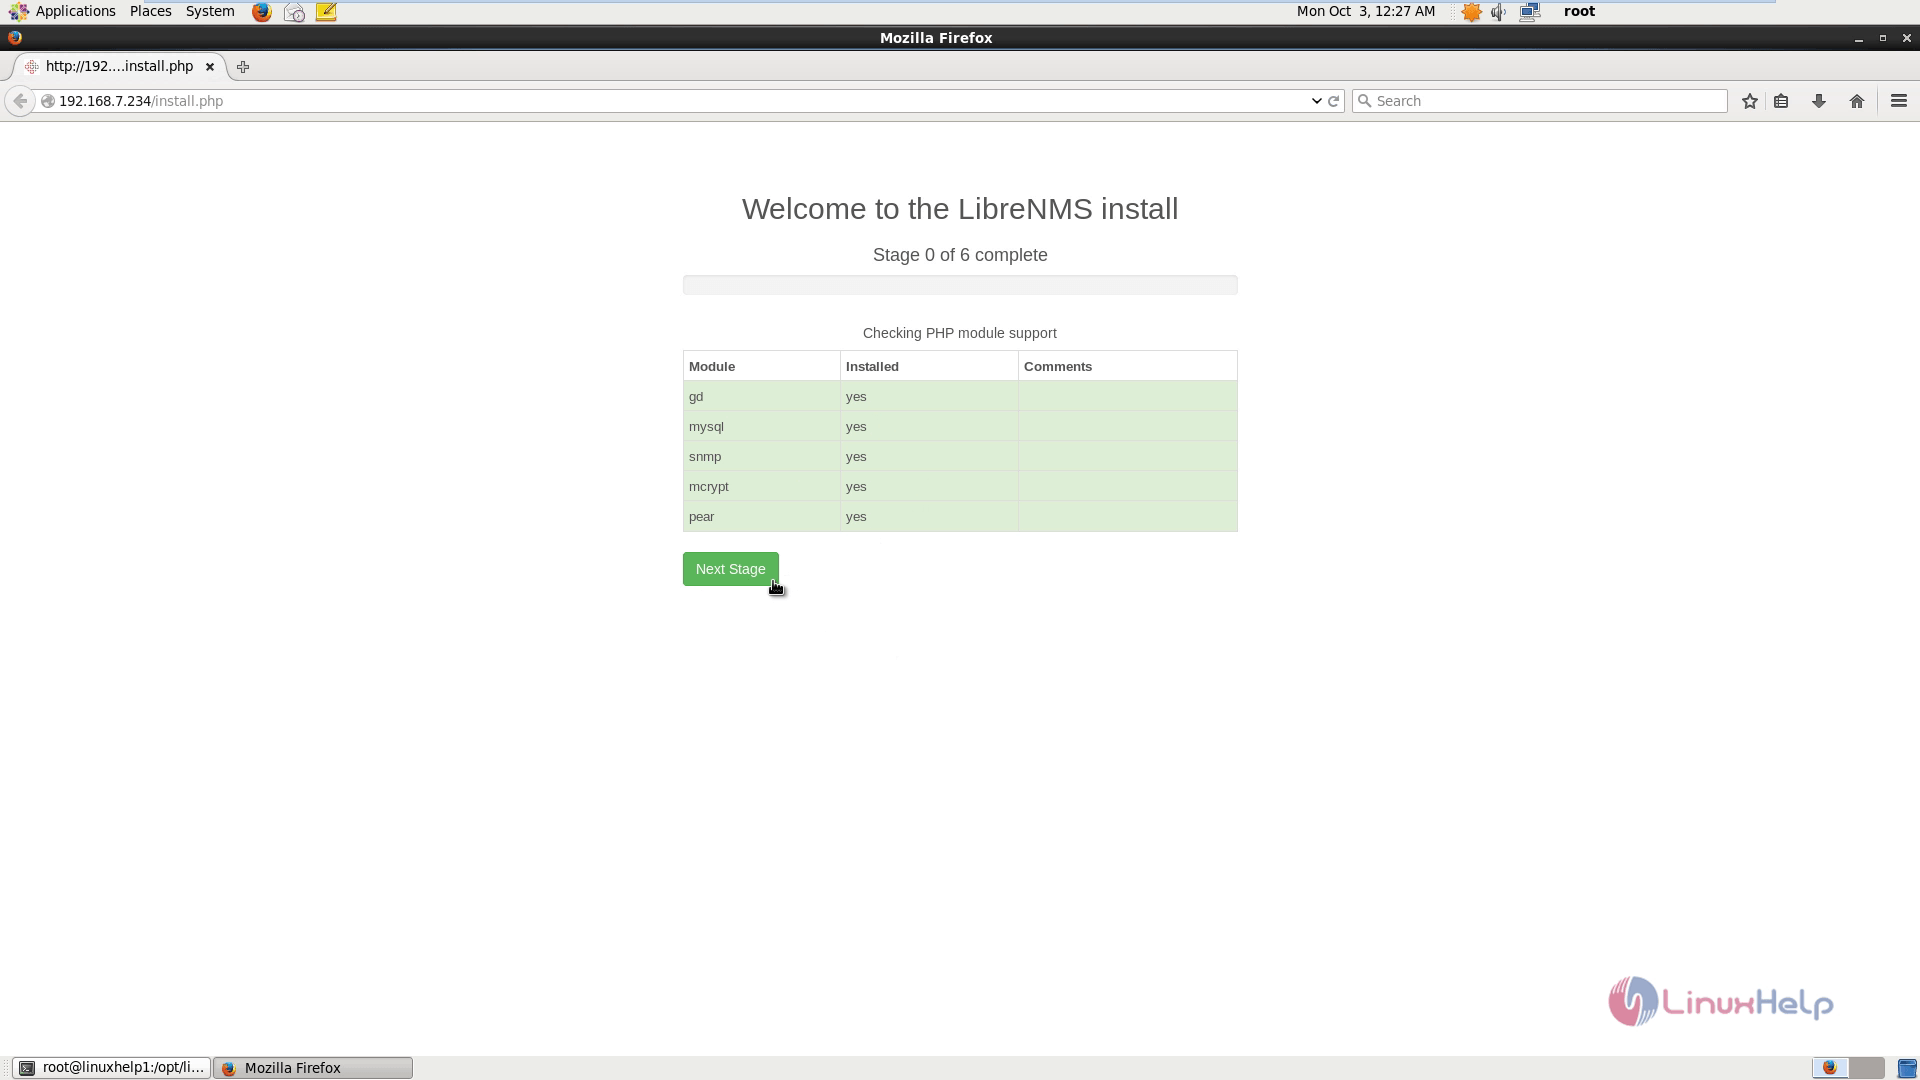
Unwind the Browser and call the URL https://< IP_address> /install.php1
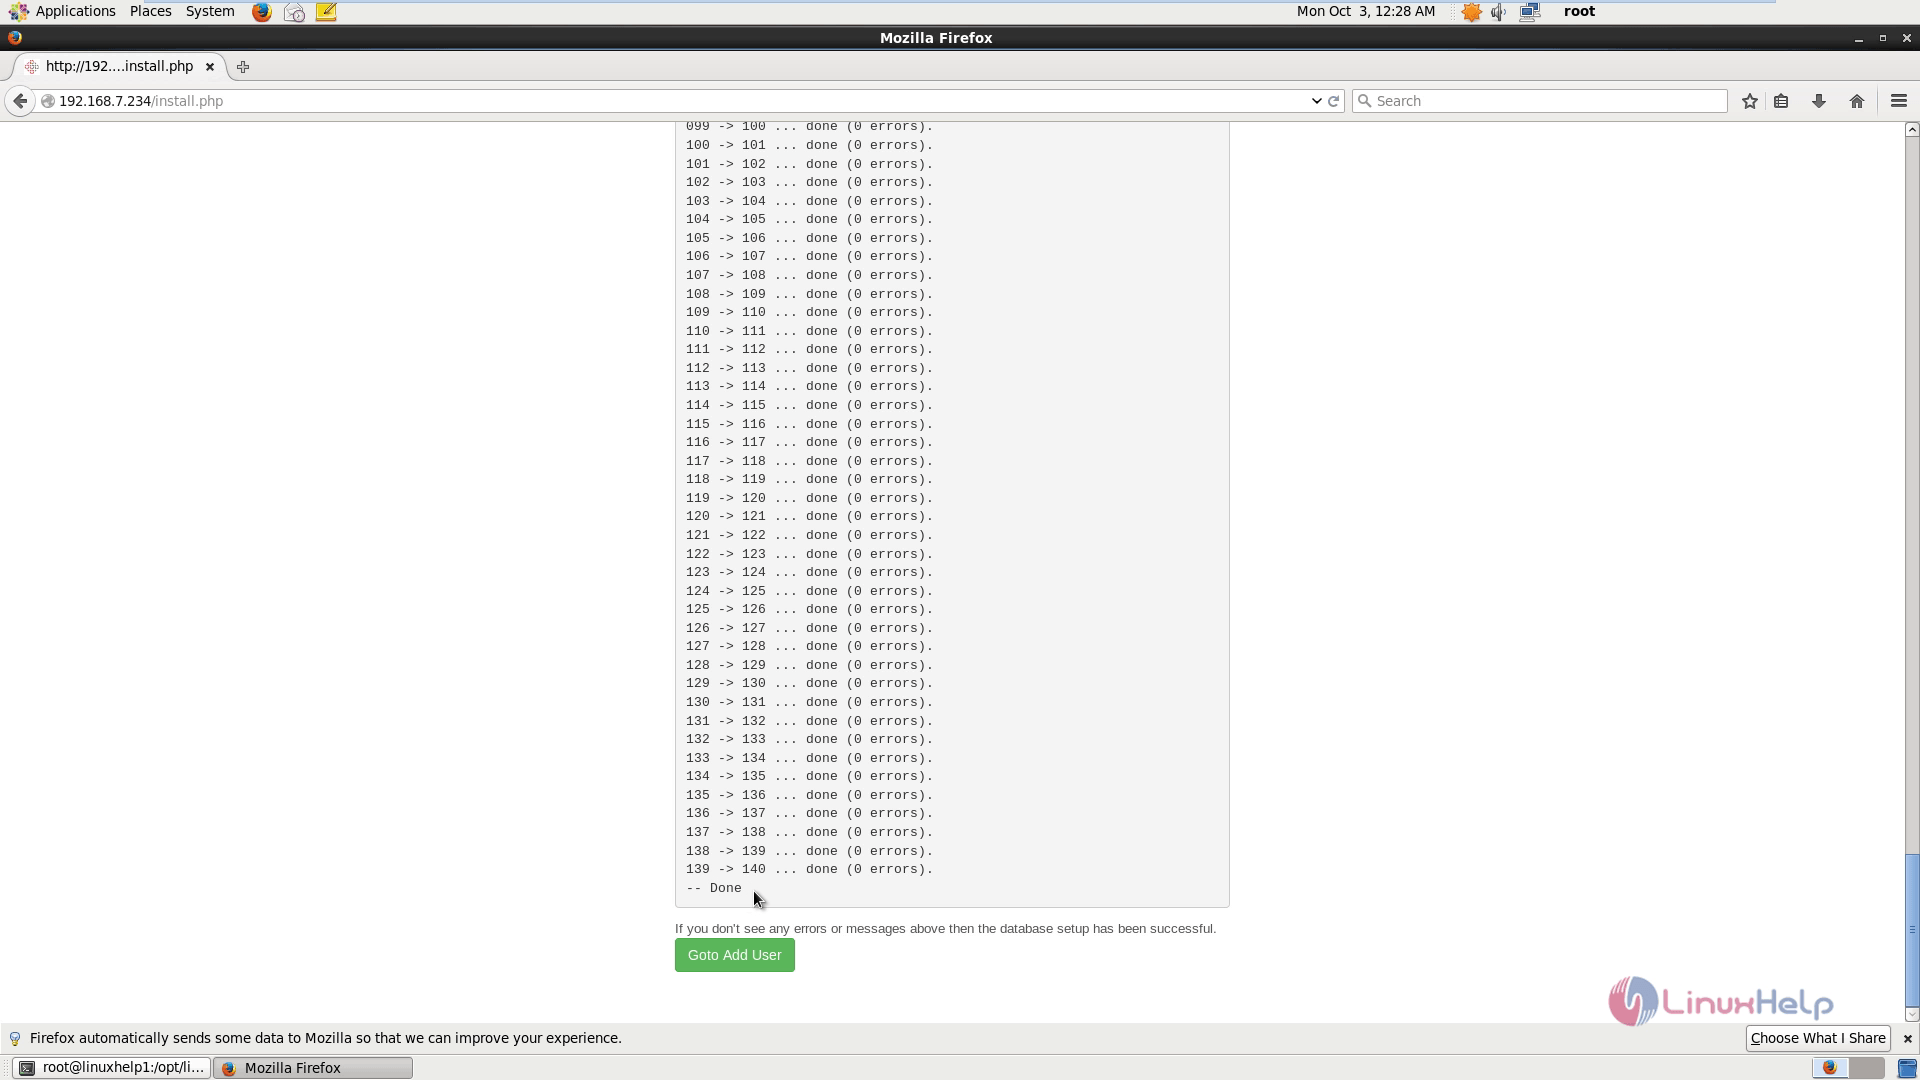
DB setup is successfully done, then click Goto Add User to start with the new user addition.
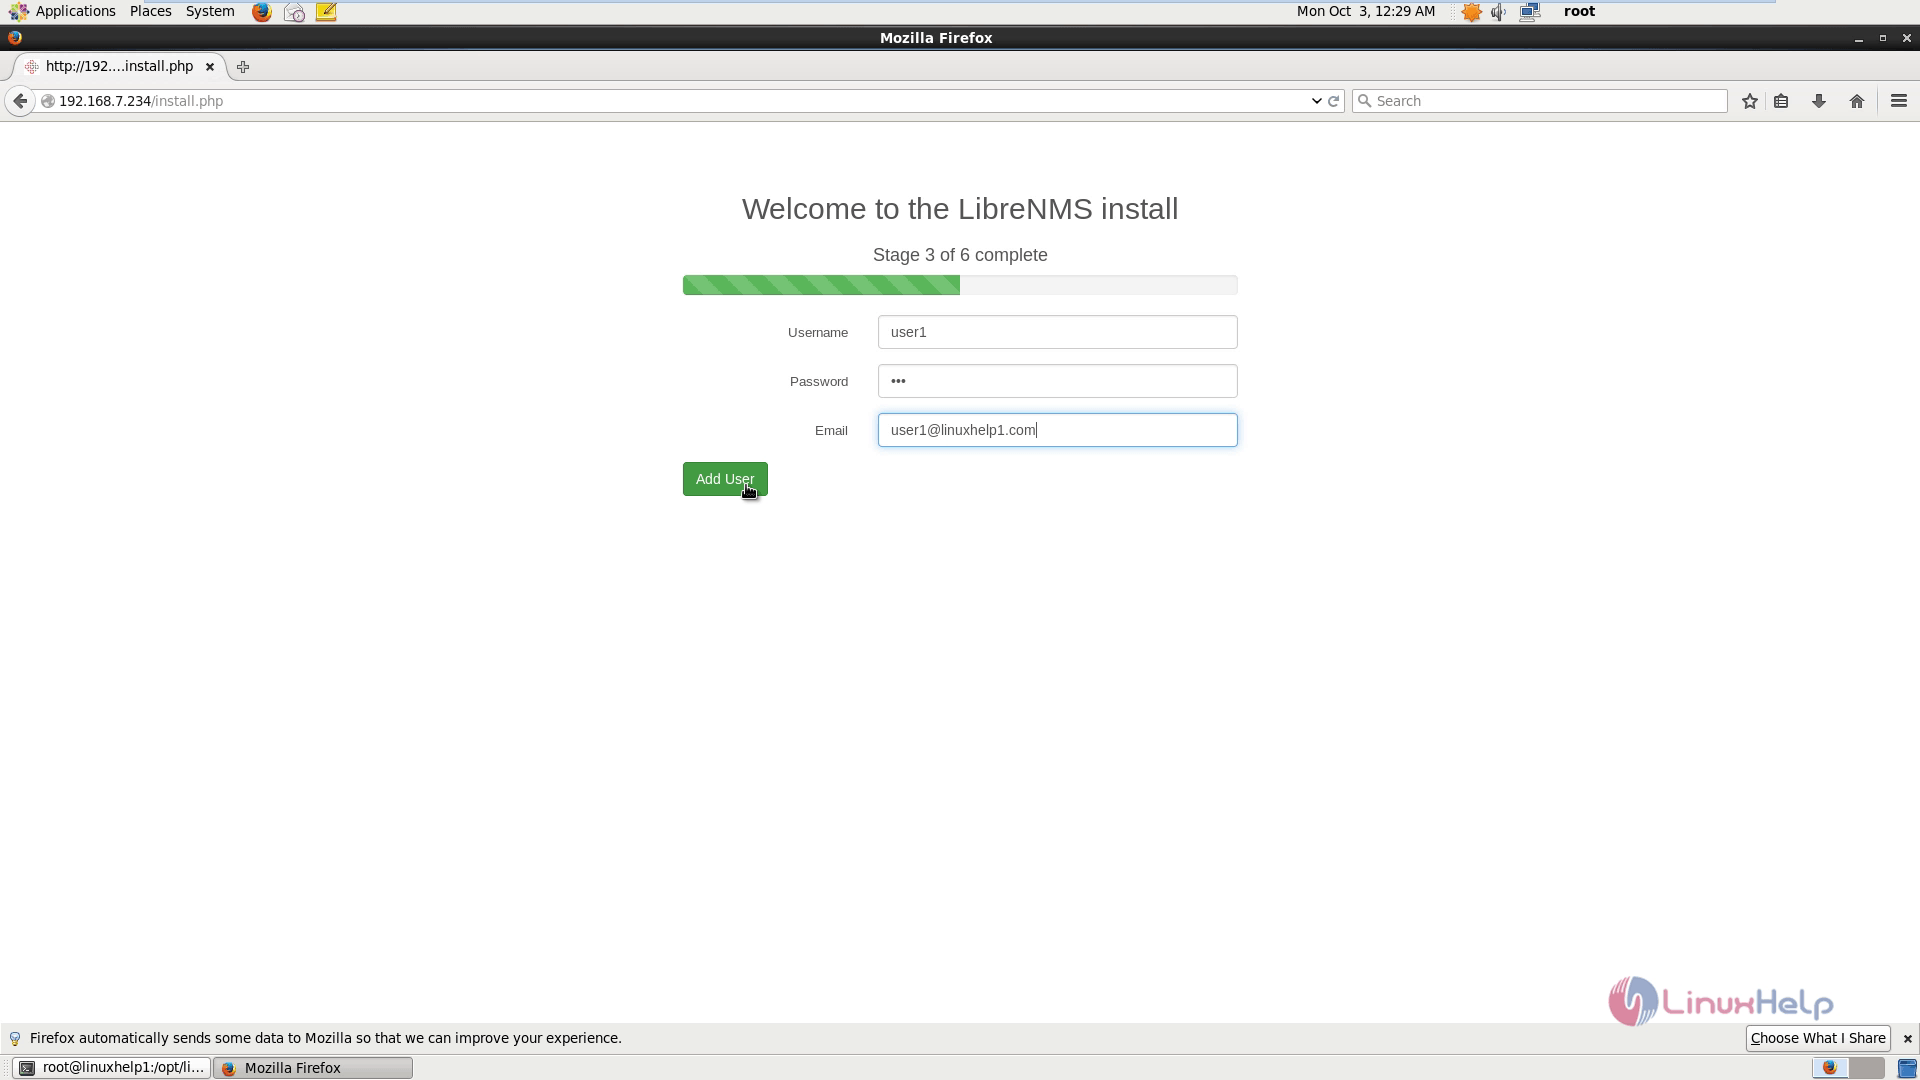
Fill the necessary details and click Add User.
After adding users start configuring the LibreNMS.
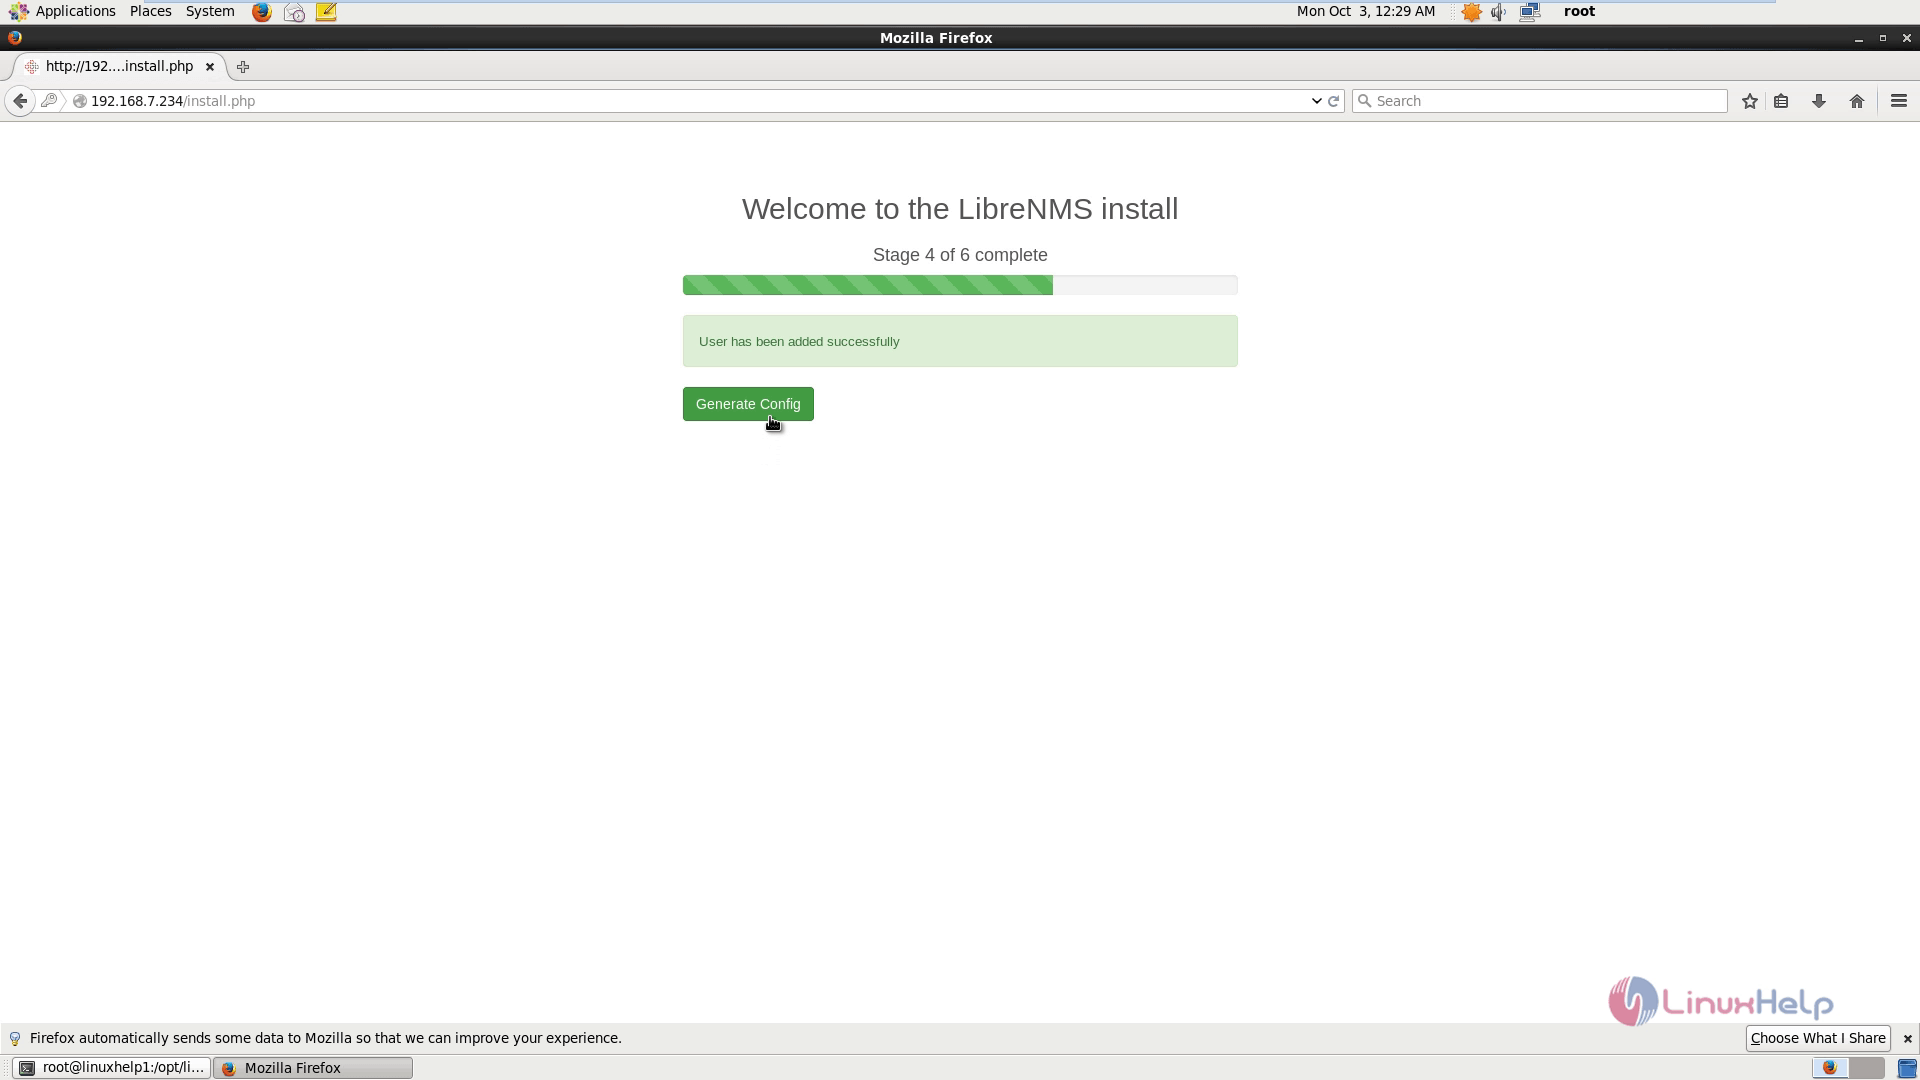
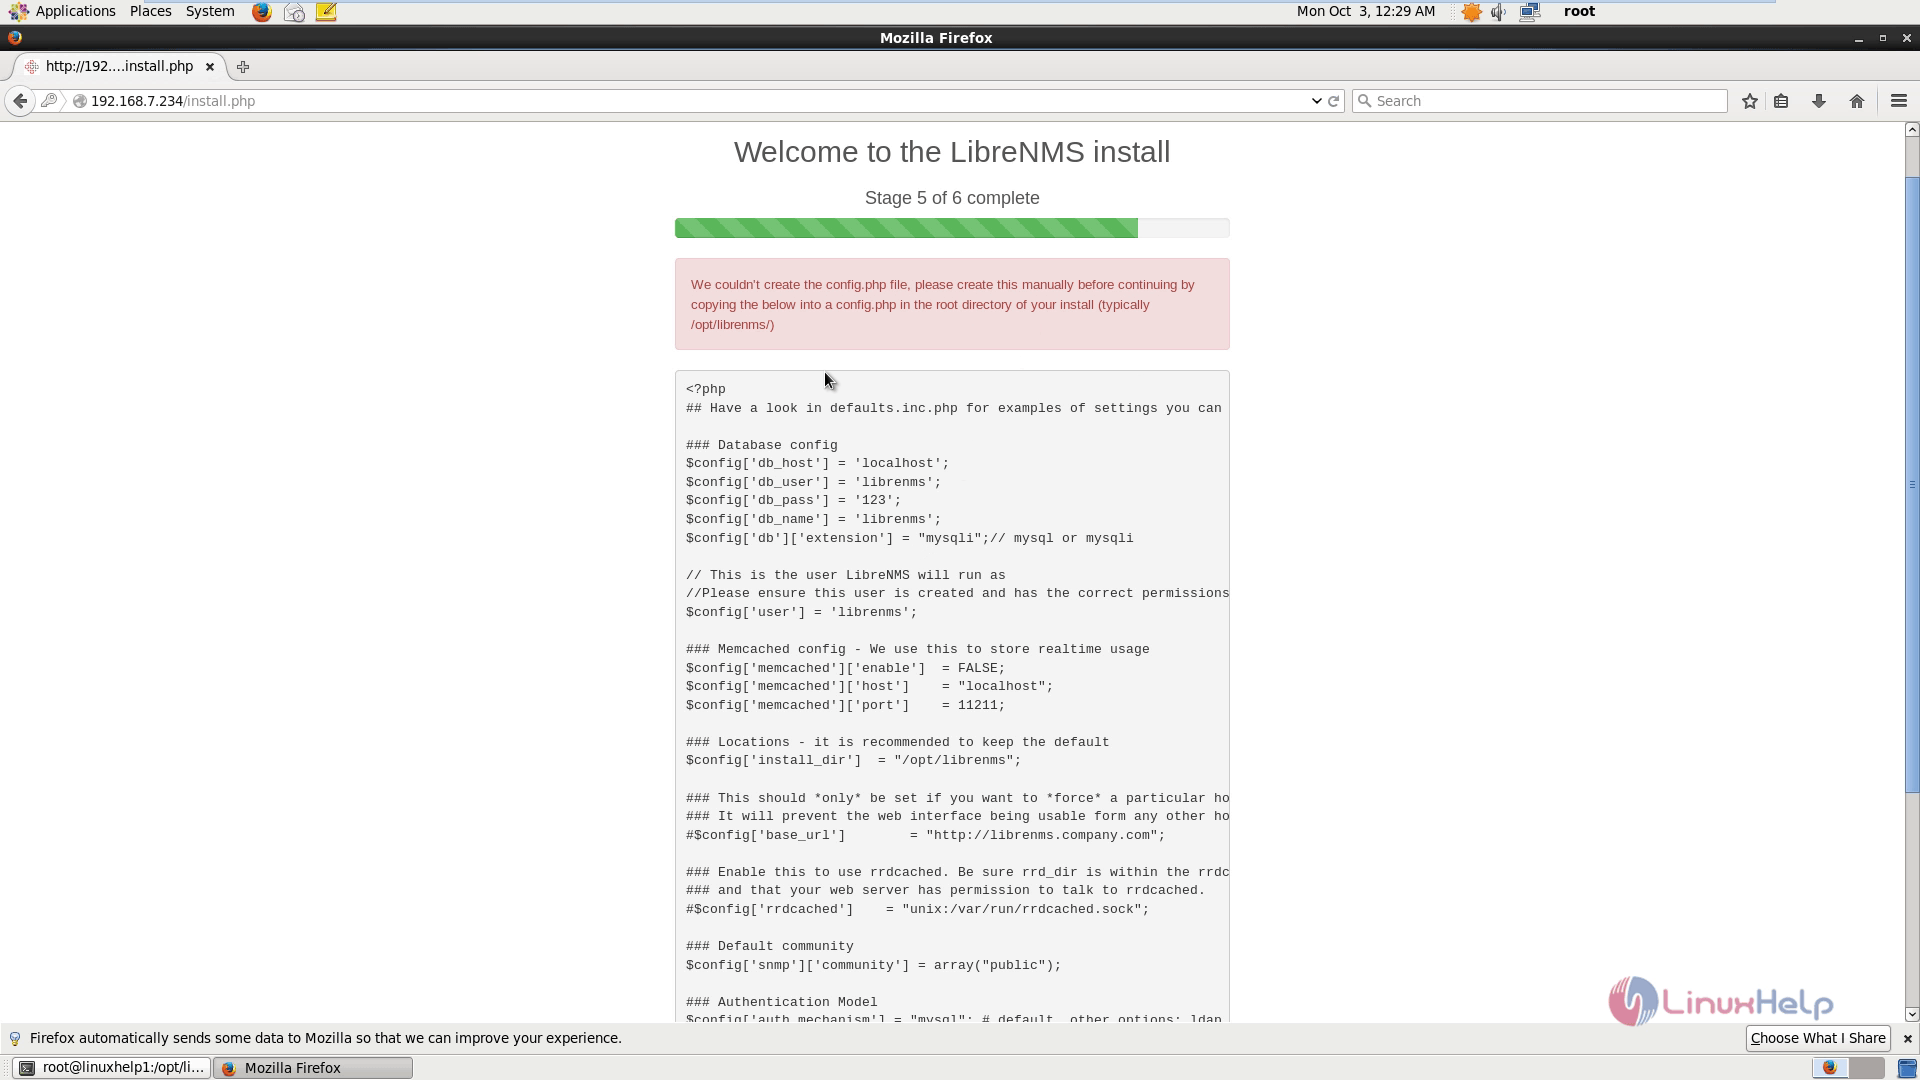
Create a config.php file and paste configuration which is shown in the above image.
$config[' fping' ] = " /usr/sbin/fping"
Now save and exit the file.
To verify LibreNMS
[root@linuxhelp1 librenms]# php validate.php
====================================
Version info:
Commit SHA: 0856c5675e0b8ecf17b1fcc99df0d685fc3d92a9
DB Schema: 140
PHP: 5.3.3
MySQL: 5.1.73
RRDTool: 1.3.8
SNMP: NET-SNMP version: 5.5
[OK] Database connection successful
Add localhost by running the following command.
[root@linuxhelp1 librenms]# php addhost.php localhost public v2c
Added device localhost (1)
Discover localhost:
[root@linuxhelp1 librenms]# php discovery.php -h all
LibreNMS Discovery
Version info:
.
.
.
#### Unload disco module ntp ####
Discovered in 1.781 seconds
MySQL: Cell[1/0s] Row[10/0.01s] Rows[36/0.03s] Column[0/0s] Update[2/0.01s] Insert[2/0.02s] Delete[0/0s]
Create cronjob
By default, the LibreNMS cronjob runs poller-wrapper.py with 16 threads. The current LibreNMS recommendation is to use 4 threads per core. The default if no thread count is 16 threads.
If the thread count needs to be changed, you can do so by editing the cron file (/etc/cron.d/librenms). Just add a number after poller-wrapper.py,
[root@linuxhelp1 librenms]# /opt/librenms/poller-wrapper.py 12 > >  /dev/null 2> & 1
[root@linuxhelp1 librenms]# cp librenms.nonroot.cron /etc/cron.d/librenms
After installing, refresh the page in the browser to get the login page.
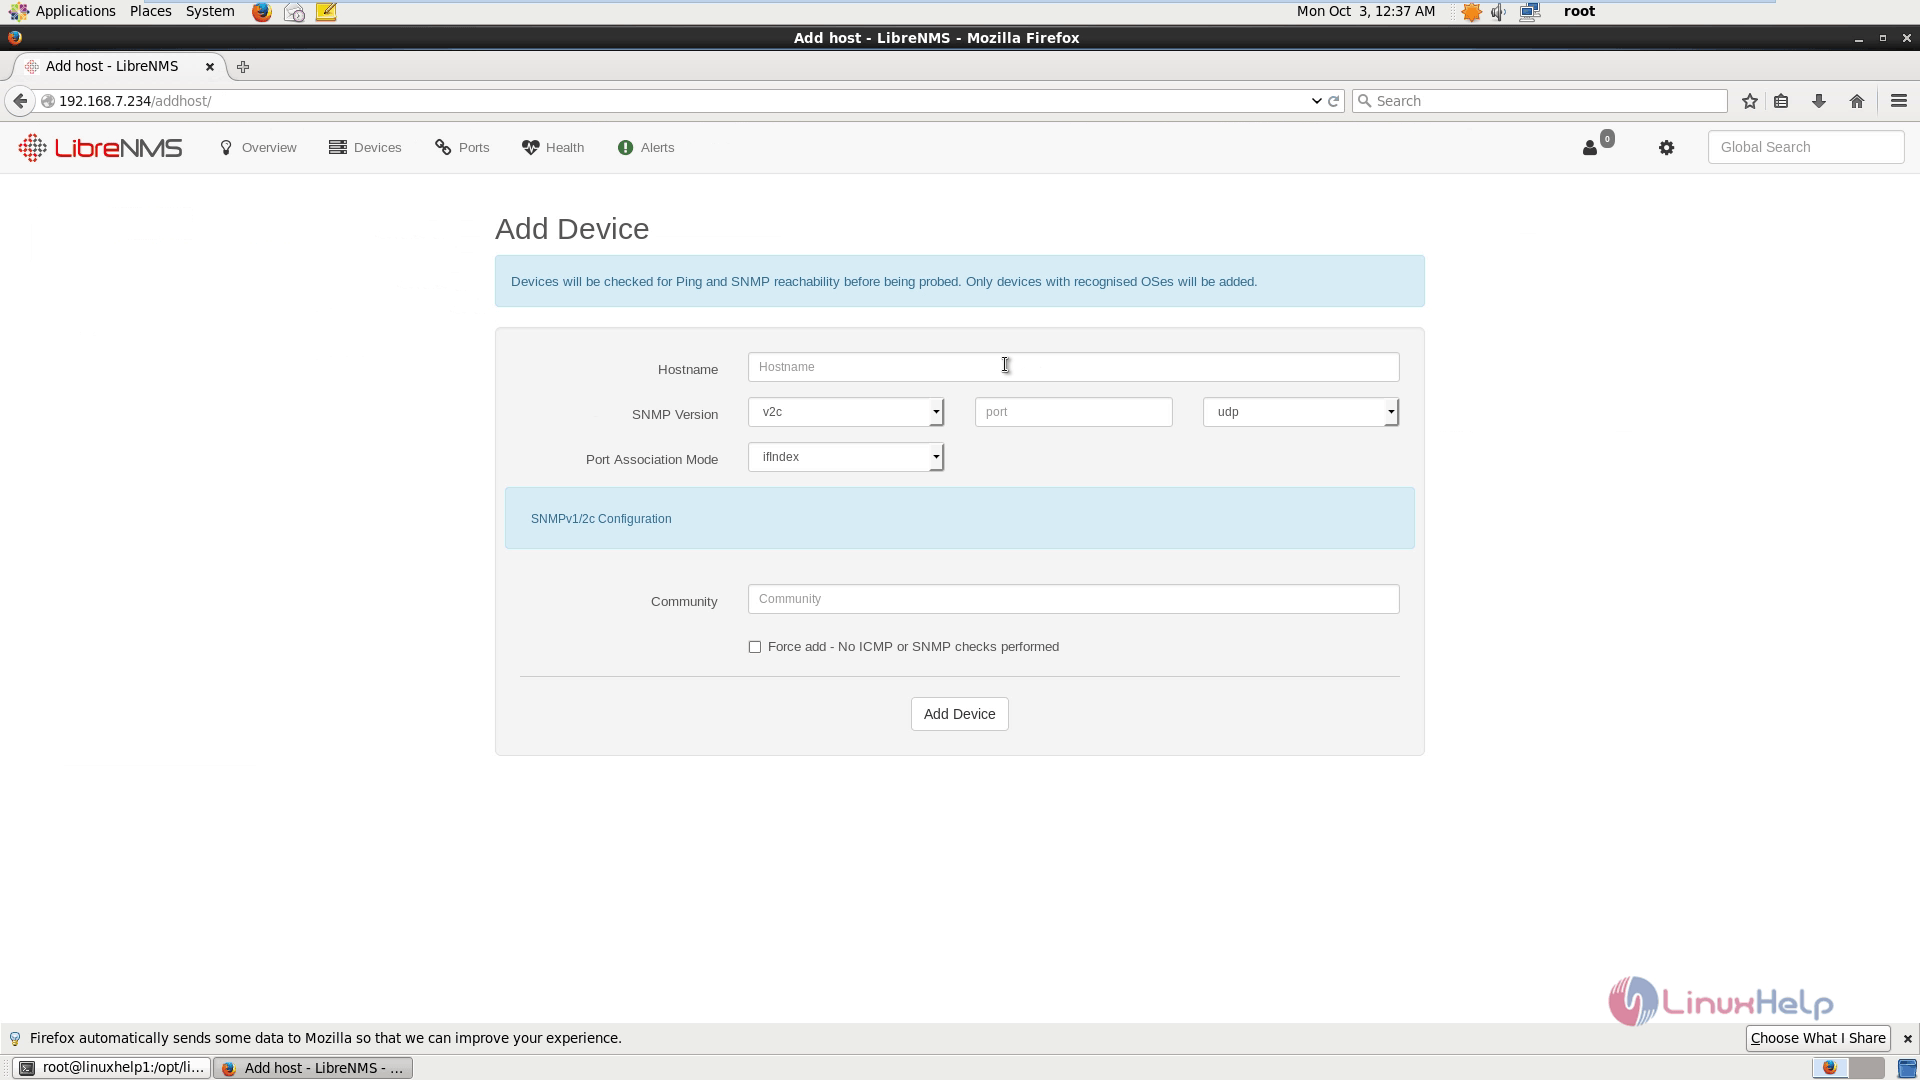
Click on Add device, after filling up the required fields.
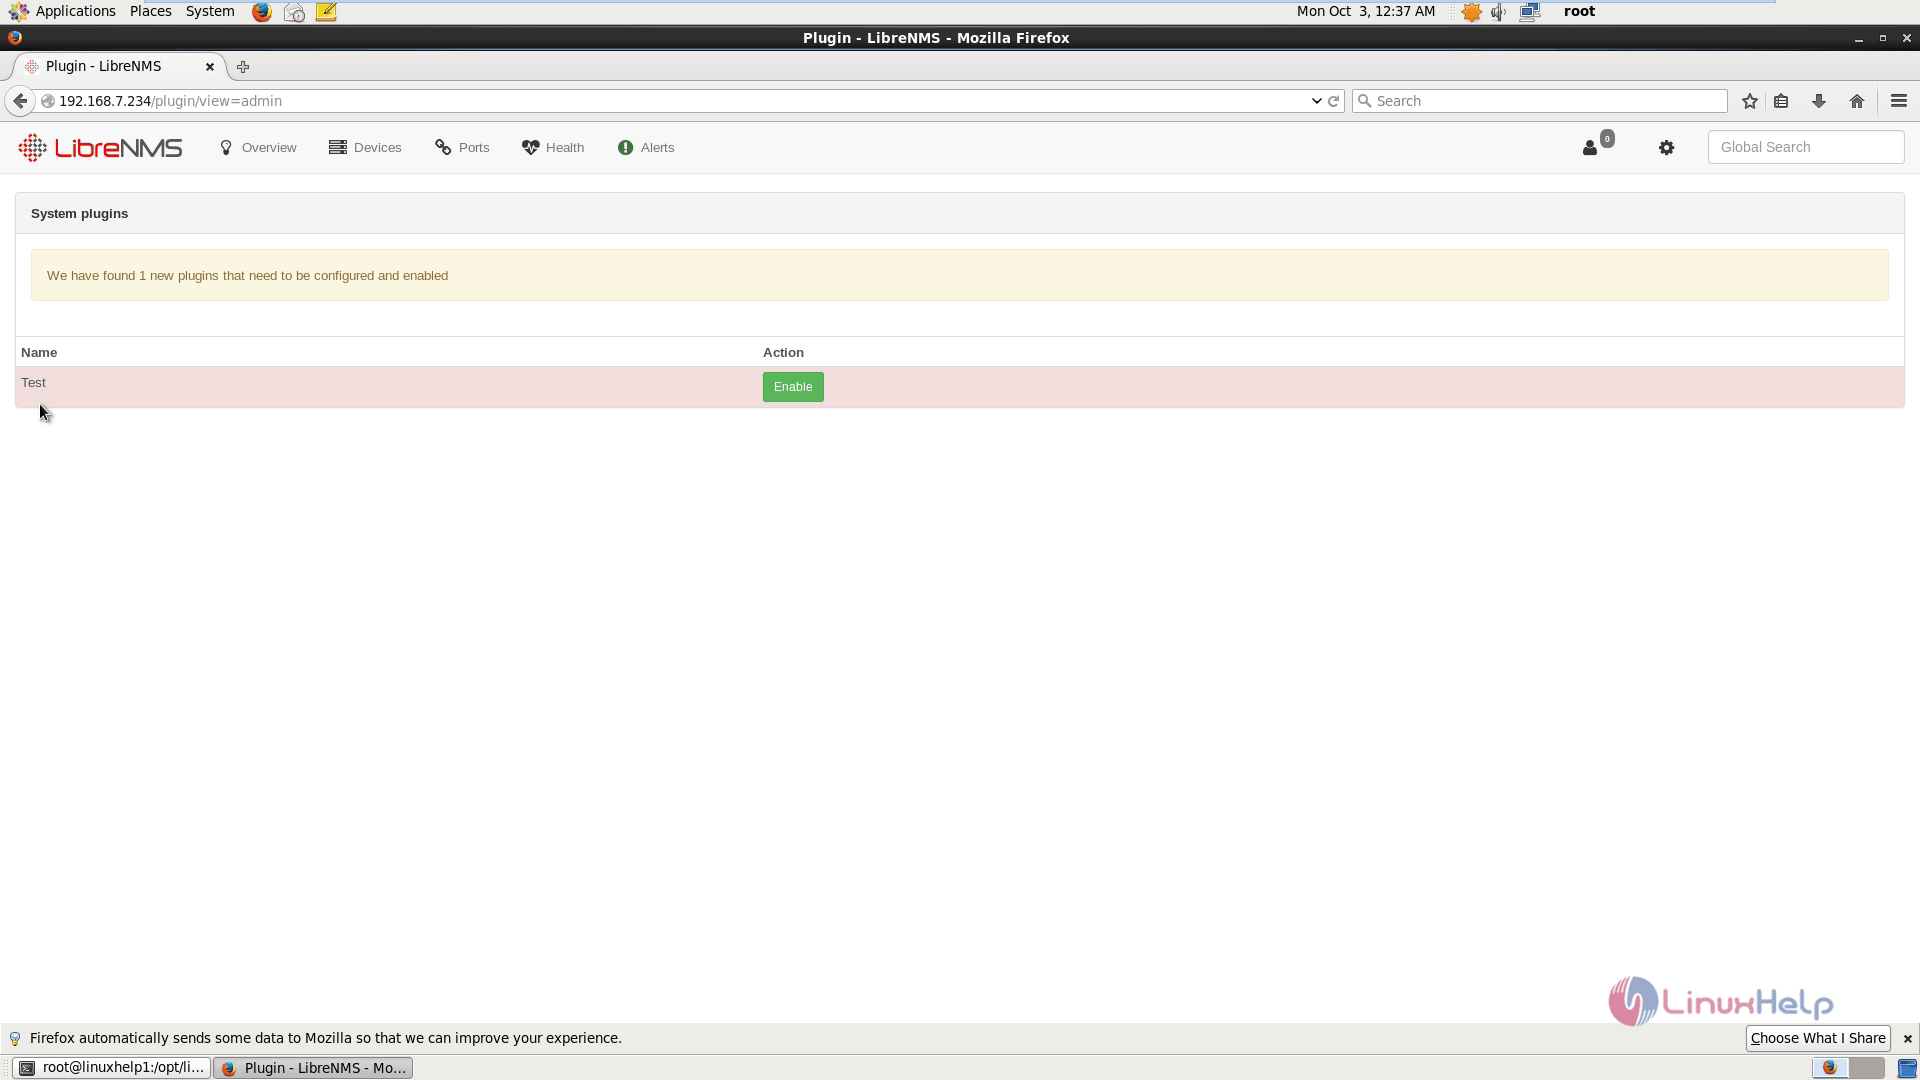
For System Plugins.
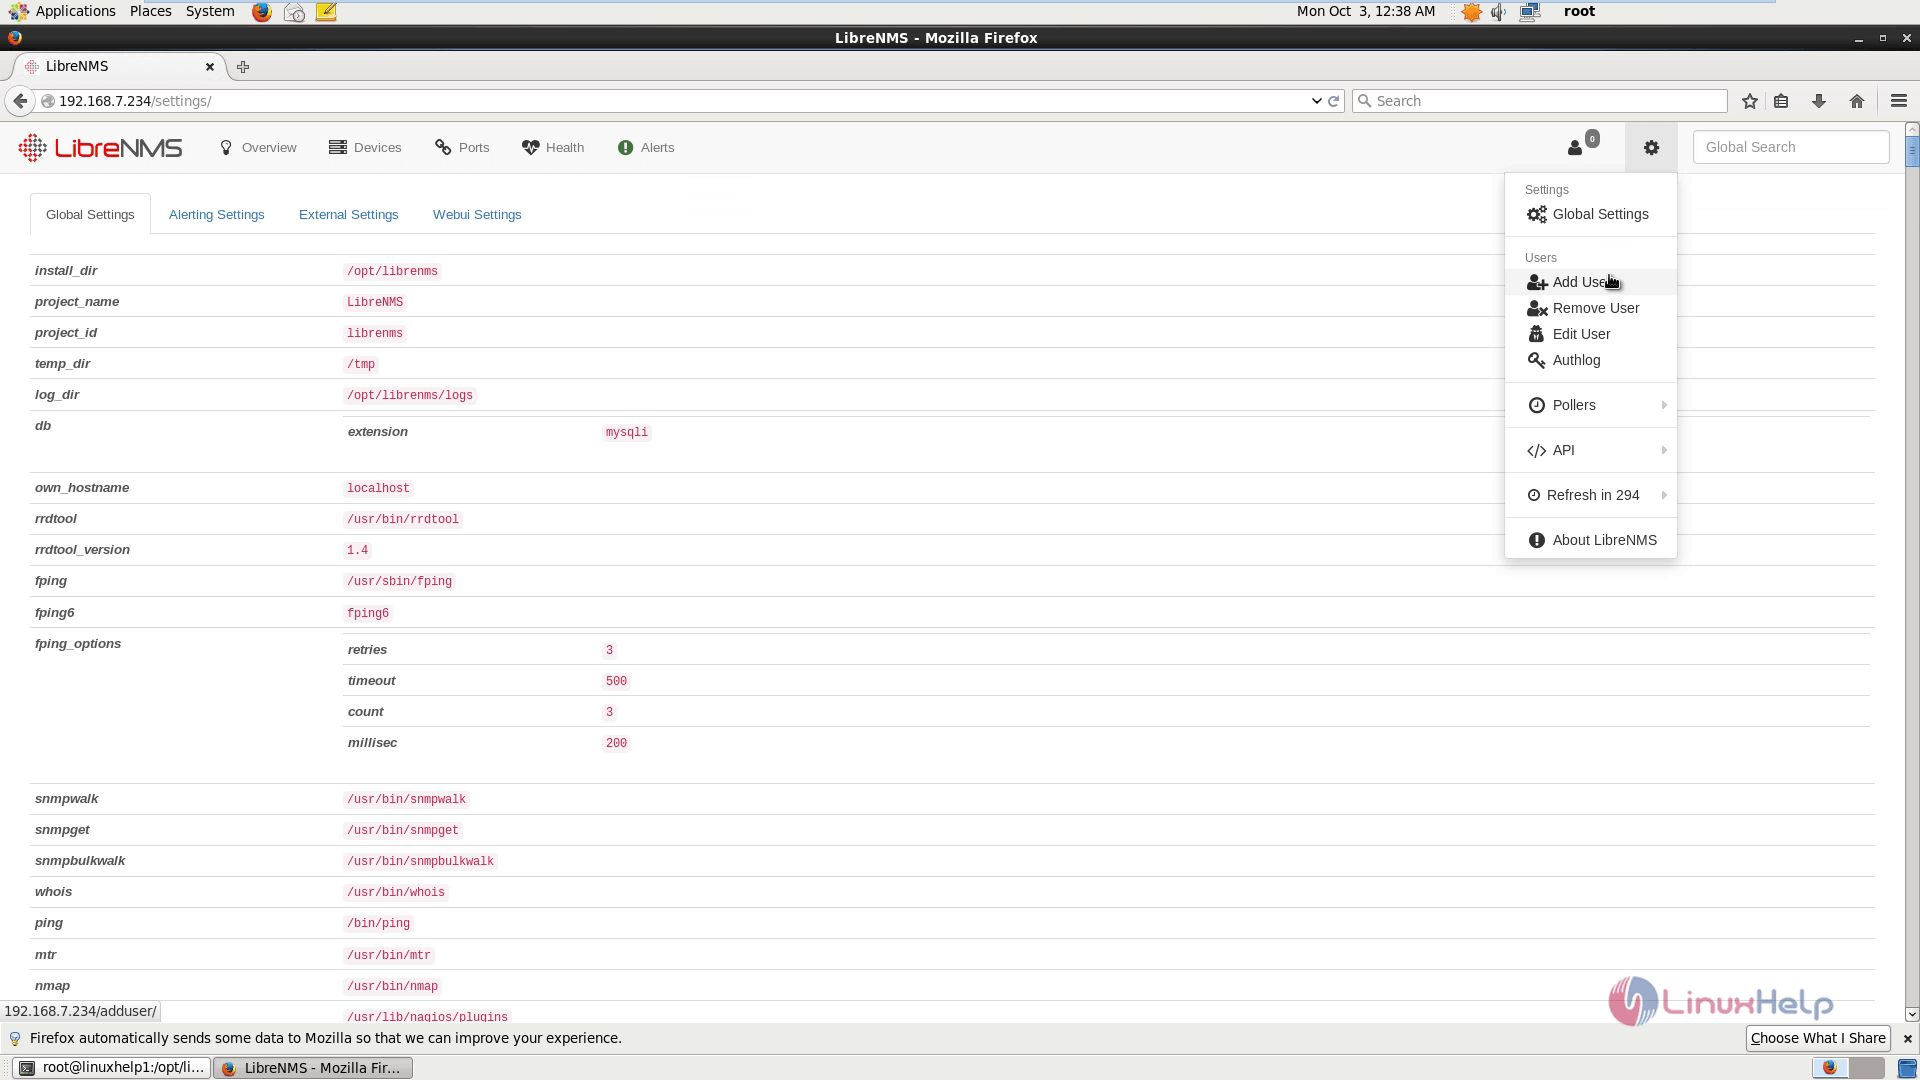
To view Global settings, click on Global settings.
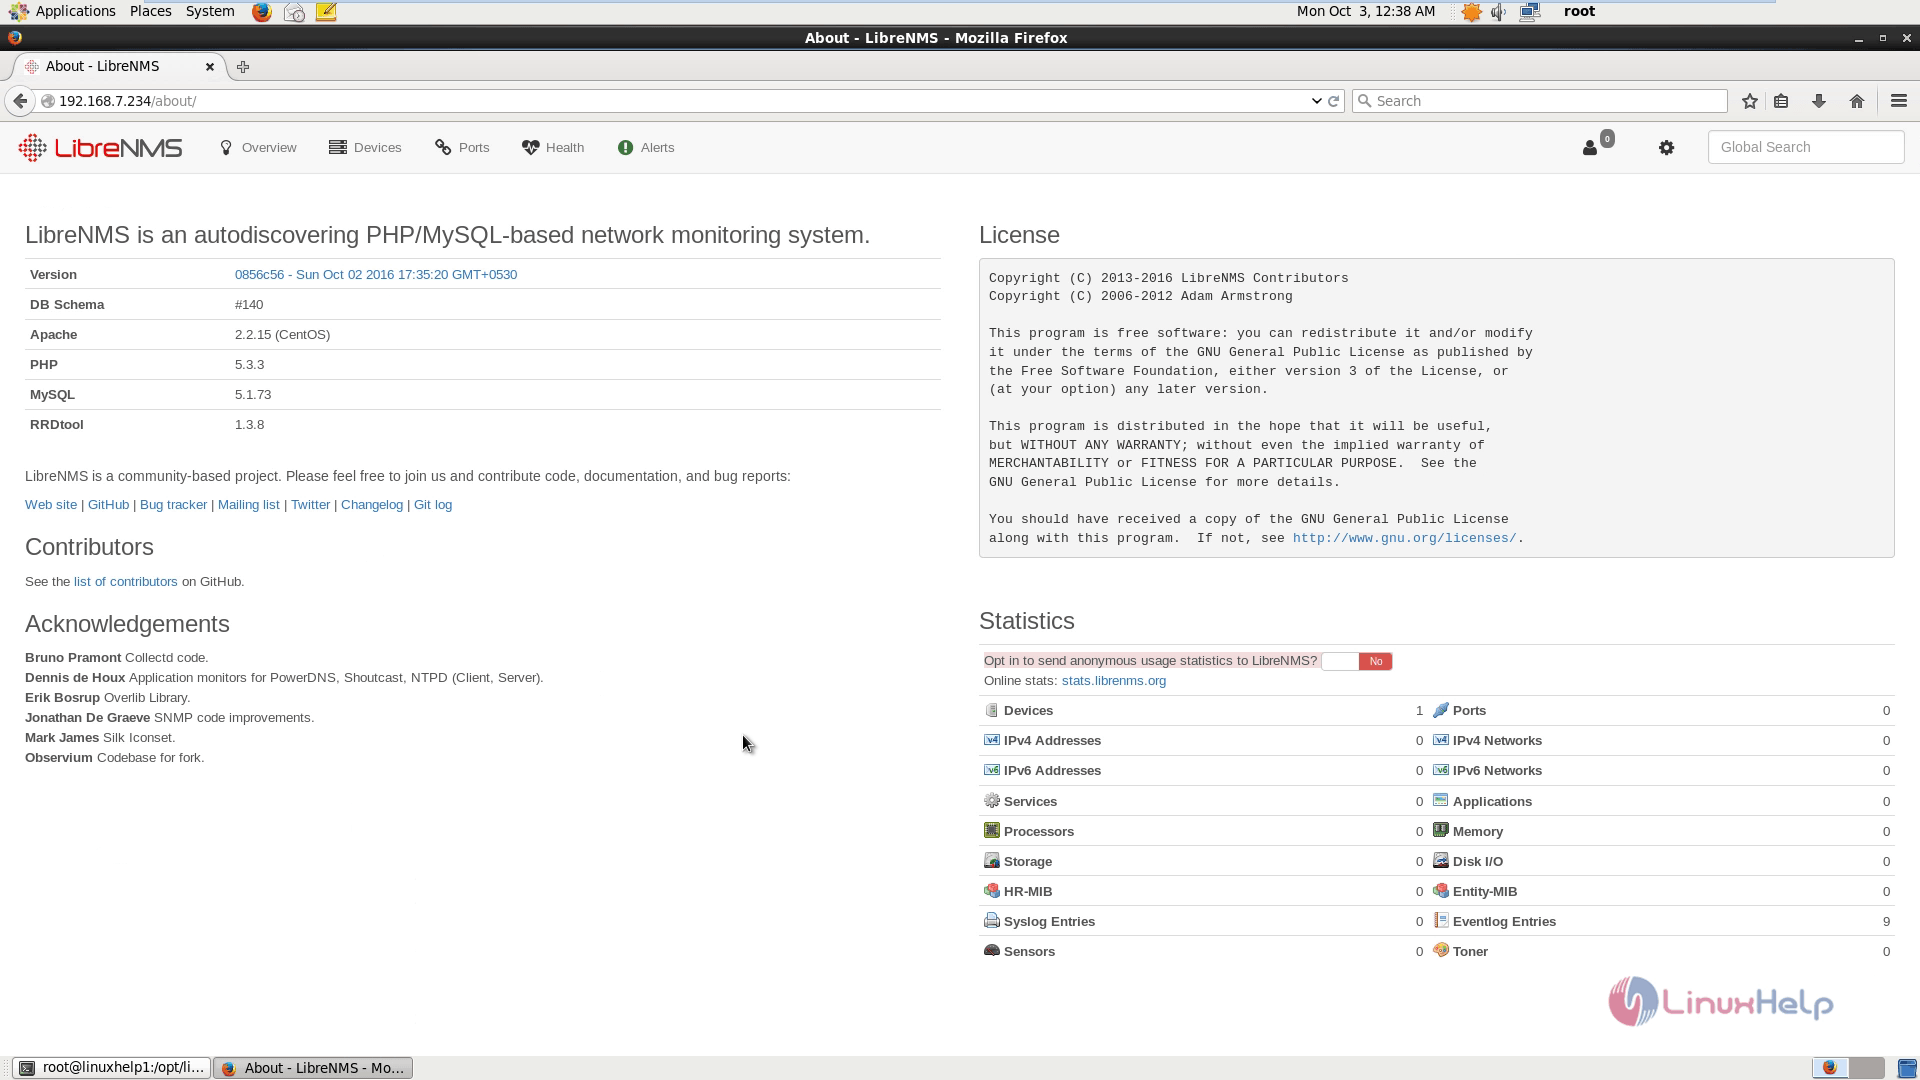
To know more about LibreNMS, click About.
Comments ( 0 )
No comments available