How to install install Textpattern CMS on linux mint 18.3
To install Textpattern CMS on Linux Mint 18.03
Textpattern is a free and open-source content management system (CMS) you can easily create, edit and published contents on your own site. It is so simple to install Textpattern CMS on Linux Mint and this tutorial covers the ground on the same process.
Features
- content publishing
- site designing
- web developing
- Secure and stable
- Easy to manage
- Excellent support
- An extensible platform
Pre-Requisites
Before installing Textpattern you need to have LAMP stack installed on your system. I have to install php version 7.2.3.
Along with that, add the required PHP modules.
(php7.2 libapache2-mod-php7.2 php7.2-common php7.2-mbstring php7.2-xmlrpc php7.2-soap php7.2-mysql php7.2-gd php7.2-xml php7.2-cli php7.2-zip)
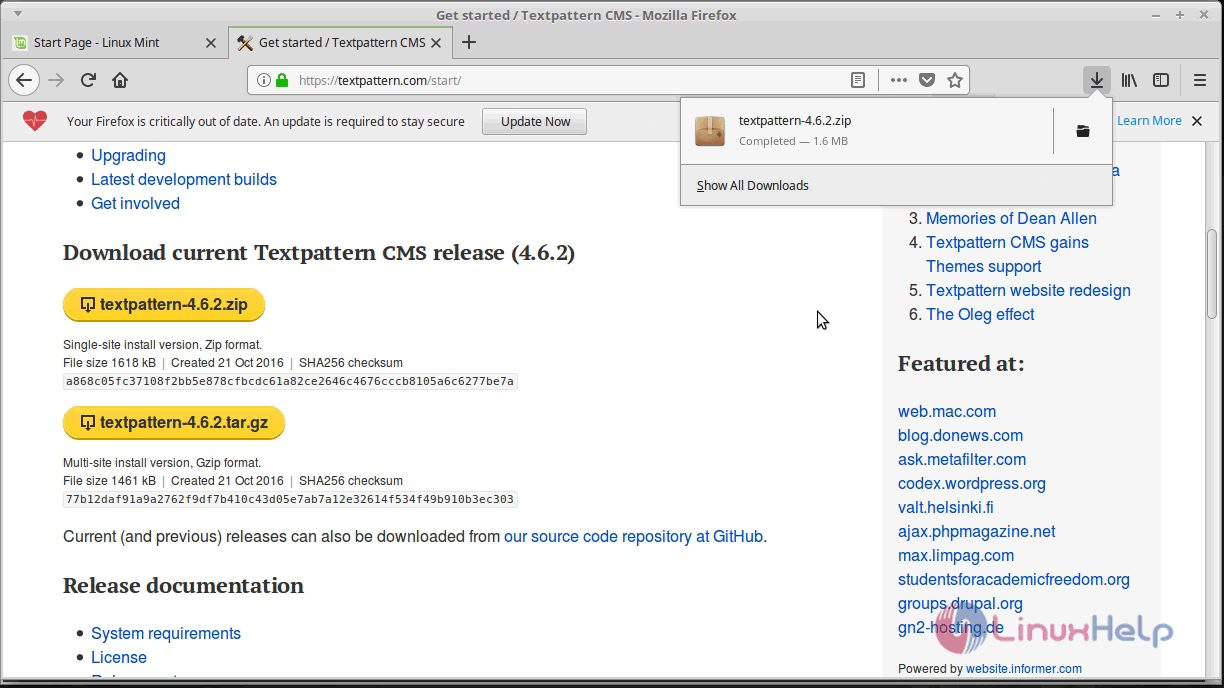
First, download the Textpattern CMS package from the following link https://textpattern.com/start/
Go to the download directory.
linuxhelp ~ # cd /home/user/Downloads/
linuxhelp Downloads # ls
textpattern-4.6.2.zip
Extract this package by using unzip command.
linuxhelp ~ #unzip textpattern-4.6.2.zip
rchive:  textpattern-4.6.2.zip
   creating: textpattern-4.6.2/
  inflating: textpattern-4.6.2/.htaccess
  inflating: textpattern-4.6.2/css.php
   creating: textpattern-4.6.2/files/
  inflating: textpattern-4.6.2/files/.htaccess-dist
  inflating: textpattern-4.6.2/HISTORY.txt
   creating: textpattern-4.6.2/images/
  inflating: textpattern-4.6.2/index.php
  inflating: textpattern-4.6.2/LICENSE-BSD-3.txt
.
.
.
creating: textpattern-4.6.2/textpattern/vendors/Textpattern/Validator/
  inflating: textpattern-4.6.2/textpattern/vendors/Textpattern/Validator/BlankConstraint.php
  inflating: textpattern-4.6.2/textpattern/vendors/Textpattern/Validator/CategoryConstraint.php
  inflating: textpattern-4.6.2/textpattern/vendors/Textpattern/Validator/ChoiceConstraint.php
  inflating: textpattern-4.6.2/textpattern/vendors/Textpattern/Validator/Constraint.php
  inflating: textpattern-4.6.2/textpattern/vendors/Textpattern/Validator/FalseConstraint.php
  inflating: textpattern-4.6.2/textpattern/vendors/Textpattern/Validator/FormConstraint.php
  inflating: textpattern-4.6.2/textpattern/vendors/Textpattern/Validator/SectionConstraint.php
  inflating: textpattern-4.6.2/textpattern/vendors/Textpattern/Validator/TrueConstraint.php
  inflating: textpattern-4.6.2/textpattern/vendors/Textpattern/Validator/Validator.php
  inflating: textpattern-4.6.2/textpattern/vendors/Txp.php
Rename the extracted directory.
linuxhelp Downloads # mv textpattern-4.6.2 textpattern
Move the file in to the /var/www/html/ location.
linuxhelp Downloads # mv textpattern /var/www/html/
Go to HTML directory and change ownership and permission as follows.
linuxhelp html # chown -R www-data:www-data textpattern/
You have to configure the virtual host for Textpattern cms, so go to the site available location, then create an empty file named textpattern.conf.
linuxhelp html # cd /etc/apache2/sites-available/
linuxhelp sites-available # vim textpattern.conf
< VirtualHost *:80>
servername www.linuxhelp1.com
DocumentRoot " /var/www/html/textpattern"
< Directory " /var/www/html/" >
Options FollowSymLinks
AllowOverride All
Order allow,deny
allow from all
< /Directory>
ErrorLog /var/log/apache2/linuxhelp1-error_log
CustomLog /var/log/apache2/linuxhelp1-access_log common
< /VirtualHost>
Enable the textpattern.conf file.
linuxhelp sites-available # a2ensite textpattern.conf
Enabling site textpattern.
To activate the new configuration, you need to run:
service apache2 reload
Next, Make an entry in the host file as follows.
< give your ip address> < give your domain name>
Finally, restart the Apache web server.
linuxhelp ~ # systemctl restart apache2
Now you can proceed the further installation and configuration from the browser by navigating to the following URL: http://< ipaddress or domain name.
You need to configure the Textpattern setup as follows.

First, select the language for Textpattern CMS.

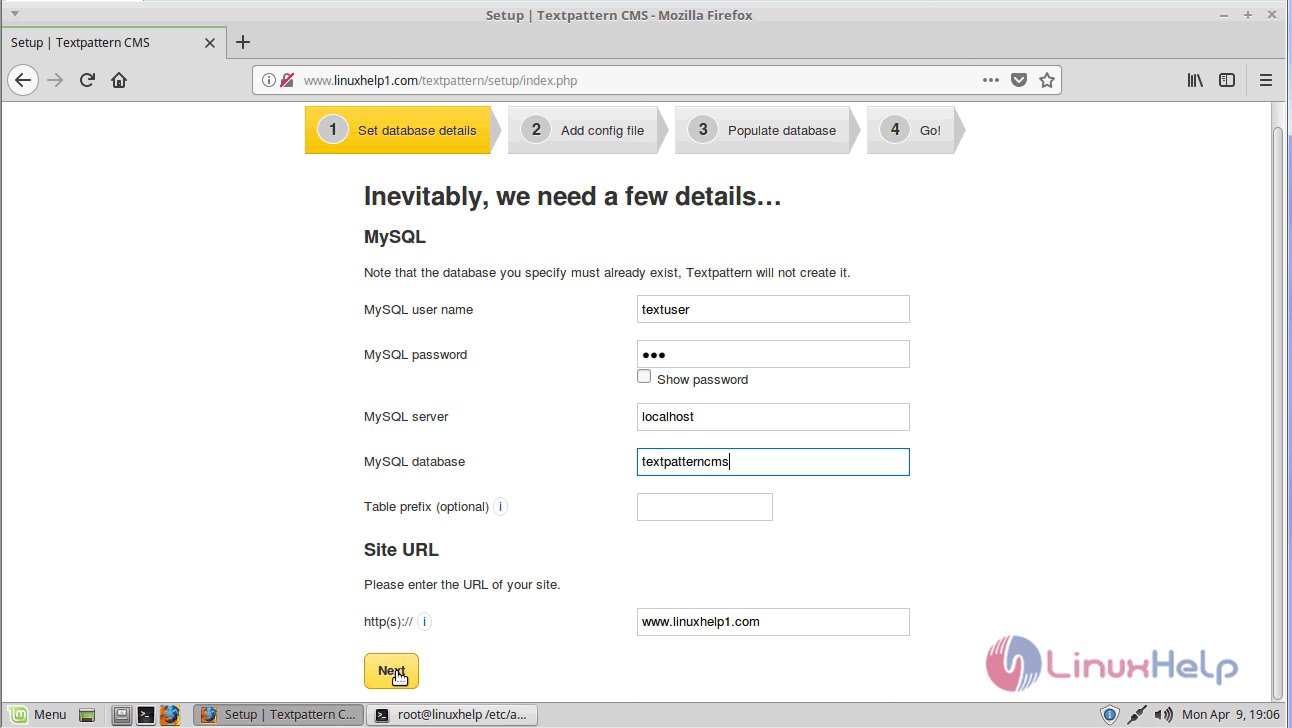
Now you need to configure the database details and click Next.
Check the database connection status and create config.php, make an entry to the configuration file as follows.

vim /var/www/html/textpattern/textpattern/config.php
< ?php
$txpcfg[' db' ] = ' textpattern'
$txpcfg[' user' ] = ' textuser'
$txpcfg[' pass' ] = ' 123'
$txpcfg[' host' ] = ' localhost'
$txpcfg[' table_prefix' ] = ' '
$txpcfg[' txpath' ] = ' /var/www/html/textpattern/textpattern'
$txpcfg[' dbcharset' ] = ' utf8mb4'
?>
Now configure the database tables and click Next.

After all the setup configuration. you can login using the given option.

Log in using the admin user credential as follows.

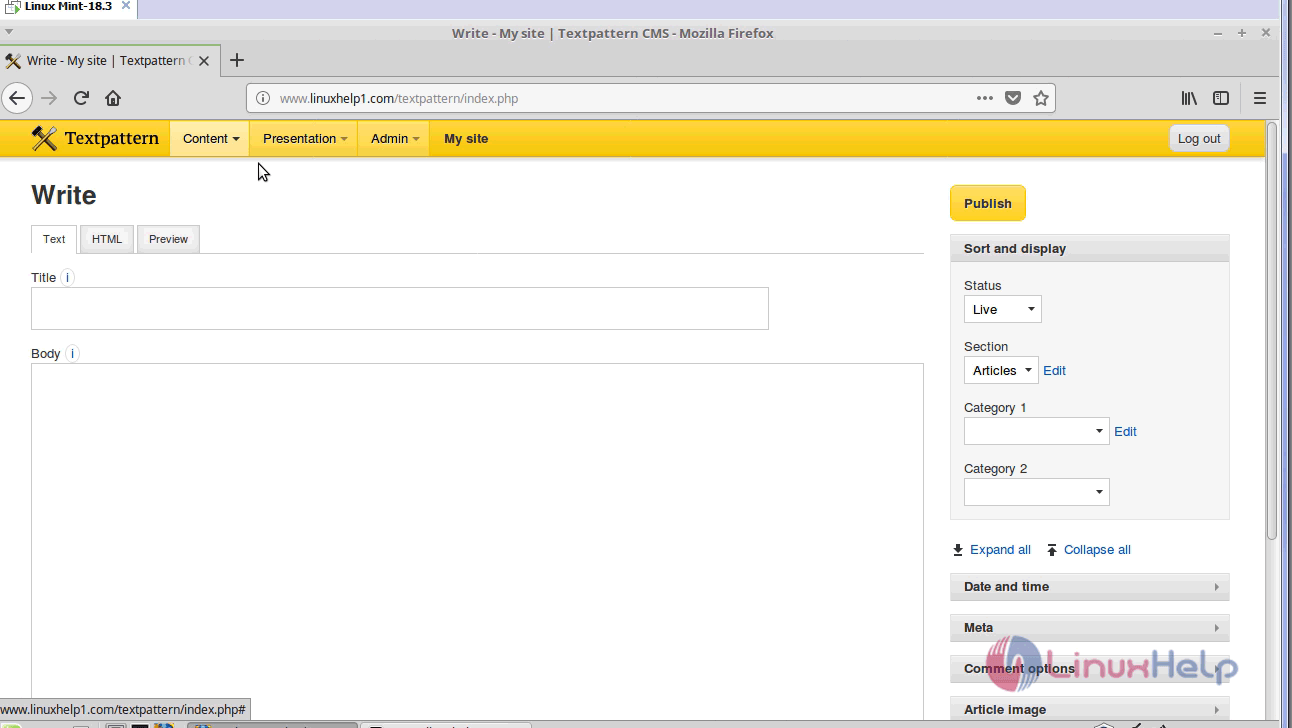
After successful login, you will see the CMS page of Textpattern as follows.
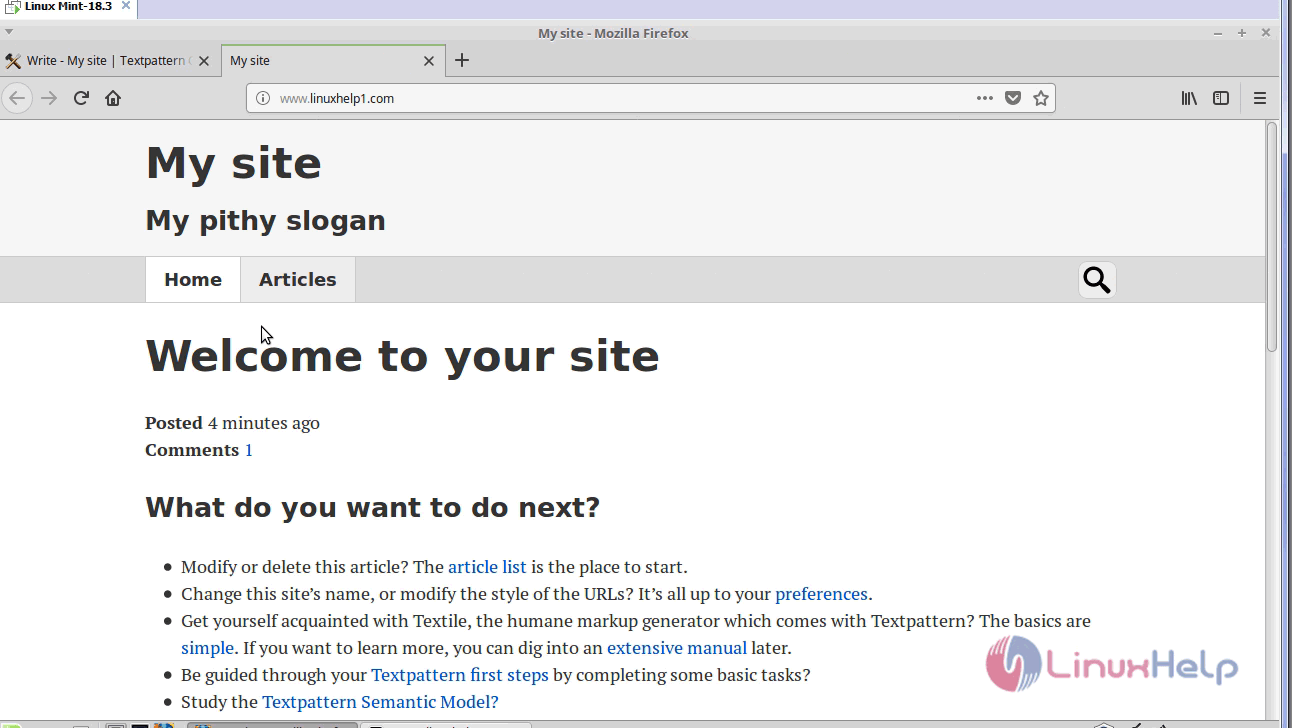
After publishing, you can access the site as follows.
With this, the method to install Textpattern CMS on Linux Mint 18.3 comes to an end.
Comments ( 0 )
No comments available