How to Install GNS3 on Ubuntu 16.04
To Install gns3 on Ubuntu 16.04
GNS3 is a graphical network simulator to design complex network.This is used to configure devices ranging from simple workstations to powerful Cisco routers. It is based on Dynamips, Pemu/Qemu and Dynagen. Installation of GNS3 on Ubuntu 16.04 is explained.
Features
- Design of high quality and complex network topologies
- Emulation of many Cisco router platforms and PIX firewalls
- Simulation of simple Ethernet, ATM and Frame Relay switches
- Connection of the simulated network to the real world
- Packet capture using Wireshark
To Install gns3
Before installing, add gns3 repo file by using following command.
root@linuxhelp:~# add-apt-repository ppa:gns3/ppa
 PPA for GNS3 and Supporting Packages. Please see http://www.gns3.com for more details
 More info: https://launchpad.net/~gns3/+archive/ubuntu/ppa
Press [ENTER] to continue or ctrl-c to cancel adding it

gpg: keyring `/tmp/tmpxpinmde8/secring.gpg'  created
gpg: keyring `/tmp/tmpxpinmde8/pubring.gpg'  created
gpg: requesting key A2E3EF7B from hkp server keyserver.ubuntu.com
gpg: /tmp/tmpxpinmde8/trustdb.gpg: trustdb created
gpg: key A2E3EF7B: public key " Launchpad PPA for GNS3"  imported
gpg: Total number processed: 1
gpg:               imported: 1  (RSA: 1)
OK
Update the repo by using the following command.
root@linuxhelp:~# apt-get update
Hit:1 http://in.archive.ubuntu.com/ubuntu xenial InRelease
Get:2 http://in.archive.ubuntu.com/ubuntu xenial-updates InRelease [94.5 kB]
Hit:3 http://in.archive.ubuntu.com/ubuntu xenial-backports InRelease
Hit:4 http://ppa.launchpad.net/enlightenment-git/ppa/ubuntu xenial InRelease
Hit:5 http://security.ubuntu.com/ubuntu xenial-security InRelease
Get:6 http://ppa.launchpad.net/gns3/ppa/ubuntu xenial InRelease [17.5 kB]
Get:7 http://ppa.launchpad.net/gns3/ppa/ubuntu xenial/main amd64 Packages [1,664 B]
Get:8 http://ppa.launchpad.net/gns3/ppa/ubuntu xenial/main i386 Packages [1,664 B]
Get:9 http://ppa.launchpad.net/gns3/ppa/ubuntu xenial/main Translation-en [836 B]
Fetched 116 kB in 6s (16.8 kB/s)
Reading package lists... Done
After the updation is completed, install gns3 as follows.
root@linuxhelp:~# apt-get install dynamips gns3
Reading package lists... Done
Building dependency tree
Reading state information... Done
.
.
.
.
Setting up libwiretap5:amd64 (2.0.2+ga16e22e-1) ...
Setting up libwireshark6:amd64 (2.0.2+ga16e22e-1) ...
Setting up wireshark-common (2.0.2+ga16e22e-1) ...
Setting up wireshark-qt (2.0.2+ga16e22e-1) ...
Setting up wireshark (2.0.2+ga16e22e-1) ...
Processing triggers for libc-bin (2.23-0ubuntu3) ...
To Launch the gns3 application
Open the GNS3 application.
To configure the project settings
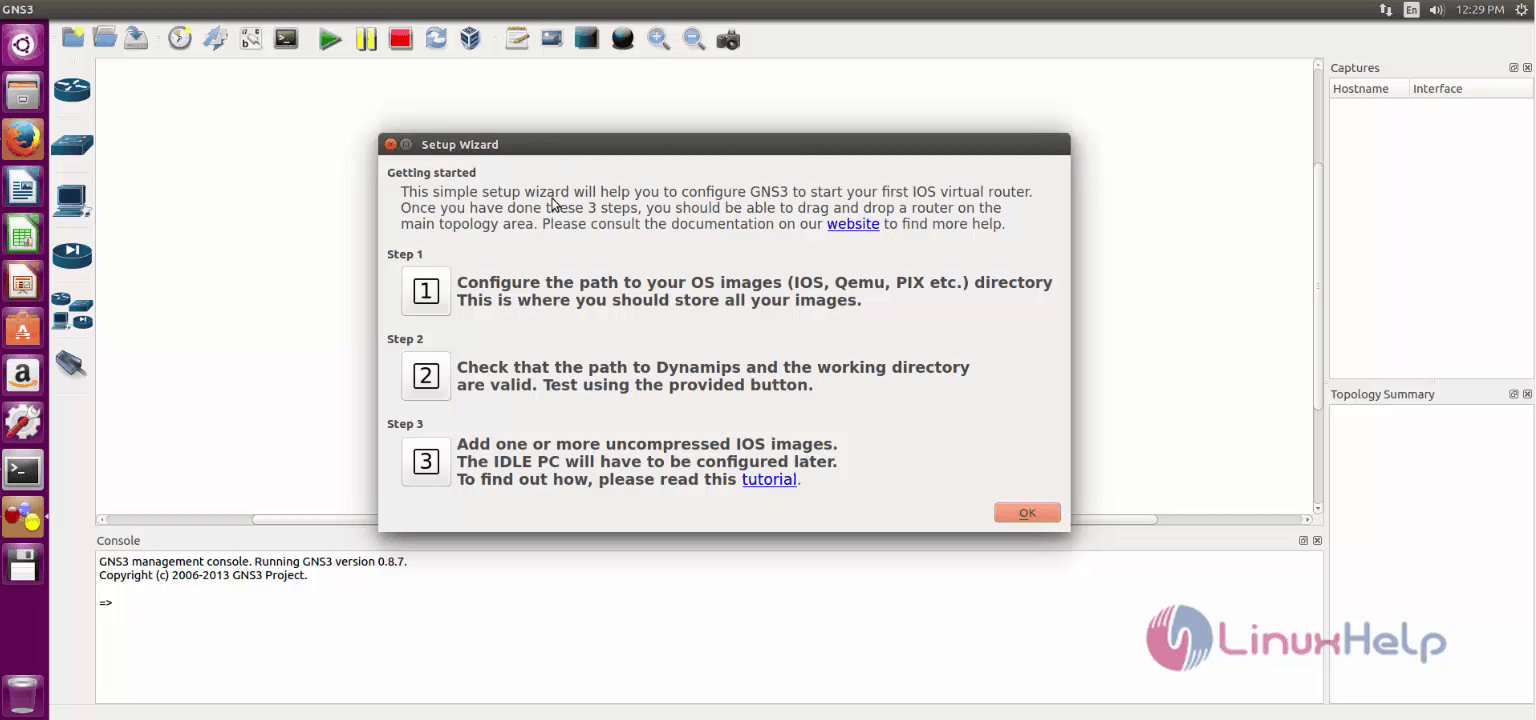
Set project path
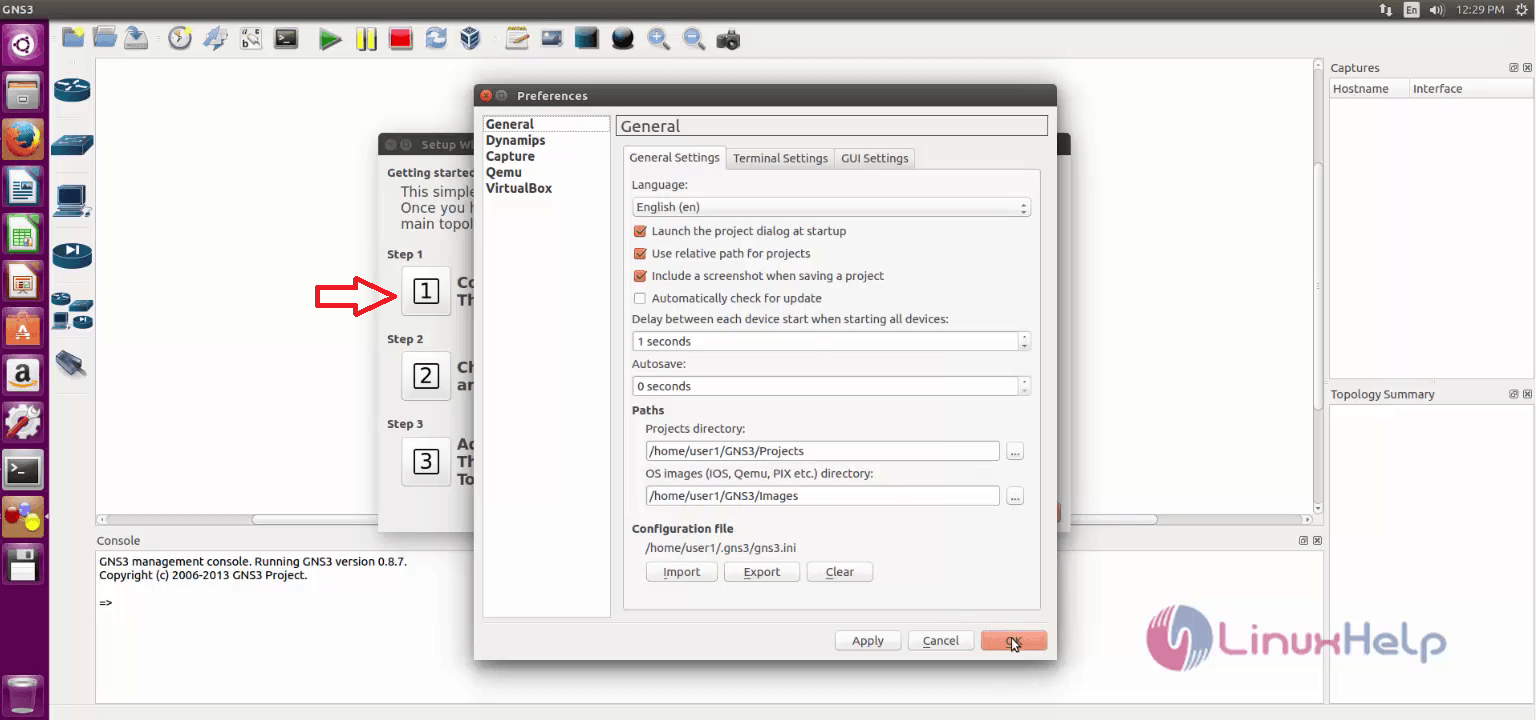
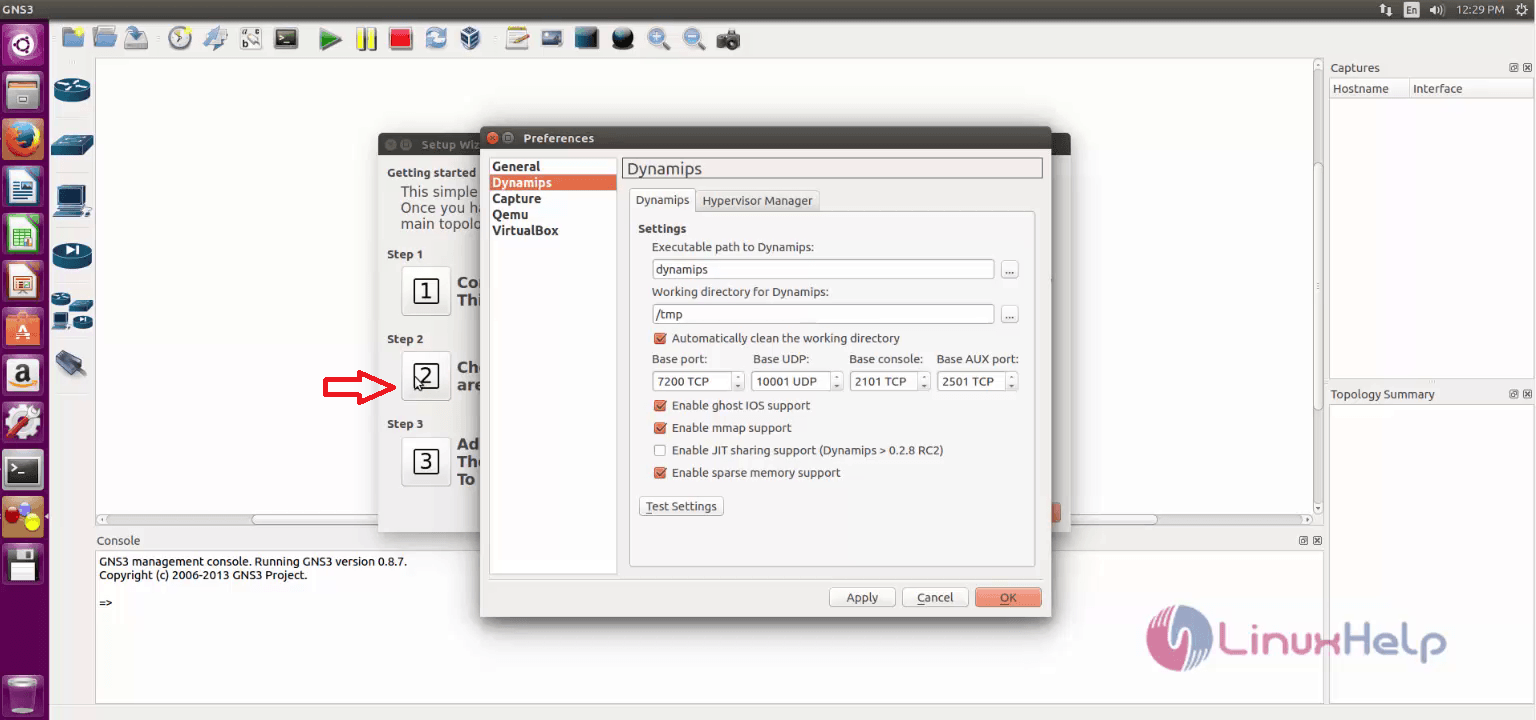
Set Dynamips executable path and test it.
Select networks and switch images.
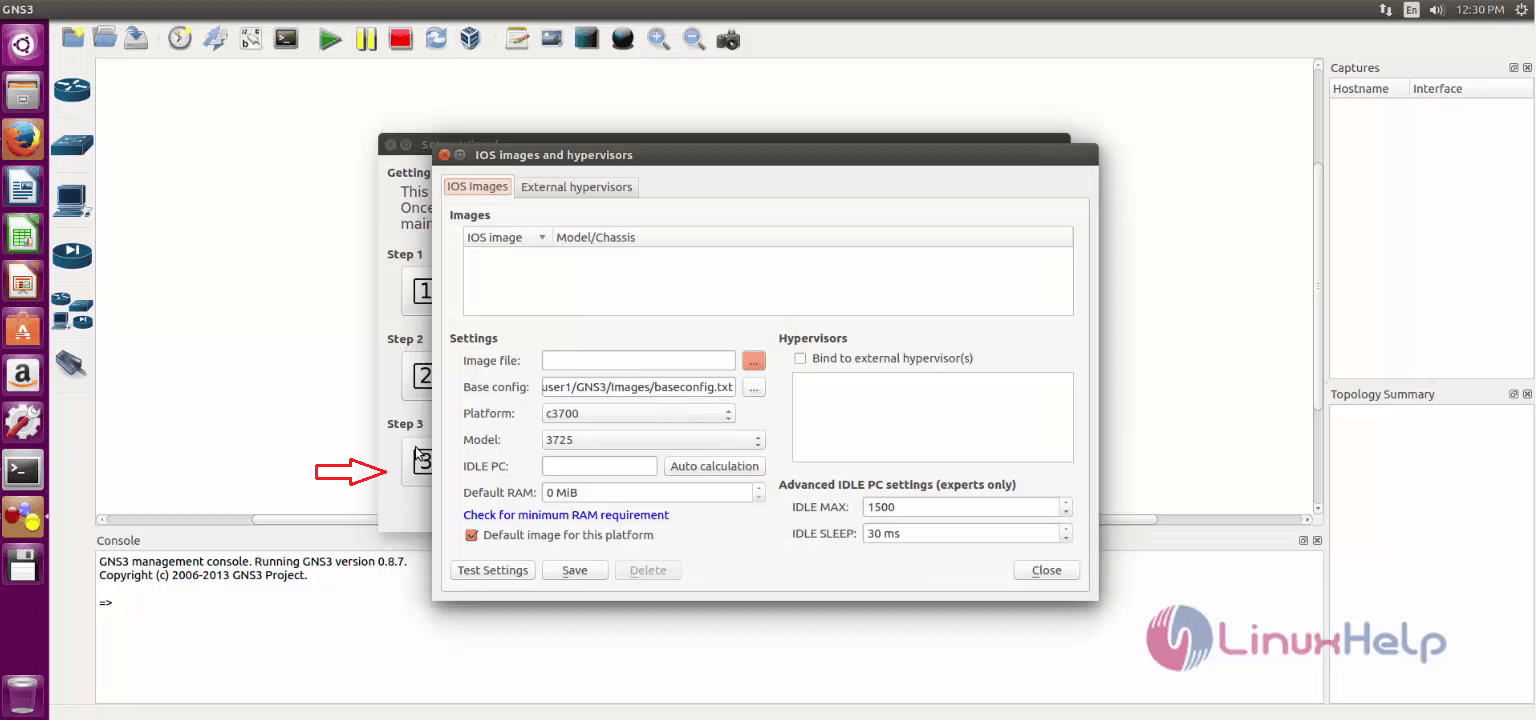
After that click “ close” . Now the gns project wizard is ready to use.
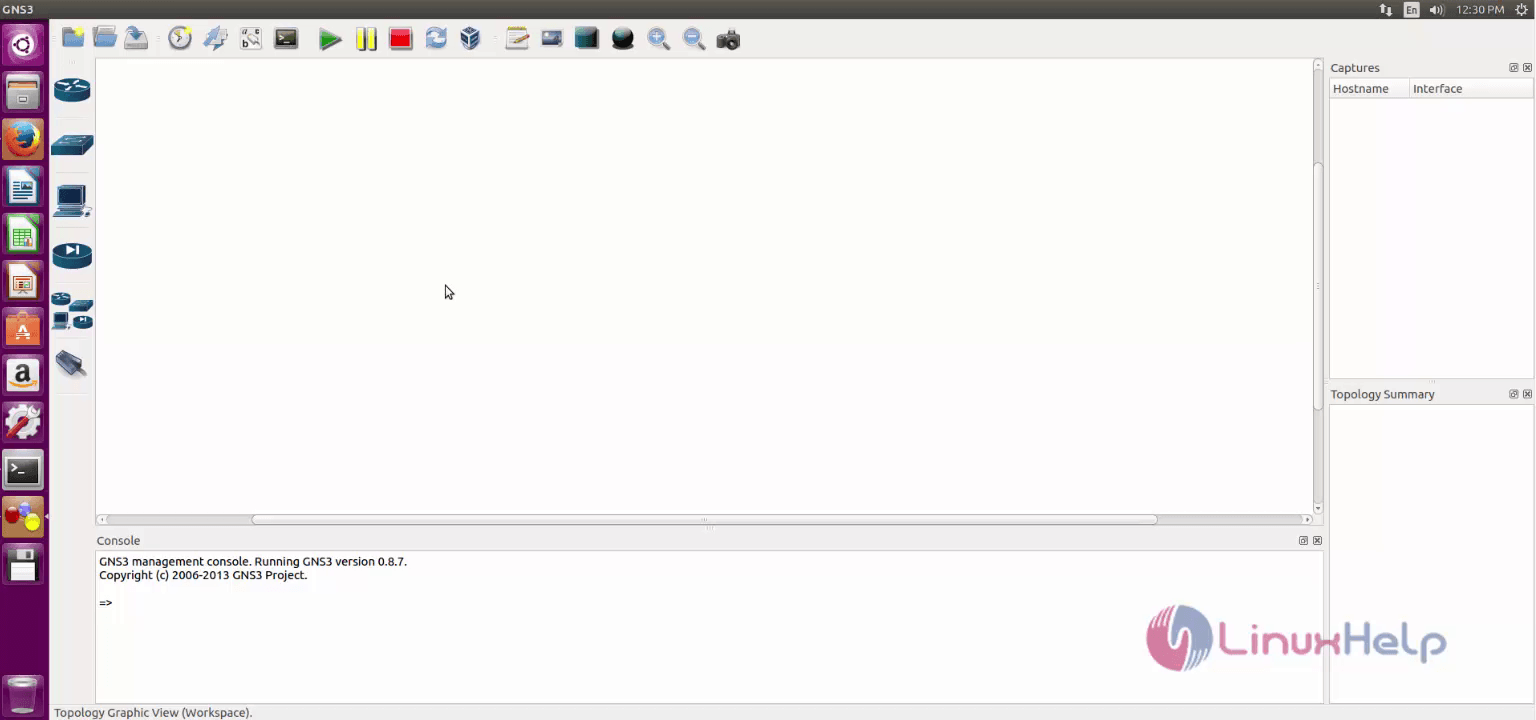
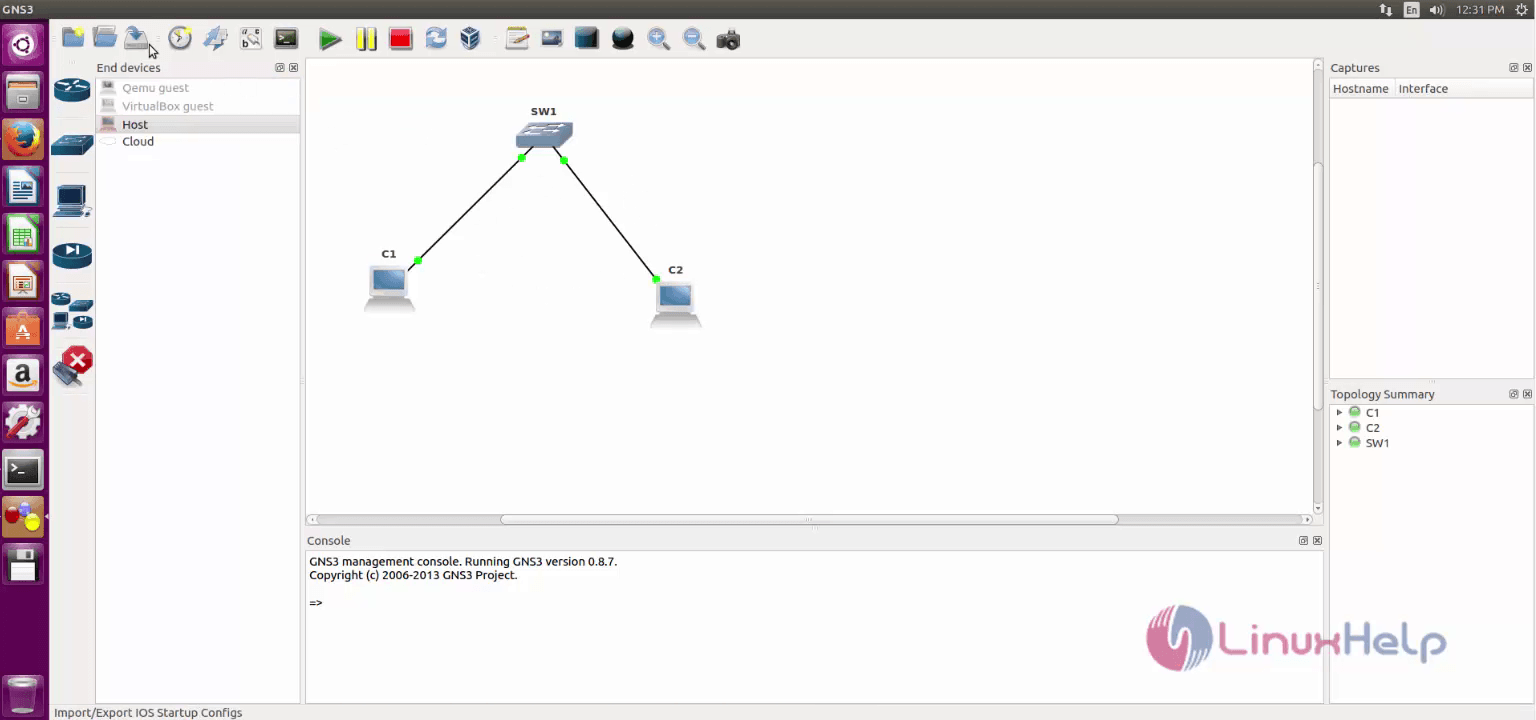
The sample setup appears as follows.
After completing the project click “ save project” .
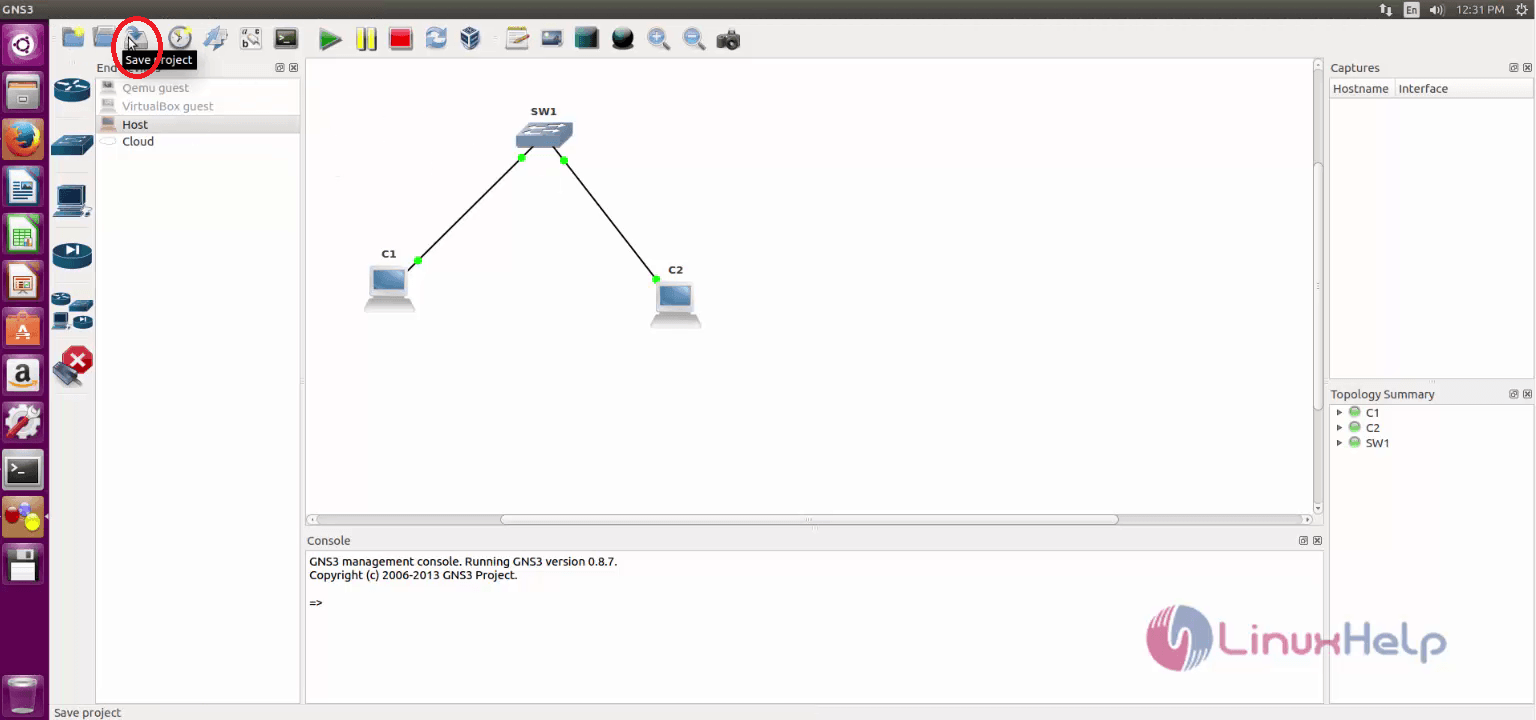
Enter a project name, path and Click OK.

Comments ( 3 )