How to install CopyQ 3.1.2 on Ubuntu 16.04
To install CopyQ 3.1.2 on Ubuntu 16.04
CopyQ 3.1.2 is the recently released version of a monitoring app, It allows you to monitor system clipboard and saves its content in customized tabs. Saved clipboard can then be copied and pasted later directly into any application. CopyQ is packed with several abundant features and some of them are listed below.
CopyQ Features
- Support for Linux, Windows as well as OS X 10.9+
- Store text, HTML, images or any other custom formats
- Quickly browse and filter items in clipboard history
- Sort, create, edit, remove, copy/paste, drag’ n’ drop items in tabs
- Add notes or tags to items
- System-wide shortcuts with customizable commands
- Paste items with shortcut or from tray or main window
- Fully customizable appearance
- Advanced command-line interface and scripting
- Ignore clipboard copied from some windows or containing some text
- Support for simple Vim-like editor and shortcuts
It is really so simple to install CopyQ 3.1.2 and this tutorial sheds light on the installation process involved with CopyQ 3.1.2 on Ubuntu 16.04.
Installing CopyQ 3.1.2
Before you begin with the process, you need to add the necessary repository by making use of the following command.
user@linuxhelp:~$ sudo add-apt-repository ppa:hluk/copyq
 CopyQ is advanced clipboard manager with editing and scripting features.
.
.
gpg:               imported: 1  (RSA: 1)
OK
Once it is added, you need to update the system by making use of the following command.
user@linuxhelp:~$ sudo apt-get update
Hit:1 http://in.archive.ubuntu.com/ubuntu xenial InRelease
Get:2 http://ppa.launchpad.net/hluk/copyq/ubuntu xenial InRelease [18.0 kB]
.
.
Fetched 19.9 kB in 2s (8,260 B/s)
Reading package lists... Done
You shall now proceed with the installation of CopyQ by triggering the following command.
user@linuxhelp:~$ sudo apt-get install copyq
Reading package lists... Done
.
.
 bingwallpaper
Reading package lists... Done
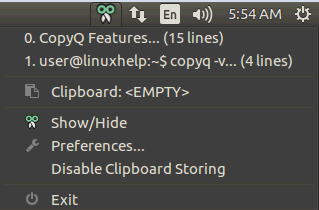
Once the application is installed, you will notice the CopyQ icon in the toolbar. Click on it to open it.
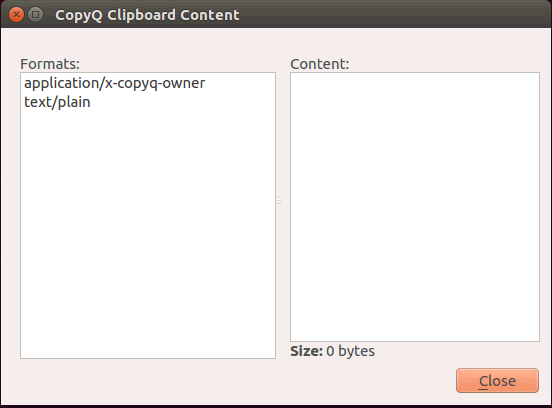
The CopyQ clipboard content appears on your screen.
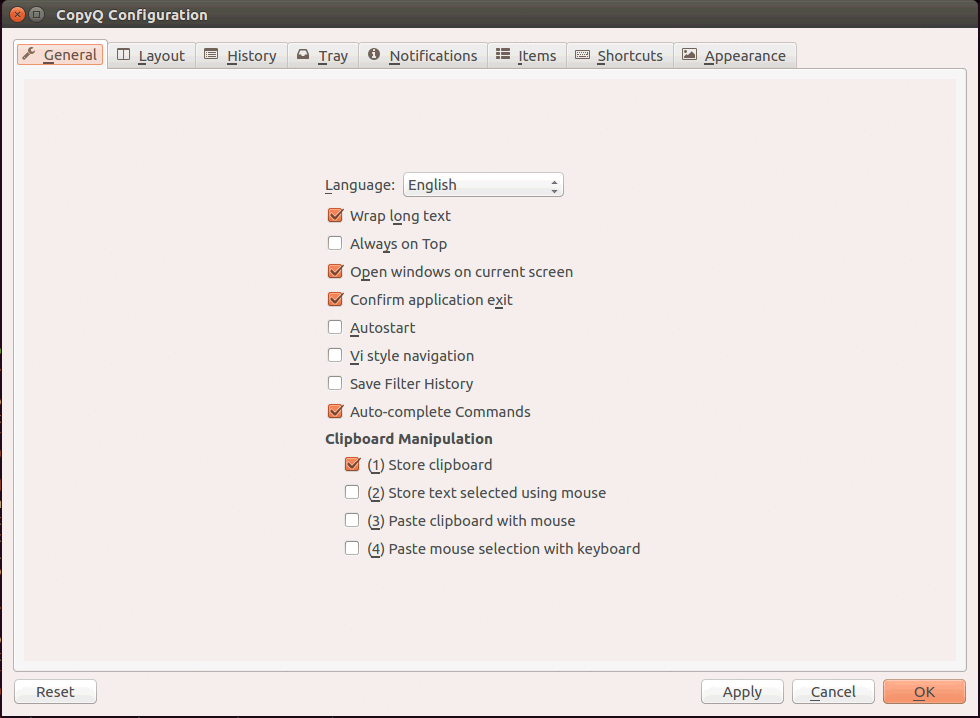
You can view the CopyQ’ s general configuration, and modify it as you need.
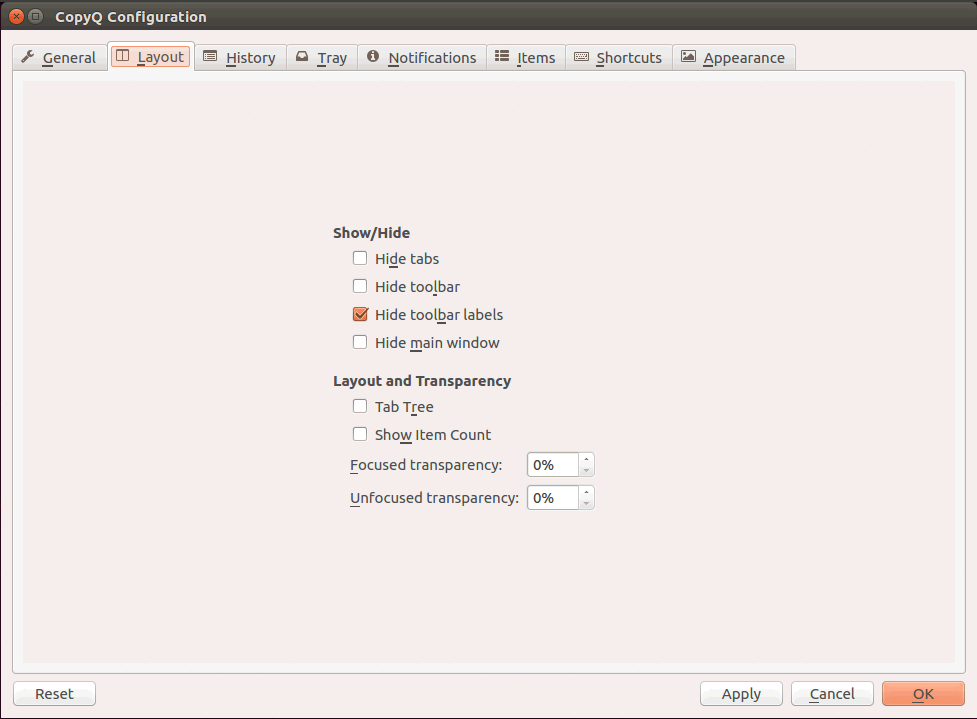
The CopyQ’ s configuration layout looks as follows.
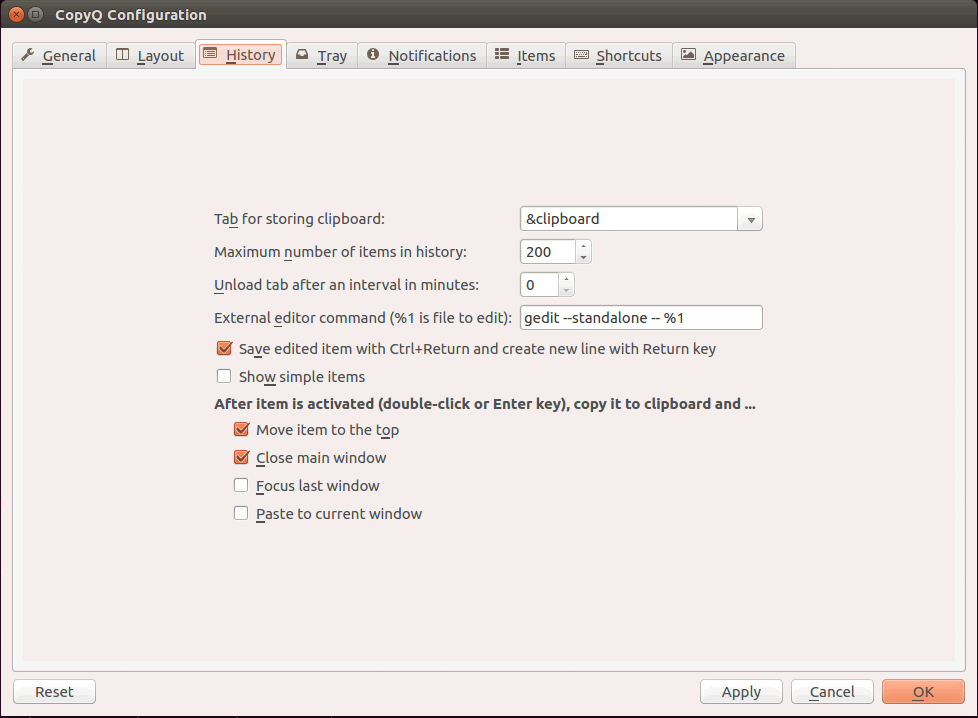
You can also view the CopyQ’ s configuration history.
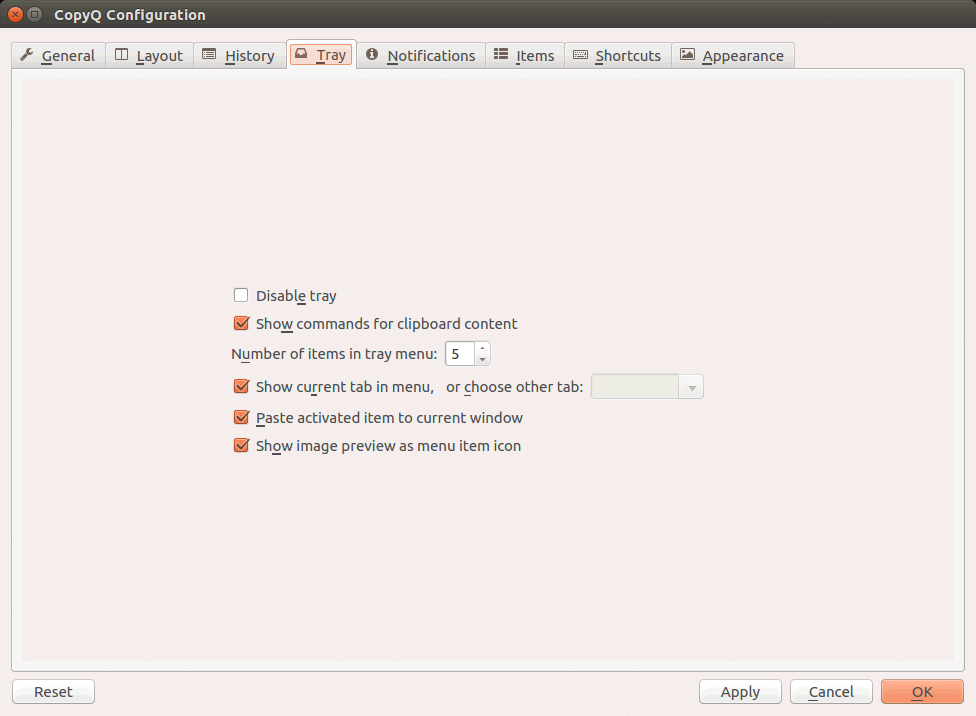
The CopyQ’ s configuration tray looks as follows.
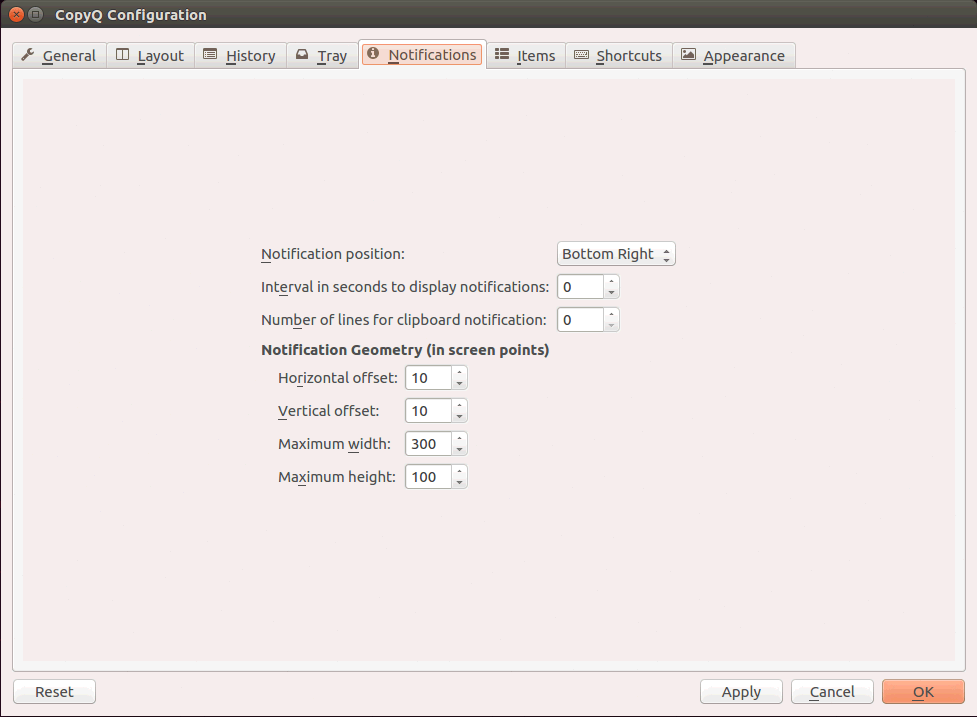
Also, check out the CopyQ’ s configuration notification.
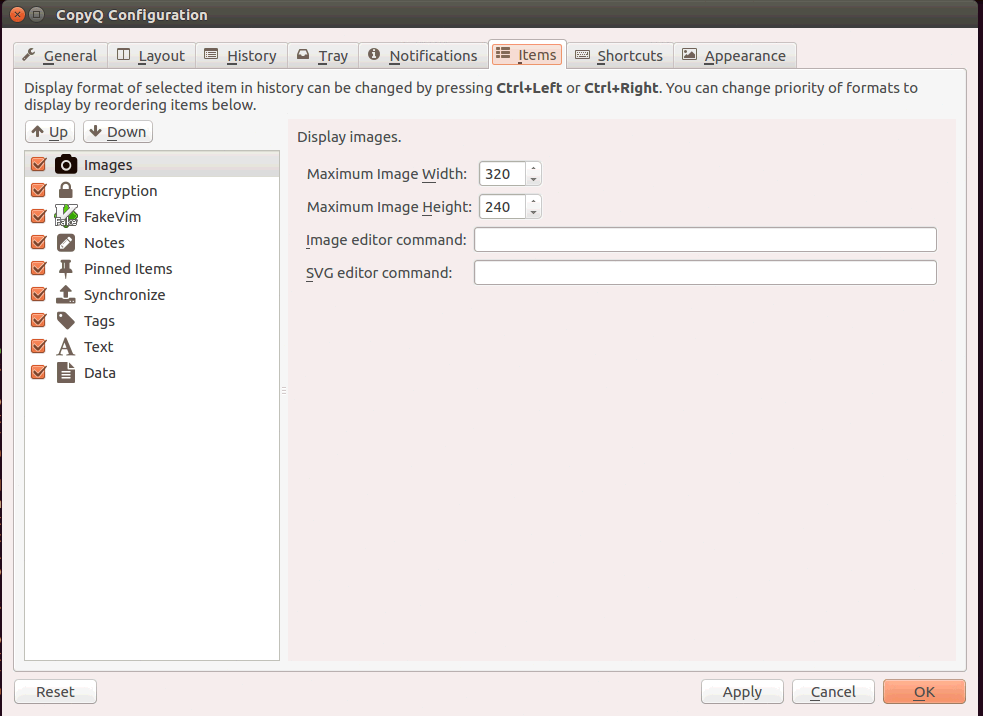
All of the CopyQ’ s configuration items can be viewed.
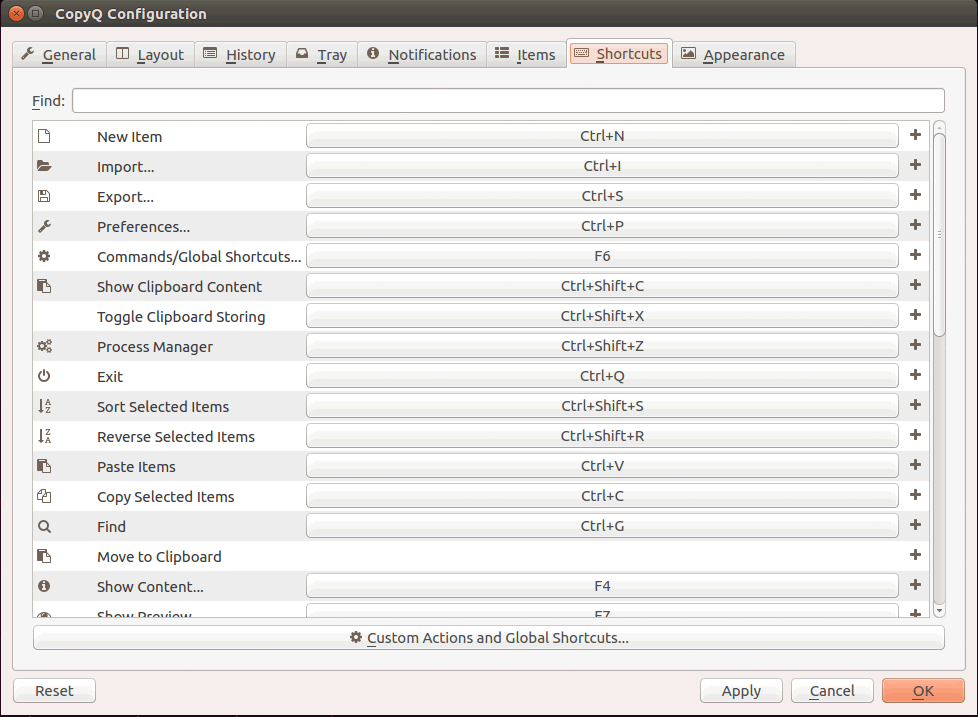
You can also check out the CopyQ’ s configuration Shortcuts.
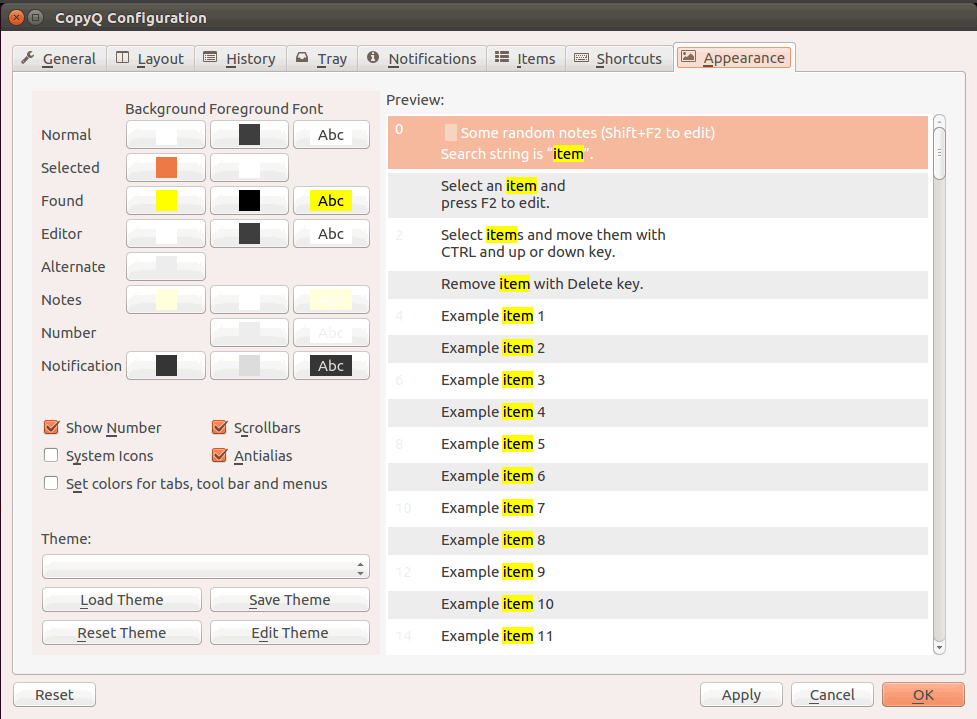
Finally, the CopyQ’ s configuration Appearance.
With this, the installation of CopyQ 3.1.2 on Ubuntu 16.04 comes to an end.


Comments ( 0 )
No comments available