How to install Concrete5 8.4.2 on Ubuntu 18.04
To install Concrete5 8.4.2 on Ubuntu 18.04
Concrete5 is a content management systems that is written in PHP and uses MySQL to store its data. It comes with an easy-to-use website builder through which you can easily create pages and content. Concrete5 is flexible, secure and mobile ready. It is based on Model-View-Controller architecture and object-oriented programming. Some of its features include integrated server, caching, developer API, version tracking system, and SEO. In this tutorial, we will cover the installation of Concrete5 on Ubuntu 18.04.
Prerequisites
Install LAMP(Apache, MariaDB, php7)
In MariaDB (create database and user and give privileges to that user )
Php installation with required following modules
add-apt-repository ppa:ondrej/php
apt-get update
apt-get install php7.0 php7.0-mysql php7.0-curl php7.0-json php7.0-cgi libapache2-mod-php7.0 php7.0-mcrypt php7.0-xmlrpc
php7.0-gd php7.0-mbstring php7.0  php7.0-common  php7.0-xmlrpc php7.0-soap  php7.0-xml php7.0-intl  php7.0-cli  php7.0-ldap
php7.0-zip php7.0-readline php7.0-imap php7.0-tidy php7.0-recode php7.0-sq php7.0-intl
Installation
Download a Concrete5 package using the following URL
https://www.concrete5.org/download
After Downloading extract the downloaded package
root@linuxhelp1:~# unzip concrete5-8.4.2.zip
Archive:  concrete5-8.4.2.zip
   creating: concrete5-8.4.2/
  inflating: concrete5-8.4.2/composer.lock
 extracting: concrete5-8.4.2/index.php
   creating: concrete5-8.4.2/concrete/
   creating: concrete5-8.4.2/concrete/blocks/
   creating: concrete5-8.4.2/concrete/blocks/desktop\_featured\_theme/
.
.
   creating: concrete5-8.4.2/application/controllers/
   creating: concrete5-8.4.2/application/views/
   creating: concrete5-8.4.2/application/themes/
   creating: concrete5-8.4.2/application/authentication/
   creating: concrete5-8.4.2/application/src/
  inflating: concrete5-8.4.2/robots.txt
  inflating: concrete5-8.4.2/LICENSE.TXT
  inflating: concrete5-8.4.2/composer.json
Move the extracted file into the HTML directory
root@linuxhelp1:~# mv concrete5-8.4.2 /var/www/
Navigate to the apache document root directory
root@linuxhelp1:~# cd /var/www/
Change ownership and permission of the as Concrete5 follows
root@linuxhelp1:/var/www# chown -R www-data.www-data concrete5-8.4.2
root@linuxhelp1:/var/www# chmod -R 775 concrete5-8.4.2
Create a new virtual host configuration for accessing the Concrete5
root@linuxhelp1:/var/www# vim /etc/apache2/sites-available/concrete.conf
 ServerName www.linuxhelp1.com
DocumentRoot /var/www/concrete5-8.4.2/
 AllowOverride All
allow from all
Enable site access
root@linuxhelp1:/var/www# a2ensite concrete.conf
Enabling site concrete.
To activate the new configuration, you need to run:
  systemctl reload apache2
Disable default access
root@linuxhelp1:/var/www# a2dissite 000-default.conf
Site 000-default disabled.
To activate the new configuration, you need to run:
  systemctl reload apache2
Enable rewrite module
root@linuxhelp1:/var/www# a2enmod rewrite
Enabling module rewrite.
To activate the new configuration, you need to run:
  systemctl restart apache2
Restart the apache service to make the changes effect
root@linuxhelp1:/var/www# systemctl restart apache2
Now you can proceed the further installation and configuration from the browser by navigating to the following URL: http://
You will see the version of Concrete5

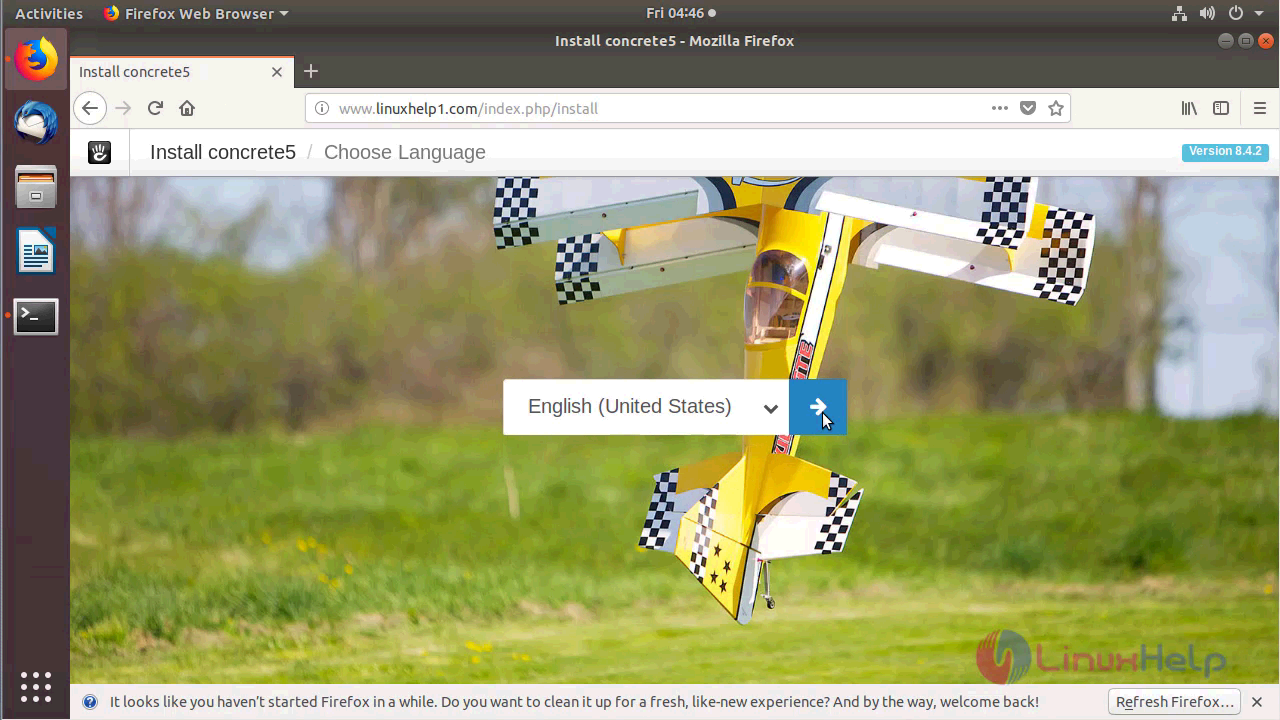
Choose the language for using Concrete5 as shown below
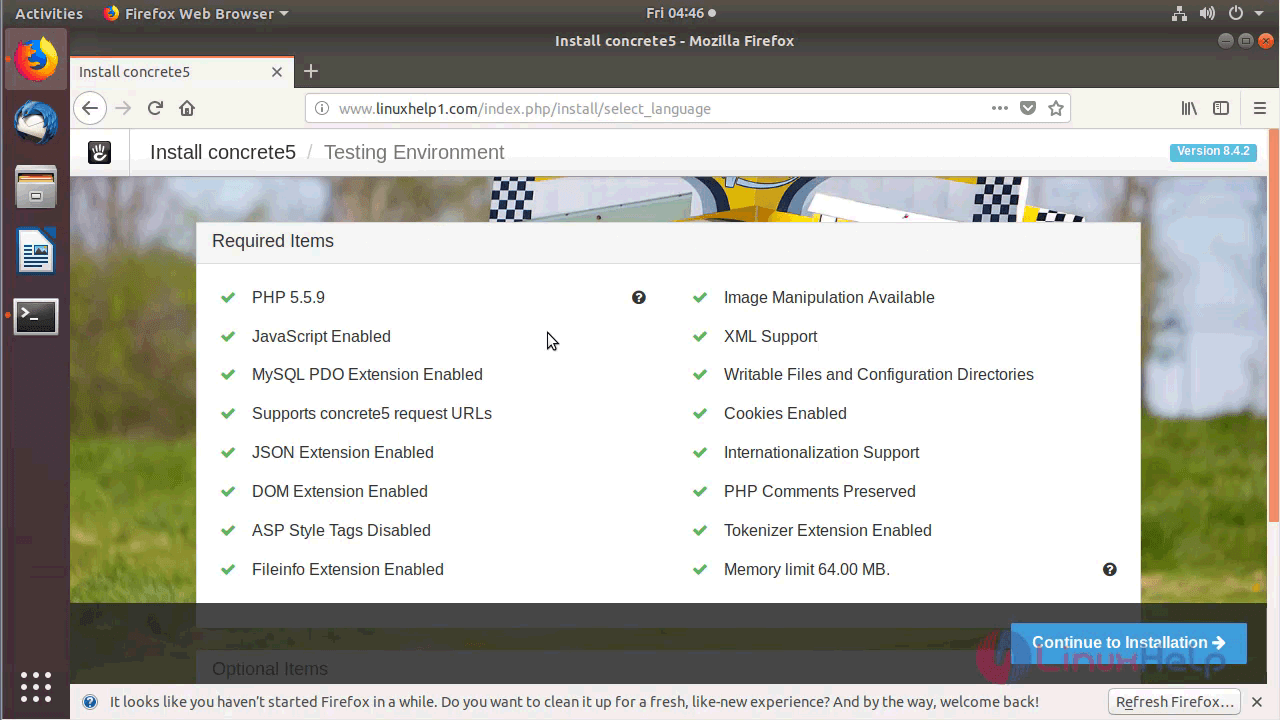
Verify the compatibility for installing Concrete5 as shown below
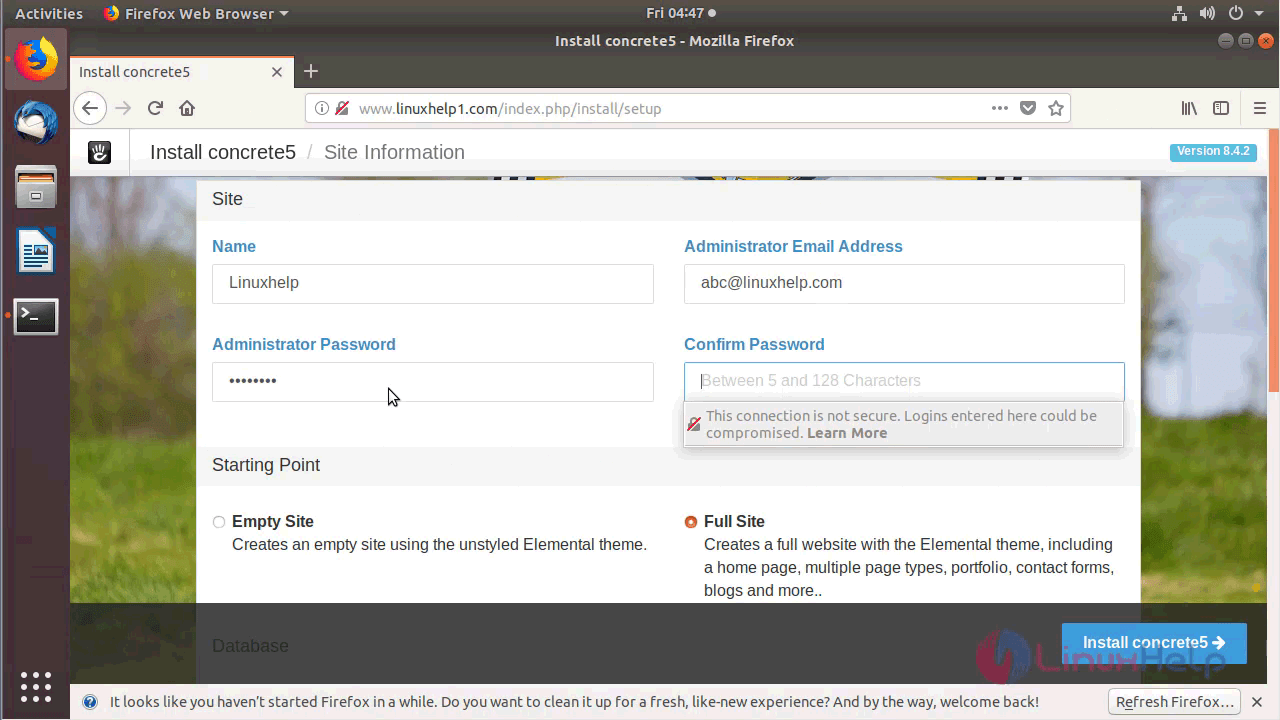
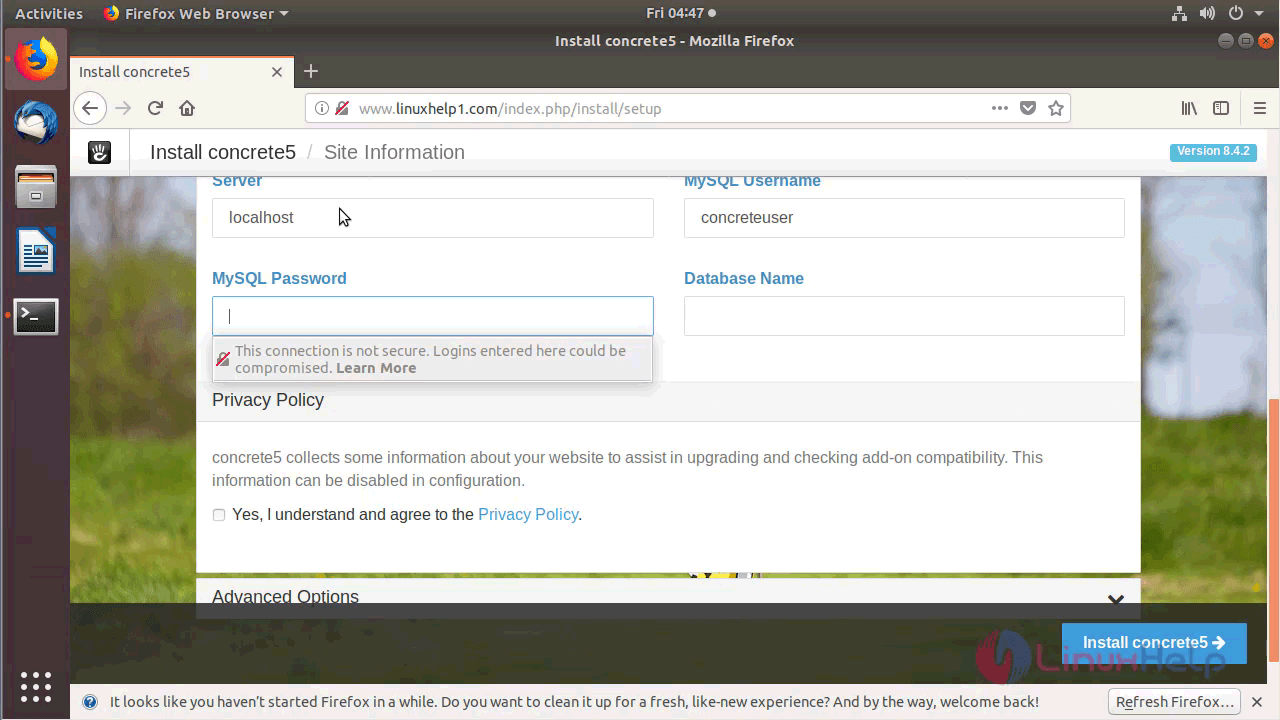
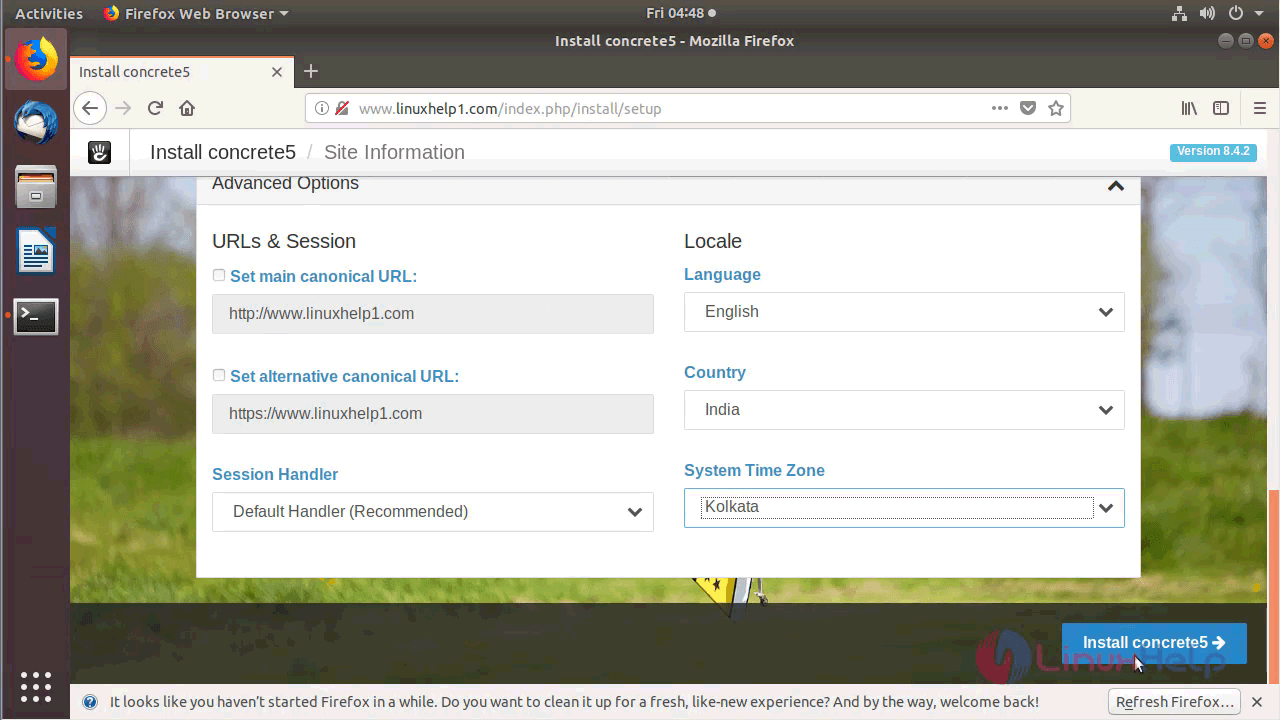
Configure the Site information, Admin user setup and Database setup as follow
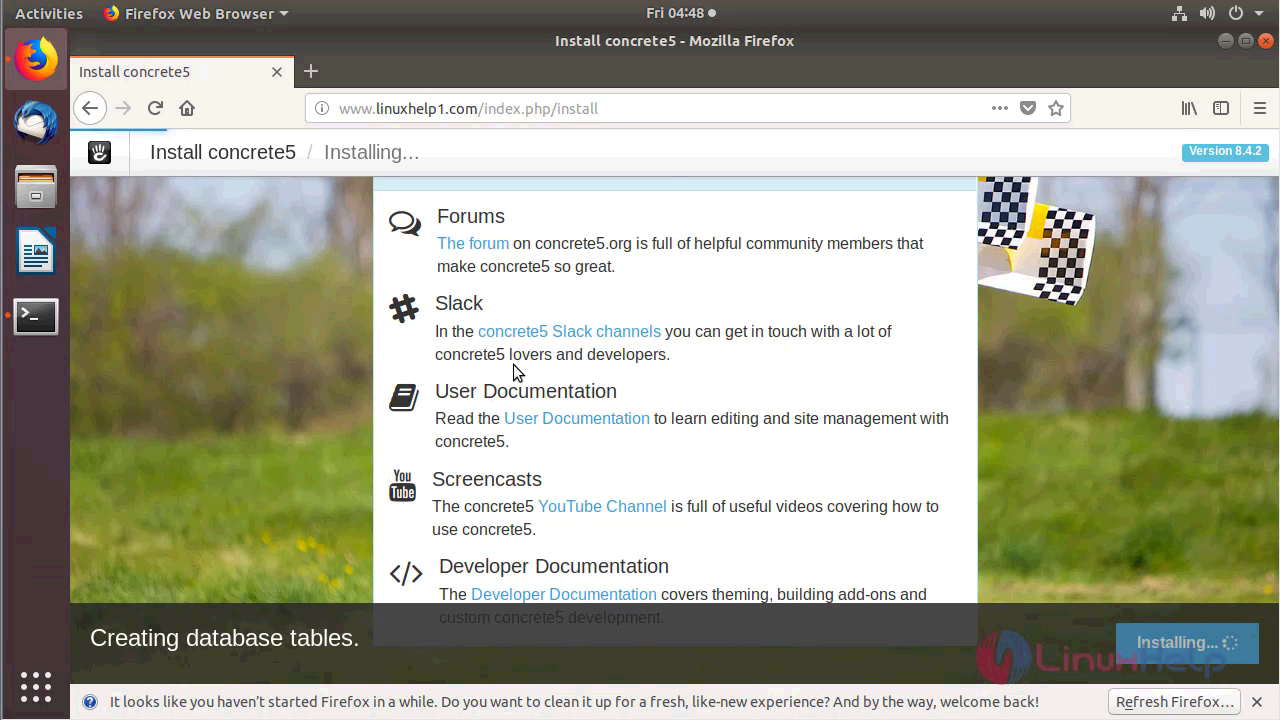
After the configuration, you will see the following page as shown below
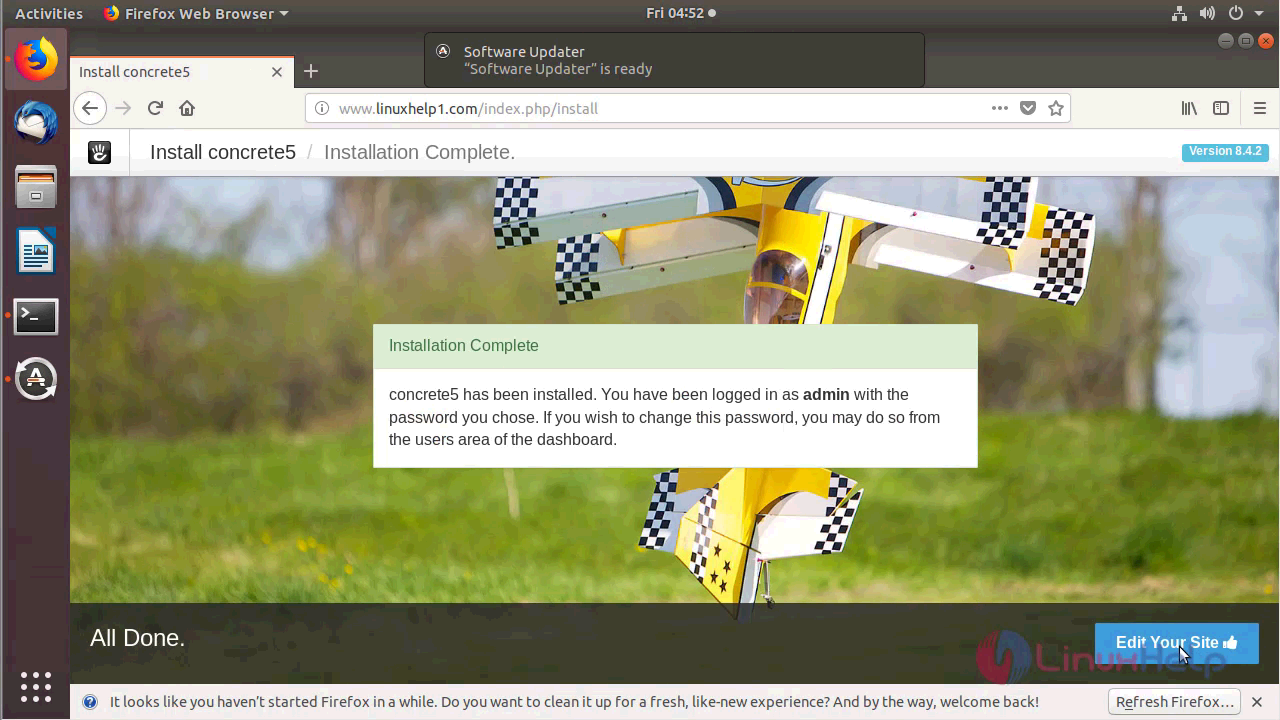
When the installation is complete you will see the following screen.
You will see the Admin dashboard of Concrete5 as shown below
With this, the method to install Concrete5 8.4.2 on Ubuntu 18.04 comes to an end.


Comments ( 0 )
No comments available