How to Install Cabot Monitoring Tool using Docker on ubuntu 18.04
- 0:50 apt-get install docker-ce
- 1:01 systemctl start docker
- 1:12 systemctl status docker
- 1:25 systemctl enable docker
- 1:41 apt-get install python3-pip
- 2:05 pip3 install docker-compose
- 2:24 git clone https://github.com/cabotapp/docker-cabot.git
- 2:52 cp conf/production.env.example conf/production.env
- 2:58 cp conf/Caddyfile.example conf/Caddyfile
- 3:42 docker ps
- 3:53 docker-compose -f docker-compose.yml -f docker-compose-caddy.yml up -d
Installation of Cabot monitoring tools using Docker on Ubuntu 18.04
Cabot is an open-source, self-hosted monitoring platform written in Python and it provides a web interface that allows you to monitor services and send telephone, SMS or email alerts to your support in case of any service failures. Its is so simple to install Cabot monitoring tool using Docker in Ubuntu.
Installation
First we need to install Docker
root@linuxhelp:~#apt-get install docker-ce docker-ce
Reading package lists... Done
Building dependency tree
Reading state information... Done
The following additional packages will be installed:
  aufs-tools cgroupfs-mount containerd.io docker-ce-cli git git-man liberror-perl pigz
Suggested packages:
  git-daemon-run | git-daemon-sysvinit git-doc git-el git-email git-gui gitk gitweb git-cvs git-mediawiki git-svn
The following NEW packages will be installed:
  aufs-tools cgroupfs-mount containerd.io docker-ce docker-ce-cli git git-man liberror-perl pigz
0 upgraded, 9 newly installed, 0 to remove and 677 not upgraded.
Need to get 55.4 MB of archives.
.
.
.
update-alternatives: using /usr/bin/dockerd-ce to provide /usr/bin/dockerd (dockerd) in auto mode
Created symlink /etc/systemd/system/multi-user.target.wants/docker.service → /lib/systemd/system/docker.service.
Created symlink /etc/systemd/system/sockets.target.wants/docker.socket → /lib/systemd/system/docker.socket.
Processing triggers for ureadahead (0.100.0-20) ...
Processing triggers for systemd (237-3ubuntu6) ...
Once it is done, you need to start the Docker service
root@linuxhelp:~#systemctl start docker
Once the above process is completed check the status of docker.
root@linuxhelp:~#systemctl status docker
● docker.service - Docker Application Container Engine
   Loaded: loaded (/lib/systemd/system/docker.service; enabled; vendor preset: enabled)
   Active: active (running) since Tue 2019-03-19 10:08:32 IST; 30s ago
     Docs: https://docs.docker.com
Once it completed we need to enable the service.
root@linuxhelp:~#systemctl enable docker
Synchronizing state of docker.service with SysV service script with /lib/systemd/systemd-sysv-install.
Executing: /lib/systemd/systemd-sysv-install enable docker
Install python by using following command
root@linuxhelp:~#apt-get install python3-pip
Reading package lists... Done
Building dependency tree
Reading state information... Done
The following additional packages will be installed:
  build-essential cpp cpp-7 dpkg-dev fakeroot g++ g++-7 gcc gcc-7 gcc-7-base gcc-8-base libalgorithm-diff-perl
  libalgorithm-diff-xs-perl libalgorithm-merge-perl libasan4 libatomic1 libc-dev-bin libc6 libc6-dbg libc6-dev libcc1-0
  libcilkrts5 libdpkg-perl libexpat1-dev libfakeroot libgcc-7-dev libgcc1 libgomp1 libitm1 liblsan0 libmpx2 libpython3-dev
  libpython3-stdlib libpython3.6 libpython3.6-dev libpython3.6-minimal libpython3.6-stdlib libquadmath0 libstdc++-7-dev libstdc++6
  libtsan0 libubsan0 linux-libc-dev make manpages-dev python-pip-whl python3 python3-dev python3-distutils python3-minimal
  python3-pkg-resources python3-setuptools python3-wheel python3.6 python3.6-dev python3.6-minimal
Suggested packages:
.
.
.
Setting up python3-setuptools (39.0.1-2) ...
Setting up python3.6-dev (3.6.7-1~18.04) ...
Setting up libpython3-dev:amd64 (3.6.7-1~18.04) ...
Setting up build-essential (12.4ubuntu1) ...
Setting up python3-dev (3.6.7-1~18.04) ...
Processing triggers for libc-bin (2.27-0ubuntu2) ...
Type the pip command to install the docker compose.
root@linuxhelp:~#pip3 install docker-compose
Collecting docker-compose
  Downloading https://files.pythonhosted.org/packages/1e/6c/bf9879305530c4b765ef4eb3be76202788ca1037aec74d2c0ec73191d467/docker_compose-1.23.2-py2.py3-none-any.whl (131kB)
    100% |████████████████████████████████| 133kB 272kB/s
Collecting texttable<0.10,>=0.9.0 (from docker-compose)
  Downloading https://files.pythonhosted.org/packages/02/e1/2565e6b842de7945af0555167d33acfc8a615584ef7abd30d1eae00a4d80/texttable-0.9.1.tar.gz
Collecting cached-property<2,>=1.2.0 (from docker-compose)
  Downloading https://files.pythonhosted.org/packages/3b/86/85c1be2e8db9e13ef9a350aecd6dea292bd612fa288c2f40d035bb750ded/cached_property-1.5.1-py2.py3-none-any.whl
Collecting dockerpty<0.5,>=0.4.1 (from docker-compose)
.
.
.
Successfully built texttable dockerpty docopt
Installing collected packages: texttable, cached-property, dockerpty, jsonschema, websocket-client, docopt, docker-pycreds, docker, docker-compose
Successfully installed cached-property-1.5.1 docker-3.7.0 docker-compose-1.23.2 docker-pycreds-0.4.0 dockerpty-0.4.1 docopt-0.6.2 jsonschema-2.6.0 texttable-0.9.1 websocket-client-0.55.0
Using git command we are downloading cabot monitoring tools file.
root@linuxhelp:~#git clone https://github.com/cabotapp/docker-cabot.git
Cloning into 'docker-cabot'...
remote: Enumerating objects: 341, done.
remote: Total 341 (delta 0), reused 0 (delta 0), pack-reused 341
Receiving objects: 100% (341/341), 6.22 MiB | 274.00 KiB/s, done.
Resolving deltas: 100% (174/174), done.
Once the download is completed .Now we can move to our Cabot folder created and add your keys for external services to the configuration files.
root@linuxhelp:~#cd docker-cabot
Once the above step is completed we need to copy this files to another loaction
root@linuxhelp:~/docker-cabot#cp conf/production.env.example conf/production.env
root@linuxhelp:~/docker-cabot# cp conf/Caddyfile.example conf/Caddyfile
Finally, you can run the docker-compose command to build your container.
root@linuxhelp:~/docker-cabot#docker-compose -f docker-compose.yml -f docker-compose-caddy.yml up –d
Creating network "docker-cabot_default" with the default driver
Creating volume "docker-cabot_data" with default driver
Pulling rabbitmq (rabbitmq:3.6-alpine)...
3.6-alpine: Pulling from library/rabbitmq
cd784148e348: Pull complete
6942394937c2: Pull complete
9b810cb4438e: Pull complete
05c43906cd73: Pull complete
fedf5b1b1c33: Pull complete
fde114ead4a3: Pull complete
046b8cc56402: Pull complete
e2b994cef718: Pull complete
d156eba9441a: Pull complete
.
.
.
Creating docker-cabot_worker_1   ... done
Creating docker-cabot_caddy_1    ... done
Creating docker-cabot_beat_1     ... done
Once, it done check the Cabot container and its services are up and running.*
root@linuxhelp:~/docker-cabot#docker ps
CONTAINER ID        IMAGE                    COMMAND                  CREATED             STATUS              PORTS                                NAMES
902f1acea4b8        cabotapp/cabot:0.11.12   "celery beat -A cabot"   22 seconds ago      Up 15 seconds                                            docker-cabot_beat_1
d9cfebc475a4        cabotapp/cabot:0.11.12   "celery worker -A ca…"   22 seconds ago      Up 16 seconds                                            docker-cabot_worker_1
c394b26811eb        cabotapp/cabot:0.11.12   "sh -c 'cabot migrat…"   25 seconds ago      Up 22 seconds       127.0.0.1:5000->5000/tcp             docker-cabot_web_1
60bcf1b2fd6e        rabbitmq:3.6-alpine      "docker-entrypoint.s…"   31 seconds ago      Up 25 seconds       4369/tcp, 5671-5672/tcp, 25672/tcp   docker-cabot_rabbitmq_1
fef7162b1db2        postgres:9.6-alpine      "docker-entrypoint.s…"   31 seconds ago      Up 25 seconds       5432/tcp
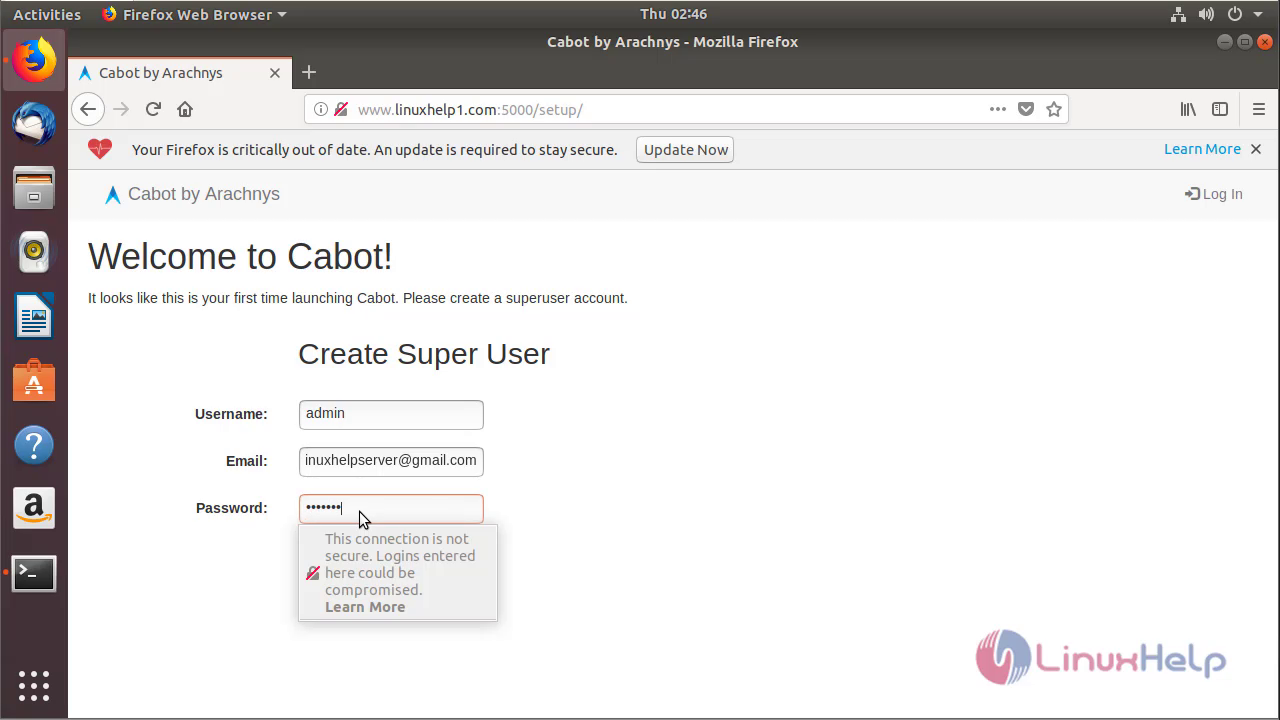
Once the above process Is completed we are moving to browser and check the cabot monitoring tools.
Creating a super user to access the admin page.
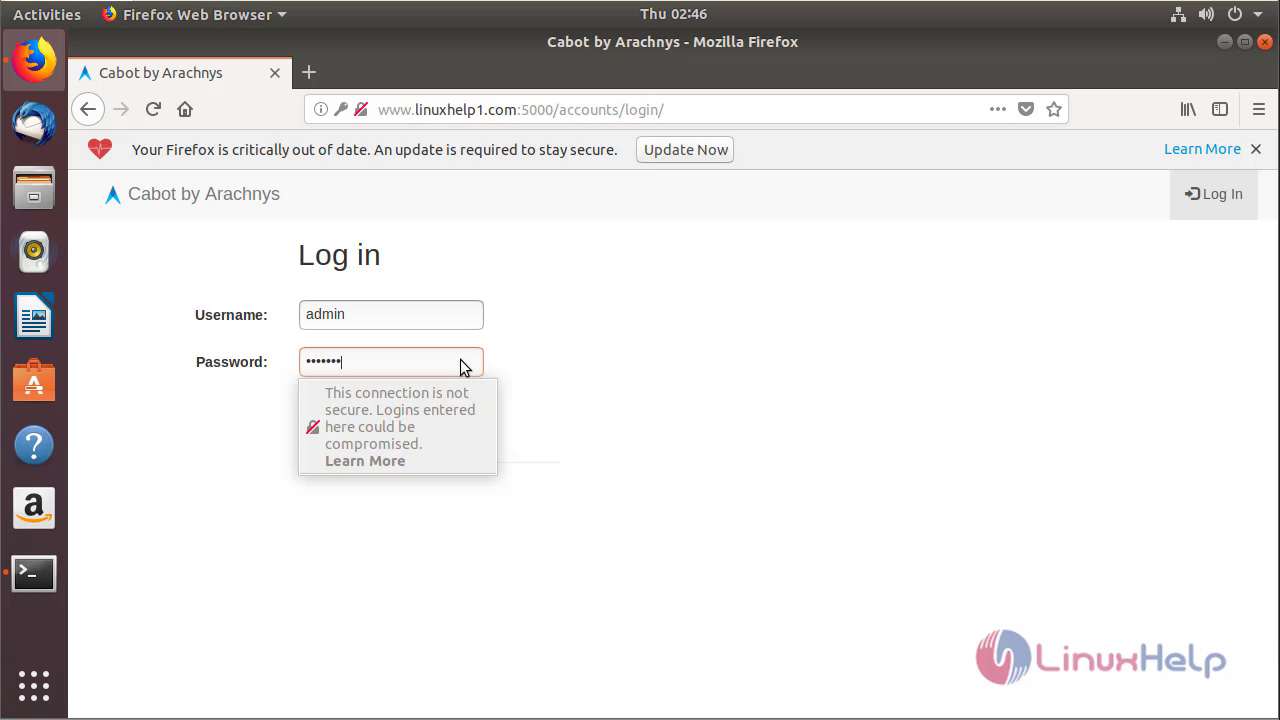
Logging with the user that we have created.
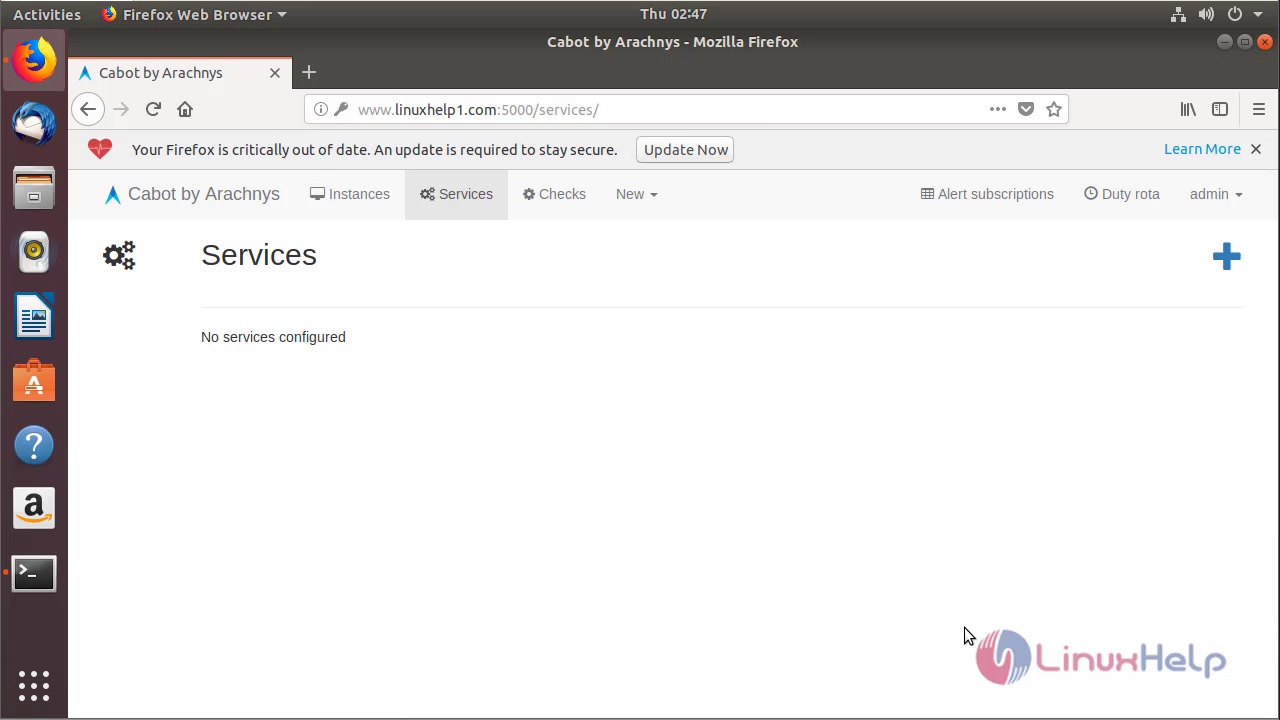
 This is the Cabot monitoring tools application.
With this the method to InstallCabot Monitoring Tool using Docker on Ubuntu18.04
Comments ( 0 )
No comments available