How to Install Bludit CMS on Linuxmint 19
- 00:33 lsb_release -a
- 01:01 unzip bludit-3-9-2.zip
- 01:11 mv bludit-3-9-2 /var/www/bludit
- 01:21 chown -R www-data.www-data /var/www/bludit
- 01:35 chmod -R 755 /var/www/bludit
- 01:45 vim /etc/apache2/sites-available/bludit.conf
- 02:46 a2dissite 000-default.conf
- 02:57 a2ensite bludit.conf
- 03:07 a2enmod rewrite
- 03:15 systemctl restart apache2
Installation of Bludit CMS On linuxmint 19
Bludit CMS is an open source and extensible file-based CMS application that stores post and pages by using the flat files. It allows users to built a fully functional site or blog in an easy way. In this tutorial, we will cover the installation of Bludit CMS on Linuxmint 19.
Requirements for Bludit CMS:
Apache
Php and its module
php php-xml php-mysql php-mbstring php-zip php-soap php-curl php-gd php-ldap php-imap php-common php-dev libmcrypt-dev php-pear
Installation procedure
Before you begin the installation process, check the Linuxmint version by using the following command.
root@linuxhelp:~# lsb_release -a
No LSB modules are available.
Distributor ID:	LinuxMint
Description:	Linux Mint 19 Tara
Release:	19
Codename:	tara
Download the Bludit cms installation package with the help of the following command.
root@linuxhelp:~# wget https://www.bludit.com/releases/bludit-3-9-2.zip
--2019-07-11 17:31:12--  https://www.bludit.com/releases/bludit-3-9-2.zip
Resolving www.bludit.com (www.bludit.com)... 104.27.170.56, 104.27.171.56, 2606:4700:30::681b:aa38, ...
Connecting to www.bludit.com (www.bludit.com)|104.27.170.56|:443... connected.
HTTP request sent, awaiting response... 200 OK
Length: 1773920 (1.7M) [application/zip]
Saving to: ‘bludit-3-9-2.zip’

bludit-3-9-2.zip              100%[=================================================>]   1.69M   813KB/s    in 2.1s

2019-07-11 17:31:15 (813 KB/s) - ‘bludit-3-9-2.zip’ saved [1773920/1773920]
Once the download is completed extract the downloaded package using unzip command.
root@linuxhelp:~# unzip bludit-3-9-2.zip
Archive:  bludit-3-9-2.zip
   creating: bludit-3-9-2/
  inflating: bludit-3-9-2/install.php
  inflating: bludit-3-9-2/index.php
  inflating: bludit-3-9-2/LICENSE
   creating: bludit-3-9-2/bl-languages/
  inflating: bludit-3-9-2/bl-languages/tr_TR.json
  inflating: bludit-3-9-2/bl-languages/ms_MY.json
.
.
inflating: bludit-3-9-2/bl-plugins/disqus/languages/fr_FR.json
  inflating: bludit-3-9-2/bl-plugins/disqus/languages/uk_UA.json
  inflating: bludit-3-9-2/bl-plugins/disqus/languages/es.json
  inflating: bludit-3-9-2/bl-plugins/disqus/languages/pl_PL.json
   creating: bludit-3-9-2/bl-content/
  inflating: bludit-3-9-2/.htaccess
Move the Bludit cms directory to apache root directory.
root@linuxhelp:~# mv bludit-3-9-2 /var/www/bludit
Set the ownership and permission for Bludit cms by using the following command.
root@linuxhelp:~# chown -R www-data.www-data /var/www/bludit
root@linuxhelp:~# chmod -R 755 /var/www/bludit
Configure the virtualhost for accessing the Bludit CMS.
root@linuxhelp:~# vim /etc/apache2/sites-available/bludit.conf
<Virtualhost *:80>
        Servername www.linuxhelp1.com
        Documentroot /var/www/bludit
<directory /var/www/bludit>
allowoverride all
allow from all
</directory>
</virtualhost>
Disable the default site access.
root@linuxhelp:~# a2dissite 000-default.conf
Site 000-default disabled.
To activate the new configuration, you need to run:
  systemctl reload apache2
Enable the site access for accessing the Bludit CMS.
root@linuxhelp:~# a2ensite bludit.conf
Enabling site bludit.
To activate the new configuration, you need to run:
  systemctl reload apache2
Enable the rewrite module.
root@linuxhelp:~# a2enmod rewrite
Enabling module rewrite.
To activate the new configuration, you need to run:
  systemctl restart apache2
Restart the apache service by using the following command.
root@linuxhelp:~# systemctl restart apache2
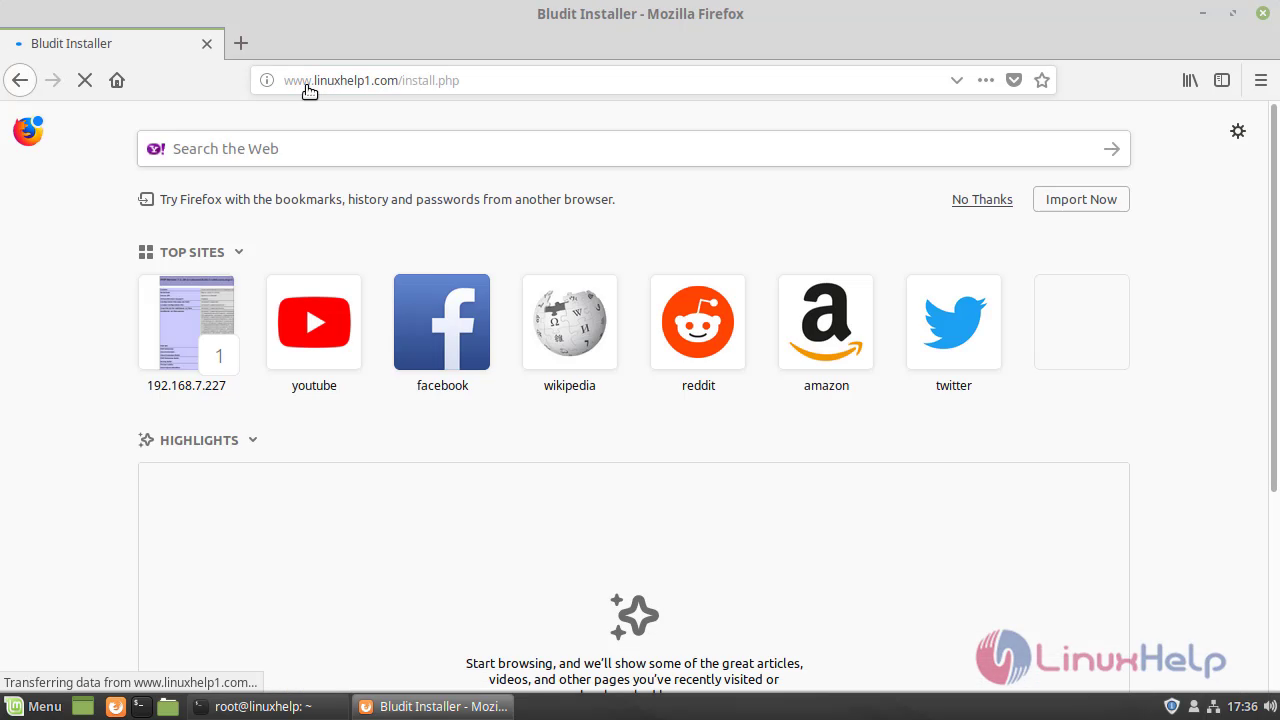
Switch to your browser and enter the domain name.
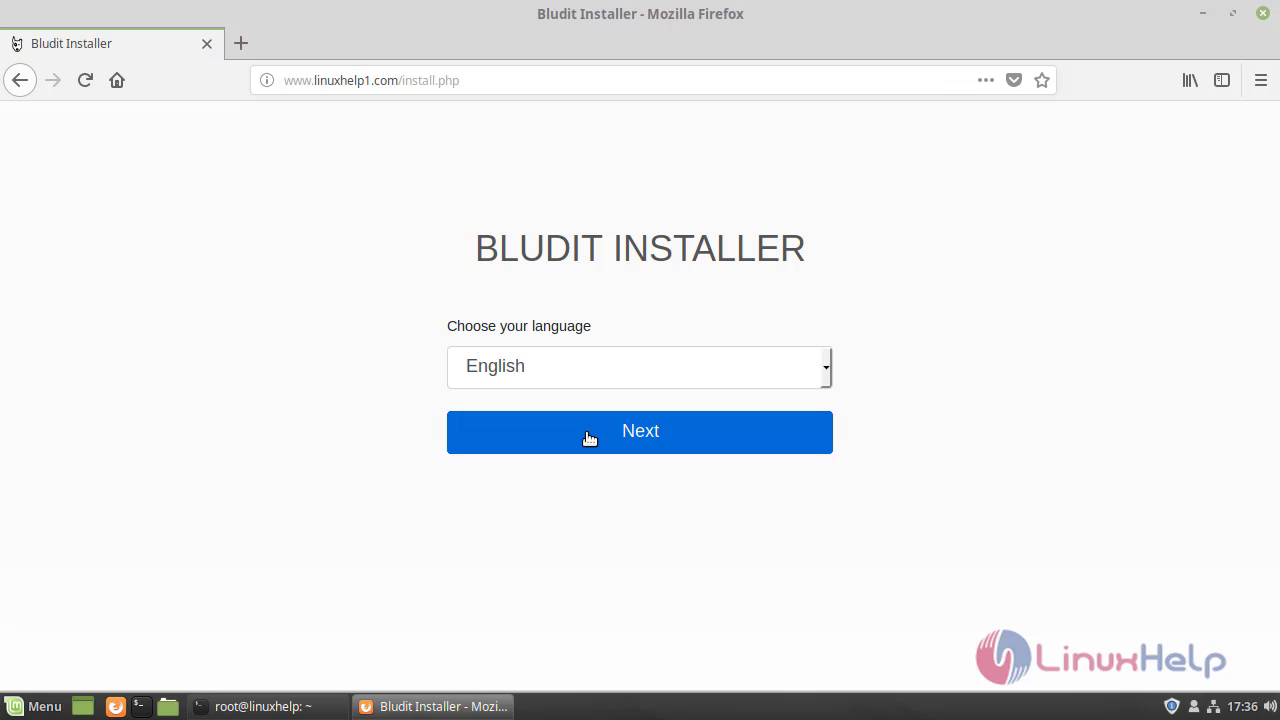
 Choose the language for using Bludit and proceed further.
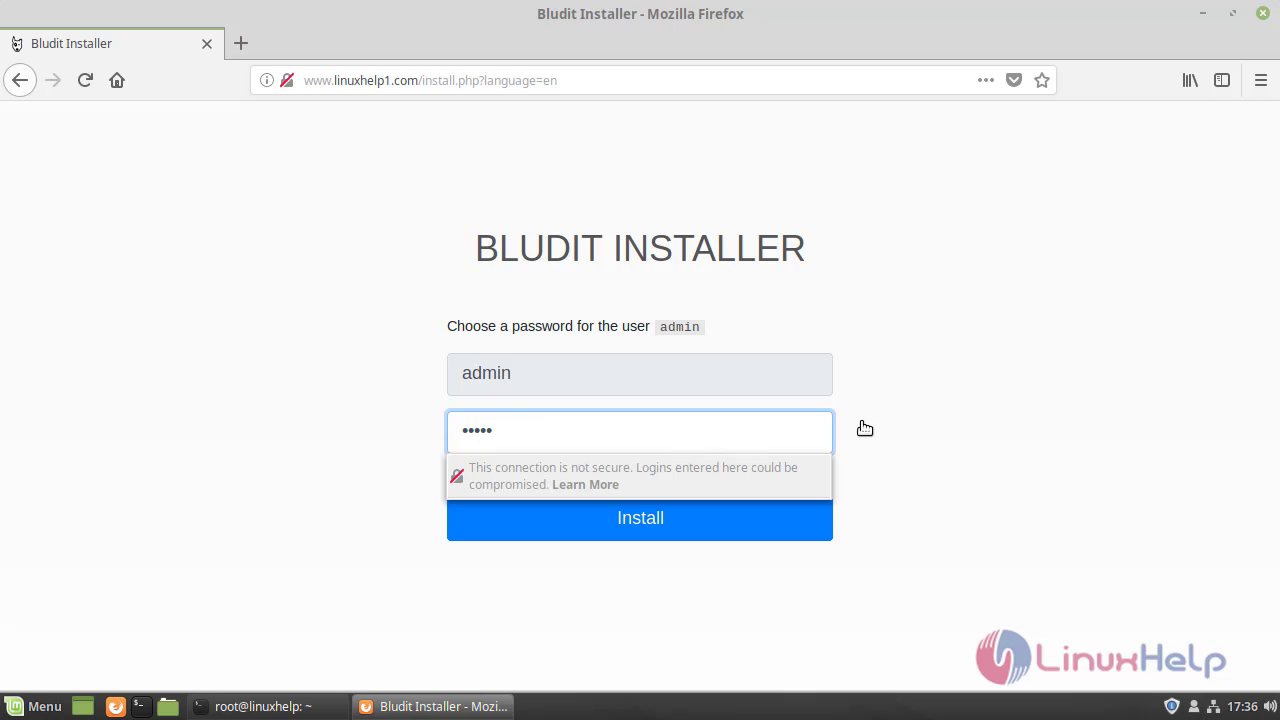
 Configure the Admin user setup.
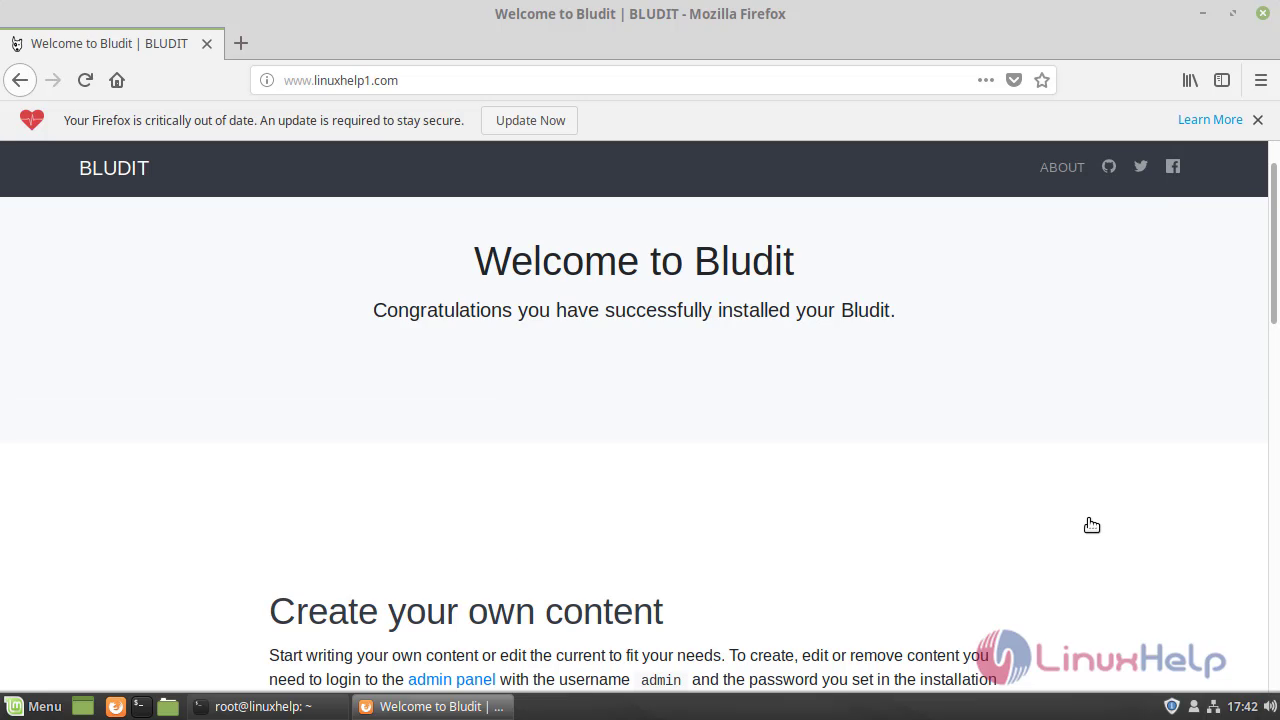
After the configuration, you will see the Welcome page of Bludit CMS and click admin panel.
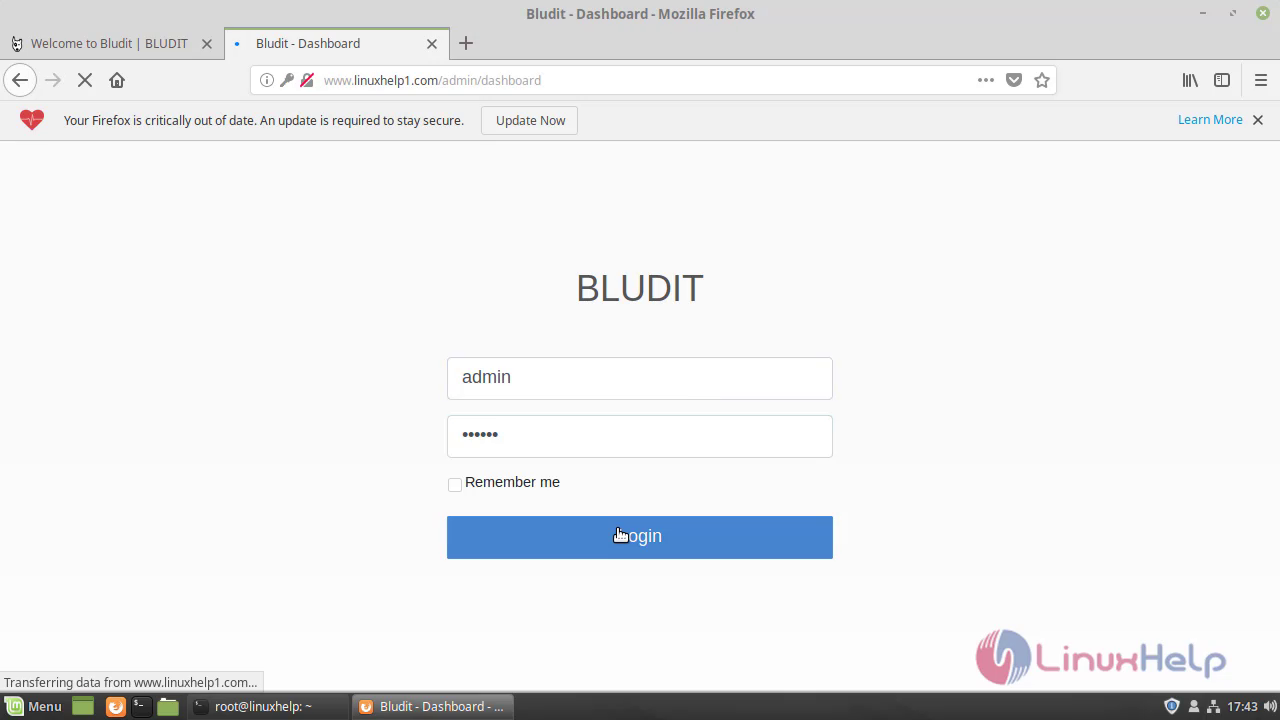
 Login the Bludit CMS using the admin credentials.
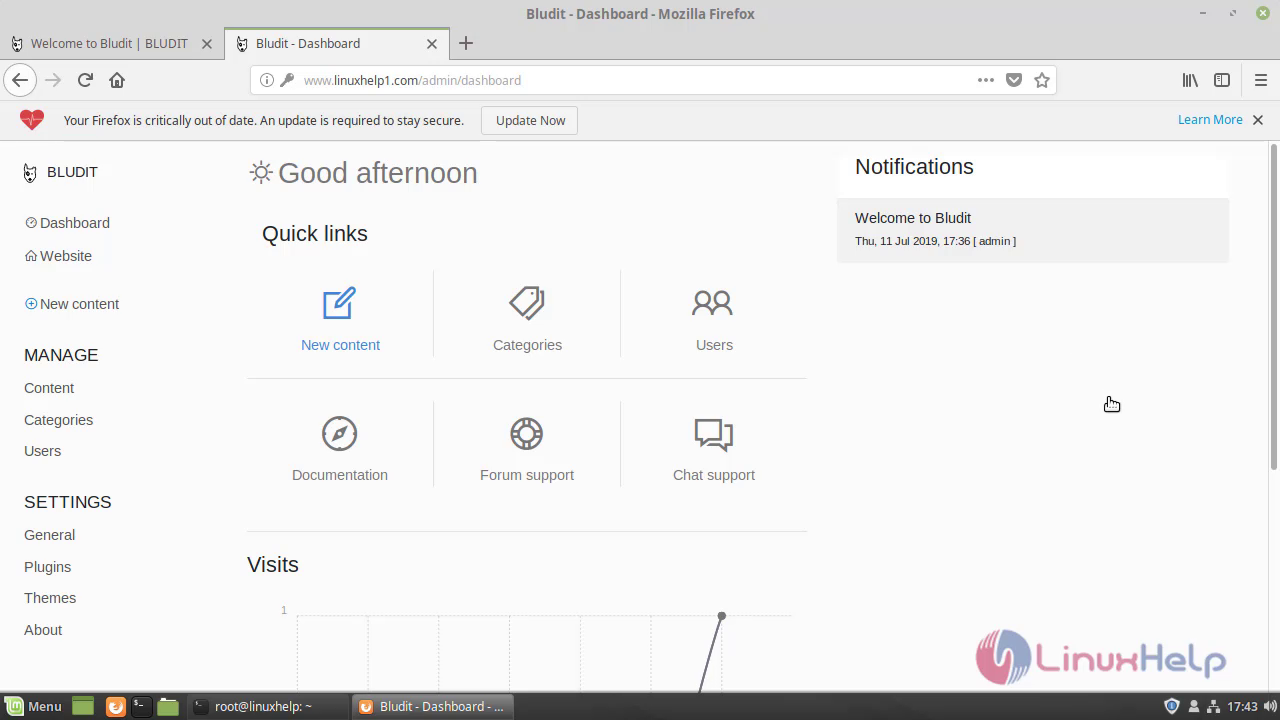
 After the Successful login, you will see the dashboard of Bludit CMS.
 With this, the method to install Bludit cms on Linuxmint 19 comes to an end
Comments ( 0 )
No comments available