How to install Anydesk on Oracle Linux 8.5
- 00:28 cat /etc/os-release
-
00:58
sudo tee /etc/yum.repos.d/AnyDesk-CentOS.repo <
- 01:15 sudo dnf -y makecache
- 01:31 sudo dnf -y install redhat-lsb-core
- 02:15 sudo dnf -y install https://dl.fedoraproject.org/pub/epel/epel-release-latest-8.noarch.rpm
- 02:36 sudo dnf install anydesk
- 03:34 rpm -qi anydesk
- 03:55 systemctl status anydesk.service
- 04:18 systemctl is-enabled anydesk.service
- 04:53 anydesk
To Install Anydesk on Oracle Linux 8.5
Introduction:
AnyDesk is one of the best remote desktop applications available for Linux users. This software program provides smooth and seamless remote access to your computers running Windows, macOS, Linux, and FreeBSD.
Installation procedure:
Step 1: Check the OS version by using the below command
[root@linuxhelp ~]# cat /etc/os-release
NAME="Oracle Linux Server"
VERSION="8.5"
ID="ol"
Step 2: Install Anydesk from Anydesk yum repository with pre-packaged rpm packages and add the repository to your system by using the below command
[root@linuxhelp~]# sudo tee /etc/yum.repos.d/AnyDesk-CentOS.repo <<EOF
> [anydesk]
> name=AnyDesk CentOS - stable
> baseurl=http://rpm.anydesk.com/centos/\$basearch/
> gpgcheck=1
> repo_gpgcheck=1
> gpgkey=https://keys.anydesk.com/repos/RPM-GPG-KEY
> EOF
[anydesk]
name=AnyDesk CentOS - stable
baseurl=http://rpm.anydesk.com/centos/$basearch/
gpgcheck=1
repo_gpgcheck=1
gpgkey=https://keys.anydesk.com/repos/RPM-GPG-KEY
Step 3: Run the following DNF command to makecache by using the below command
[root@linuxhelp ~]# sudo dnf -y makecache
AnyDesk CentOS - stable                                         604  B/s | 488  B     00:00
AnyDesk CentOS - stable                                         3.5 kB/s | 1.7 kB     00:00
Importing GPG key 0xCDFFDE29:
 Userid     : "philandro Software GmbH <info@philandro.com>"
 Fingerprint: D563 11E5 FF3B 6F39 D5A1 6ABE 18DF 3741 CDFF DE29
 From       : https://keys.anydesk.com/repos/RPM-GPG-KEY
AnyDesk CentOS - stable                                         1.7 kB/s | 1.7 kB     00:01
Oracle Linux 8 BaseOS Latest (x86_64)                            42 kB/s | 3.6 kB     00:00

Oracle Linux 8 Application Stream (x86_64)                       49 kB/s | 3.9 kB     00:00
Latest Unbreakable Enterprise Kernel Release 6 for Oracle Linux  21 kB/s | 3.0 kB     00:00
Metadata cache created.
Step 4: Install the redhat linux standard base core using the below command
[root@linuxhelp ~]# sudo dnf -y install redhat-lsb-core
Last metadata expiration check: 0:00:47 ago on Thu 17 Nov 2022 06:53:21 AM IST.
Dependencies resolved.
================================================================================================
 Package                        Arch       Version                  Repository             Size
================================================================================================
Installing:
 redhat-lsb-core                x86_64     4.1-47.0.1.el8           ol8_appstream          46 k
Installing dependencies:
 m4                             x86_64     1.4.18-7.el8             ol8_baseos_latest     222 k
 mailx                          x86_64     12.5-29.el8              ol8_baseos_latest     257 k
 make                           x86_64     1:4.2.1-11.el8           ol8_baseos_latest     498 k
 ncurses-compat-libs            x86_64     6.1-9.20180224.el8       ol8_baseos_latest     328 k
 patch                          x86_64     2.7.6-11.el8             ol8_baseos_latest     139 k
 postfix                        x86_64     2:3.5.8-4.el8            ol8_baseos_latest     1.5 M
 redhat-lsb-submod-security     x86_64     4.1-47.0.1.el8           ol8_appstream          22 k
 spax                           x86_64     1.5.3-13.el8             ol8_baseos_latest     217 k

Transaction Summary
================================================================================================
Install  9 Packages

Installed:
  m4-1.4.18-7.el8.x86_64                    mailx-12.5-29.el8.x86_64
  make-1:4.2.1-11.el8.x86_64                ncurses-compat-libs-6.1-9.20180224.el8.x86_64

  patch-2.7.6-11.el8.x86_64                 postfix-2:3.5.8-4.el8.x86_64
  redhat-lsb-core-4.1-47.0.1.el8.x86_64     redhat-lsb-submod-security-4.1-47.0.1.el8.x86_64
  spax-1.5.3-13.el8.x86_64

Complete!
Step 5: Install the latest epel release using the below command
[root@linuxhelp ~]# sudo dnf -y install https://dl.fedoraproject.org/pub/epel/epel-release-latest-8.noarch.rpm
Last metadata expiration check: 0:01:19 ago on Thu 17 Nov 2022 06:53:21 AM IST.
epel-release-latest-8.noarch.rpm                                 24 kB/s |  24 kB     00:01
Dependencies resolved.
================================================================================================
 Package                 Architecture      Version                Repository               Size
================================================================================================
Installing:
 epel-release            noarch            8-18.el8               @commandline             24 k

Transaction Summary
================================================================================================
Install  1 Package
Installed:
  epel-release-8-18.el8.noarch
Complete!
Step 6: Now install Anydesk using the below command
[root@linuxhelp ~]# sudo dnf install anydesk
Extra Packages for Enterprise Linux 8 - x86_64                  6.0 MB/s |  13 MB     00:02
Last metadata expiration check: 0:00:08 ago on Thu 17 Nov 2022 06:55:06 AM IST.
Dependencies resolved.

================================================================
================================

 Package               Architecture     Version                   Repository               Size
================================================================================================
Installing:
 anydesk               x86_64           6.2.1-1.el7               anydesk                 5.0 M
Installing dependencies:
 mesa-libGLU           x86_64           9.0.0-15.el8              ol8_appstream           185 k

Transaction Summary
================================================================================================
Install  2 Packages
AnyDesk CentOS - stable                                         3.0 kB/s | 1.7 kB     00:00
Importing GPG key 0xCDFFDE29:
 Userid     : "philandro Software GmbH <info@philandro.com>"
 Fingerprint: D563 11E5 FF3B 6F39 D5A1 6ABE 18DF 3741 CDFF DE29
 From       : https://keys.anydesk.com/repos/RPM-GPG-KEY
Is this ok [y/N]: y
Key imported successfully
Running transaction check
Transaction check succeeded.
Running transaction test
Transaction test succeeded.
Running transaction
  Running scriptlet: anydesk-6.2.1-1.el7.x86_64                                             1/1
  Preparing        :                                                                        1/1
  Installing       : mesa-libGLU-9.0.0-15.el8.x86_64                                        1/2
  Installing       : anydesk-6.2.1-1.el7.x86_64                                             2/2
  Running scriptlet: anydesk-6.2.1-1.el7.x86_64                                             2/2
Created symlink /etc/systemd/system/multi-user.target.wants/anydesk.service → /etc/systemd/system/anydesk.service.
Redirecting to /bin/systemctl start anydesk.service

  Verifying        : anydesk-6.2.1-1.el7.x86_64                                             1/2
  Verifying        : mesa-libGLU-9.0.0-15.el8.x86_64                                        2/2

Installed:
  anydesk-6.2.1-1.el7.x86_64                   mesa-libGLU-9.0.0-15.el8.x86_64
Step 7: Check the version of Anydesk installed by using the below command
[root@linuxhelp ~]#  rpm -qi anydesk
Name        : anydesk
Version     : 6.2.1
Release     : 1.el7
Architecture: x86_64
Install Date: Thu 17 Nov 2022 05:57:38 AM IST
Group       : Applications/Internet
Size        : 16957171
License     : Proprietary and BSD and OpenSSL and zlib and LGPLv2+
Signature   : RSA/SHA512, Wed 02 Nov 2022 09:18:13 PM IST, Key ID 18df3741cdffde29
Source RPM  : anydesk-6.2.1-1.el7.src.rpm
Build Date  : Wed 02 Nov 2022 05:14:00 PM IST
Build Host  : sdi-bs-deb64-01.dn.anydesk.com
Relocations : (not relocatable)
Packager    : AnyDesk Software GmbH
Vendor      : AnyDesk Software GmbH
URL         : http://anydesk.com/remote-desktop
Summary     : The world's fastest remote desktop application
Description :
AnyDesk is the fastest remote desktop software on the market. It allows
for new usage scenarios and applications that have not been possible with
current remote desktop software.
Step 8: Anydesk has a service which is automatically started after a successful installation.. to check the status of Anydesk use the below command
[root@linuxhelp ~]# systemctl status anydesk.service
● anydesk.service - AnyDesk
   Loaded: loaded (/etc/systemd/system/anydesk.service; enabled; vendor preset: disabled)
   Active: active (running) since Thu 2022-11-17 05:57:38 IST; 11s ago
 Main PID: 5799 (anydesk)
    Tasks: 13 (limit: 10472)
   Memory: 18.2M
   CGroup: /system.slice/anydesk.service
           ├─5799 /bin/sh /usr/bin/anydesk --service
           ├─5800 /usr/libexec/anydesk --service
           └─5811 /usr/libexec/anydesk --tray

Nov 17 05:57:38 linuxhelp systemd[1]: Started AnyDesk.
Step 9: check whether the service is enabled by using the below command
[root@linuxhelp ~]# systemctl is-enabled anydesk.service
enabled
Step 10: Exit from root user and launch Anydesk by using the below command.
[root@linuxhelp ~]# exit
exit

[linux@linuxhelp ~]$ anydesk
Gtk-Message: 06:57:27.832: Failed to load module "canberra-gtk-module"

(anydesk:6267): Gtk-CRITICAL **: 06:57:27.950: IA__gtk_signal_connect_full: assertion 'GTK_IS_OBJECT (object)' failed

(anydesk:6267): Gtk-CRITICAL **: 06:57:27.950: IA__gtk_signal_connect_full: assertion 'GTK_IS_OBJECT (object)' failed
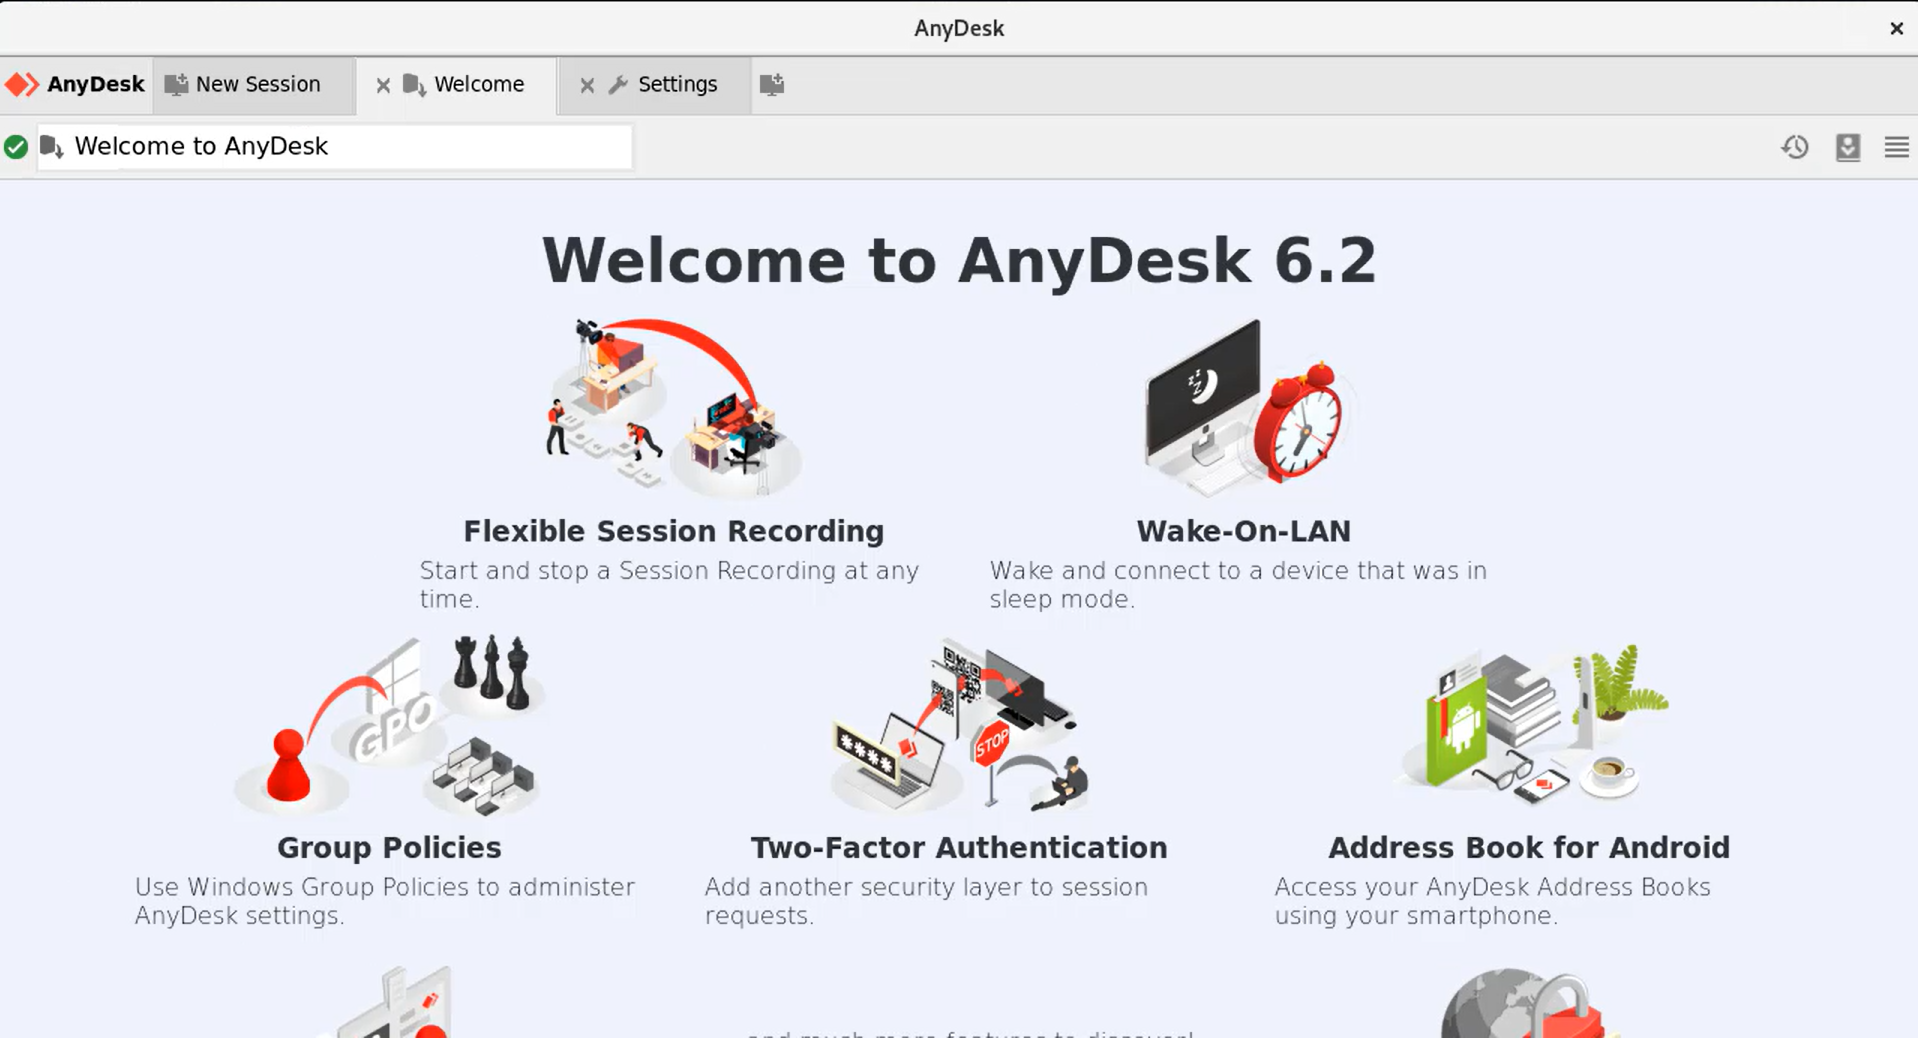
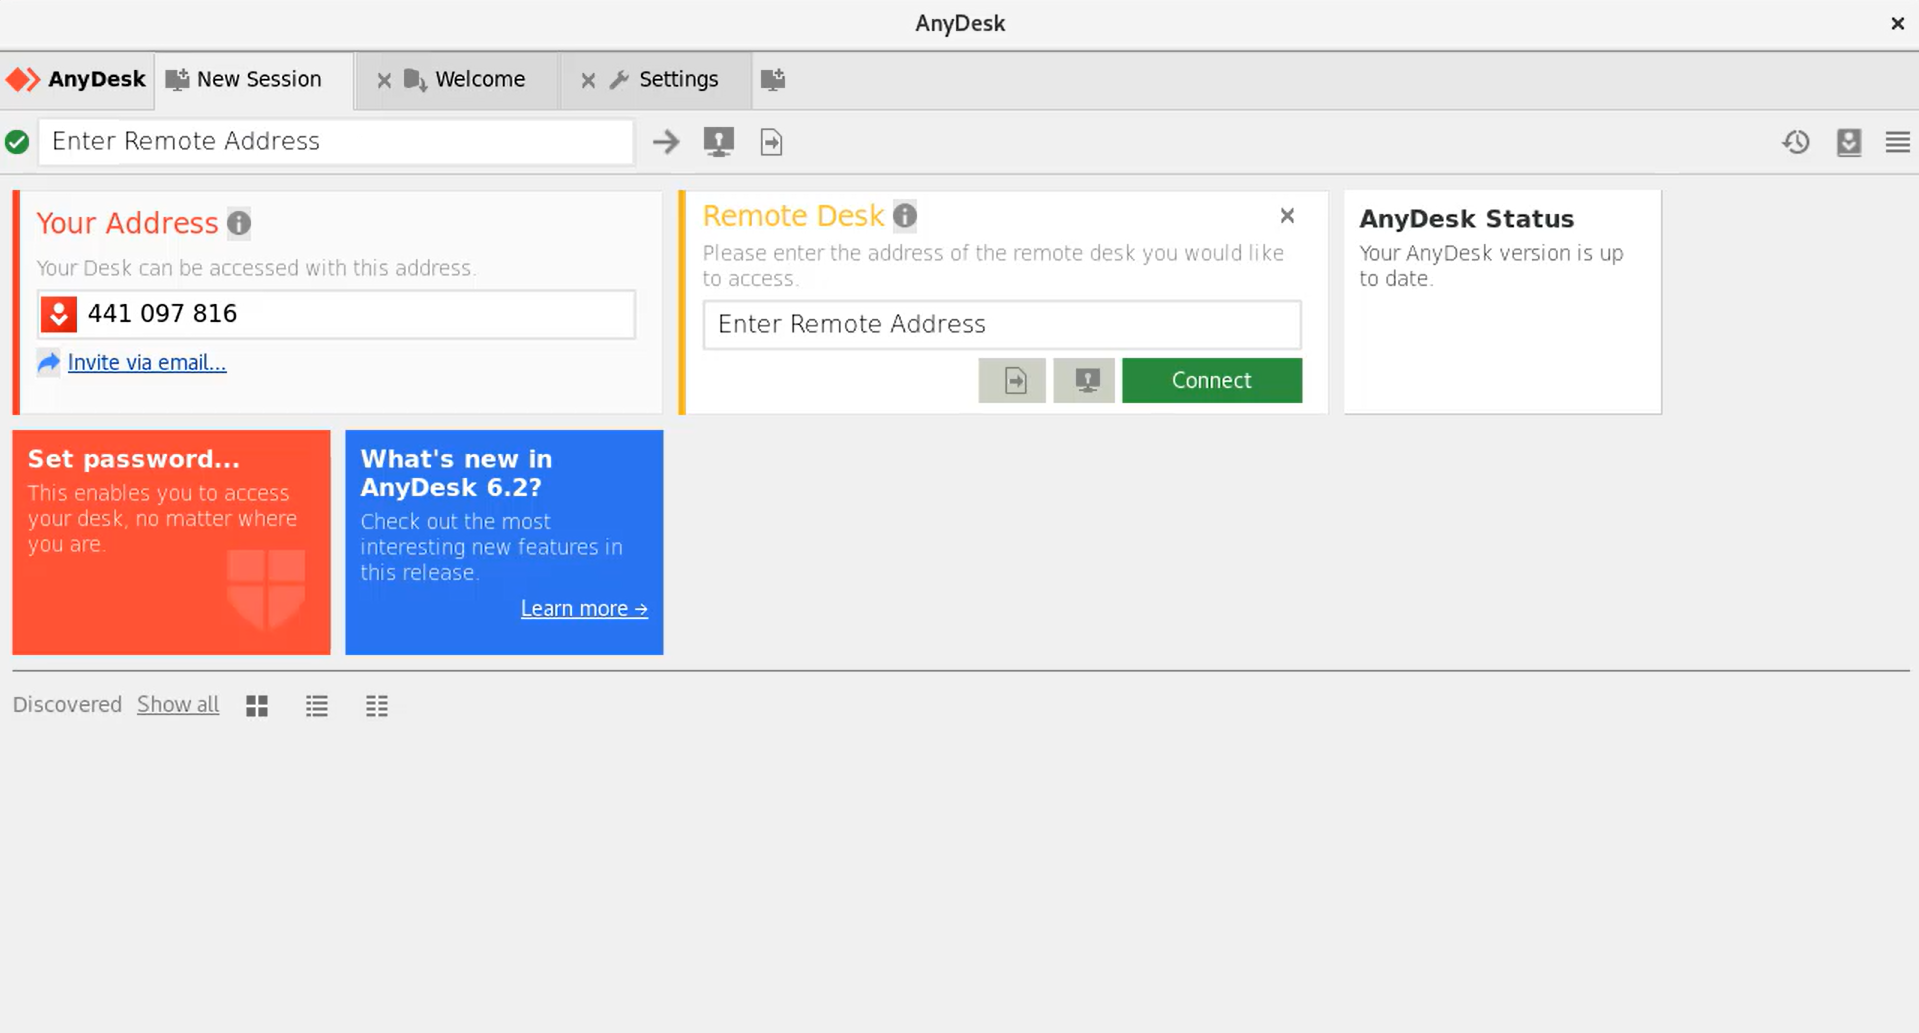
Step 11: This is the Anydesk application. Now you can connect remotely using the Address provided as shown in the below image.
Conclusion:
We have reached the end of this article. In this guide, we have walked you through the steps required to install Anydesk on Oracle Linux 8.5. Your feedback is much welcome.
Comments ( 0 )
No comments available