How to install and configure User Authentication in Squid on Ubuntu 16.04
To install and configure User Authentication in Squid on Ubuntu 16.04
Squid is a proxy server that acts as an intermediate between the internet and a local network. The purpose of this configuration is to allow the Squid user to access internet with their own login credentials using nsca_auth. This tutorial explains the installation and configuration process of User Authentication in Squid on Ubuntu 16.04.
Installation and Configuration procedure
To start with the configuration process, install the Squid server in the system by executing the following command and press y to continue with the installation.
root@linuxhelp:~# apt install squid -y
Reading package lists... Done
Building dependency tree
Reading state information... Done
The following packages were automatically installed and are no longer required:
  gnome-software-common libgtkspell3-3-0
Use ' sudo apt autoremove'  to remove them.
The following additional packages will be installed:
  libecap3 squid-common squid-langpack
Suggested packages:
  squidclient squid-cgi squid-purge smbclient winbindd
The following NEW packages will be installed:
  libecap3 squid squid-common squid-langpack
0 upgraded, 4 newly installed, 0 to remove and 589 not upgraded.
Need to get 2,648 kB of archives.
.
.
Processing triggers for ureadahead (0.100.0-19) ...
Processing triggers for systemd (229-4ubuntu4) ...
Processing triggers for ufw (0.35-0ubuntu2) ...
Start the Squid service by running the following command.
root@linuxhelp:~# service squid start
Next install Apache service in the system by executing the following apt install command.
root@linuxhelp:~# apt install apache2
Reading package lists... Done
Building dependency tree
Reading state information... Done
apache2 is already the newest version (2.4.18-2ubuntu3.5).
The following packages were automatically installed and are no longer required:
  gnome-software-common libgtkspell3-3-0
Use ' sudo apt autoremove'  to remove them.
0 upgraded, 0 newly installed, 0 to remove and 589 not upgraded.
Start the Apache service.
root@linuxhelp:~# service apache2 start
Next add the password for the user by running the following command and enter the new password.
root@linuxhelp:~# htpasswd -c  /etc/squid/squid_passwd user1
New password:
Re-type new password:
Adding password for user user1
Create a new file for user by executing the following command.
root@linuxhelp:~# touch /etc/squid/passwd
Next configure the Squid configuration file using vim editor and add the rule location to the configuration file. Enter the following contents in the file and save it.
root@linuxhelp:~# vim /etc/squid/squid.conf
auth_param basic program /usr/lib/squid/basic_ncsa_auth /etc/squid/passwd
acl ncsa proxy_auth REQUIRED
acl google_users proxy_auth user1
acl block dstdomain " /etc/squid/block.txt"
http_access deny block google_users
http_access allow ncsa
Restart the Squid service.
root@linuxhelp:~# systemctl restart squid apache2
Now create a file named block.txt for adding the domain name to the block list. Save and exit the file.
root@linuxhelp:~# vim /etc/squid/block.txt
.facebook.com
.twitter.com
Restart both Squid and Apache service.
root@linuxhelp:~# systemctl restart squid apache2
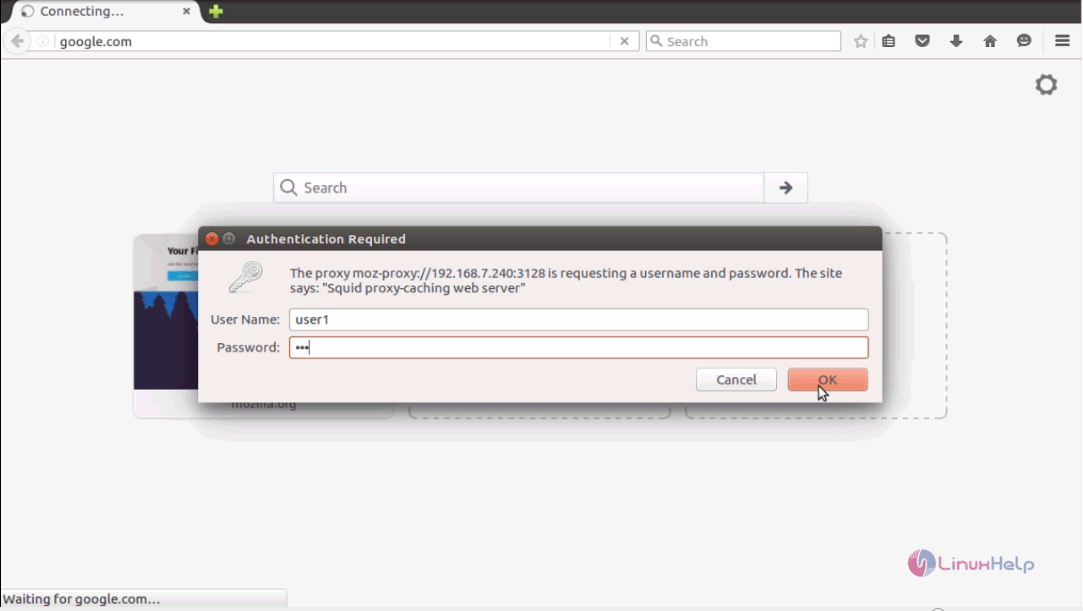
To check the Squid proxy server authentication on client machines. Enter the Squid login credentials displayed on the pop-up window and click ok.
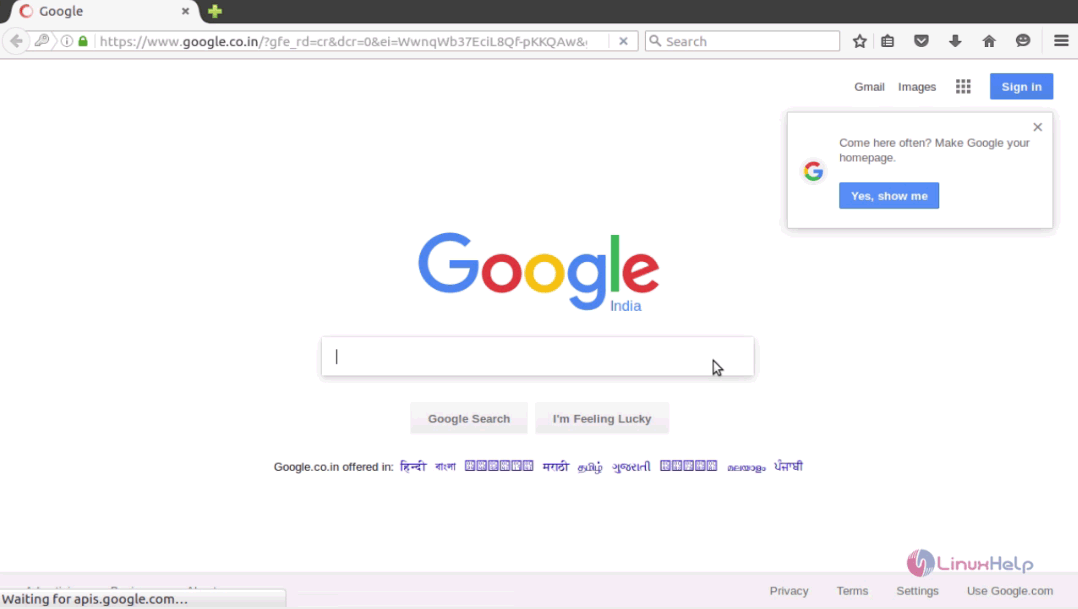
Now the user able to access the internet and other websites.
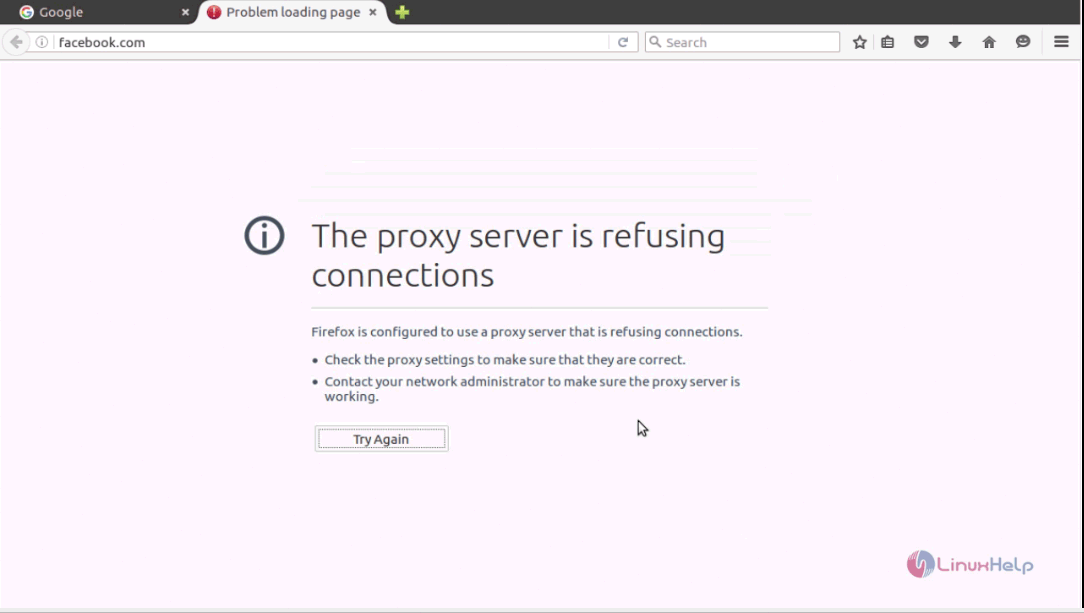
Now to check the configuration for blocked site, try to access the site like Facebook. If the given domain is blocked in the configuration, then the site cannot be accessed and browser will be displayed as shown below.
Thus we conclude the installation and configuration procedure of User Authentication in Squid on Ubuntu 16.04.


Comments ( 0 )
No comments available