How to install and configure Squid on Ubuntu 22.04
To Install And Configure Squid On Ubuntu 22.04
Introduction
Squid is a caching and forwarding HTTP web proxy. It has a wide variety of uses, including speeding up a web server by caching repeated requests, caching the World Wide Web (WWW), Domain Name System (DNS), and other network lookups for a group of people sharing network resources, and aiding security by filtering traffic.
Procedure Steps
Step 1: Check the OS version by using the below command
root@linuxhelp:~# lsb_release -a
No LSB modules are available.
Distributor ID:	Ubuntu
Description:	Ubuntu 22.04.3 LTS
Release:	22.04
Codename:	jammy
Step 2: Before installing Squid, need to update the repository by using the below command
root@linuxhelp:~# apt-get update
Hit:1 http://in.archive.ubuntu.com/ubuntu jammy InRelease
Get:2 http://security.ubuntu.com/ubuntu jammy-security InRelease [110 kB]
Get:3 http://in.archive.ubuntu.com/ubuntu jammy-updates InRelease [119 kB]
Get:4 http://in.archive.ubuntu.com/ubuntu jammy-backports InRelease [109 kB]
Get:5 http://security.ubuntu.com/ubuntu jammy-security/main i386 Packages [443 kB]
Get:6 http://in.archive.ubuntu.com/ubuntu jammy-updates/main amd64 Packages [1,558 kB]
Get:7 http://security.ubuntu.com/ubuntu jammy-security/main amd64 Packages [1,340 kB]
Get:8 http://security.ubuntu.com/ubuntu jammy-security/main Translation-en [237 kB]
Get:9 http://security.ubuntu.com/ubuntu jammy-security/restricted amd64 Packages [1,658 kB]
Get:10 http://in.archive.ubuntu.com/ubuntu jammy-updates/main i386 Packages [609 kB]
Get:11 http://security.ubuntu.com/ubuntu jammy-security/restricted i386 Packages [33.6 kB]
Get:12 http://in.archive.ubuntu.com/ubuntu jammy-updates/main Translation-en [297 kB]
Fetched 12.7 MB in 9s (1,449 kB/s)
Reading package lists... Done
Step 3: Then install Squid by using the below command
root@linuxhelp:~# apt-get install squid
Reading package lists... Done
Building dependency tree... Done
Reading state information... Done
The following packages were automatically installed and are no longer required:
  libflashrom1 libftdi1-2 libllvm13
Use 'apt autoremove' to remove them.
The following additional packages will be installed:
  libdbi-perl libecap3 squid-common squid-langpack
Suggested packages:
  libmldbm-perl libnet-daemon-perl libsql-statement-perl squidclient squid-cgi squid-purge resolvconf smbclient winbind
The following NEW packages will be installed:
  libdbi-perl libecap3 squid squid-common squid-langpack
0 upgraded, 5 newly installed, 0 to remove and 278 not upgraded.
Need to get 3,916 kB of archives.
After this operation, 15.2 MB of additional disk space will be used.
Do you want to continue? [Y/n] y
Get:1 http://in.archive.ubuntu.com/ubuntu jammy/main amd64 libecap3 amd64 1.0.1-3.2ubuntu4 [17.0 kB]
Get:2 http://in.archive.ubuntu.com/ubuntu jammy/main amd64 squid-langpack all 20200403-1 [170 kB]
Get:3 http://in.archive.ubuntu.com/ubuntu jammy-updates/main amd64 squid-common all 5.7-0ubuntu0.22.04.3 [202 kB]
Get:4 http://in.archive.ubuntu.com/ubuntu jammy/main amd64 libdbi-perl amd64 1.643-3build3 [741
Processing triggers for ufw (0.36.1-4ubuntu0.1) ...
Processing triggers for man-db (2.10.2-1) ...
Processing triggers for libc-bin (2.35-0ubuntu3.1) ...
Step 4: Now start the Squid service by using the below command
root@linuxhelp:~# systemctl start squid
Step 5: Then check the status of the Squid by using the below command
root@linuxhelp:~# systemctl status squid
● squid.service - Squid Web Proxy Server
     Loaded: loaded (/lib/systemd/system/squid.service; enabled; vendor preset: enabled)
     Active: active (running) since Tue 2024-04-09 08:22:54 IST; 1min 9s ago
       Docs: man:squid(8)
    Process: 4075 ExecStartPre=/usr/sbin/squid --foreground -z (code=exited, status=0/SUCCESS)
   Main PID: 4078 (squid)
      Tasks: 4 (limit: 4556)
     Memory: 16.0M
        CPU: 648ms
     CGroup: /system.slice/squid.service
             ├─4078 /usr/sbin/squid --foreground -sYC
             ├─4080 "(squid-1)" --kid squid-1 --foreground -sYC
             ├─4081 "(logfile-daemon)" /var/log/squid/access.log
             └─4082 "(pinger)"
Apr 09 08:22:54 linuxhelp squid[4080]: Using Least Load store dir selection
Apr 09 08:22:54 linuxhelp squid[4080]: Set Current Directory to /var/spool/squid
Apr 09 08:22:54 linuxhelp squid[4080]: Finished loading MIME types and icons.
Apr 09 08:22:54 linuxhelp squid[4080]: HTCP Disabled.
Apr 09 08:22:54 linuxhelp squid[4080]: Pinger socket opened on FD 14
Apr 09 08:22:54 linuxhelp squid[4080]: Squid plugin modules loaded: 0
Apr 09 08:22:54 linuxhelp squid[4080]: Adaptation support is off.
Apr 09 08:22:54 linuxhelp squid[4080]: Accepting HTTP Socket connections at conn3 local=[::]:3128 remote=[::] FD 12 flags=9
Step 6: Now edit the configuration file located in the following location by using the below command
root@linuxhelp:~# vim /etc/squid/squid.conf
Add the following lines
acl newlist src 192.168.6.133
acl block dstdomain "/etc/squid/block.txt"
http_access deny newlist block
http_access allow newlist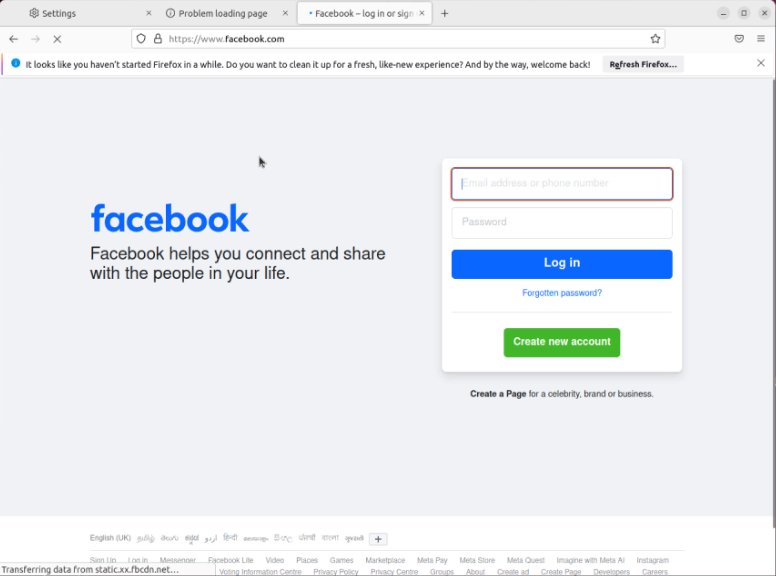
Step 7: Create a file named block.txt in the following location and add the sites in the file by using the below command
root@linuxhelp:~# vim /etc/squid/block.txt
Add the following site
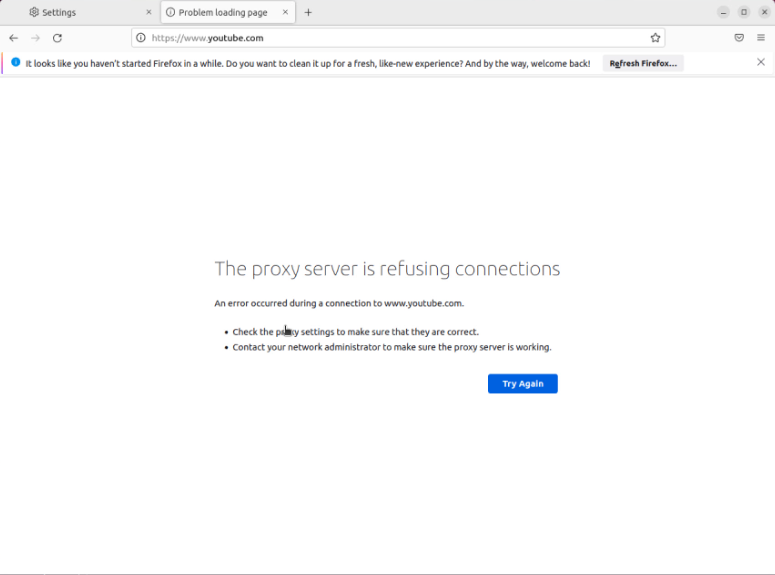
youtube.com
Step 8: After finishing the configuration reload the Squid service by using the below command
root@linuxhelp:~# service squid reload
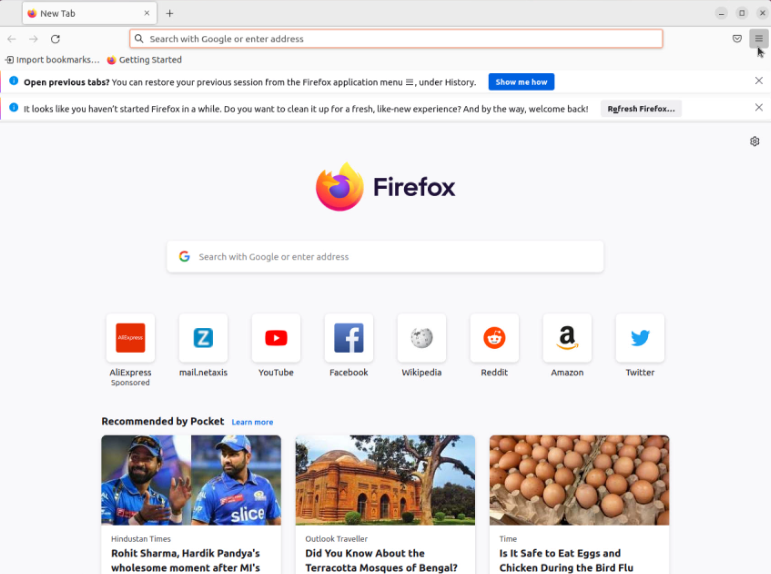
Step 9: Go to the browser as shown in the below image
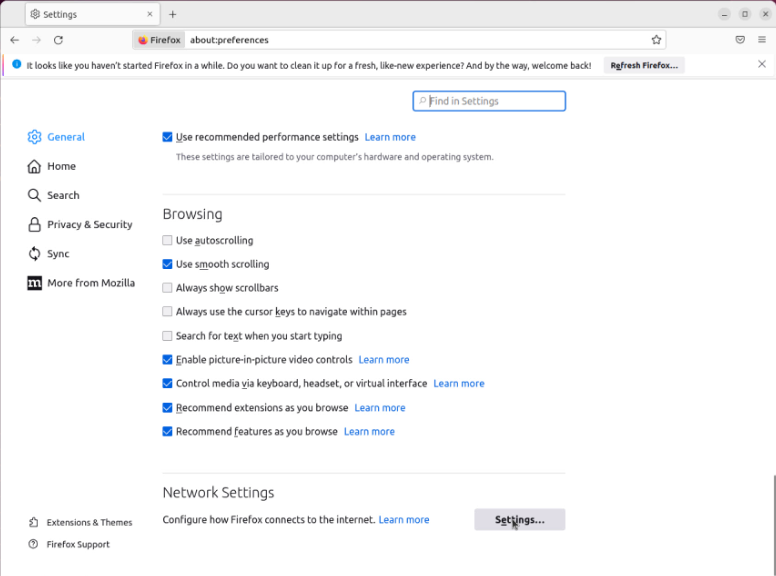
Step 10: Then open setting and go to network setting as shown in the below image
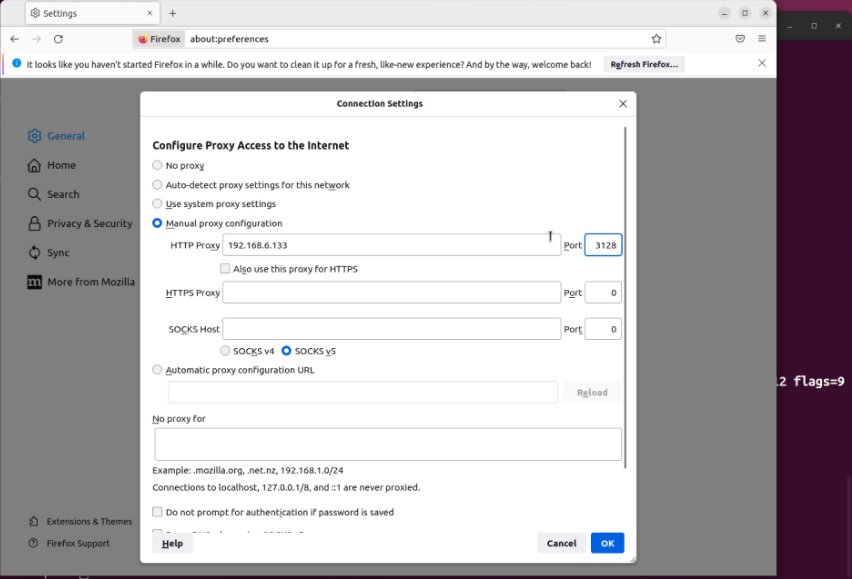
Step 11: Now configure the Manual proxy configuration and click Ok button as shown in the below image
Step 12: Then check by searching your blocked site and unblocked site as shown in the below images

Conclusion:
We have reached the end of this article. In this guide, we have walked you through the steps required to installation and configuration of Squid Proxy Server on Ubuntu 22.04. Your feedback is much welcome.


Comments ( 0 )
No comments available