How to install and configure Apache web server on Ubuntu 22.04
- 00:52 lsb_release -a
- 01:16 apt update
- 02:04 apt install apache2 -y
- 03:35 systemctl status apache2
- 03:52 ufw status
- 04:09 hostname -I
- 05:09 mkdir /var/www/linuxhelp
- 05:45 chown -R $USER:$USER /var/www/linuxhelpchown -R $USER:$USER /var/www/linuxhelp
- 06:11 chmod -R 755 /var/www/linuxhelp
- 06:33 vim /var/www/linuxhelp/index.html
- 07:17 vim /etc/apache2/sites-available/linuxhelp.conf
- 07:49 a2ensite linuxhelp.conf
- 08:11 a2dissite 000-default.conf
- 08:28 apache2ctl configtest
- 08:42 systemctl restart apache2
To Install And Configure Apache Web Server On Ubuntu 22.04
Introduction
Apache HTTP Server is a free and open-source web server that delivers web content through the internet. It is commonly referred to as Apache and after development, it quickly became the most popular HTTP client on the web. Apache is just one component that is needed in a web application stack to deliver web content.
Procedure Steps
Step 1: Check the OS version by using the below command
root@linuxhelp:~# lsb_release -a
No LSB modules are available.
Distributor ID:	Ubuntu
Description:	Ubuntu 22.04.3 LTS
Release:	22.04
Codename:	jammy
Step 2: Update the repository by using apt update by using the below command
root@linuxhelp:~# apt update
Hit:1 http://in.archive.ubuntu.com/ubuntu jammy InRelease
Get:2 http://in.archive.ubuntu.com/ubuntu jammy-updates InRelease [119 kB]
Get:3 http://security.ubuntu.com/ubuntu jammy-security InRelease [110 kB]
Hit:4 http://in.archive.ubuntu.com/ubuntu jammy-backports InRelease
Get:5 http://in.archive.ubuntu.com/ubuntu jammy-updates/main i386 Packages [585 kB]
Get:6 http://security.ubuntu.com/ubuntu jammy-security/main amd64 Packages [1,239 kB]
Get:7 http://in.archive.ubuntu.com/ubuntu jammy-updates/main amd64 Packages [1,458 kB]
Get:8 http://in.archive.ubuntu.com/ubuntu jammy-updates/main Translation-en [283 kB]
Get:9 http://in.archive.ubuntu.com/ubuntu jammy-updates/restricted amd64 Packages [1,557 kB]
Get:10 http://in.archive.ubuntu.com/ubuntu jammy-updates/restricted Translation-en [259 kB]
Fetched 11.6 MB in 10s (1,117 kB/s)
Reading package lists... Done
Building dependency tree... Done
Reading state information... Done
248 packages can be upgraded. Run 'apt list --upgradable' to see them.
Step 3: Install Apache by using the below command
root@linuxhelp:~# apt install apache2 -y
Reading package lists... Done
Building dependency tree... Done
Reading state information... Done
The following packages were automatically installed and are no longer required:
  libflashrom1 libftdi1-2 libllvm13
Use 'apt autoremove' to remove them.
The following additional packages will be installed:
  apache2-bin apache2-data apache2-utils libapr1 libaprutil1 libaprutil1-dbd-sqlite3 libaprutil1-ldap
Get:1 http://in.archive.ubuntu.com/ubuntu jammy-updates/main amd64 libapr1 amd64 1.7.0-8ubuntu0.22.04.1 [108 kB]
Get:2 http://in.archive.ubuntu.com/ubuntu jammy-updates/main amd64 libaprutil1 amd64 1.6.1-5ubuntu4.22.04.2 [92.8 kB]
Get:3 http://in.archive.ubuntu.com/ubuntu jammy-updates/main amd64 libaprutil1-dbd-sqlite3 amd64 1.6.1-5ubuntu4.22.04.2 [11.3 kB]
Get:4 http://in.archive.ubuntu.com/ubuntu jammy-updates/main amd64 libaprutil1-ldap amd64 1.6.1-
Processing triggers for ufw (0.36.1-4ubuntu0.1) ...
Processing triggers for man-db (2.10.2-1) ...
Processing triggers for libc-bin (2.35-0ubuntu3.1) ...
Step 4: Apache has been successfully installed, Now check the status of the Apache by using the below command
root@linuxhelp:~# systemctl status apache2
● apache2.service - The Apache HTTP Server
     Loaded: loaded (/lib/systemd/system/apache2.service; enabled; vendor preset: enabled)
     Active: active (running) since Mon 2024-03-11 16:21:45 IST; 1min 14s ago
       Docs: https://httpd.apache.org/docs/2.4/
   Main PID: 3437 (apache2)
      Tasks: 55 (limit: 4556)
     Memory: 5.2M
        CPU: 263ms
     CGroup: /system.slice/apache2.service
             ├─3437 /usr/sbin/apache2 -k start
             ├─3438 /usr/sbin/apache2 -k start
             └─3439 /usr/sbin/apache2 -k start

Mar 11 16:21:45 linuxhelp systemd[1]: Starting The Apache HTTP Server...
Mar 11 16:21:45 linuxhelp apachectl[3436]: AH00558: apache2: Could not reliably determine the server's fully qualified domain name, us>
Mar 11 16:21:45 linuxhelp systemd[1]: Started The Apache HTTP Server.
Step 5: Check the status of the Ubuntu default firewall by using the below command
root@linuxhelp:~# ufw status
Status: inactive
Step 6: By execute the following command to get the IP Address by using the below command
root@linuxhelp:~# hostname -I
192.168.6.133
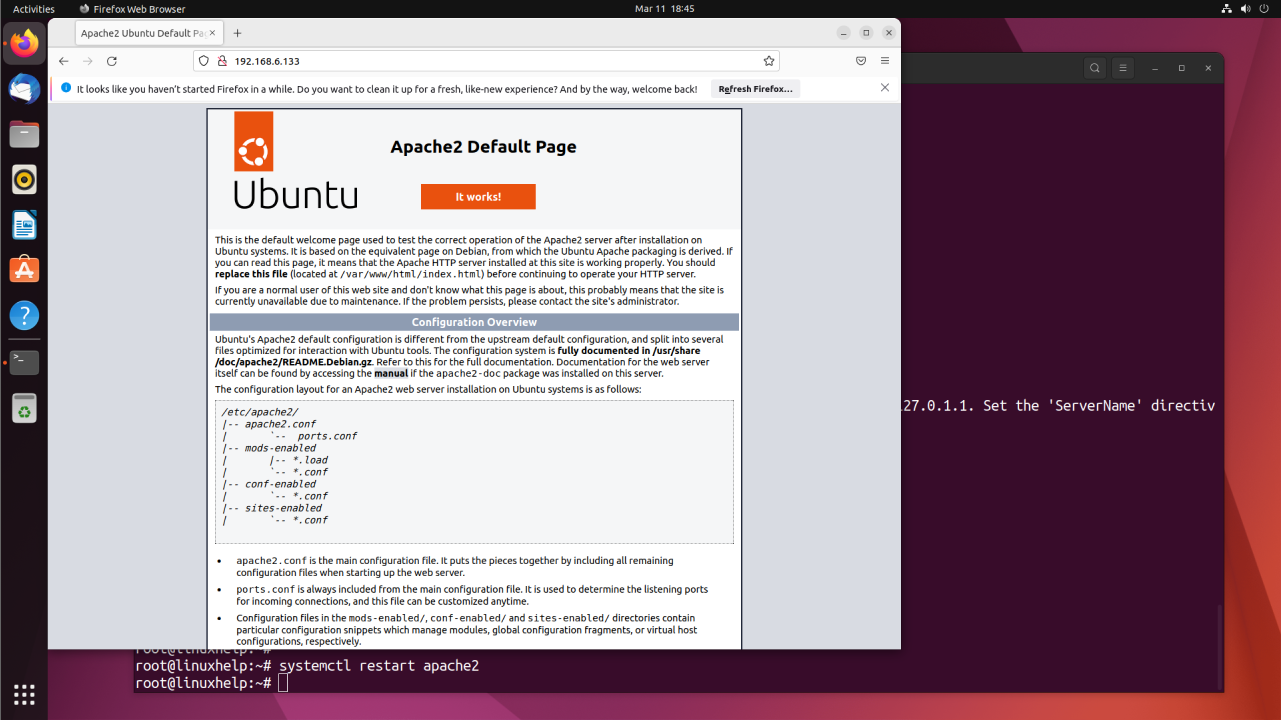
Step 7: Go to the Browser and search with the IP Address you get on the before step as shown in the below image
Step 8: Now setting up the Virtualhost, for that create a directory in the Apache document root directory by using the below command
root@linuxhelp:~# mkdir /var/www/linuxhelp
Step 9: Change the ownership of the created directory recursively by using the below command
root@linuxhelp:~# chown -R $USER:$USER /var/www/linuxhelp
Step 10: Change the permission of the created directory recursively by using the below command
root@linuxhelp:~# chmod -R 755 /var/www/linuxhelp
Step 11: Now create an index file in the directory by using the below command
root@linuxhelp:~# vim /var/www/linuxhelp/index.html
copy the following code in that file
< html>
    <head>
        <title>Welcome to Your_domain!</title>
    </head>
    <body>
        <h1>Success!  The your_domain virtual host is working!</h1>
    </body>
</html>
Step 12: Now create a virtual host file and add the following lines by using the below command
root@linuxhelp:~# vim /etc/apache2/sites-available/linuxhelp.conf
VirtualHost *:80>
    ServerAdmin webmaster@localhost
    ServerName linuxhelp.com
    ServerAlias www.linuxhelp.com
    DocumentRoot /var/www/linuxhelp
    ErrorLog ${APACHE_LOG_DIR}/error.log
    CustomLog ${APACHE_LOG_DIR}/access.log combined
</VirtualHost>
Step 13: Now enable the file with the a2ensite tool by using the below command
root@linuxhelp:~# a2ensite linuxhelp.conf
Enabling site linuxhelp.
To activate the new configuration, you need to run:
  systemctl reload apache2
Step 14: Disable the default site defined in 000-default.conf by using the below command
root@linuxhelp:~# a2dissite 000-default.conf
Site 000-default disabled.
To activate the new configuration, you need to run:
  systemctl reload apache2
Step 15: Next, test for configuration errors by using the below command
root@linuxhelp:~# apache2ctl configtest
AH00558: apache2: Could not reliably determine the server's fully qualified domain name, using 127.0.1.1. Set the 'ServerName' directive globally to suppress this message
Syntax OK
Step 16: Restart Apache to implement your changes by using the below command
root@linuxhelp:~# systemctl restart apache2
Conclusion:
We have reached the end of this article. In this guide, we have walked you through the steps required to install and configure Apache web server on Ubuntu 22.04. Your feedback is much welcome.


Comments ( 0 )
No comments available