How to create virtual host in NGINX (Both Name and IP based)
To create virtual host in NGINX (Both Name and IP based)
Nginx is an open source high performance Load balancer and web server software. It supports HTTP, HTTPS, SMTP, POP3, and IMAP protocols as a reverse proxy server. Creating virtual host in NGINX is explained in this article.
Testing Environment
Operating System : CentOS 6
IP-Address : 192.168.11.182 and 192.168.11.183
Web Server : Nginx
Virtual-host Domains : www.testing1.com and www.testing2.com.
Installation of Nginx
Install the Nginx package from the epel repository by using the following command.
[root@linuxhelp~]# yum install --enablerepo=epel nginx
Loaded plugins: aliases, changelog, fastestmirror, kabi, security
Setting Up install process
Resolving dependencies
-->  Running transaction check
-->  Package nginx.x86_64 1.0.15-12.el6 will be installed.
.
.
.
Installaed:
 nginx.x86_64 1.0.15-12.el6  is installed
Complete!
Start the nginx service.
[root@linuxhelp~]# service httpd stop
Stopping httpd:   [ ok ]
[root@linuxhelp~]# service nginx start
Starting nginx:     [ ok ]
Name-based Virtual Hosts
Create a user, to avoid permission issues.
[root@linuxhelp~]# useradd user1
Then create the directories for the virtual domains in /var/www path.
[root@linuxhelp~]# mkdir /var/www/testing1.com/public_html
[root@linuxhelp~]# mkdir /var/www/testing2.com/public_html
Go to that public_html directory and create the index file with some html code.
[root@linuxhelp~]# cd /var/www/testing1.com/public_html
[root@linuxhelp public_html]# vim index.html
< html>
< head>
< title>
TESTING 1
< /title>
< /head>
< body>
This is the first domain
< /body>
< /html>
Create a directory " sites-available" in /etc/nginx path
[root@linuxhelp~]# mkdir /etc/nginx/sites-available
Go to the sites-available directory and create two config files with the name of our virtual domains for easy reference.
[root@linuxhelp~]# cd /etc/nginx/sites-available
[root@linuxhelp sites-available]# touch testing1.com.conf testing2.com.conf
Add the following lines into testing1.com.conf file.
 server{
        listen          80
        server_name     testing1.com www.testing1.com
        location /{
                root /var/www/testing1.com/public_html
                index index.html
                }
}
Add the following contents into testing2.com.cong file.
server{
        listen       80
        server_name     testing2.com www.testing2.com
        location /{
                root /var/www/testing2.com/public_html
                index index.html
                }
}
Now change the ownership to user1 and the permissions as 755 for all the config and index files.
[root@linuxhelp sites-available]# chgrp user1 *
[root@linuxhelp sites-available]# ls -l
total 8
-rw-r--r-- 1 root user1 147 Jun 27 22:27 testing1.com.conf
-rw-r--r-- 1 root user1 147 Jun 27 22:28 testing2.com.conf
[root@linuxhelp~]# cd /var/www/testing1.com/public_html
[root@linuxhelp public_html]# chgrp user1 index.html
Follow the above steps for another domain(www.testing2.com) also.
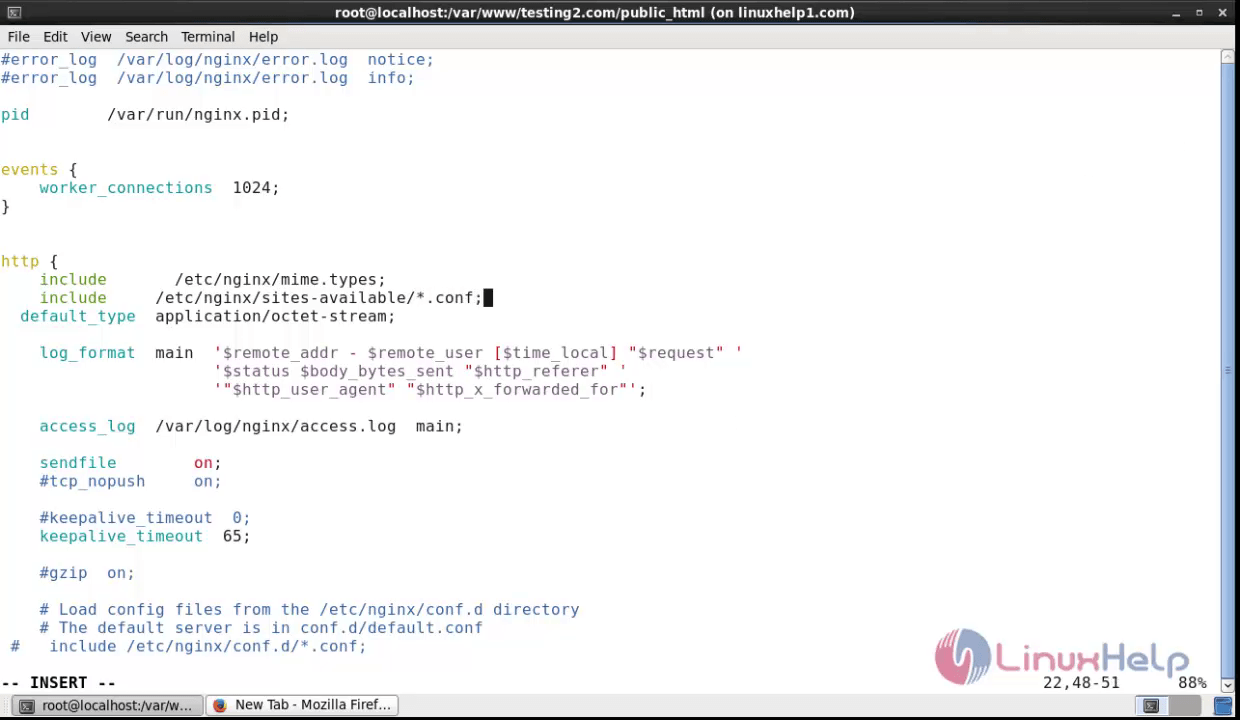
Edit the nginx.conf file as shown below:
Uncomment the " user nginx" line and modify the " include" path as follows.
#user  nginx
worker_processess  1
http{
    include  /etc/nginx/mime.types
    include  /etc/nginx/sites-available/*.conf
    default_type application/octet-stream
    .
    .
    .
}
After all the setup is done, edit the hosts file.
[root@linuxhelp~]# vim /etc/hosts

192.168.11.182  testing1.com  www.testing1.com
192.168.11.182  testing2.com  www.testing2.com
Restart the nginx service.
[root@linuxhelp~]# service nginx restart
Stopping nginx:      [ ok ]
Starting nginx:        [ ok ]
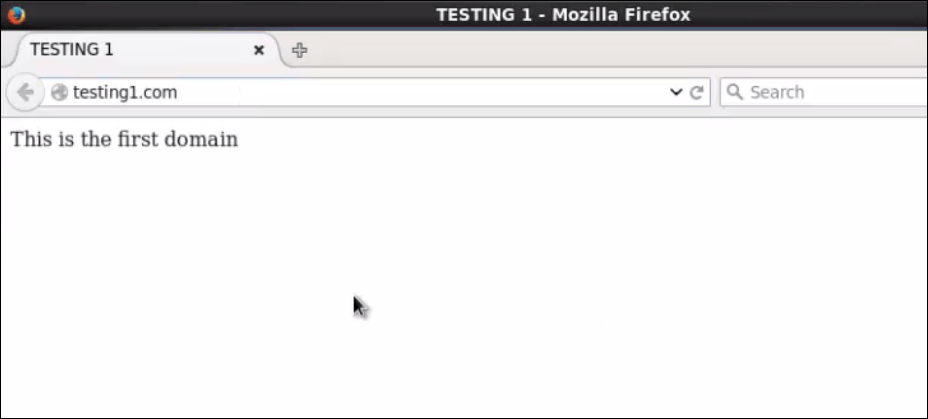
Open the browser and navigate to the first virtual domain, http://testing1.com or http://www.testing1.com, the content in testing1.com' s index file will be displayed.
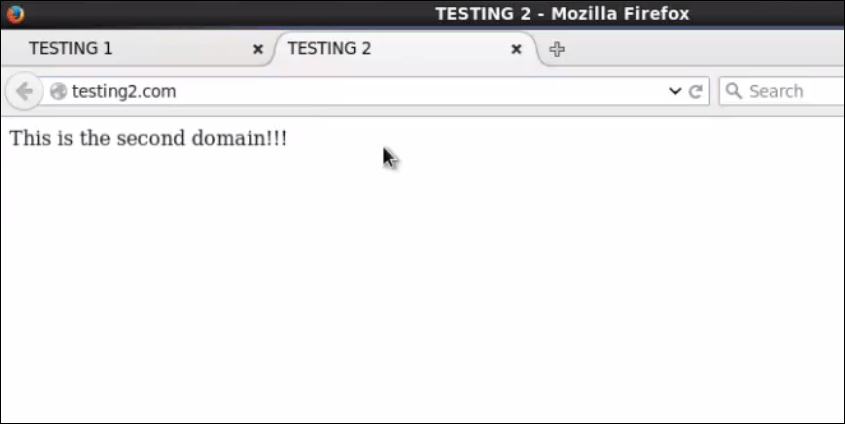
And for second virtual domain, type http://testing2.com or http://www.testing2.com
IP based virtual hosts
IP based virtual hosting, can be performed in two interface cards or in the same interface, split the eth0 interface into two for temporary configuration.
Check the interface by running the ifconfig command.
[root@linuxhelp1 ~]# ifconfig
eth0      Link encap:Ethernet  HWaddr 00:0C:29:4A:BF:EA
          inet addr:192.168.11.182  Bcast:192.168.11.255  Mask:255.255.255.0
          inet6 addr: fe80::20c:29ff:fe4a:bfea/64 Scope:Link
          UP BROADCAST RUNNING MULTICAST  MTU:1500  Metric:1
          RX packets:50968 errors:0 dropped:0 overruns:0 frame:0
          TX packets:36601 errors:0 dropped:0 overruns:0 carrier:0
          collisions:0 txqueuelen:1000
          RX bytes:73713310 (70.2 MiB)  TX bytes:2642608 (2.5 MiB)

lo        Link encap:Local Loopback
          inet addr:127.0.0.1  Mask:255.0.0.0
          inet6 addr: ::1/128 Scope:Host
          UP LOOPBACK RUNNING  MTU:65536  Metric:1
          RX packets:138 errors:0 dropped:0 overruns:0 frame:0
          TX packets:138 errors:0 dropped:0 overruns:0 carrier:0
          collisions:0 txqueuelen:0
          RX bytes:13218 (12.9 KiB)  TX bytes:13218 (12.9 KiB)
To split the eth0 interface run the following command.
[root@linuxhelp1 ~]# ifconfig eth0:1 192.168.11.183
[root@linuxhelp1 ~]# ifconfig
eth0      Link encap:Ethernet  HWaddr 00:0C:29:4A:BF:EA
          inet addr:192.168.11.182  Bcast:192.168.11.255  Mask:255.255.255.0
          inet6 addr: fe80::20c:29ff:fe4a:bfea/64 Scope:Link
          UP BROADCAST RUNNING MULTICAST  MTU:1500  Metric:1
          RX packets:50968 errors:0 dropped:0 overruns:0 frame:0
          TX packets:36601 errors:0 dropped:0 overruns:0 carrier:0
          collisions:0 txqueuelen:1000
          RX bytes:73713310 (70.2 MiB)  TX bytes:2642608 (2.5 MiB)

eth0:1    Link encap:Ethernet  HWaddr 00:0C:29:4A:BF:EA
          inet addr:192.168.11.183  Bcast:192.168.11.255  Mask:255.255.255.0
          UP BROADCAST RUNNING MULTICAST  MTU:1500  Metric:1

lo        Link encap:Local Loopback
          inet addr:127.0.0.1  Mask:255.0.0.0
          inet6 addr: ::1/128 Scope:Host
          UP LOOPBACK RUNNING  MTU:65536  Metric:1
          RX packets:138 errors:0 dropped:0 overruns:0 frame:0
          TX packets:138 errors:0 dropped:0 overruns:0 carrier:0
          collisions:0 txqueuelen:0
          RX bytes:13218 (12.9 KiB)  TX bytes:13218 (12.9 KiB)
After the split up is done, edit the virtual domain' s config files. Point the first IP (192.168.11.182) to first virtual domain with default port number 80.
[root@linuxhelp1 ~]# vim /etc/nginx/sites-available/testing1.com.conf
server {
    listen    192.168.11.182:80
    server_name    testing1.com www.testing1.com
    location /{
        root /var/www/testing1.com/public_html
        index index.html
        }
}
pointing the second IP (192.168.11.183) to second virtual domain.
[root@linuxhelp1 ~]# vim /etc/nginx/sites-available/testing2.com.conf

server {
    listen    192.168.11.183:80
    server_name    testing3.com www.testing2.com
    location /{
        root /var/www/testing2.com/public_html
        index index.html
        }
}
Now restart the nginx service.
[root@linuxhelp~]# service nginx restart
Stopping nginx:      [ ok ]
Starting nginx:        [ ok ]
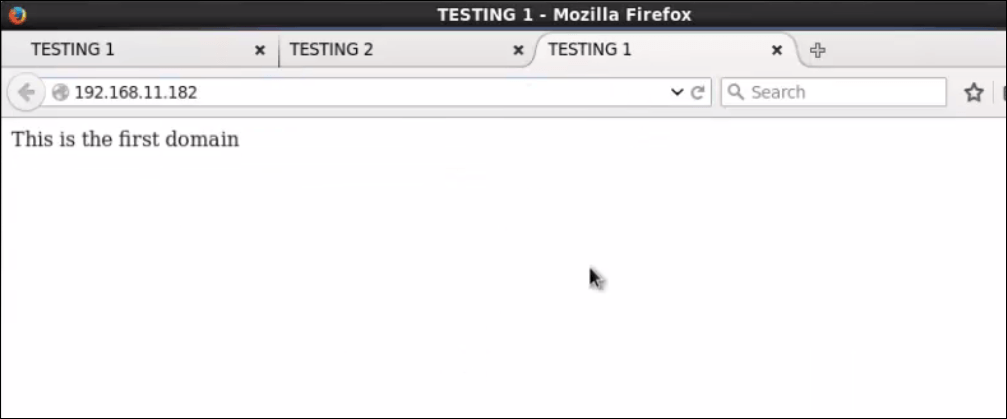
Open the browser and navigate to http://< IP_address>
It opens the index file of testing1.com domain.
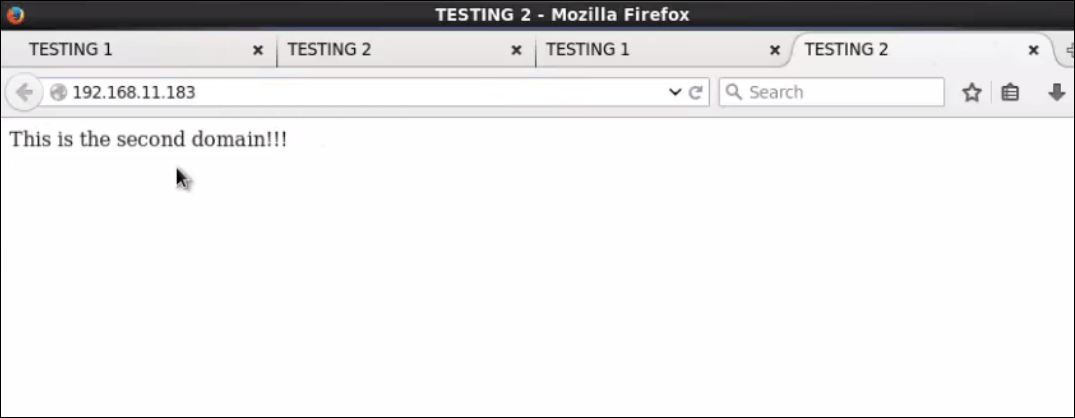
Open the browser and navigate to http://< IP_address>
It opens the index file of testing2.com domain.
Comments ( 0 )
No comments available