How to Create and deploy Virtual Machines in Linux - KVM
Steps to Create and deploy Virtual Machines in Linux Using KVM
KVM (Kernel-based Virtual Machine)
KVM / Kernel-based Virtual Machine is a complete virtual solution for Linux on Intel 64 and also AMD 64 hardware, which is included in the mainline Linux kernel. This article explains the KVM installation and deployment of virtual machines under RedHat based-distributions.
Features
&lowast Virtual CPU hot add capability : Increases processing power as needed on running machines.
&lowast Improved scalability : virtual machines can connect to one or more storage devices
&lowast Automatic NUMA balancing : Enhances the performance of applications running on NUMA systems.
&lowast Thin provisioning : It optimizes the available space for every guest machine and allows the allocation of flexible storage.
&lowast Over-committing : It means allocating more memory or virtualized CPUs than the available resources.
&lowast Disk I/O throttling : Sets a limit on disk I/O requests sent from virtual to the host machine.
On Intel based Hosts
Use the following command to check the availability of CPU virtualization extensions [vmx].
[root@linuxhelp ~]# grep -e ' vmx'  /proc/cpuinfo
flags        : fpu vme de pse tsc msr pae mce cx8 apic sep mtrr pge mca cmov pat pse36 clflush dts mmx fxsr sse sse2 ss syscall nx rdtscp lm constant_tsc arch_perfmon pebs bts nopl xtopology tsc_reliable nonstop_tsc aperfmperf eagerfpu pni pclmulqdq vmx ssse3 cx16 pcid sse4_1 sse4_2 x2apic popcnt aes xsave avx hypervisor lahf_lm ida arat epb pln pts dtherm tpr_shadow vnmi ept vpid xsaveopt
When there is no output, check whether the virtualization extensions is enabled in BIOS and also make sure that KVM modules are loaded in the kernel.
[root@linuxhelp ~]# lsmod | grep kvm
kvm_intel             167936  0
kvm                   499712  1 kvm_intel
The output must have kvm_intel for kvm_amd for amd-based hosts or intel-based hosts.
To Install and Deploy KVM
Run the following command to install qemu-kvm and qemu-img package.
[root@linuxhelp ~]# yum install qemu-kvm qemu-img
Yum command has been deprecated, redirecting to ' /usr/bin/dnf install qemu-kvm qemu-img' .
See ' man dnf'  and ' man yum2dnf'  for more information.
To transfer transaction metadata from yum to DNF, run:
' dnf install python-dnf-plugins-extras-migrate & &  dnf-2 migrate'

Last metadata expiration check performed 0:05:51 ago on Fri May  6 09:37:05 2016.
Dependencies resolved.
=============================================================================================
 Package                      Arch       Version                           Repository   Size
=============================================================================================
Installing:
 SDL2                         x86_64     2.0.4-4.fc23                      updates     376 k
 boost-thread                 x86_64     1.58.0-8.fc23                     fedora       89 k
 glusterfs                    x86_64     3.7.11-1.fc23                     updates     453 k
.
.
.
  spice-server.x86_64 0.12.6-1.fc23
  vte3.x86_64 0.36.5-1.fc23
  xen-libs.x86_64 4.5.3-2.fc23
  xen-licenses.x86_64 4.5.3-2.fc23
Complete!
Now you are provided with minimum requirement for deploying virtual platform, but still there are tools to manage the platform, such as
&lowast virt-install supplies the command ' virt-install' for creating virtual machines from CLI.
&lowast libvirt-client supplies a CL tool to manage virtual environment this tool is known as virsh.
&lowast virt-manager supplies a GUI tool to manage virtual machines.
&lowast libvirt supplies the server and also host side libraries for interacting with host systems and hypervisors.
Run the following command to install the additional tools required.
[root@linuxhelp ~]# yum install virt-manager libvirt libvirt-python libvirt-client
Yum command has been deprecated, redirecting to ' /usr/bin/dnf install virt-manager libvirt libvirt-python libvirt-client' .
See ' man dnf'  and ' man yum2dnf'  for more information.
To transfer transaction metadata from yum to DNF, run:
' dnf install python-dnf-plugins-extras-migrate & &  dnf-2 migrate'

Last metadata expiration check performed 0:10:57 ago on Fri May  6 09:37:05 2016.
Dependencies resolved.
=============================================================================================
 Package                            Arch      Version                       Repository  Size
=============================================================================================
Installing:
 autogen-libopts                    x86_64    5.18.6-1.fc23                 fedora      71 k
 corosync                           x86_64    2.3.5-1.fc23                  fedora     201 k
 corosynclib                        x86_64    2.3.5-1.fc23                  fedora     118 k
 cyrus-sasl                         x86_64    2.1.26-25.2.fc23              fedora      92 k
 dmidecode                          x86_64    1:3.0-1.fc23                  updates     89 k
.
.
.
  python-xpyb.x86_64 1.3.1-5.fc23
  radvd.x86_64 2.11-3.fc23
  sheepdog.x86_64 0.3.0-10.fc23
  unbound-libs.x86_64 1.5.8-2.fc23
  virt-manager.noarch 1.3.2-2.fc23
  virt-manager-common.noarch 1.3.2-2.fc23

Complete!
Now start and enable ' libvirtd' by using the following command.
[root@linuxhelp ~]# systemctl start libvirtd
[root@linuxhelp ~]# systemctl enable libvirtd
Verify the status by running following command.
[root@linuxhelp ~]# systemctl status libvirtd
? libvirtd.service - Virtualization daemon
   Loaded: loaded (/usr/lib/systemd/system/libvirtd.service  enabled  vendor preset: enabled)
   Active: active (running) since Fri 2016-05-06 10:00:45 IST  11min ago
     Docs: man:libvirtd(8)
           http://libvirt.org
 Main PID: 1232 (libvirtd)
   CGroup: /system.slice/libvirtd.service
           ??1232 /usr/sbin/libvirtd
           ??1466 /sbin/dnsmasq --conf-file=/var/lib/libvirt/dnsmasq/default.conf --leasef...
           ??1467 /sbin/dnsmasq --conf-file=/var/lib/libvirt/dnsmasq/default.conf --leasef...

May 06 10:01:07 linuxhelp dnsmasq-dhcp[1466]: read /var/lib/libvirt/dnsmasq/default.hostsfile
May 06 10:08:10 linuxhelp systemd[1]: Started Virtualization daemon.
May 06 10:11:36 linuxhelp systemd[1]: Started Virtualization daemon.
Hint: Some lines were ellipsized, use -l to show in full.
To Create VMs using KVM
Launch/start virt-manager from either terminal or from GUI.
[root@server ~]# virt-manager
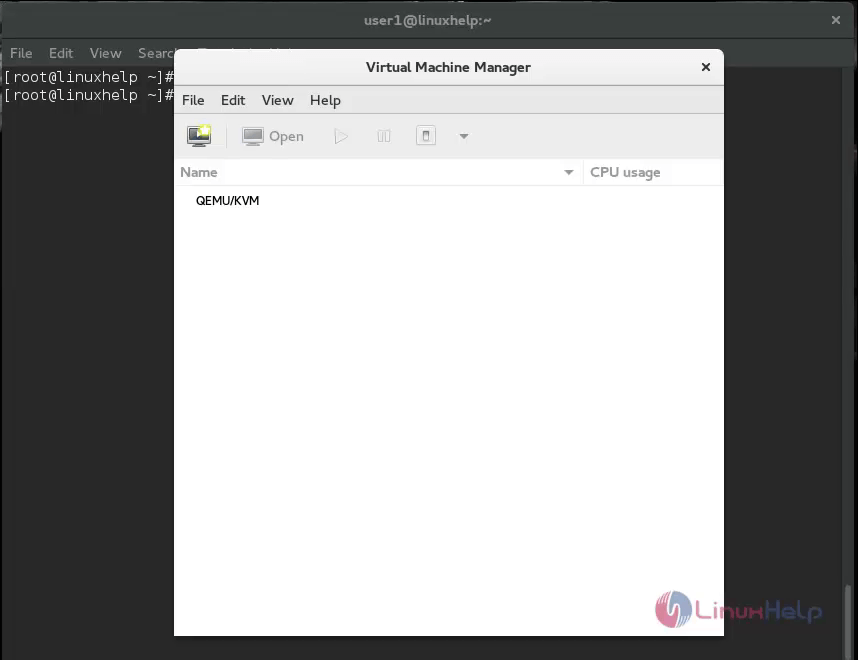
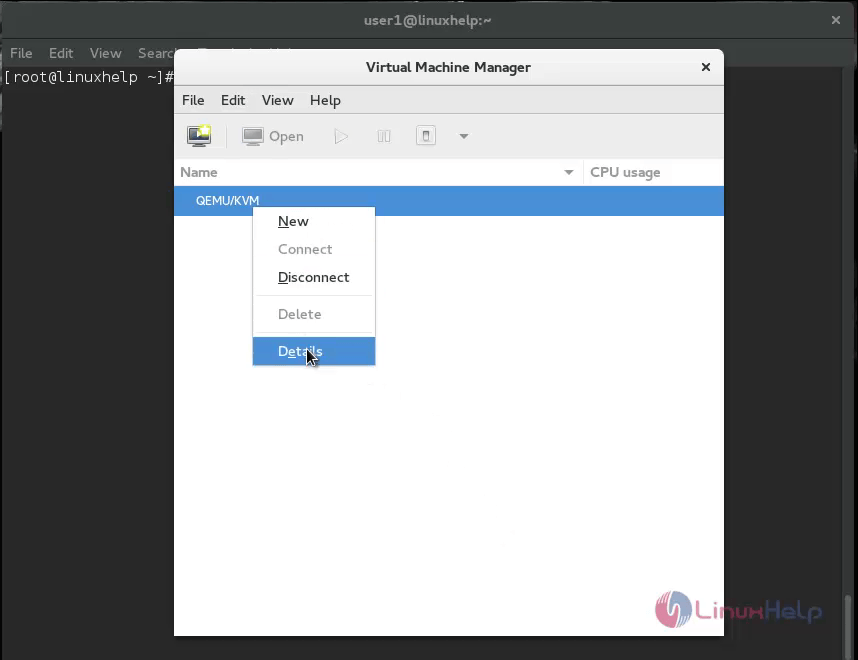
Create the Volume Disk for virtual machine, after returning to your localhost. Right click on localhost and choose ' Details' and then click ' Storage' tab.
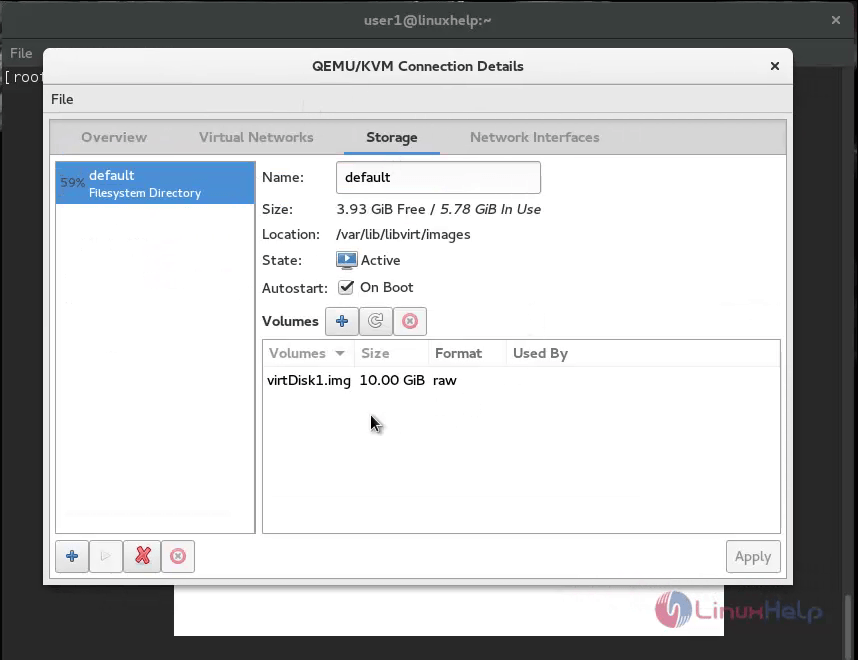
Now click ' Create New Volume' button and enter the name of the new virtual disk and then type the size in the ' Max Capacity' section.
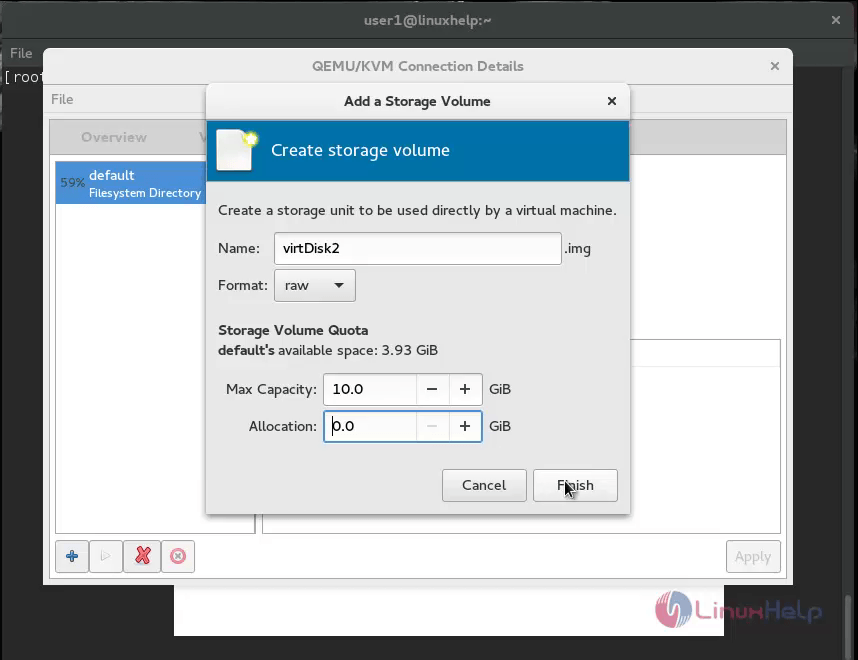
Important: Thin provision is an essential technology in storage administration field which is used to allocate the used storage size.
Now a label of the new Volume Disk will be displayed in the list.
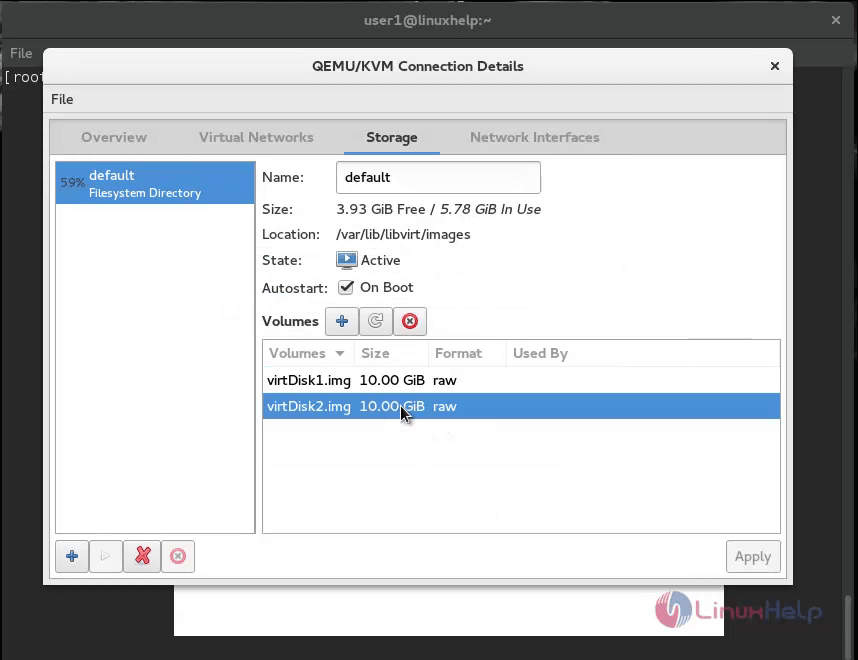
You can also see the path of the new disk image, which will be under /var/lib/libvirt/images, you can verify it by executing the following command.
[root@server Downloads]# ls -l /var/lib/libvirt/images
-rw-------. 1 root root 10737418240 May  6 10:21 virtDisk1.img
-rw-------. 1 root root 10737418240 May  6 10:27 virtDisk2.img
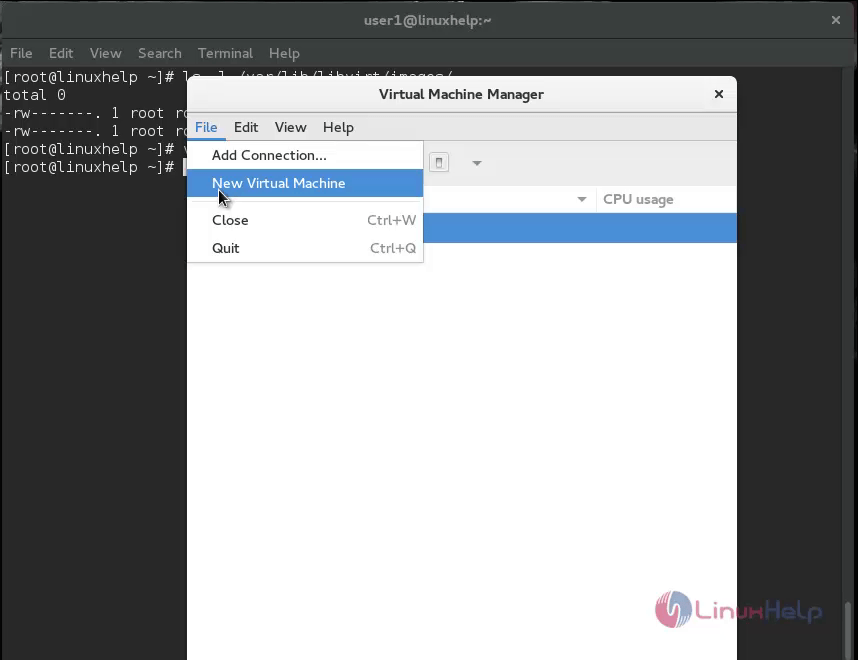
Now create the virtual machine by simply clicking ' VM' icon or ‘ File&rarr New Virtual Machine‘ in the main window.
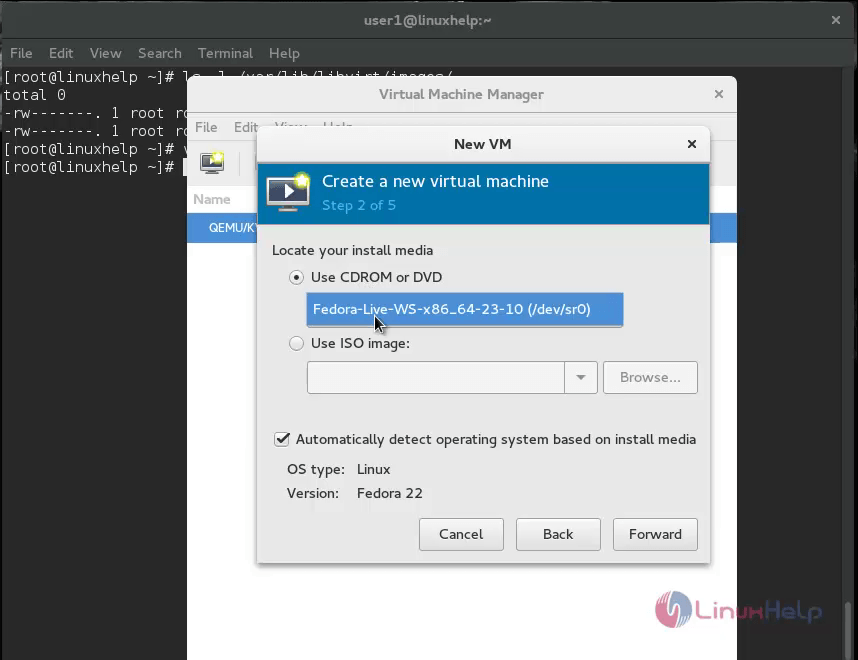
Specify the Local install media to be used, by selecting the available options
&rarr From ISO image.
&rarr From physical [CDROM/DVD]
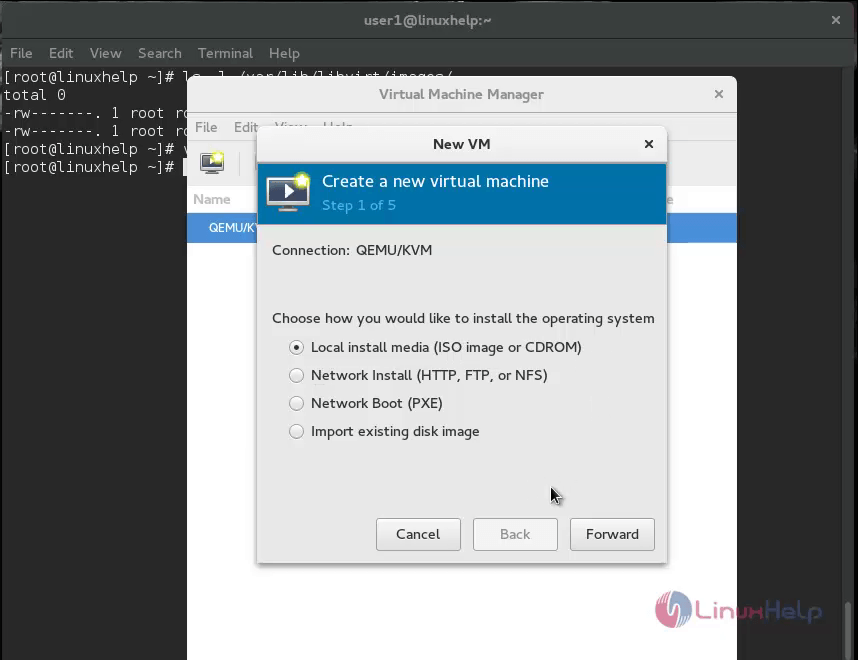
Use the disk to install virtual machine.
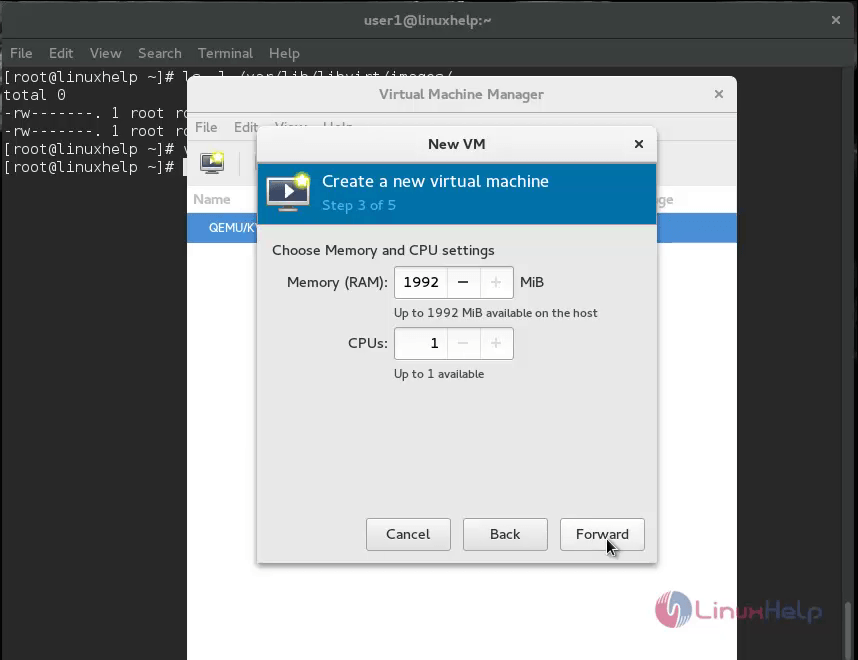
Type the RAM size and select CPU of the virtual machine that you have created.
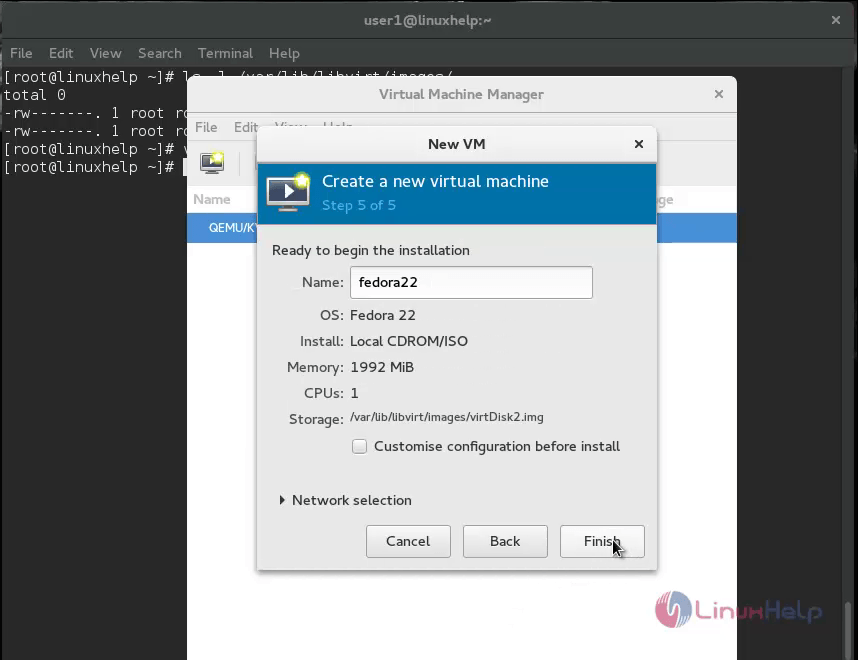
Next enable and specify that virtual storage path.

Now click ‘ finish’ .
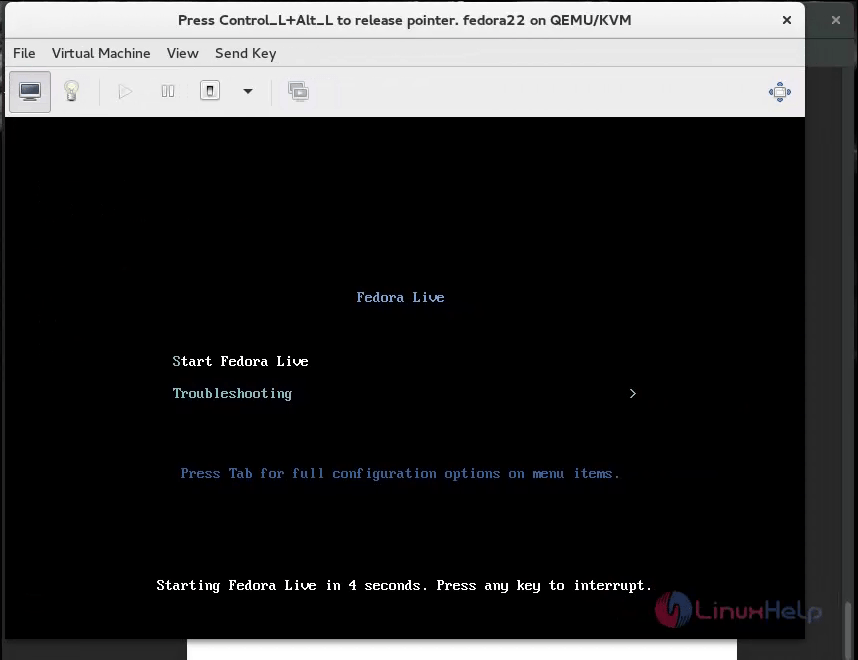
Now the virtual machine ready to use.


Comments ( 0 )
No comments available