• Categories
    Category
  • Categories
    Category
  • News
  • Tutorials
  • Forums
  • Tags
  • Users
Tutorial Comments FAQ Related Articles

How to install Zevenet an open source load balancing server

2584

To install Zevenet an open source load balancer

Zen Load Balancer is a complete solution for load balancing to provide a high availability for TCP, UDP, advanced HTTP and HTTPS services, data line communications It' s not only a nice HTTPS GUI to control the load balancing system, Zen LB provides an advanced administration for network interfaces and routes, unlimited farms configuration, advanced checking for TCP farms, advanced check and monitoring for backend servers, clustering for active-pasive load balancing services, monitoring graphs, configuration backups, vlan support, real time config sync replication for cluster nodes, HTTP specific load balancing, client persistence, SSL wrapper, L7 content switching, L4 load balancing and much more

Installation

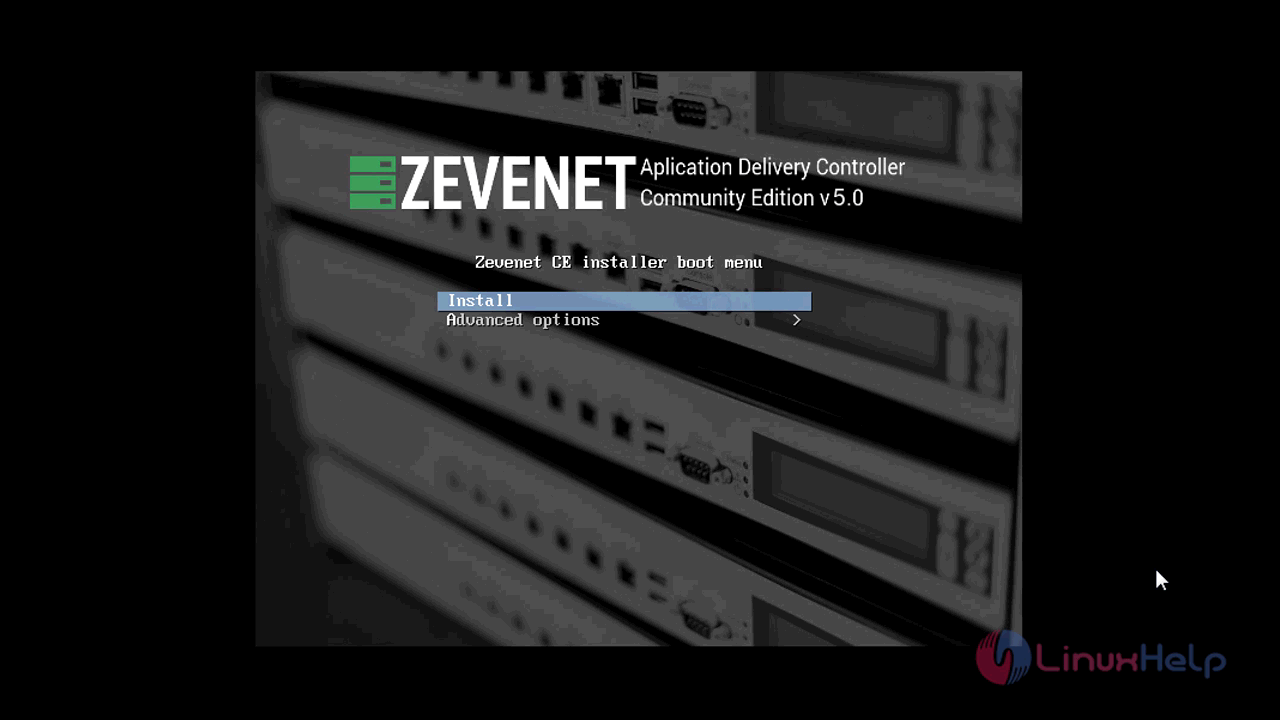
This is the Installer Interface that appears when you boot your installation media. here you have to choose the Install option
installer_interface
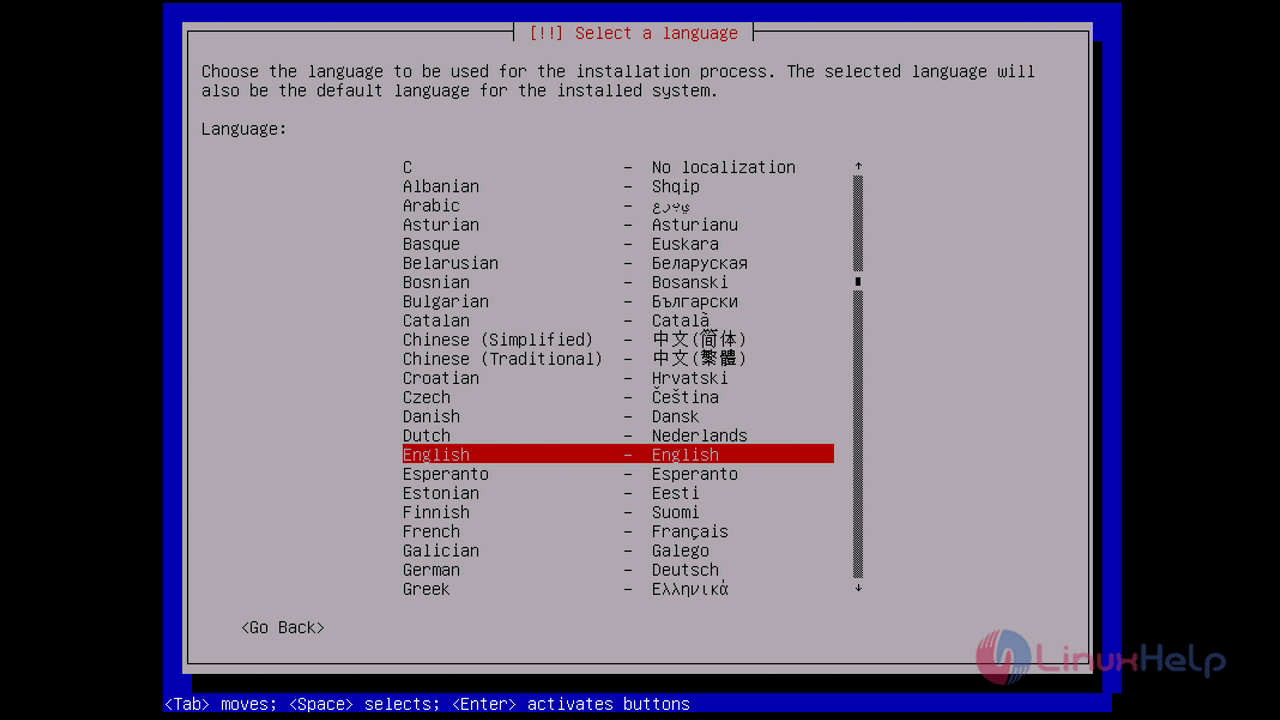
At next screen, you have to choose your preferred language for the installation process
choose_language
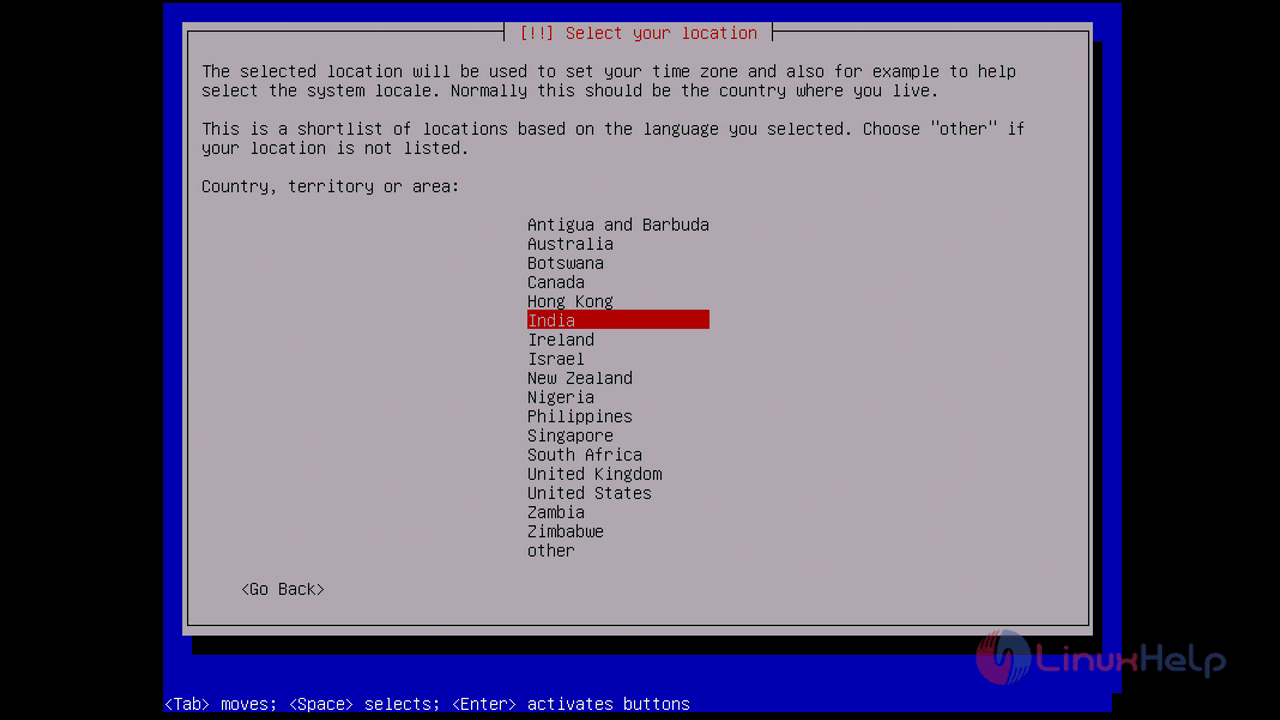
choose the region for your time zone
region
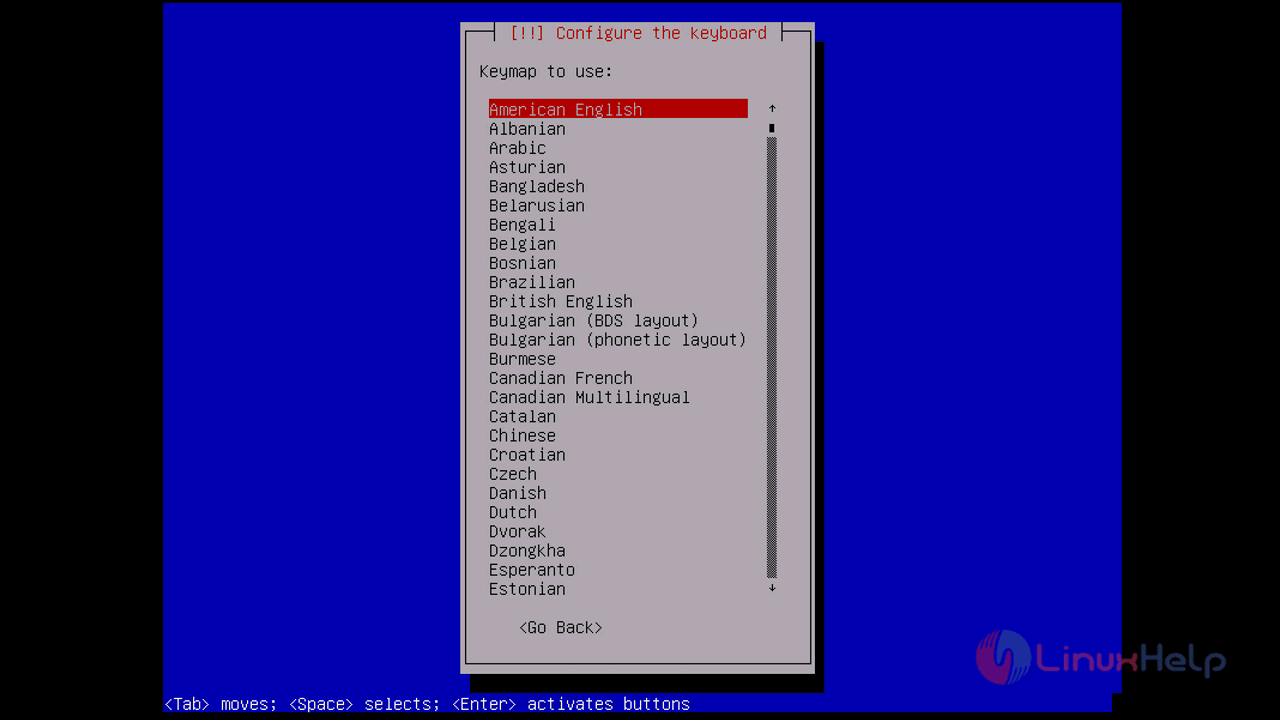
configure the language of the keyboard and press enter
keyboard

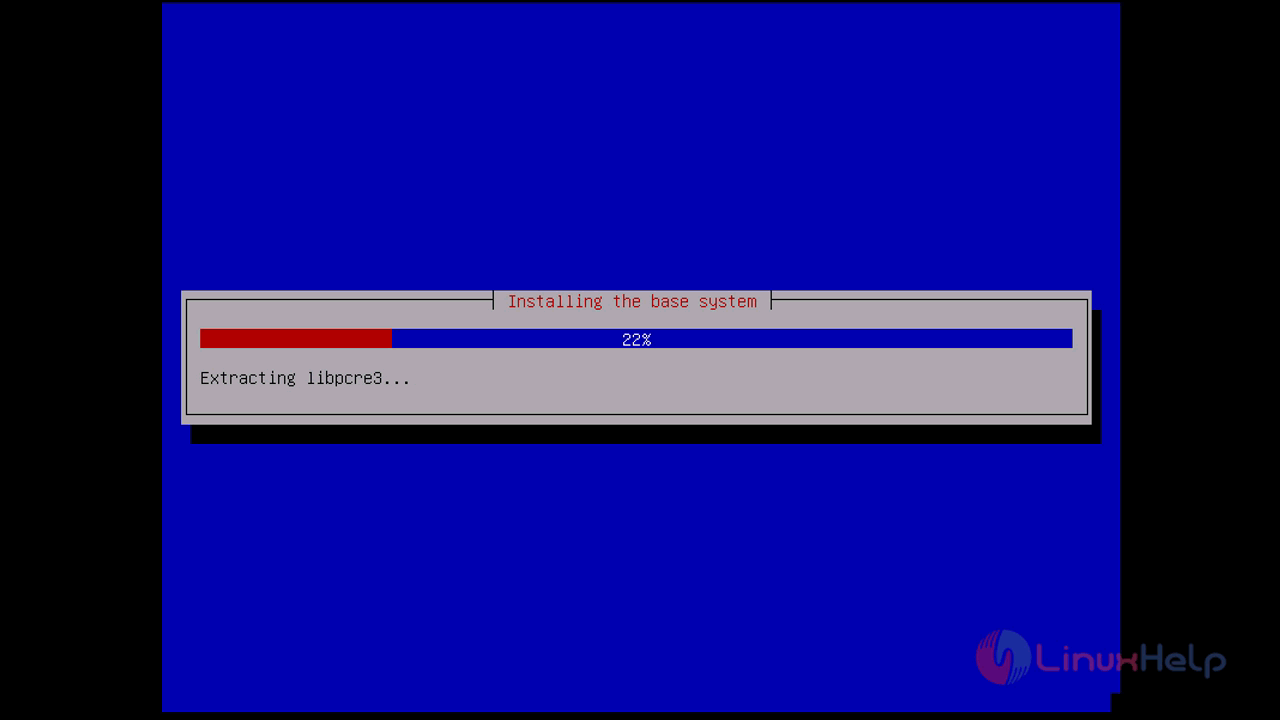
you can see the additional components that get loaded for the installation
region_key
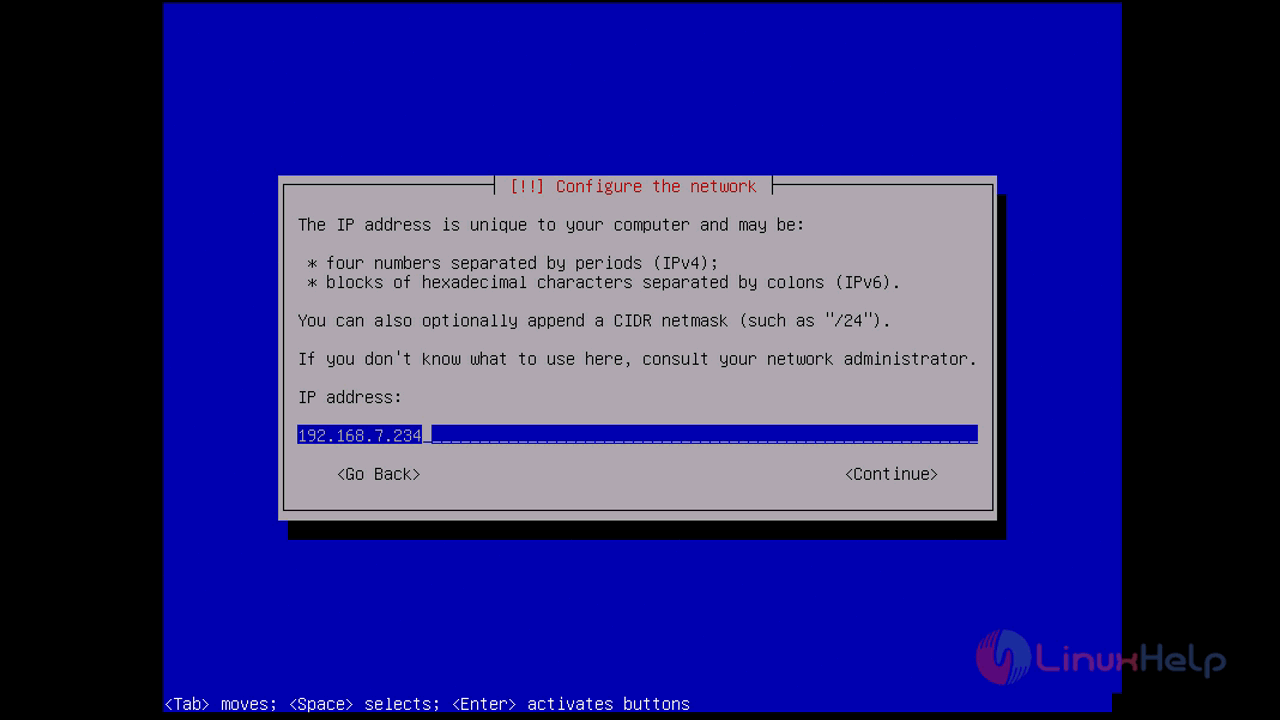
from next step, you have to configure the network setup. start with assigning your Ipaddress for your server and press continue
ip_address
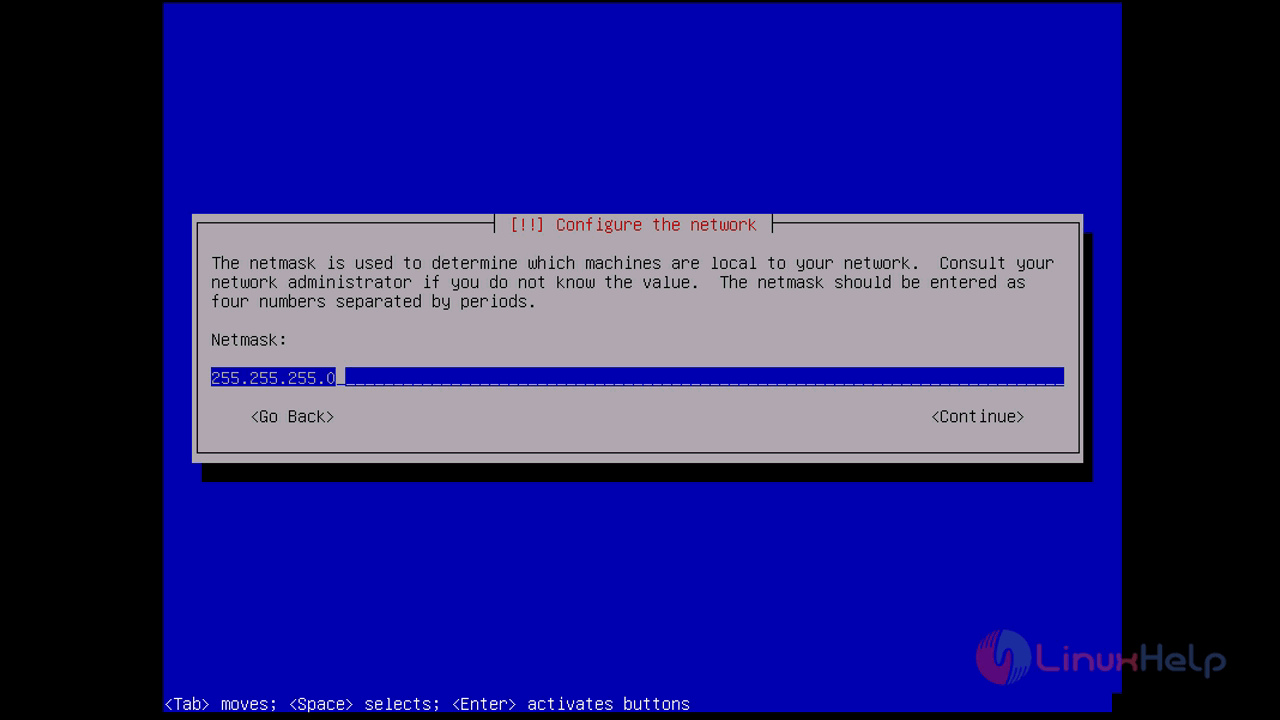
Assign a netmask value and press continue
netmask
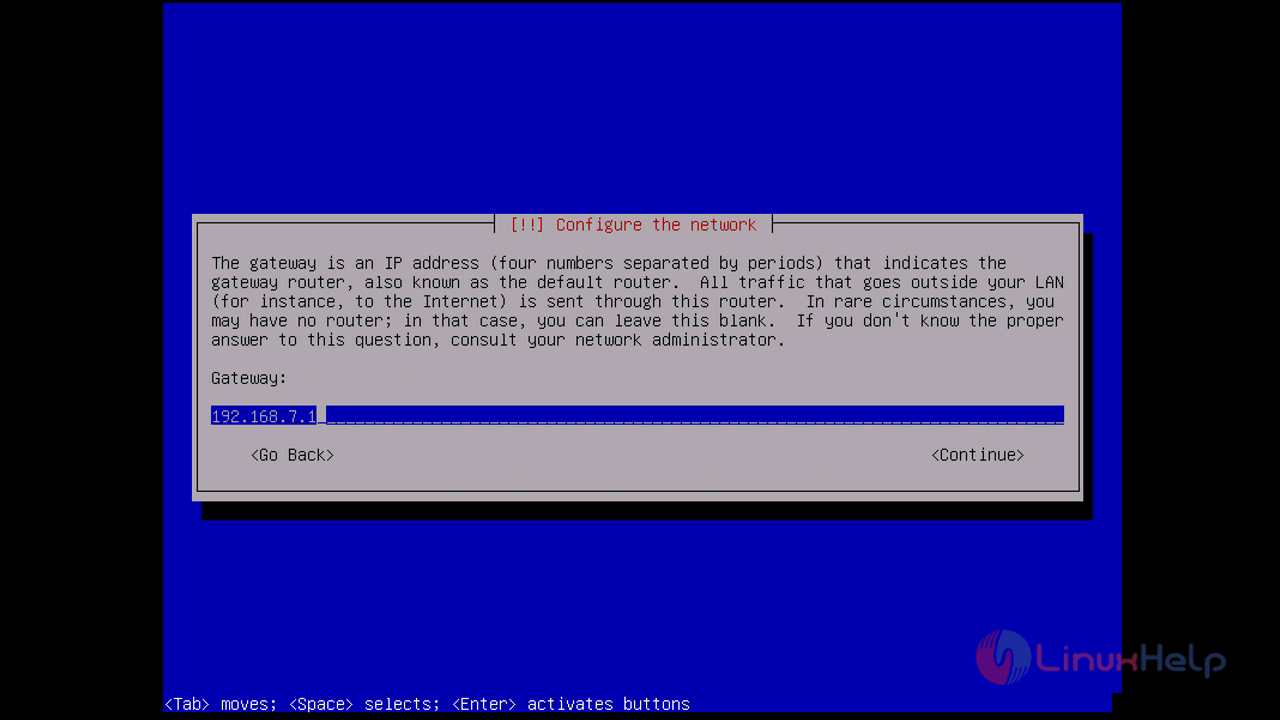
Enter the Gateway address of the server and press continue
gateway
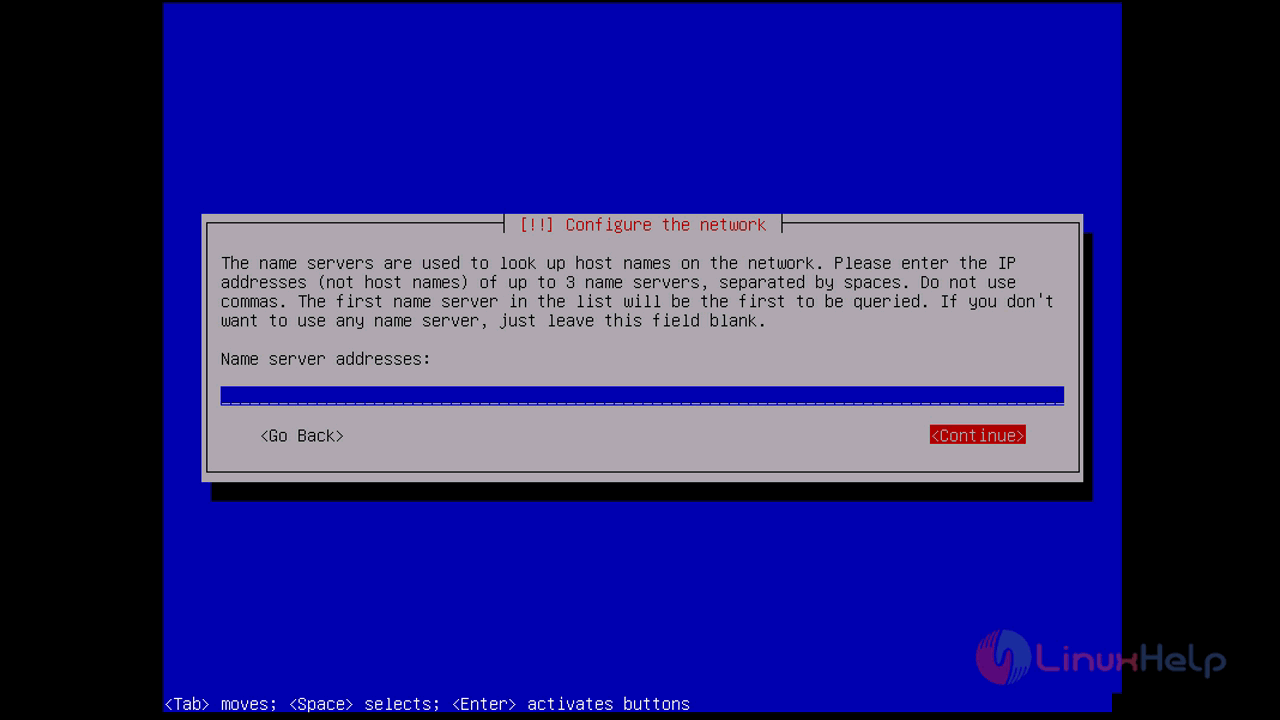
Enter the Nameserver addresses but it is optional and press continue
name_server
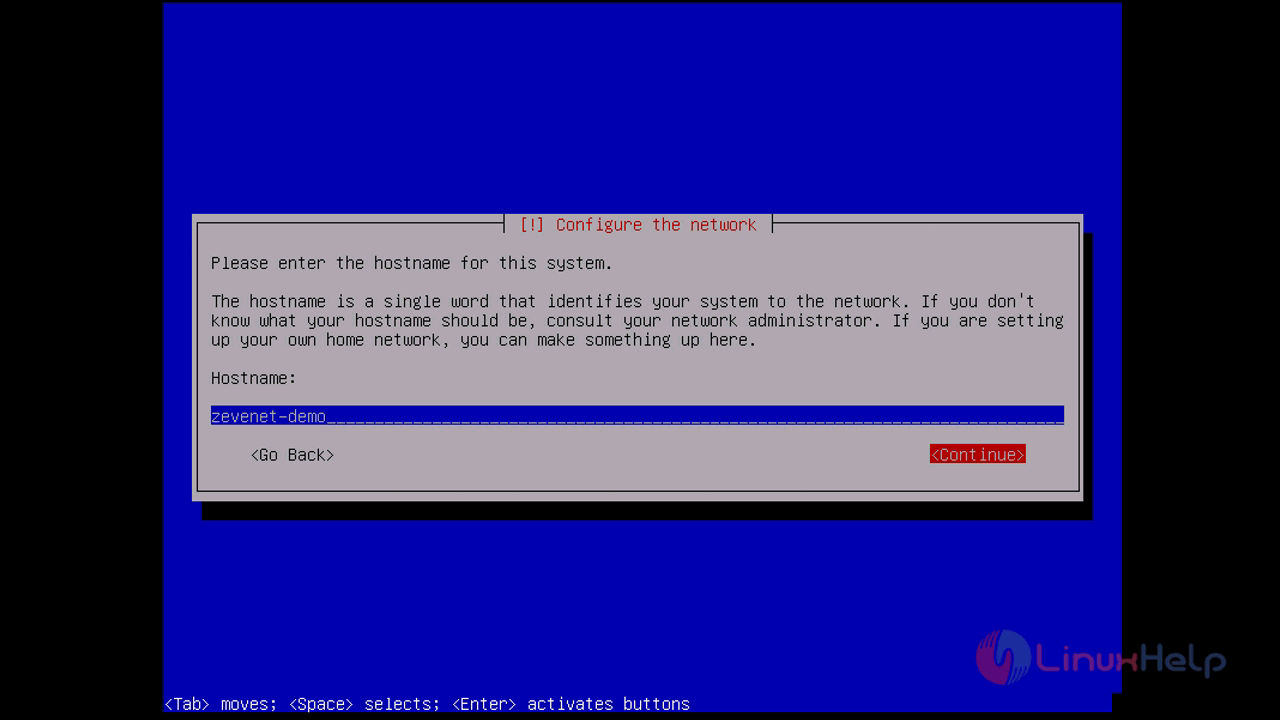
on next screen, you have to Enter the Hostname of your server and then press continue
Host_name
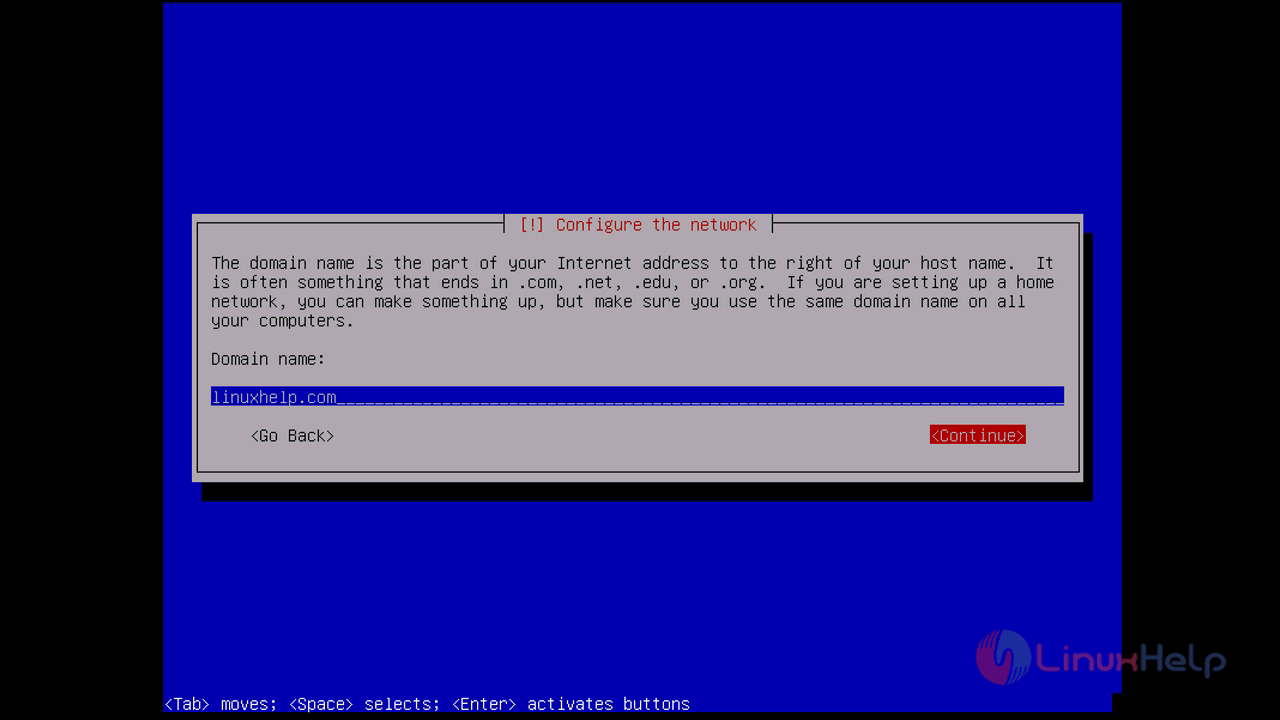
enter the Domain name of your server and then press continue
domain_name
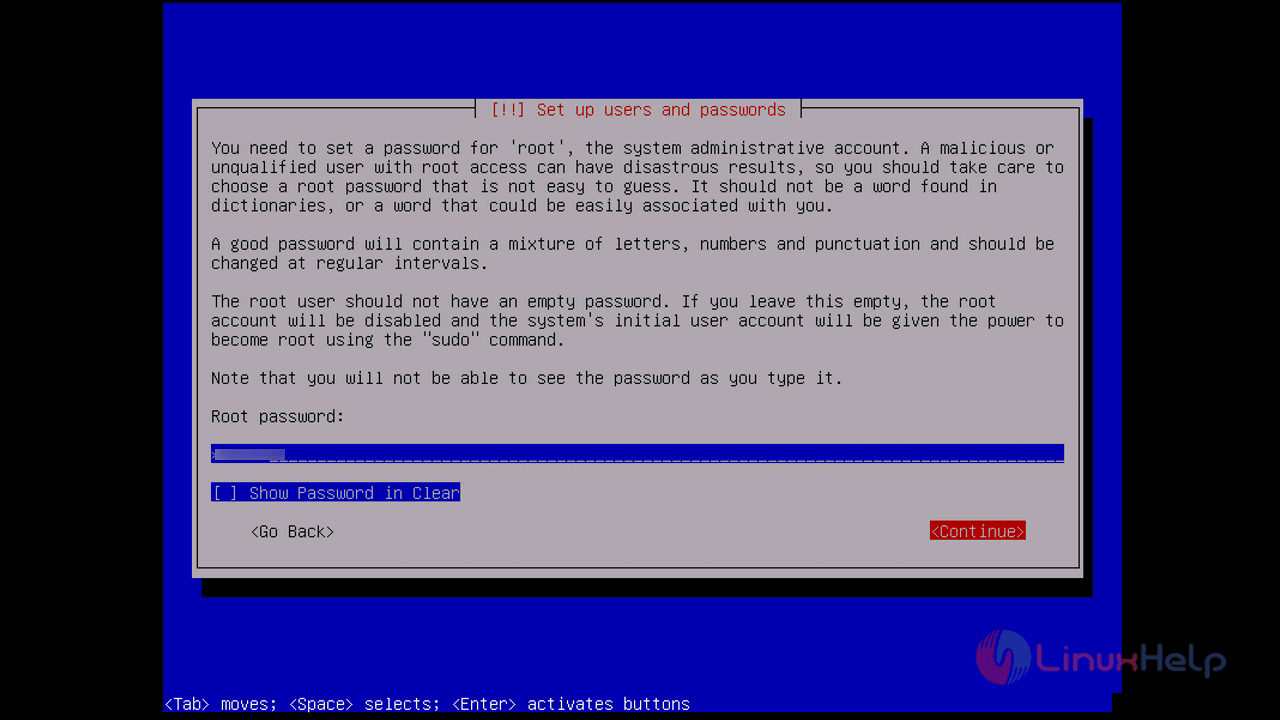
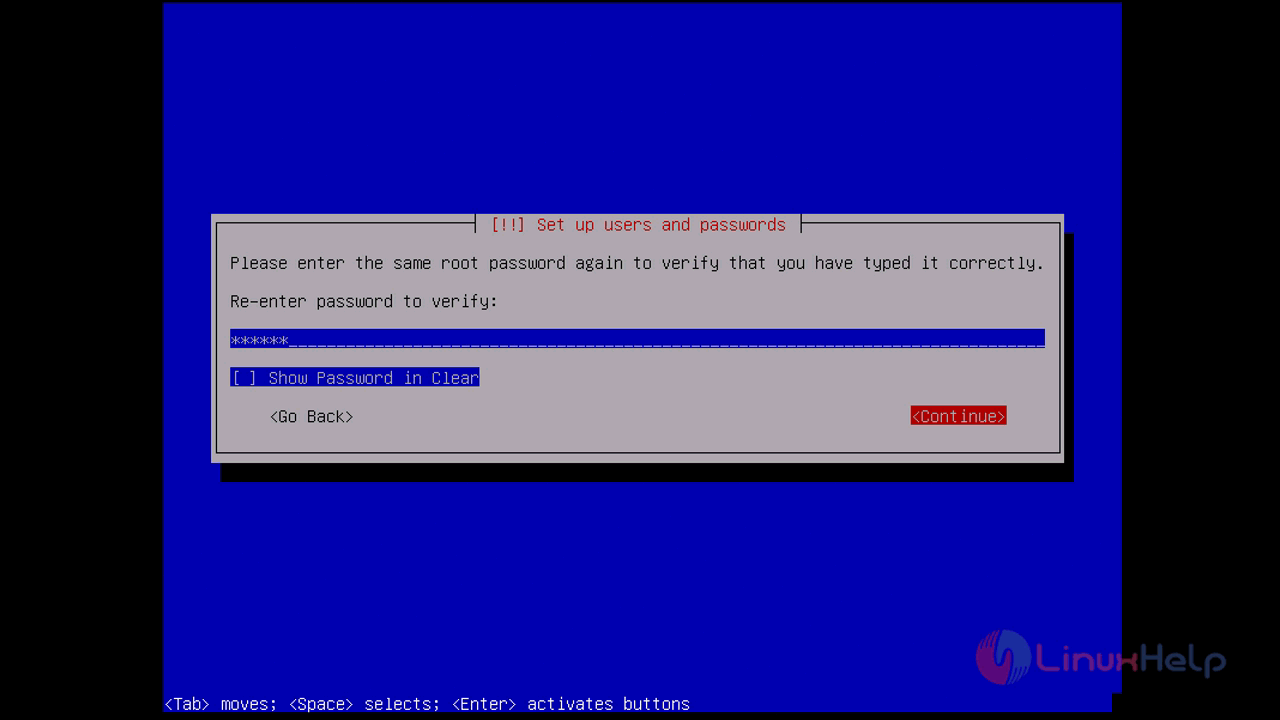
setup the root user password. you have to enter the password twice to verify and press continue
root_password
password
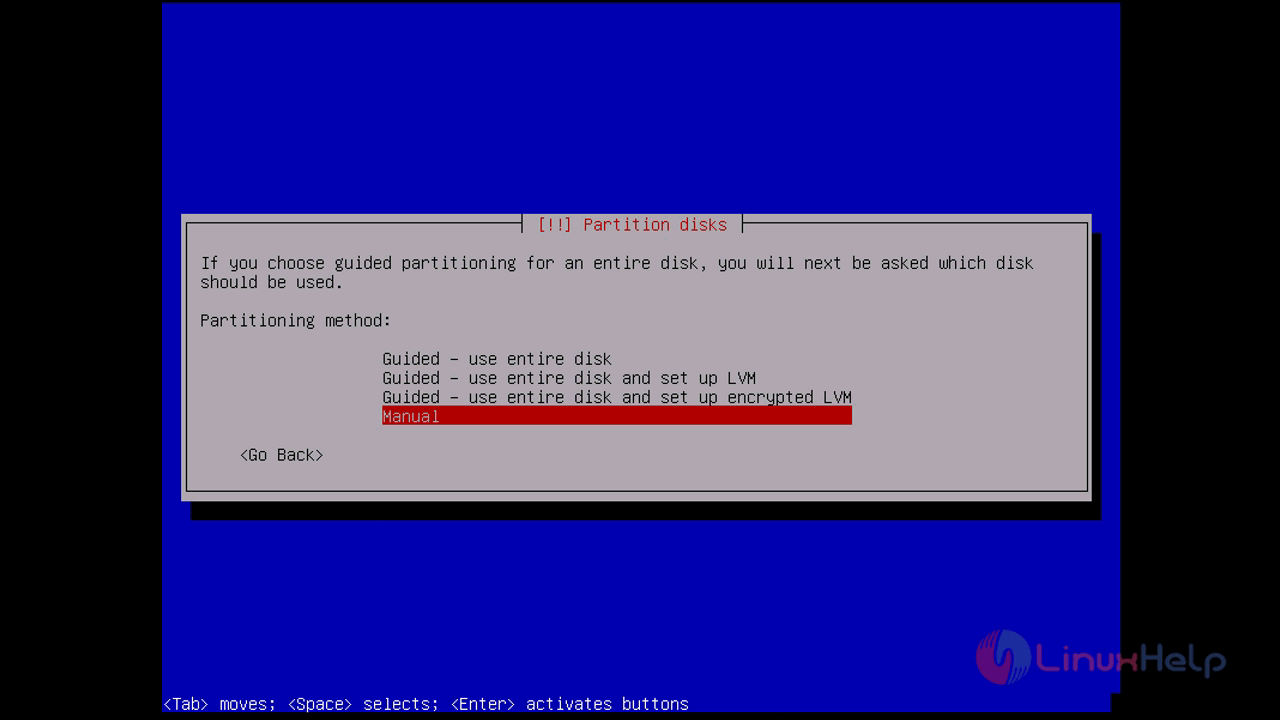
after configuring network you have to assign a partition of your server. here we gonna do a manual partitioning so choose manual partition

if you want to utilize full disk space you can choose to use entire disk, the partitioning will be assigned automatically
partition
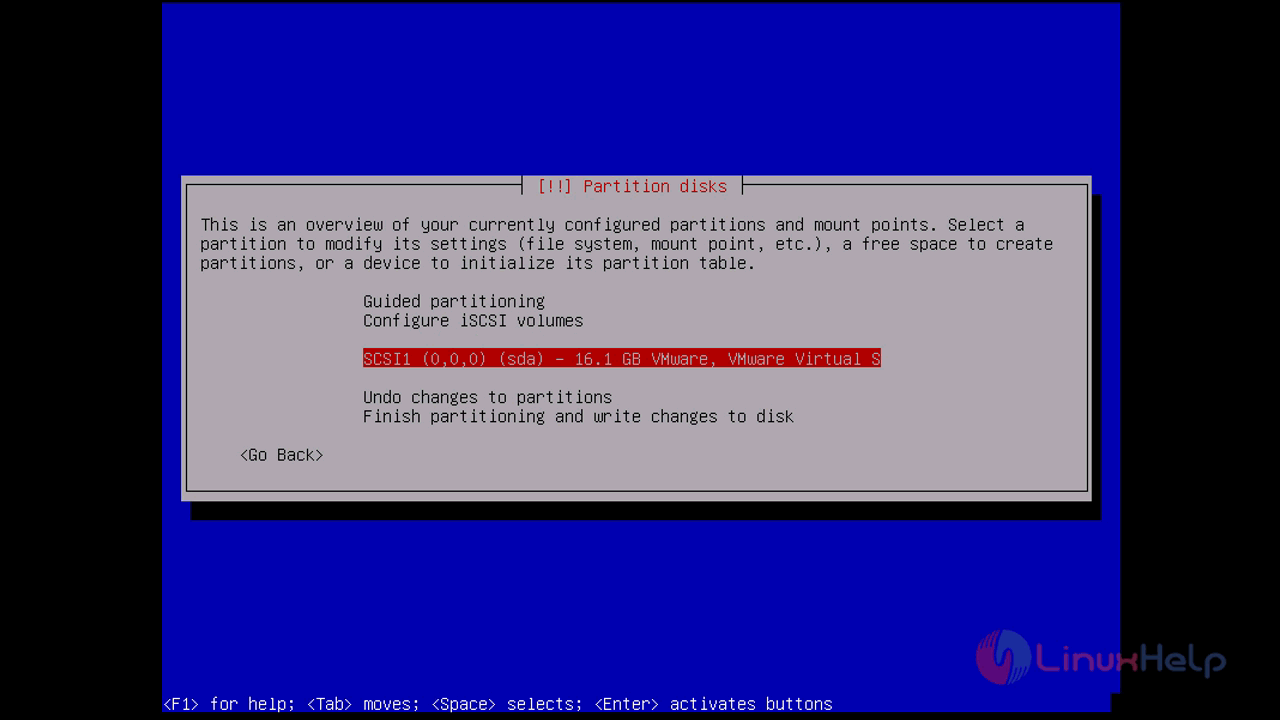
after choosing the manual partition you will see the following screen where you have to select device for a partition
mount_point
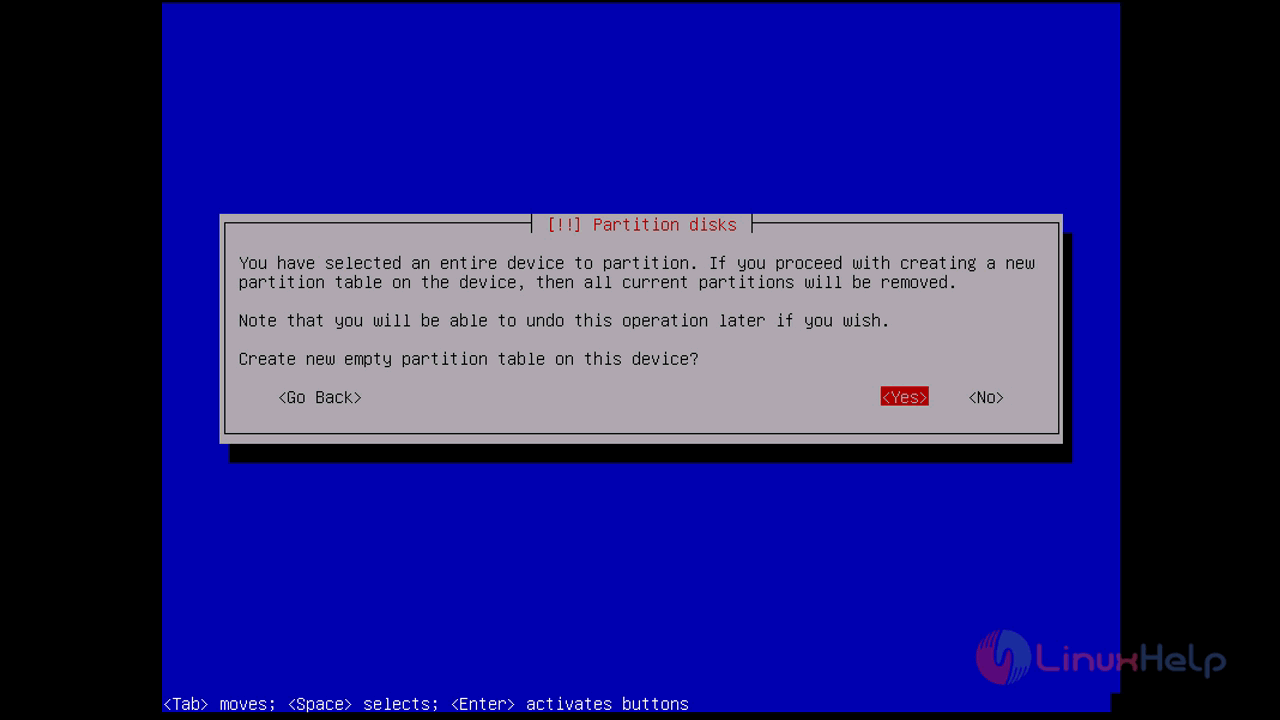
after choosing the device you have to confirm the device partition by pressing yes
free_space
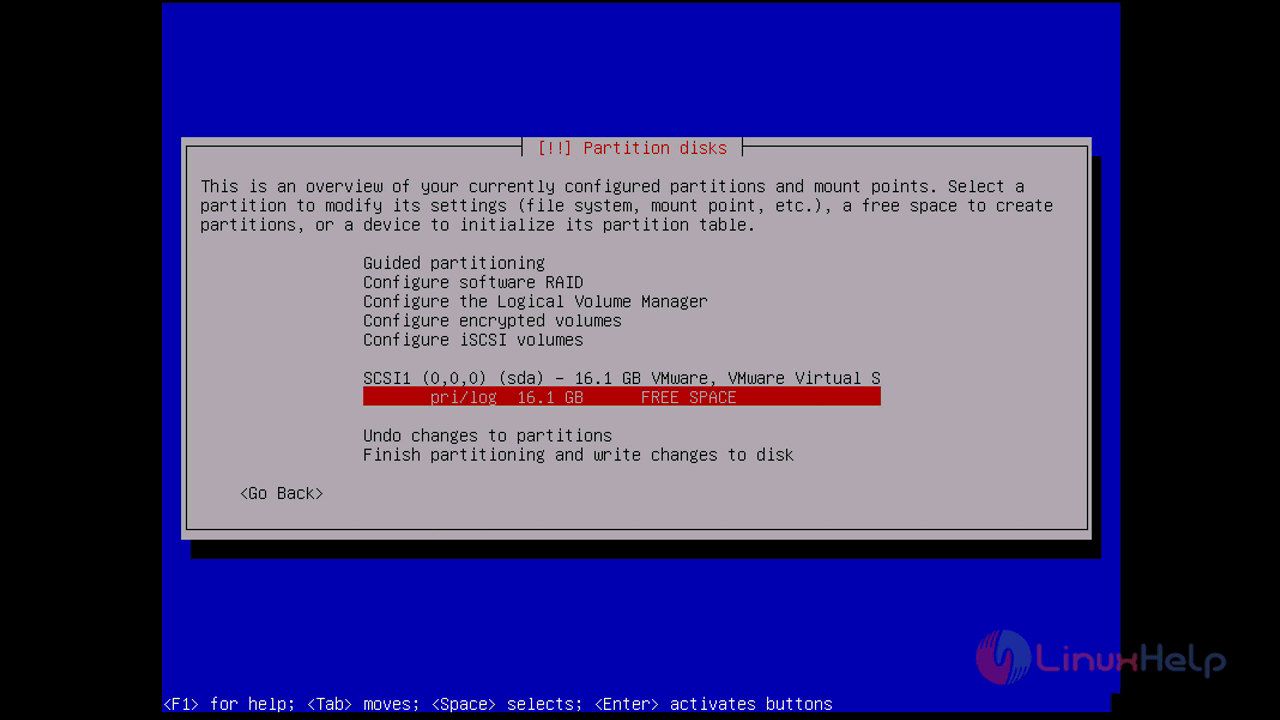
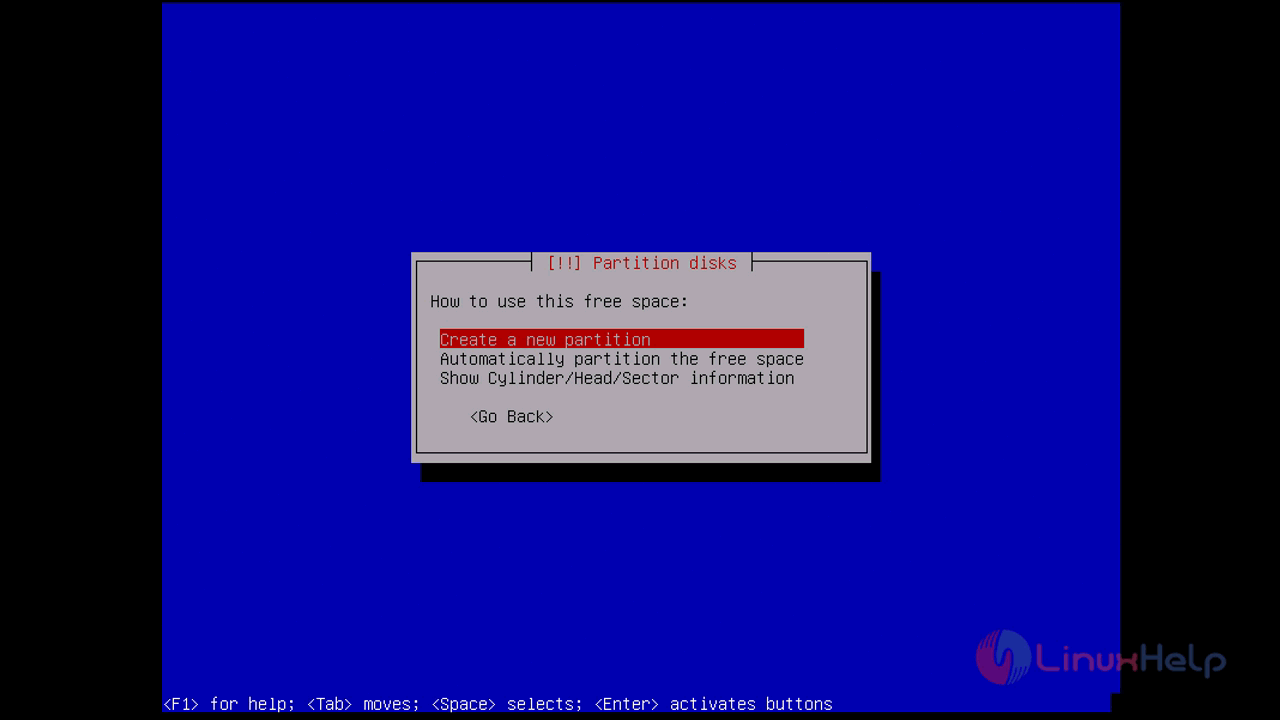
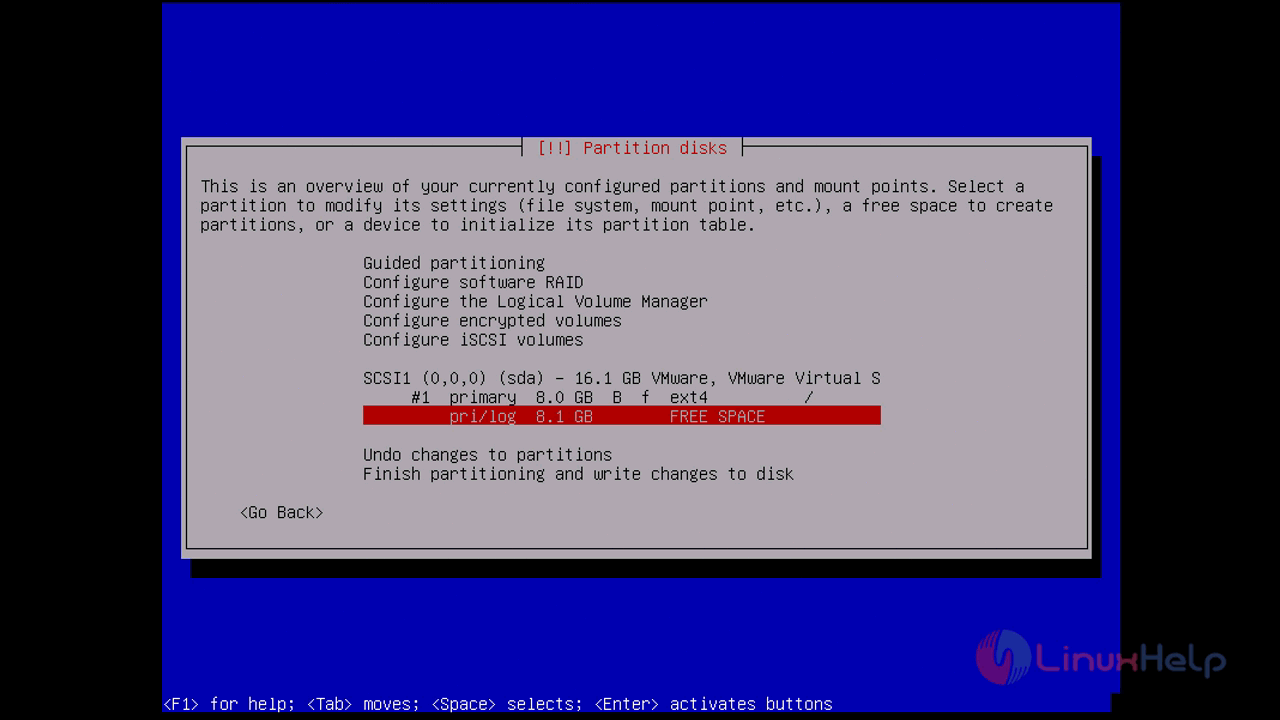
after that you will see the overview of currently configured partition and mount point so choose the free space for assigning new partition and mount point on the selected device
free_space_
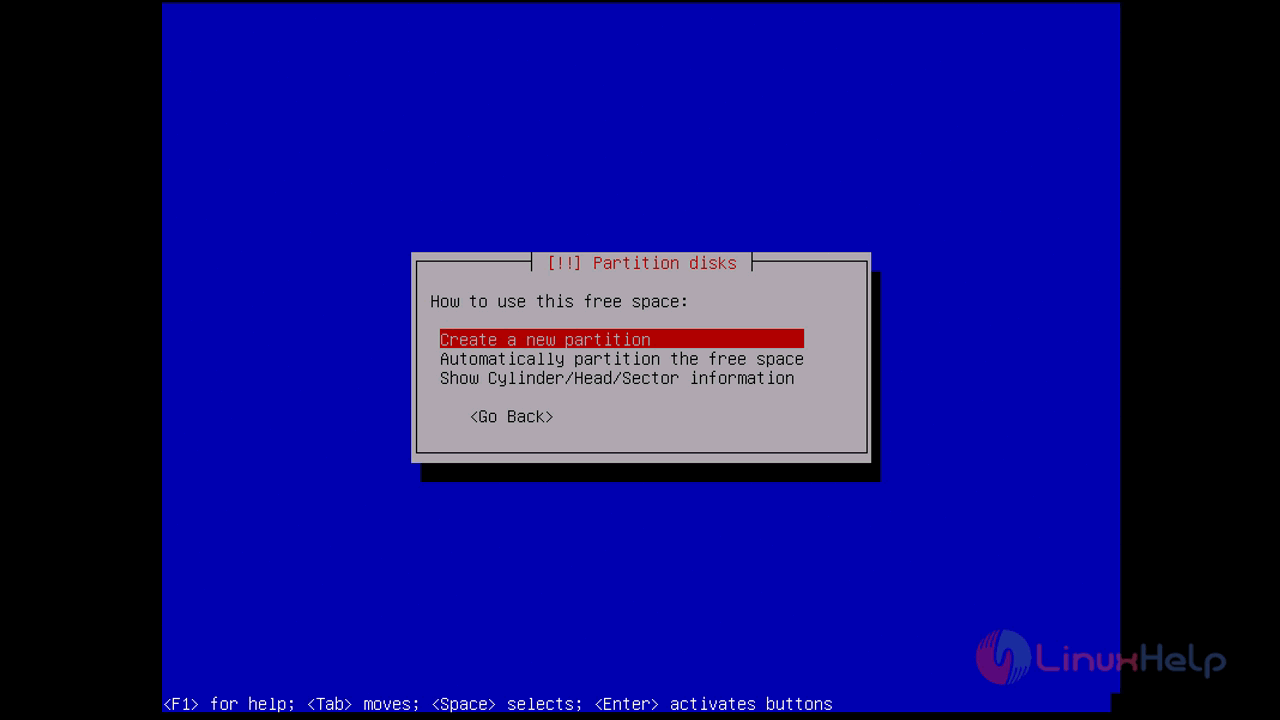
at next step, you have to choose to create a new partition and press enter to proceed further
new_partition
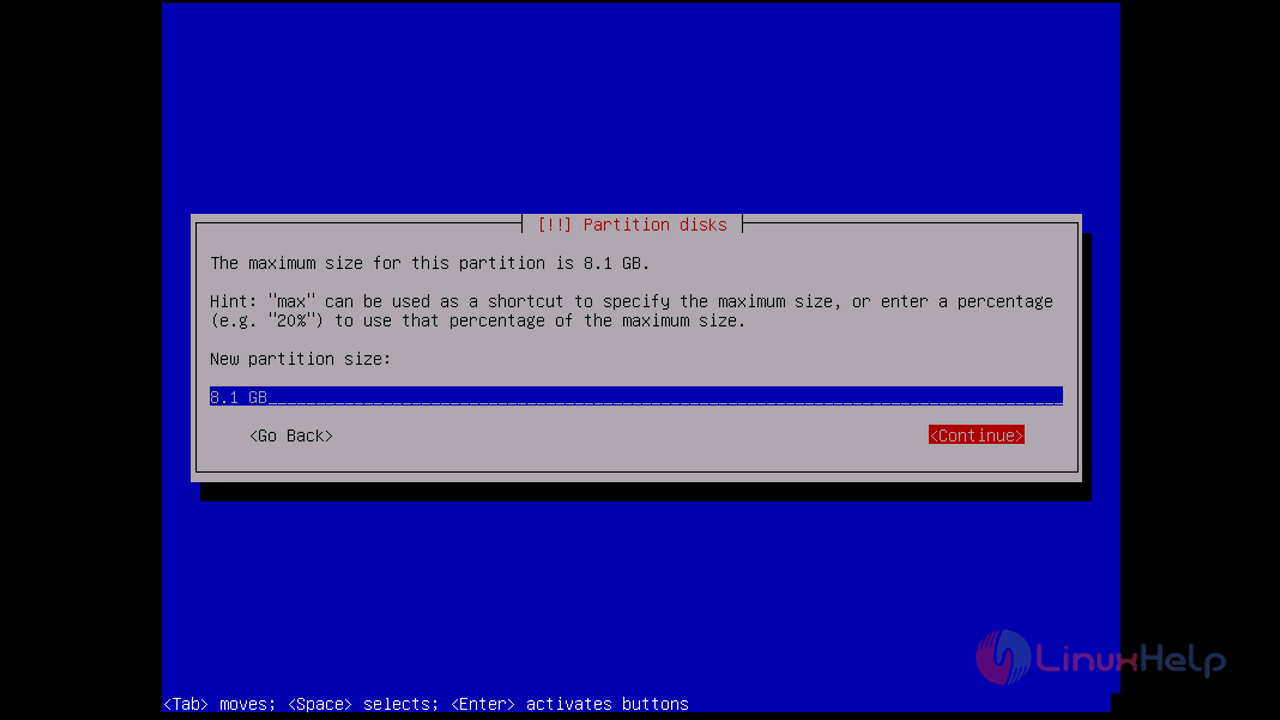
here we are going to allocate a new partition size from the available free space, after assigning a size, choose to continue
size_allocation
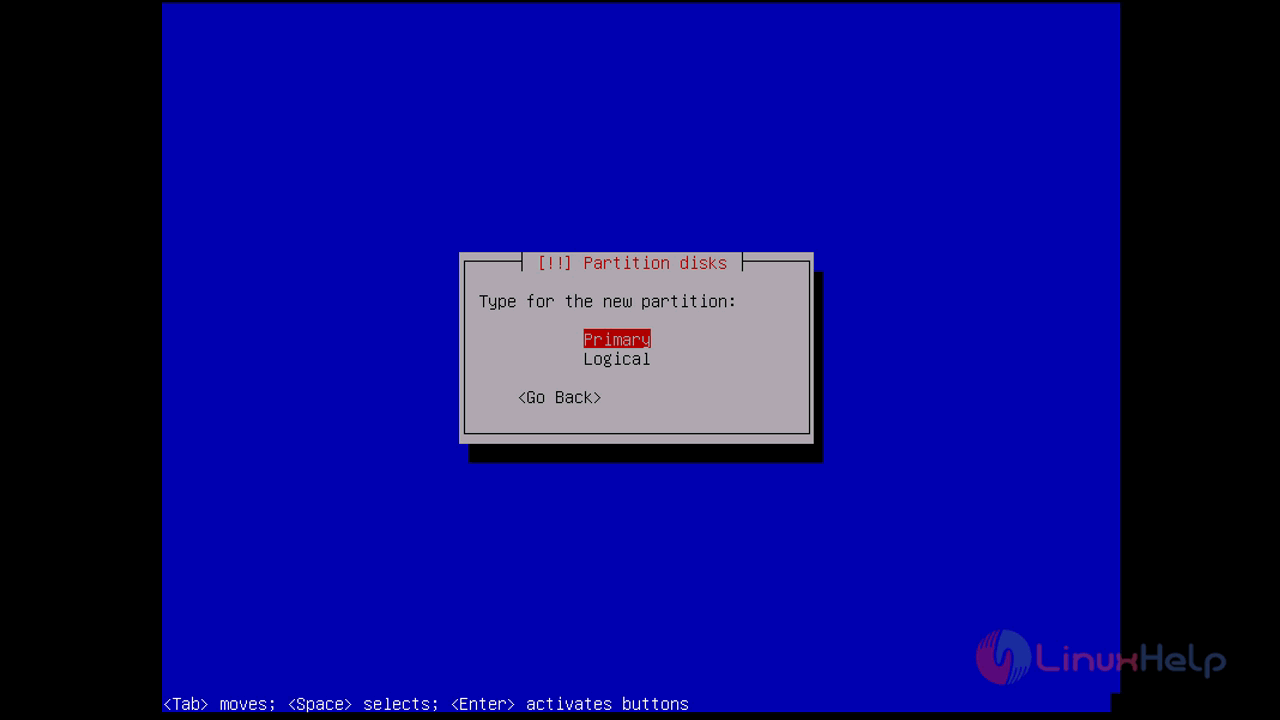
at next step, you have to choose the type of partition you are going to create. choose primary and press enter
primary_partition
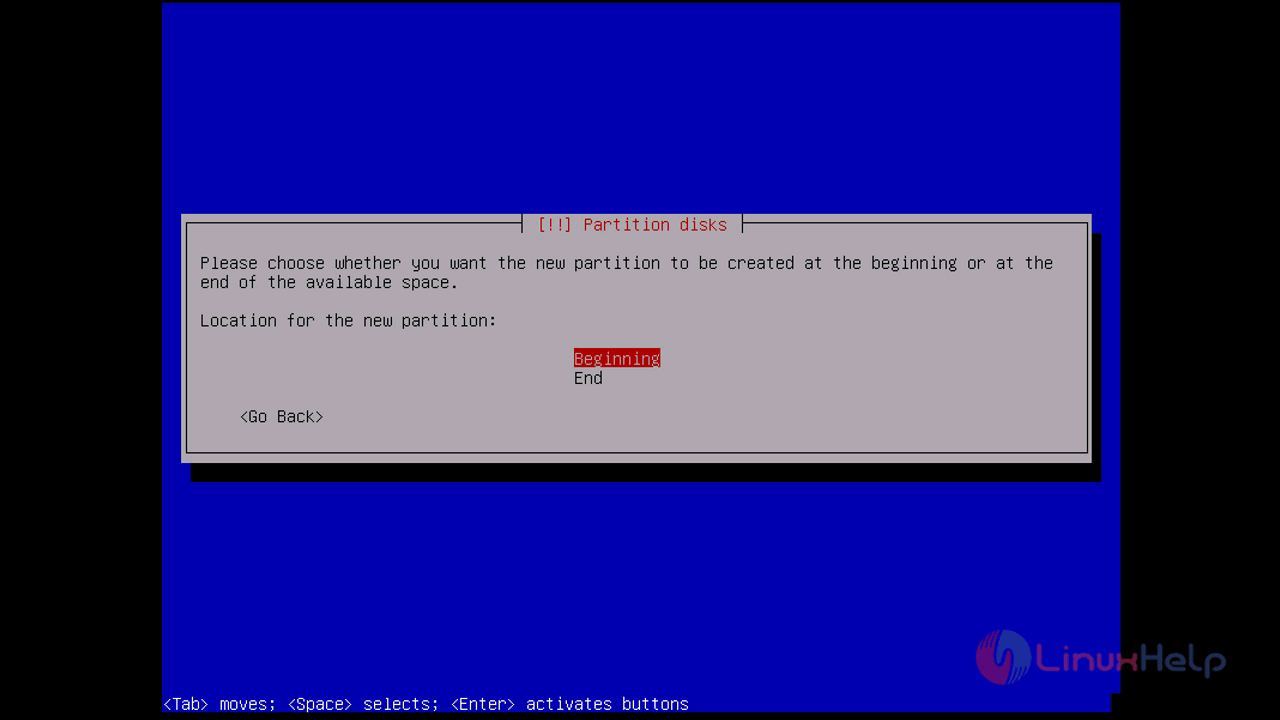
now choose where you want to create a partition at the available space so choose “ Beginning” and press enter
location
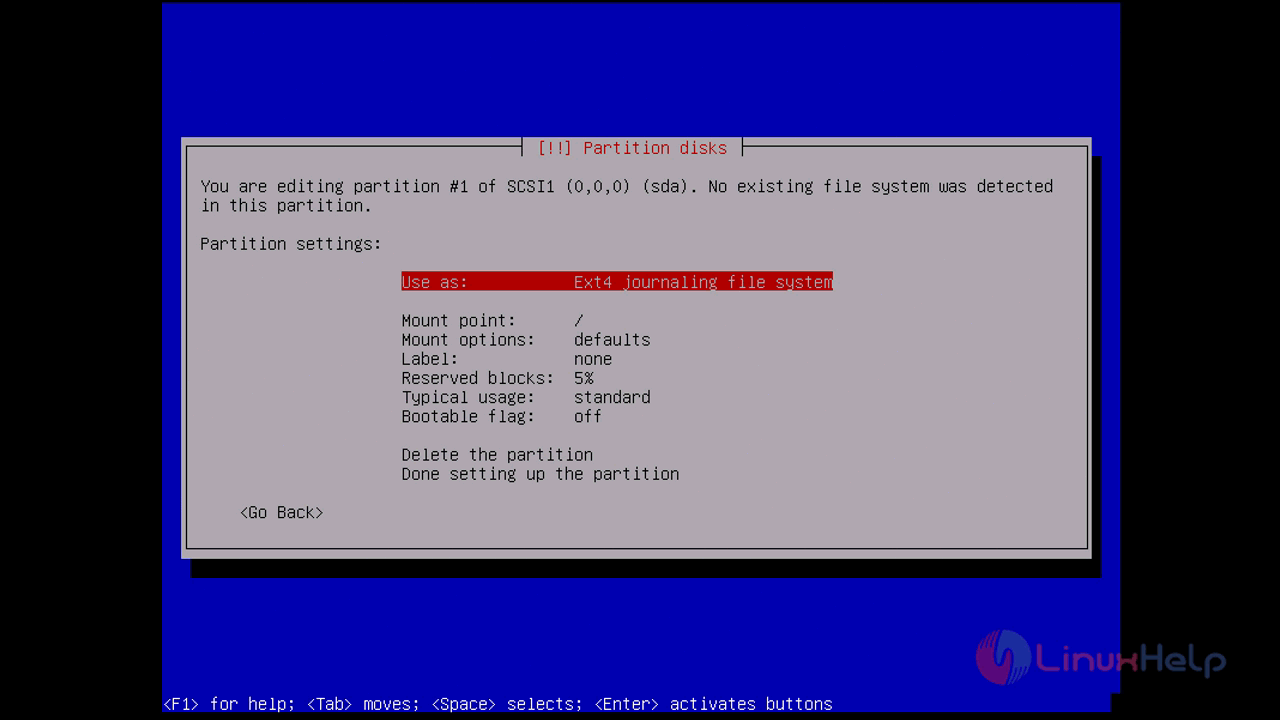
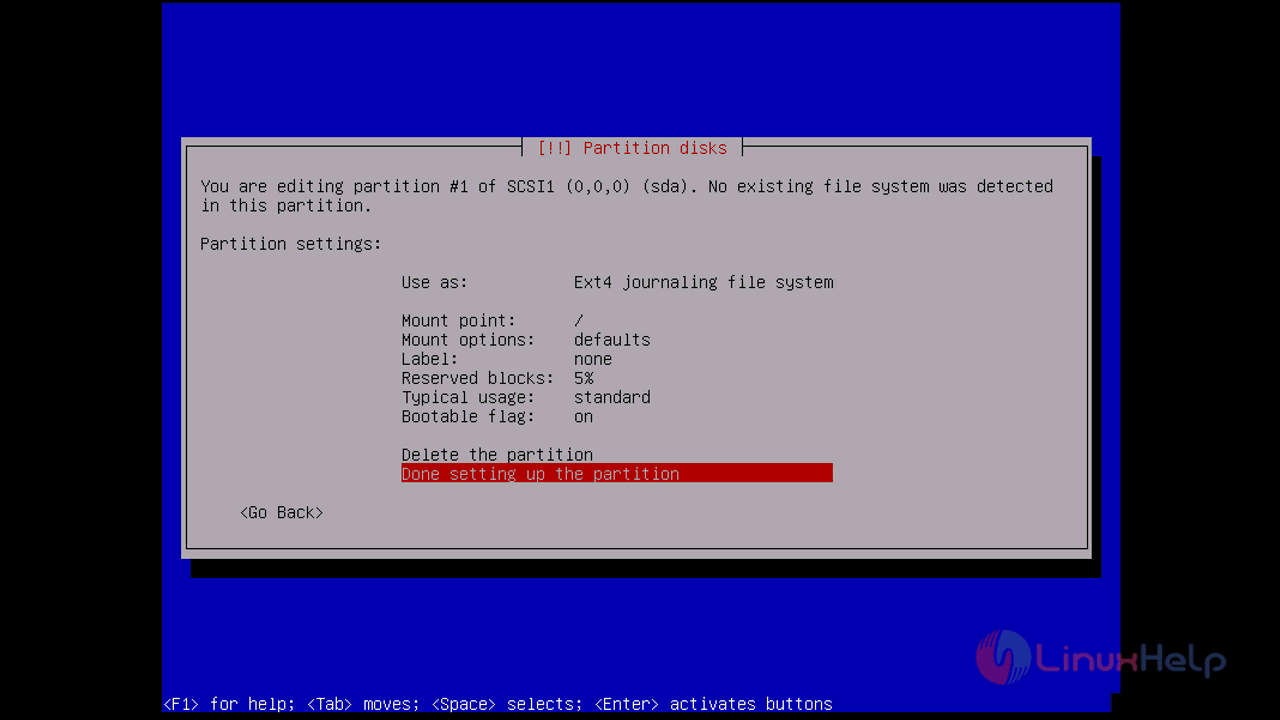
at next step, you need to choose the file system of the newly created partition so choose to use as EXT4 file system and select Done setting up partition
ext4
ext4_1
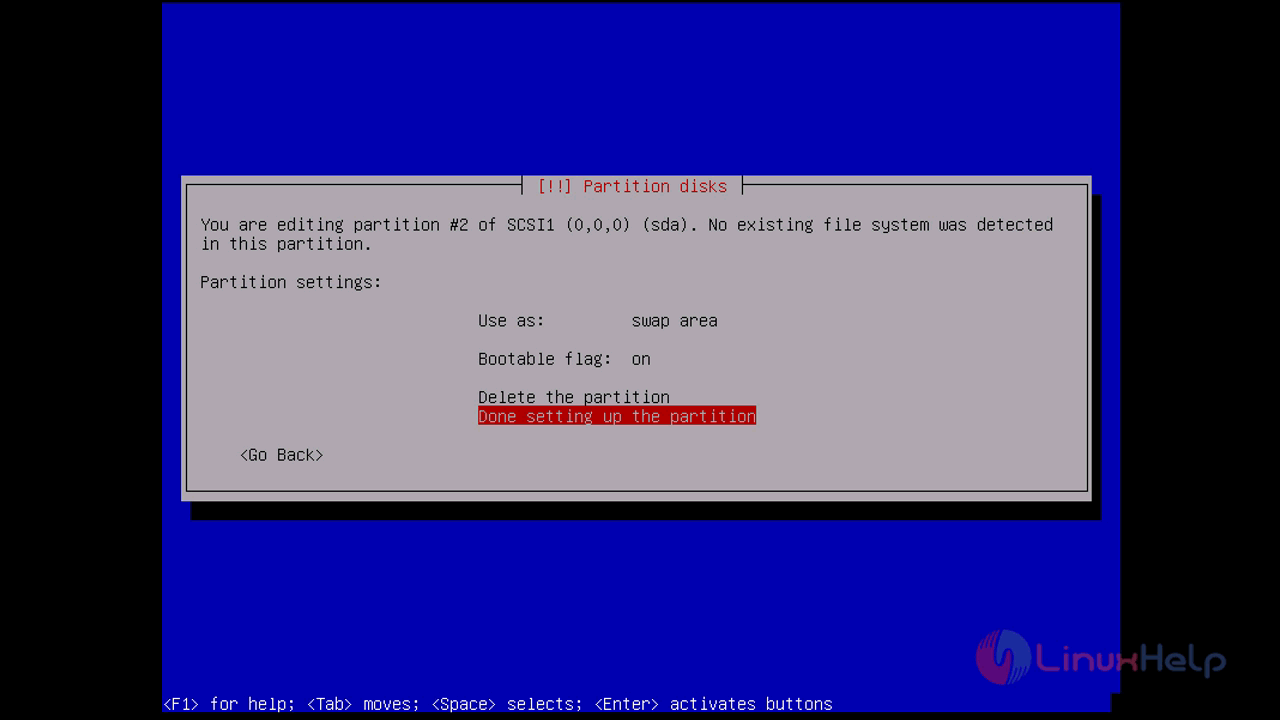
next, create a swap partion on the remaining space available at device
swap_partition
follow the same procedure which is used to create a ext file system
free_size_
choose_sapce
size_complete_
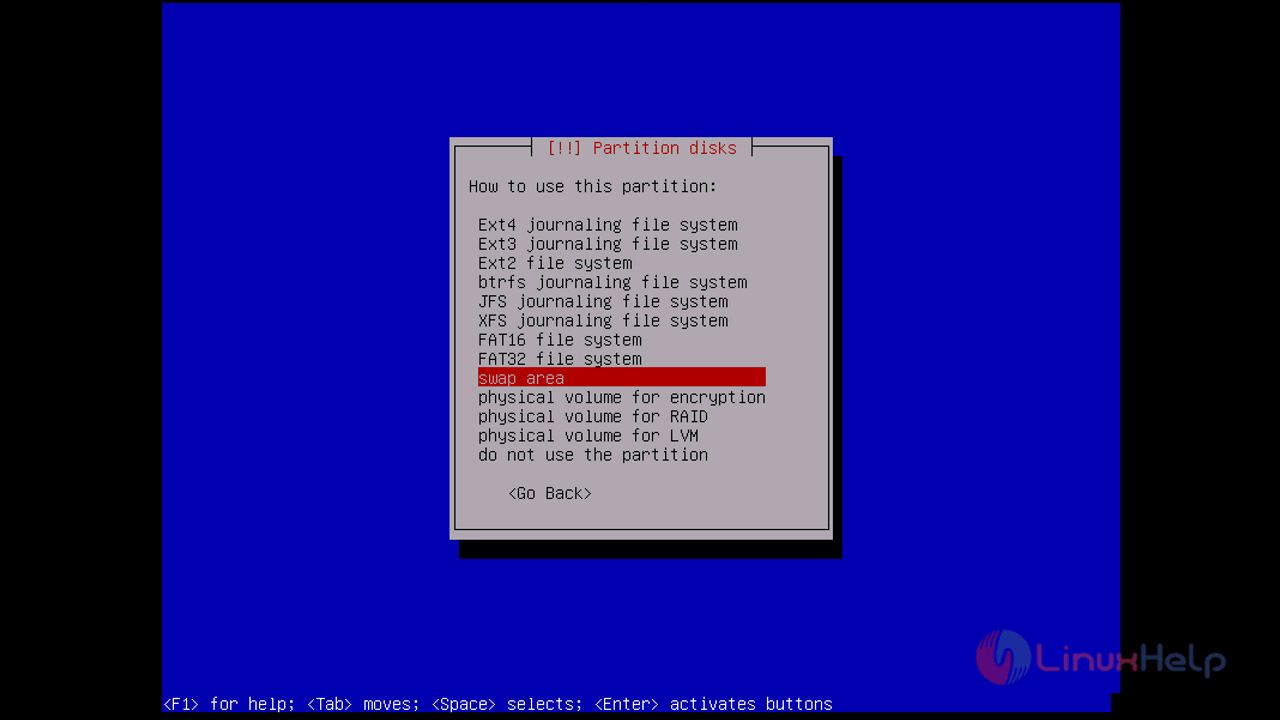
Choose the swap file system and select Done setting up the partition
choose_swap
swap_size_
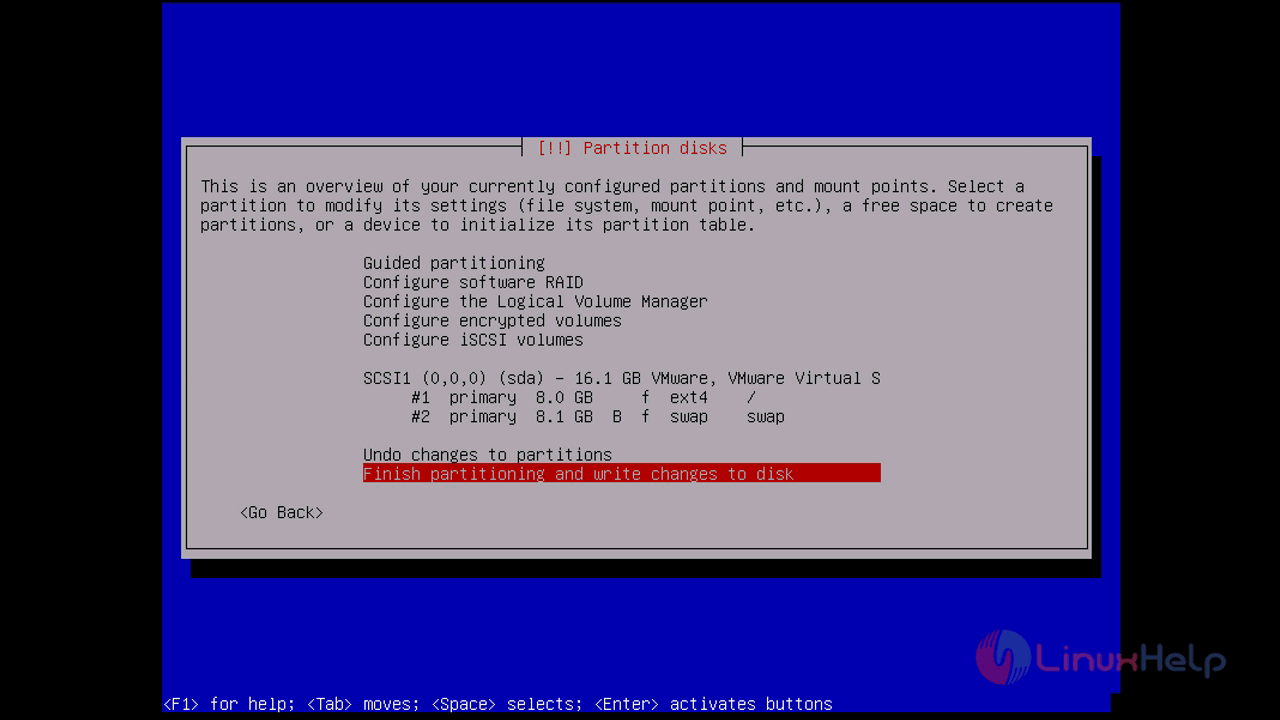
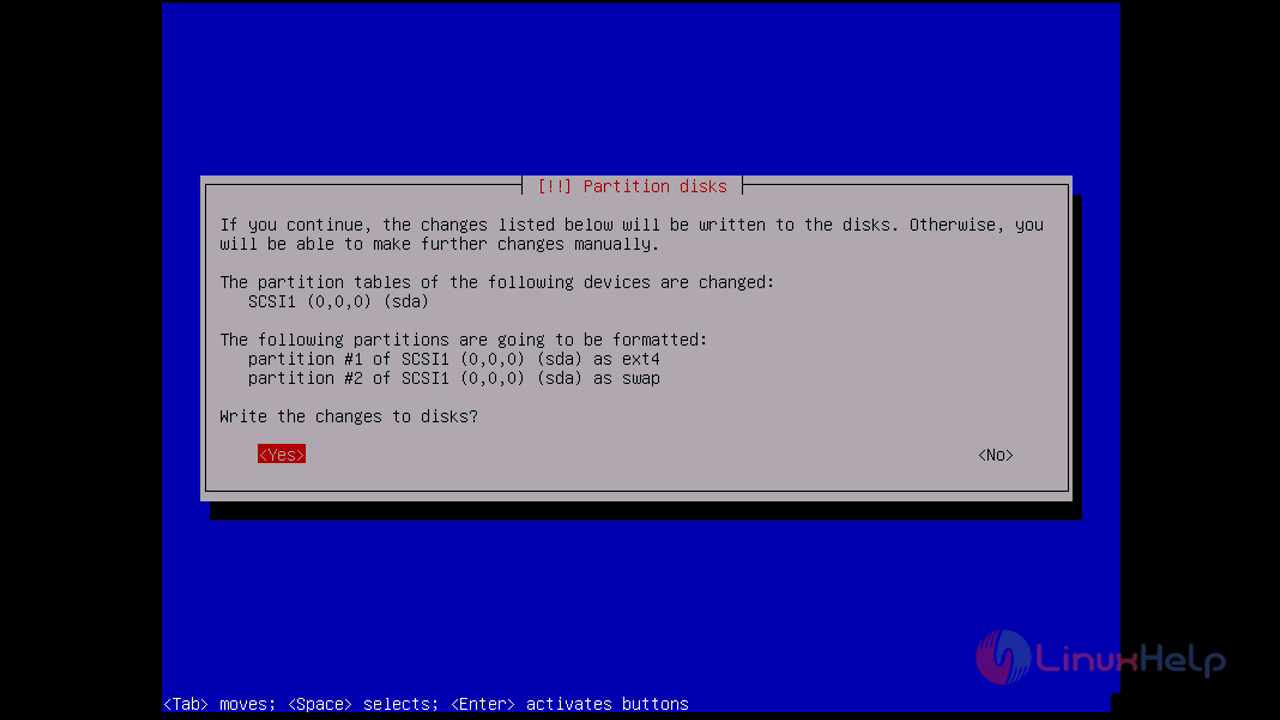
at the end choose Finish Partitioning and write changes to disk to finish the partitioning procedure
finish_partition


finish_partition
change_disk
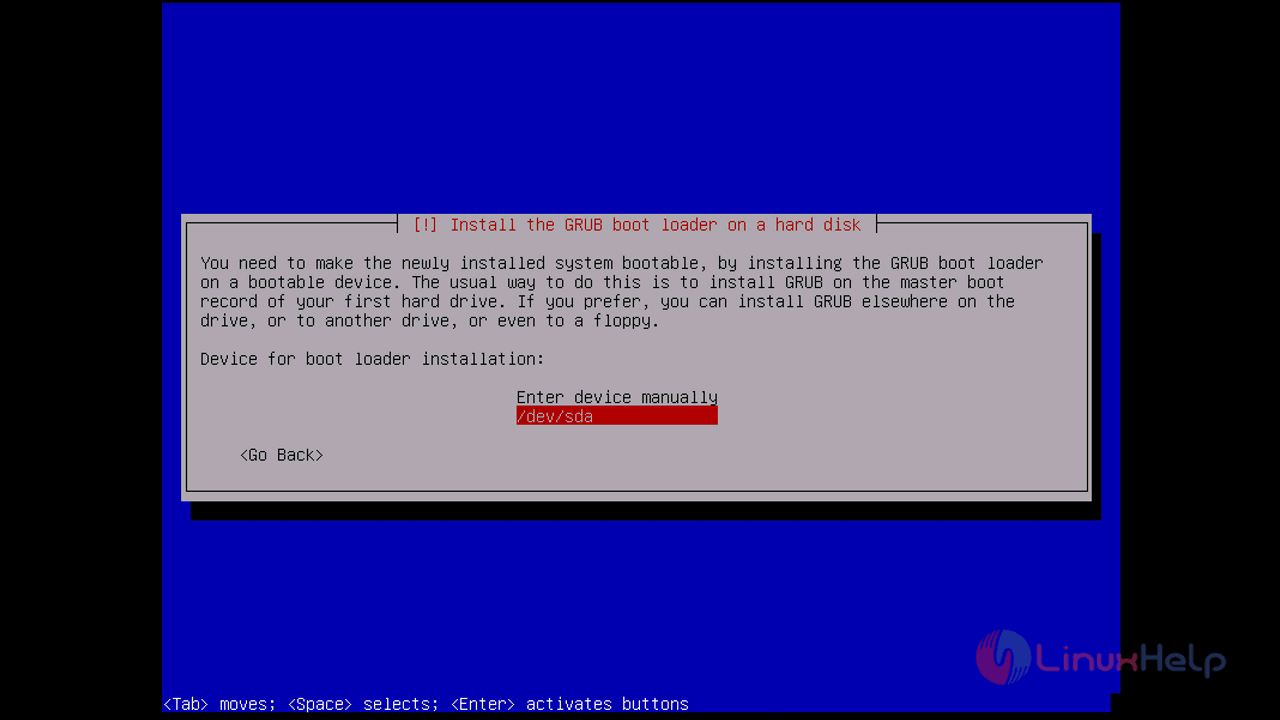
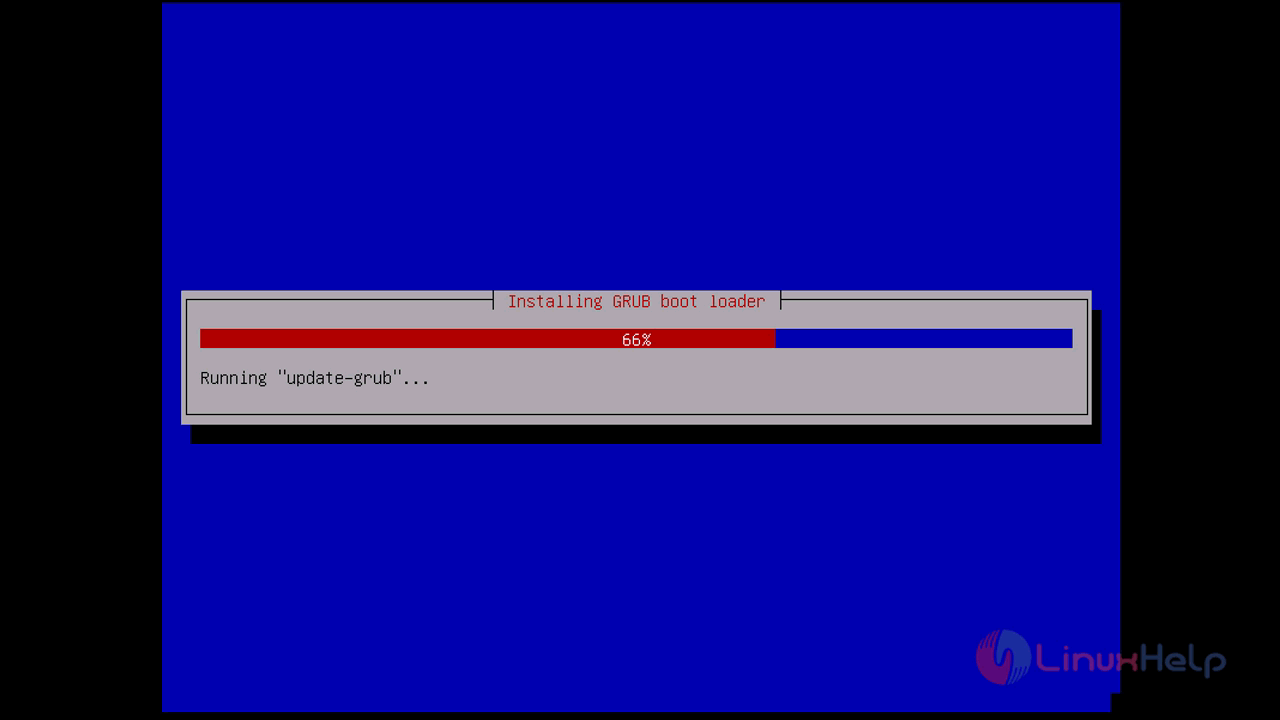
Next, we have to make the newly installed system bootable so we need to install grub boot loader on the bootable device by allocating a location to install it.
loader_installation
load_install
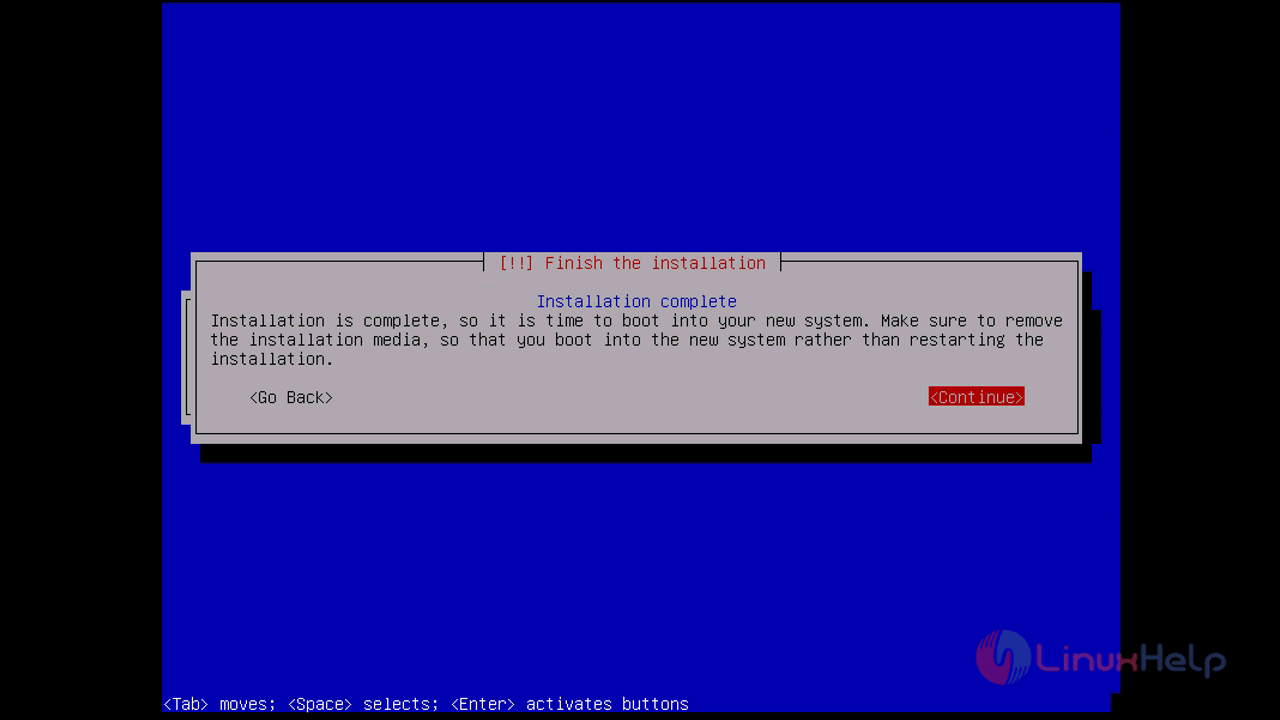
after the installation, a message will be displayed to show the installation complete status and you need to enter continue to reboot the device
complete_install
A login console on a minimal mode will appear, log in using the root password
login
login_screen

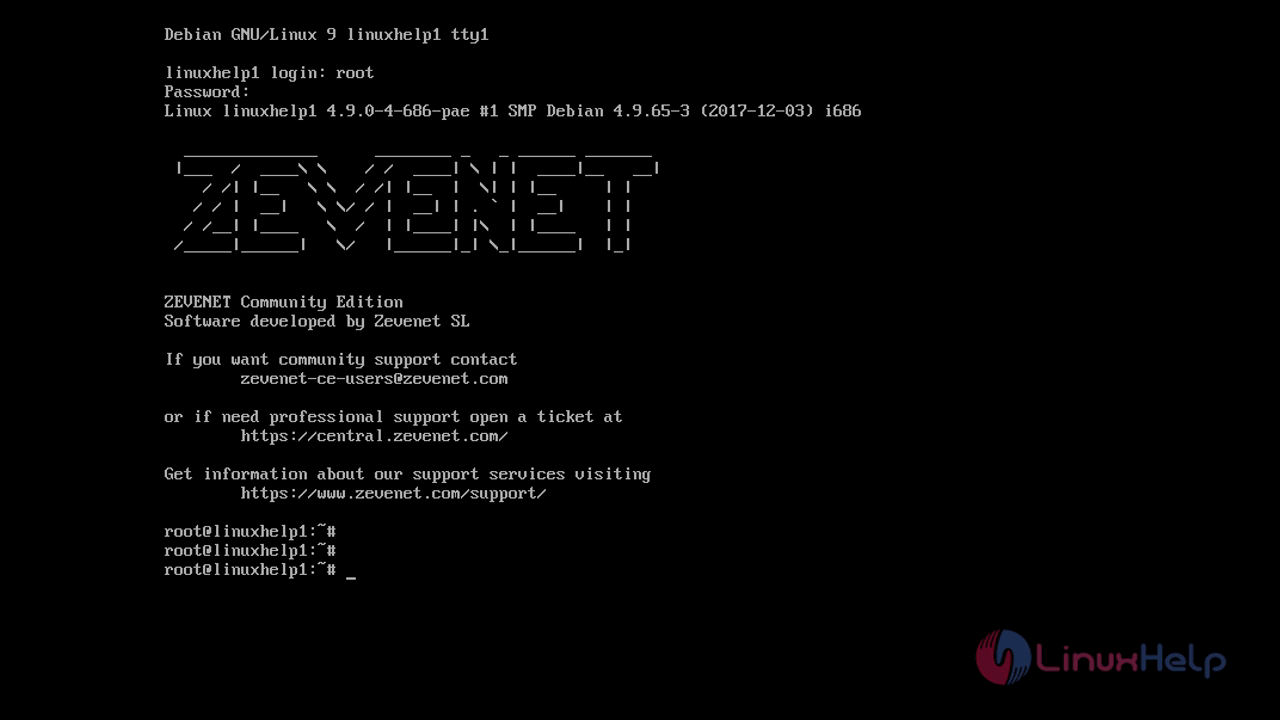
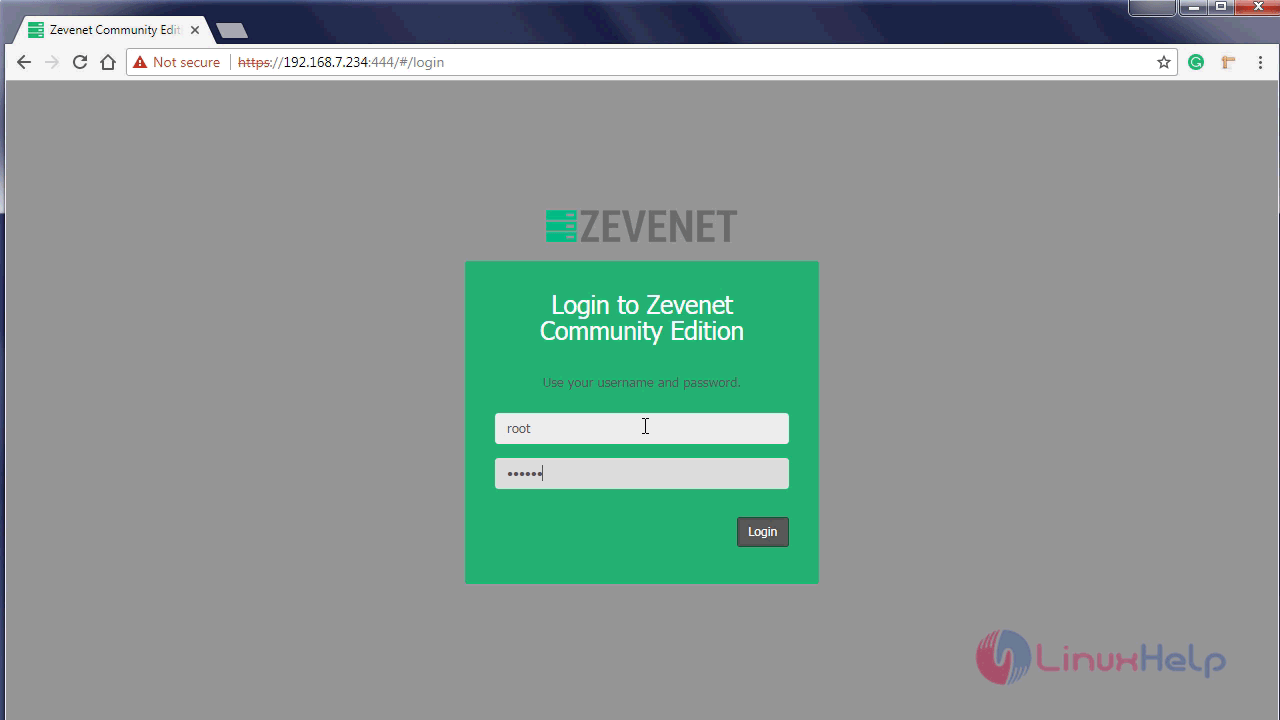
you are now successfully logged in to zevenet server. you can also take a control on browser using the following url https://ip-address:444 and login using the root user
browser_installation

A graphical dashboard of the zevenet will appear in the browser window
browser_output

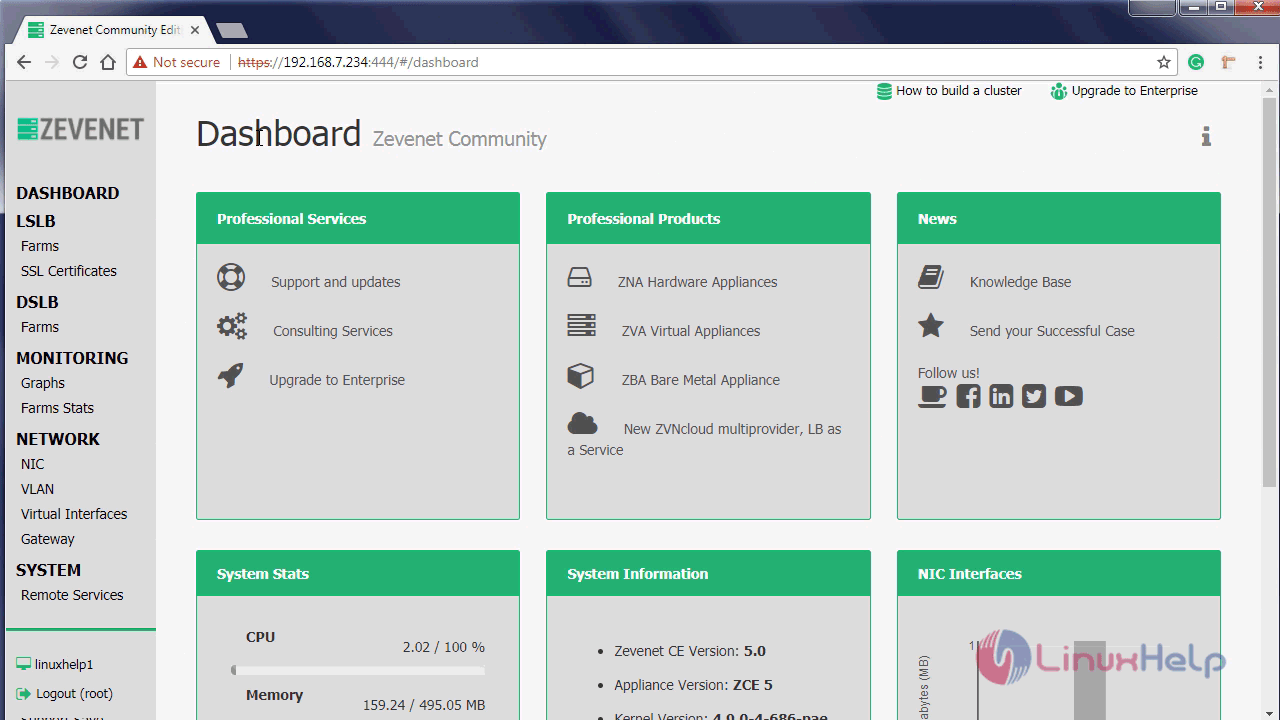
with this, the method to install zevenet, an open source load balancer will come to an end

Tags:
elijah
Author: 

Comments ( 0 )

No comments available

Add a comment

Frequently asked questions ( 5 )

Q

I have setup the community version (V4). I have 2 web servers with replicated content in zevenet.I am not really sure what this is asking me to do....does this mean the original CSR that I generated is irrelevant now?

A

Create a file which consists of the Private Key, followed by your certificate, followed by any intermediate certificates (certificate chain) down to the root cert. Just open them in a text editor and copy & paste to get this done as per the Zevenet example.

Q

Zen Load Balancer HTTPS to HTTPS

A

In ZEn Load Balancer v3.02 or less you can't configure a HTTPS farm with HTTPS backends, (not supported). If you need this support then use TCP or L4 farms, the entire communication will go through the load balancer in raw mode.

Q

what is the requirement for Zevenet?

A

You'll need at least 1,5 GB of storage.

Install a fresh and basic Debian Stretch (32 bits) system with openssh and the basic system tools package recommended during the distribution installation.

Configure the load balancer with a static IP address. ZEVENET Load Balancer doesn't support DHCP yet.

Configure the apt repositories in order to be able to install some dependencies.

Q

How to Install on Debian Stretch in Zevenet?

A

Once a fresh installation has been finished, reboot the system and login with root user. Execute the following commands in a shell terminal in order to install the git package and run the ZEVENET Load Balancer installer.

apt-get install git
cd /usr/local
git clone https://github.com/zevenet/zlb.git
cd /usr/local/zlb
./zlb-debian-installer.sh

Q

How to Updates Zevenet?

A

Currently, there is only available the installer for Debian Stretch.

The source code is able to be updated just updating the repository under the /usr/local/zlb directory.

git pull

Related Tutorials in How to install Zevenet an open source load balancing server

Related Tutorials in How to install Zevenet an open source load balancing server

How to Configure HAproxy Load Balancer with Keepalived in CentOS
Nov 21, 2016
How to Configure Load Balancer in Apache
Nov 18, 2016
How to install Zevenet an open source load balancing server
Jun 26, 2018
How to Configure Nginx Load Balancer in Ubuntu
Nov 19, 2016
How to setup Web server load balancing using POUND
Apr 8, 2016
How to stop the backup script and send an alert if the server loads higher on Oracle Linux 9.3
Mar 13, 2024
Back To Top!
Rank
User
Points

Top Contributers

userNamenaveelansari
135850

Top Contributers

userNameayanbhatti
92510

Top Contributers

userNamehamzaahmed
32150

Top Contributers

1
userNamelinuxhelp
31040

Top Contributers

userNamemuhammadali
24500
Can you help Isaac ?
How to run windows application in linux

I need to run the windows application in my Linux machine, instead of installing from yum repo or any other repos. How to do that..??

Networking
  • Routing
  • trunk
  • Netmask
  • Packet Capture
  • domain
  • HTTP Proxy
Server Setup
  • NFS
  • KVM
  • Memory
  • Sendmail
  • WebDAV
  • LXC
Shell Commands
  • Cloud commander
  • Command line archive tools
  • last command
  • Shell
  • terminal
  • Throttle
Desktop Application
  • Linux app
  • Pithos
  • Retrospect
  • Scribe
  • TortoiseHg
  • 4Images
Monitoring Tool
  • Monit
  • Apache Server Monitoring
  • EtherApe 
  • Arpwatch Tool
  • Auditd
  • Barman
Web Application
  • Nutch
  • Amazon VPC
  • FarmWarDeployer
  • Rukovoditel
  • Mirror site
  • Chef
Contact Us | Terms of Use| Privacy Policy| Disclaimer
© 2025 LinuxHelp.com All rights reserved. Linux™ is the registered trademark of Linus Torvalds. This site is not affiliated with linus torvalds in any way.