How to install Wordpress with FAMP stack in FreeBSD
To Install WordPress with FAMP on FreeBSD
WordPress is a widely used open source CMS software which is supported by PHP and MySQL. Wordpress makes creating and maintaining a website or a blog an easy task for even a person with non programming background. In this article, you' ll be briefed about the installation procedure of WordPress by utilizing FAMP on FreeBSD.
To Install and configure FAMP
First procedure is to install the FAMP stack. Initiate the FAMP installation by installing Apache server as follows.
root@linuxhelp:~ # pkg install apache24

Updating FreeBSD repository catalogue...
Fetching meta.txz: 100% 944 B 0.9kB/s 00:01
Fetching packagesite.txz: 100% 6 MiB 275.0kB/s 00:21
Processing entries: 100%
FreeBSD repository update completed. 25377 packages processed.
Updating database digests format: 100%
New version of pkg detected  it needs to be installed first.
The following 1 package(s) will be affected (of 0 checked):
.
.
.
.
!!!!!!!!!!!!!!!!!!!!!!!!!!!!!!!!!!!!!!!!!!!!!!!!!!!!!!!!!!!!!!!!!

- apache24 default build changed from static MPM to modular MPM
- more modules are now enabled per default in the port
- icons and error pages moved from WWWDIR to DATADIR

If build with modular MPM and no MPM is activated in
httpd.conf, then mpm_prefork will be activated as default
MPM in etc/apache24/modules.d to keep compatibility with
existing php/perl/python modules!

Please compare the existing httpd.conf with httpd.conf.sample
and merge missing modules/instructions into httpd.conf!

!!!!!!!!!!!!!!!!!!!!!!!!!!!!!!!!!!!!!!!!!!!!!!!!!!!!!!!!!!!!!!!!!
Once Apache installation is completed, install MySQL by invoking the following command.
root@linuxhelp:~ # pkg install mysql56-server
Updating FreeBSD repository catalogue...
FreeBSD repository is up-to-date.
All repositories are up-to-date.
The following 2 package(s) will be affected (of 0 checked):

New packages to be INSTALLED:
mysql56-server: 5.6.33
mysql56-client: 5.6.33

.
.
.
* * * * * * * * * * * * * * * * * * * * * * * *
Message from mysql56-server-5.6.33:
************************************************************************

Remember to run mysql_upgrade the first time you start the MySQL server
after an upgrade from an earlier version.

************************************************************************
After installing MySQL, enable both Apache and MySQL services by triggering the following command.
root@linuxhelp:~ # sysrc apache24_enable=yes mysql_enable=yes
apache24_enable: ->  yes
mysql_enable: ->  yes
Now use the following command to start Apache service.
root@linuxhelp:~ # service apache24 start
Performing sanity check on apache24 configuration:
Syntax OK
Starting apache24.
Once you' re done with Apache, start MySQL service by using the following command.
root@linuxhelp:~ # service mysql-server start
Starting mysql.
After starting MySQL service, run mysql_secure_installation command to configure it as follows.
root@linuxhelp:~ # mysql_secure_installation

NOTE: RUNNING ALL PARTS OF THIS SCRIPT IS RECOMMENDED FOR ALL MySQL
SERVERS IN PRODUCTION USE! PLEASE READ EACH STEP CAREFULLY!

In order to log into MySQL to secure it, we' ll need the current
password for the root user. If you' ve just installed MySQL, and
you haven' t set the root password yet, the password will be blank,
so you should just press enter here.

Enter current password for root (enter for none):
OK, successfully used password, moving on...

Setting the root password ensures that nobody can log into the MySQL
root user without the proper authorisation.

Set root password? [Y/n] y
New password:
Re-enter new password:
Password updated successfully!
Reloading privilege tables..
... Success!

By default, a MySQL installation has an anonymous user, allowing anyone
to log into MySQL without having to have a user account created for
them. This is intended only for testing, and to make the installation
go a bit smoother. You should remove them before moving into a
production environment.

Remove anonymous users? [Y/n] y
... Success!

Normally, root should only be allowed to connect from ' localhost' . This
ensures that someone cannot guess at the root password from the network.

Disallow root login remotely? [Y/n] y
... Success!

By default, MySQL comes with a database named ' test'  that anyone can
access. This is also intended only for testing, and should be removed
before moving into a production environment.

Remove test database and access to it? [Y/n] y
- Dropping test database...
... Success!
- Removing privileges on test database...
... Success!

Reloading the privilege tables will ensure that all changes made so far
will take effect immediately.

Reload privilege tables now? [Y/n] y
... Success!

All done! If you' ve completed all of the above steps, your MySQL
installation should now be secure.

Thanks for using MySQL!

Cleaning up...
After configuring MySQL, log into it with root user and create a database for WordPress in it.
root@linuxhelp:~ # mysql -u root -p
Enter password:
Welcome to the MySQL monitor. Commands end with   or g.
Your MySQL connection id is 12
Server version: 5.6.33 Source distribution

Copyright (c) 2000, 2016, Oracle and/or its affiliates. All rights reserved.

Oracle is a registered trademark of Oracle Corporation and/or its
affiliates. Other names may be trademarks of their respective
owners.

Type ' help '  or ' h'  for help. Type ' c'  to clear the current input statement.

mysql>  CREATE DATABASE wordpressdb
Query OK, 1 row affected (0.01 sec)

mysql>  exit
Bye
The next step is to install PHP and its dependencies. Run the following command for the same.
root@linuxhelp:~ # pkg install mod_php70 php70-mysqli php70-xml php70-hash php70-gd php70-curl php70-tokenizer php70-zlib php70-zip
Updating FreeBSD repository catalogue...
FreeBSD repository is up-to-date.
All repositories are up-to-date.
.
.
.
[12/12] Extracting php70-zip-7.0.12: 100%
Message from mod_php70-7.0.12:
***************************************************************
Make sure index.php is part of your DirectoryIndex.
You should add the following to your Apache configuration file:
< FilesMatch " .php$" >
SetHandler application/x-httpd-php
< /FilesMatch>
< FilesMatch " .phps$" >
SetHandler application/x-httpd-php-source
< /FilesMatch>

***************************************************************
Message from php70-mysqli-7.0.12:
****************************************************************************
The following line has been added to your /usr/local/etc/php/ext-20-mysqli.ini
configuration file to automatically load the installed extension:
extension=mysqli.so
****************************************************************************
Message from php70-xml-7.0.12:
****************************************************************************
The following line has been added to your /usr/local/etc/php/ext-20-xml.ini
configuration file to automatically load the installed extension:
extension=xml.so
****************************************************************************
Message from php70-hash-7.0.12:
****************************************************************************

The following line has been added to your /usr/local/etc/php/ext-20-hash.ini
configuration file to automatically load the installed extension:

extension=hash.so
****************************************************************************
Message from php70-gd-7.0.12:
****************************************************************************
The following line has been added to your /usr/local/etc/php/ext-20-gd.ini
configuration file to automatically load the installed extension:
extension=gd.so
****************************************************************************
Message from php70-curl-7.0.12:
****************************************************************************
The following line has been added to your /usr/local/etc/php/ext-20-curl.ini
configuration file to automatically load the installed extension:
extension=curl.so
****************************************************************************
Message from php70-tokenizer-7.0.12:
****************************************************************************
The following line has been added to your /usr/local/etc/php/ext-20-tokenizer.ini
configuration file to automatically load the installed extension:
extension=tokenizer.so
****************************************************************************
Message from php70-zlib-7.0.12:
****************************************************************************
The following line has been added to your /usr/local/etc/php/ext-20-zlib.ini
configuration file to automatically load the installed extension:
extension=zlib.so
****************************************************************************
Message from php70-zip-7.0.12:
****************************************************************************
The following line has been added to your /usr/local/etc/php/ext-20-zip.ini
configuration file to automatically load the installed extension:
extension=zip.so
****************************************************************************
Copy the php.ini-production file to php.ini by triggering the following command.
You can also rename php.ini-production to php.ini instead of copying.
root@linuxhelp:~ # cp /usr/local/etc/php.ini-production /usr/local/etc/php.ini
Once you' ve renamed the file, run rehash command to reload the PHP settings.
root@linuxhelp:~ # rehash
After renaming, create php.conf file and modify it as follows.
root@linuxhelp:~ # nano /usr/local/etc/apache24/Includes/php.conf

< IfModule dir_module>
DirectoryIndex index.php index.html
< FilesMatch " .php$" >
SetHandler application/x-httpd-php
< /FilesMatch>
< FilesMatch " .phps$" >
SetHandler application/x-httpd-php-source
< /FilesMatch>
< /IfModule>
Once you' ve configured the php.conf file, restart the Apache service with the following command.
root@linuxhelp:~ # service apache24 restart
Performing sanity check on apache24 configuration:
Syntax OK
Stopping apache24.
Waiting for PIDS: 1047.
Performing sanity check on apache24 configuration:
Syntax OK
Starting apache24.
Once Apache service is restarted, move to /tmp/ directory by invoking the following command.
root@linuxhelp:~ # cd /tmp/
To install WordPress
First run the fetch command to download the latest WordPress package.
root@linuxhelp:/tmp # fetch http://wordpress.org/latest.tar.gz
latest.tar.gz 100% of 7774 kB 173 kBps 00m45s
After downloading, extract the tar file with the following command.
root@linuxhelp:/tmp # tar xvf latest.tar.gz
Now goto the wordpress directory to make changes as follows.
root@linuxhelp:/tmp # cd wordpress/
root@linuxhelp:/tmp/wordpress # rm -rf /usr/local/www/apache24/data/index.html
Once the required changes are made, copy the files from /tmp/wordpress/ directory to /usr/local/www/apache24/data/
root@linuxhelp:/tmp/wordpress # cp -pr /tmp/wordpress/* /usr/local/www/apache24/data/
Now modify the owner permission to same directory and then execute it by utilizing the following commands.
root@linuxhelp:/tmp/wordpress # chown -R www:www /usr/local/www/apache24/data/
root@linuxhelp:/tmp/wordpress # chmod -R 755 /usr/local/www/apache24/data/
Once the above process is completed, restart the Apache service with the following command.
root@linuxhelp:/tmp/wordpress # service apache24 restart

Performing sanity check on apache24 configuration:
Syntax OK
Stopping apache24.
Waiting for PIDS: 1280.
Performing sanity check on apache24 configuration:
Syntax OK
Starting apache24.
To do basic configuration in WordPress
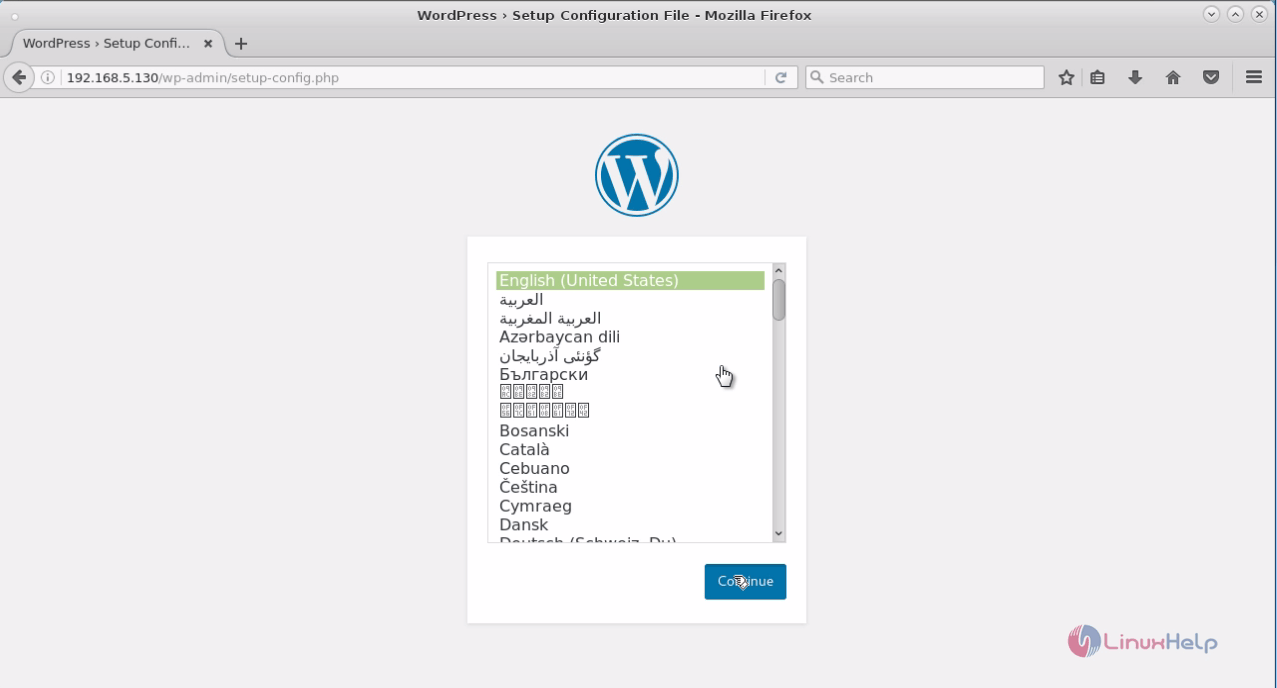
Once the Apache service is restarted, open the web browser and call your localhost IP address. Initially you' ll be taken to a language selection window as below, select your language and click " continue”
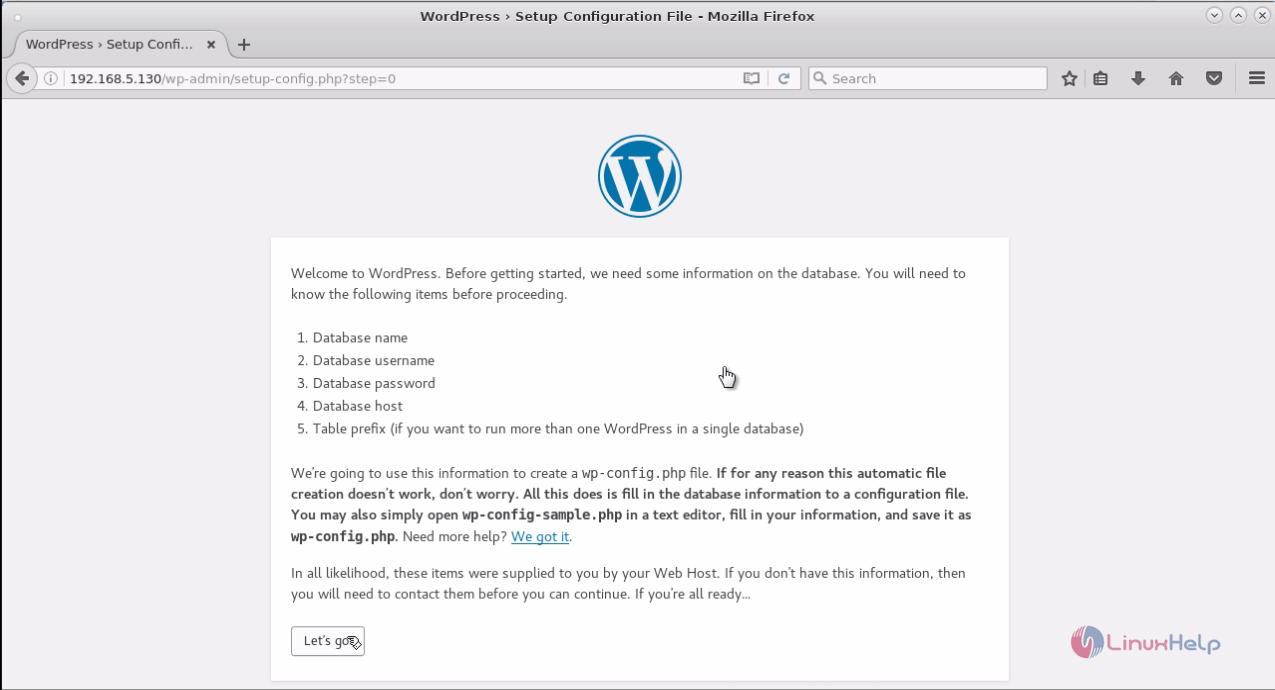
Next click “ Lets go” button to configure Wordpress.
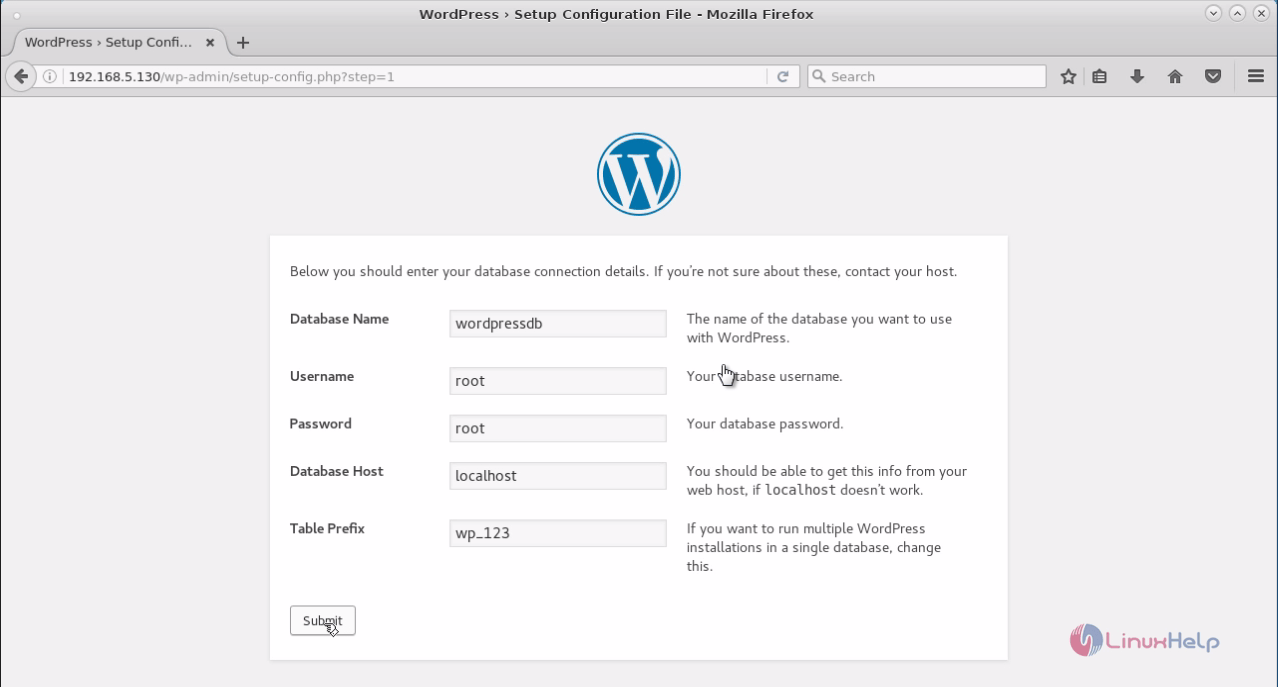
Now make all the necessary configurations as below, and then click submit button.
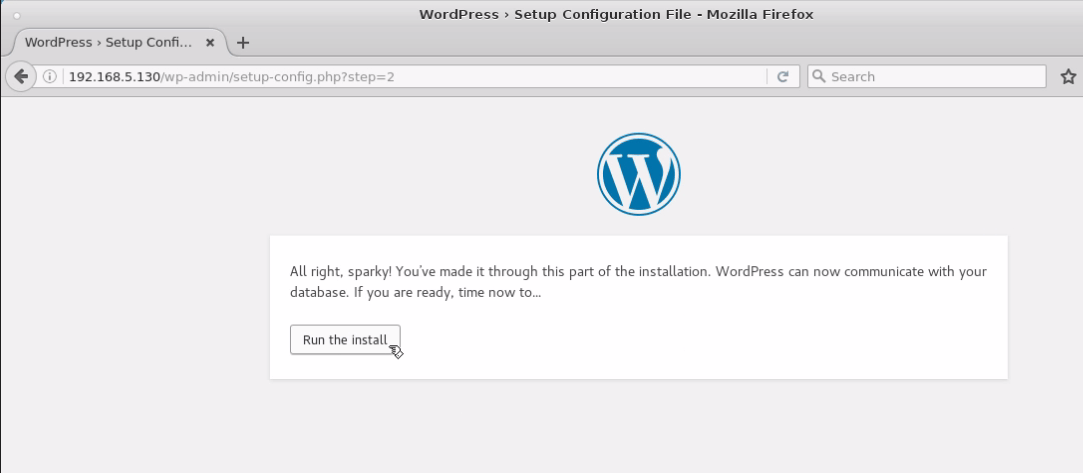
In the next window, click the Run install option.
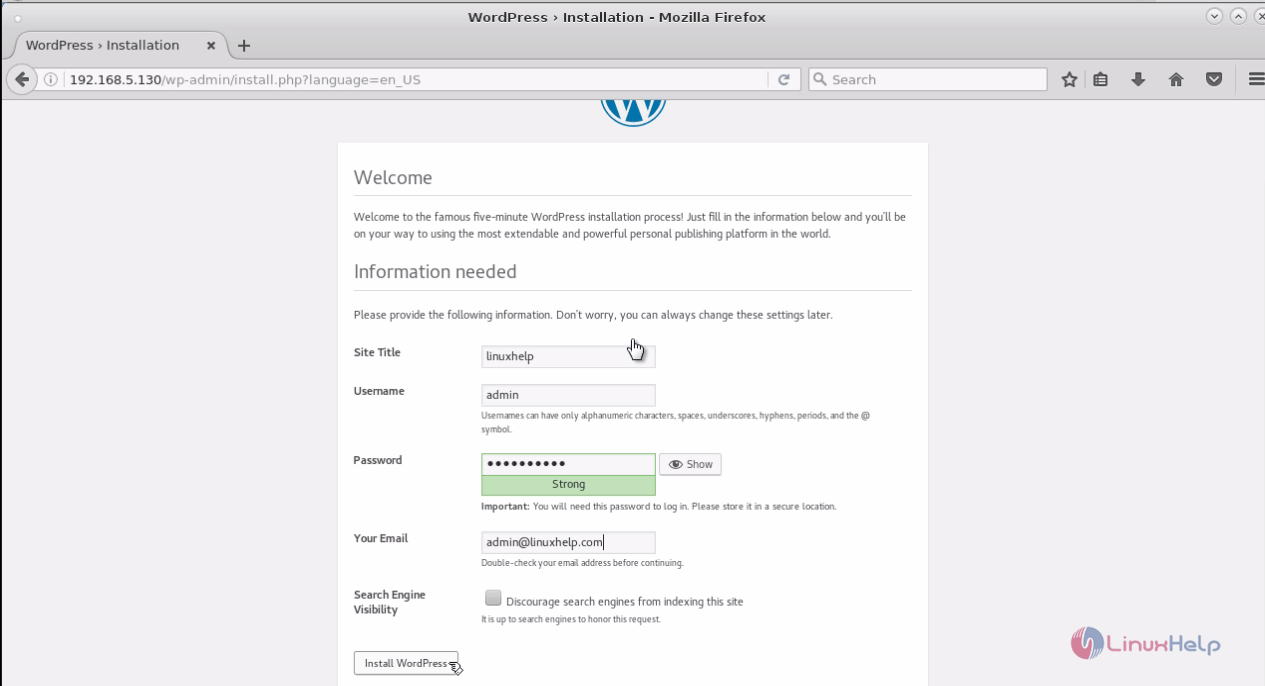
On the welcome page, enter your website name and create your Wordpress admin credentials as below. Click Install, once you are done with the process.
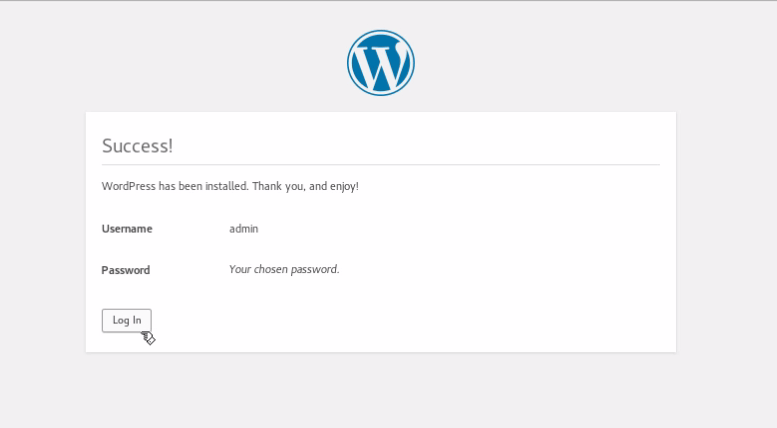
After the installation, a window similar to the below one will appear in front of you, just click the Log In button.
Now you' ll have to enter your Log in credentials.

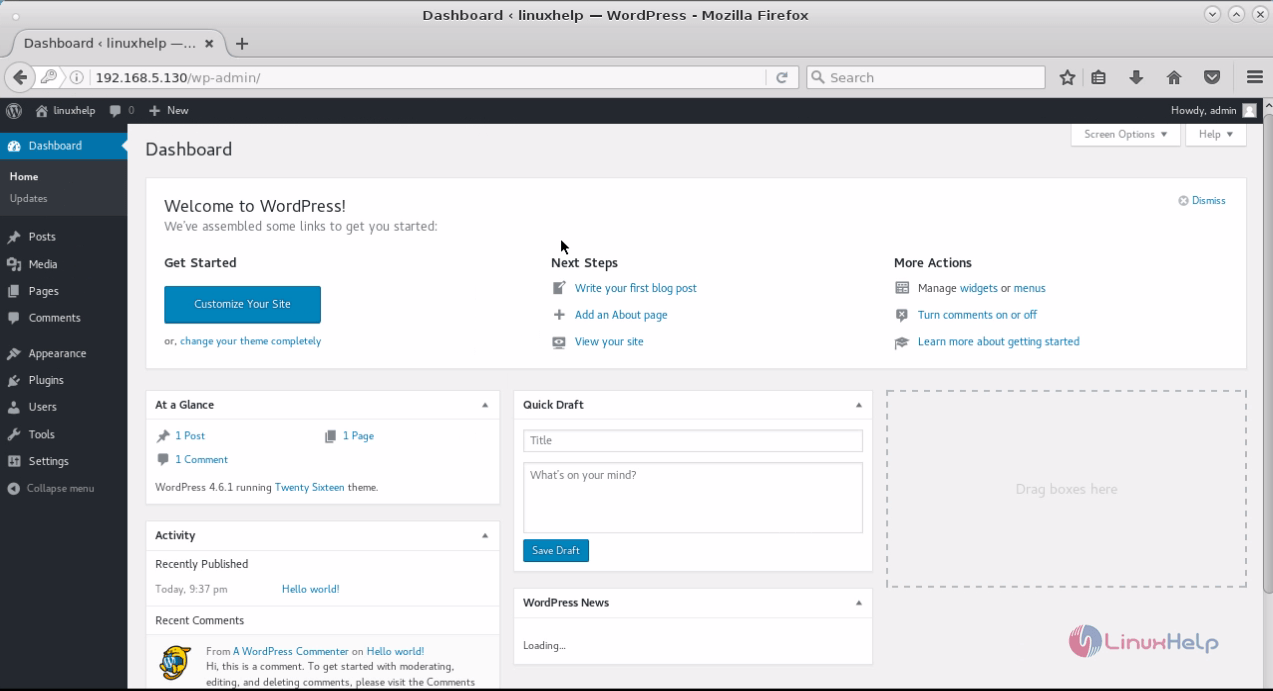
Once you login, you' ll be taken to the Wordpress Dashboard as below.
Comments ( 1 )